June's People You Need To Know

I'm super excited to share my featured sponsors with you this month! Seriously y'all, this is like the best group ever. There's everything from awesome shops to a subscription box, personal blogs, and online publications. There's a little bit of everything for everyone. If you can't find something you totally love in this group of awesome gals, I'm just going to go ahead and assume something is wrong with you ;) Please pop over and see what each one is all about! Give them some love for making it possible to keep LCH alive and well! Enjoy xx

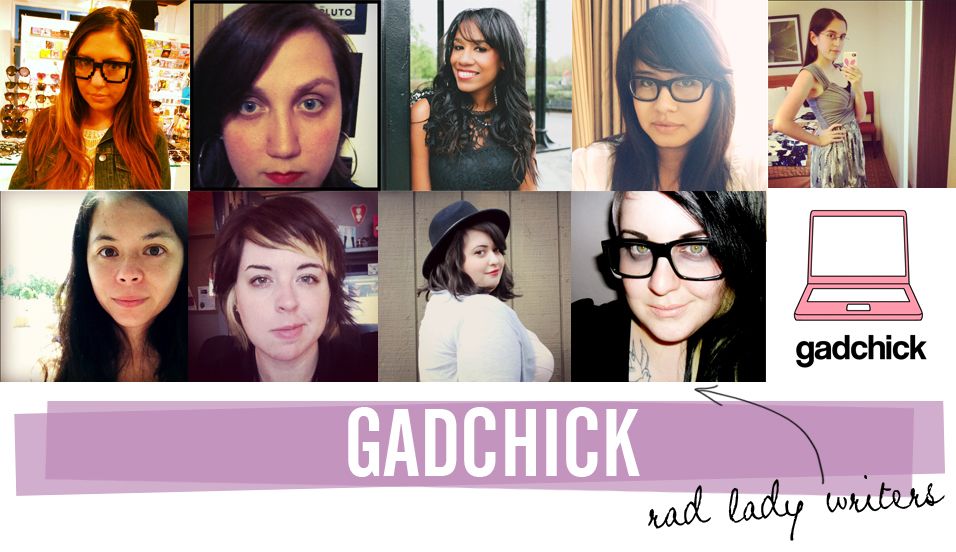
"Gadchick is a nerdy, geeky, tech and gadget loving free publication for women written by women. With the tech industry dominated by men, Diana from our city lights wanted a little more than a basic review and a pink gadget targeted to women. With help from Aline, In Case of Fireworks, they teamed up to make Gadchick a safe place for tech loving women to share. They have a great team of women writing for the blog and special contributors to the magazine. 

Gadchick is tech with emotion. It’s not just a gadget, a code, or an app to the writers of Gadchick. It’s their passion and they love talking about it and sharing it with the world."


What is there *not* to like? An online publication written by women, for women... about all things nerdy and tech. As if my spiel in yesterday's TiLT post wasn't enough, you can find everything under the sun at Gadchick. Including a Mommy category, gaming, photography tips and trick, and my personal favorite: phone app roundups and reviews!


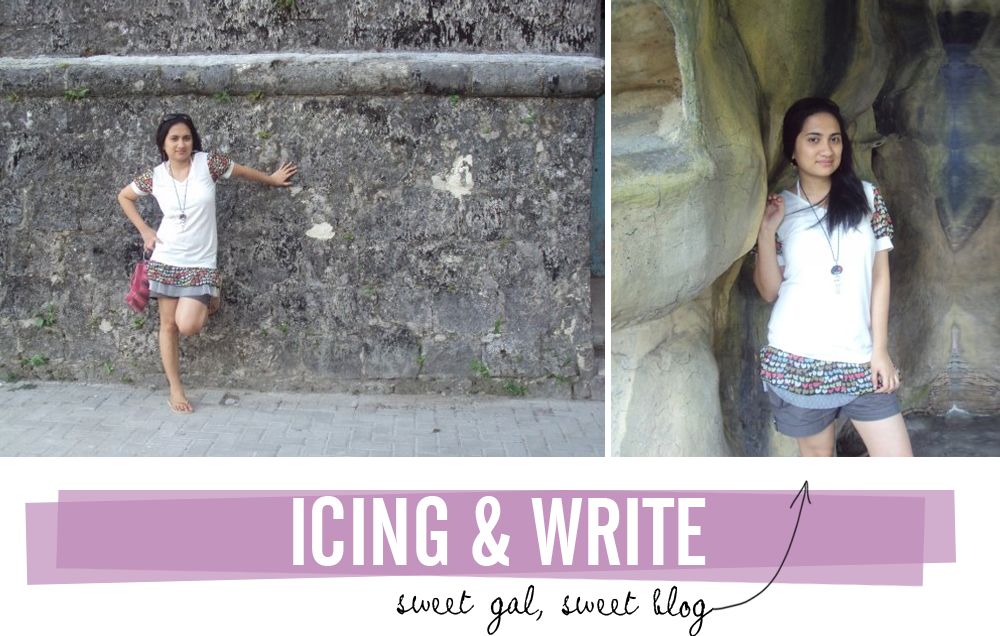
"My name is Aizzing (pronounced as "icing"), a twenty something media house diva here in Dubai and I blog over at Icing and Write. I've been online for as long as I can remember and have kept several blogs for just as long. After making the big move from Manila to Dubai sometime last year, I wanted a new place online where I can post about my daily adventures here in the Middle East for my family and friends to read back home. That's when I decided to start anew with Icing and Write.

From posting merely about my life here in the desert and my noob attempts with baking, my blog has now eventually evolved into an online vision board and personal diary. You'll read about the sugar crafts I create, my style inspirations, growing Blythe dolls collection, my frustrations with scorching desert weather, and my weird penchant for wearing bejeweled sandals on a Thursday along with my most random thoughts and experiences. Nothing major really and my posts could hardly be called earth-shaking, but I try my best to keep it fun, honest and inspiring all the time.

I recently took the serious pledge to lead a healthier lifestyle, be a better photographer, and enjoy Dubai like a tourist, so expect to read a lot of healthy recipes and photos of all the cool spots, corners and moments this modern emirate has to offer.

I’m a huge fan of early weekend mornings, marshmallows, extra tight hugs, holding hands, pretty cupcakes, candy-colored shoes, old books smell, and dreaming your biggest and wildest.

Please stop over my corner of the internets and say hi. I always enjoy meeting new friends. xx Aizzing"

BLOG // TWITTER // BLOGLOVIN'

Aizzing's blog is one I've come to absolutely adore over this past month. It's such a beautiful space in the blog world. I definitely recommend you pay her a visit and see what her life is all about!

"My blog is called ella after me, where i like to share the beautiful in everyday with my readers. I am creator of pretty things, illustrator, designer and artist.

I also run a little business called RubyRaeLove which is in a transition at the moment where i am re-branding to create a more personal shop. I shall be incorporating the illustrations seen on my blog. RubyRaeLove started when i wanted a place to sell my creations

ella started when I was in my first year of university, it was a free place where I could share my art and illustrations after I graduated I decided I wanted to share more of my life with my readers, my little business filtered from my blog where my readers were asking if I could make them pieces of jewellery. It filtered out naturally after a nasty break up I decided to throw myself into my little business and blog and it has expanded beyond my wildest dreams.

I love having the freedom I get when i blog, it has opened new adventures for me. I was able to collaborate with James Lakeland a designer to design a capsule collection with him for ss /13. Over july I will be sharing a wonderful feature over on ella with a wonderful selection of business women, the beautiful Kaelah and the Honeybean will be making an appearance. When it comes to RubyRaeLove I will be expanding into fashion with my first line of illustrated dresses and more illustrated goodies will be on their way as well including bags, and sterling silver jewellery. Hopefully soon I will have enough save for a bricks and mortar shop."


Ella's blog is one I've read for a long time, and unlike many other spaces, I've never grown tired of it. She uses her blog to share her style, her life, and her business ventures. Truly a gal after my own heart!

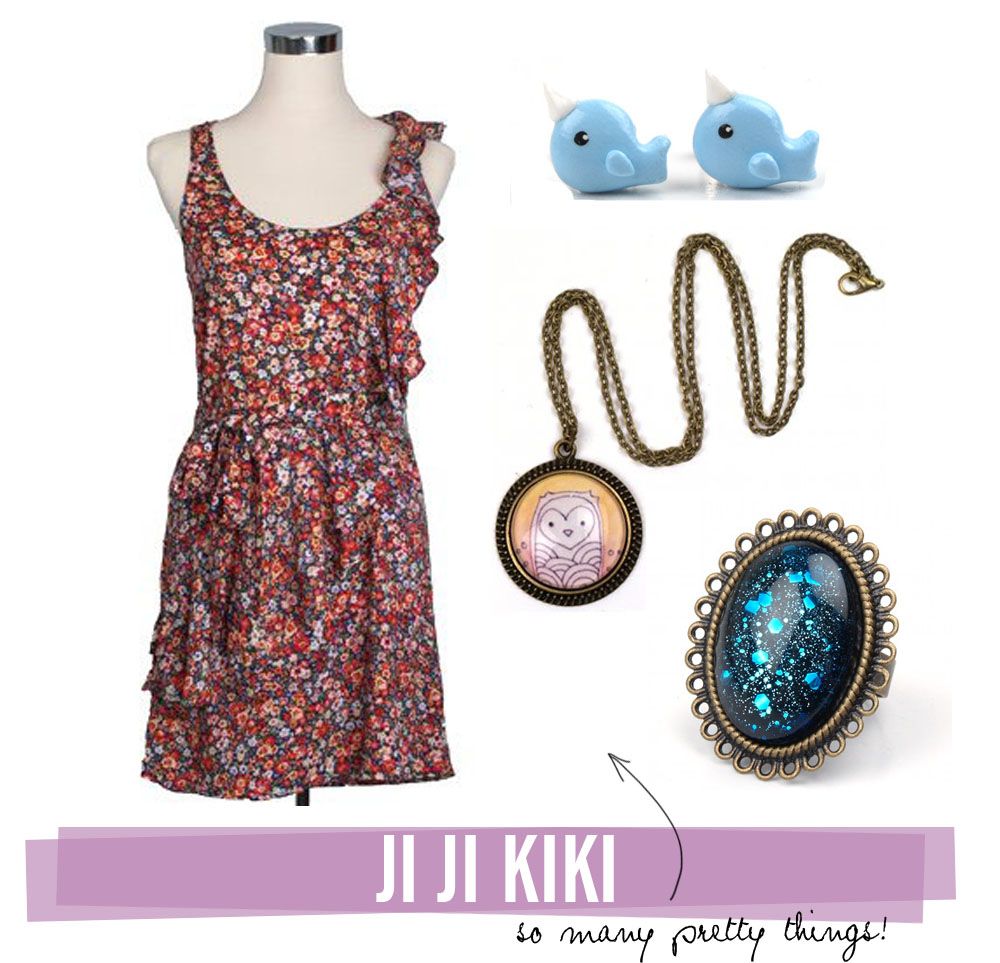
"Ji Ji Kiki was founded in 2008, based on a love of vintage, retro and all things a little quirky. The website is run by me, Emma, big cheese and general dogsbody ;) I take care of everything from picking products and designers to stock, to wrapping items up to send out and answering all emails and queries on Facebook and Twitter. I began just selling a small line of my handmade jewellery. Since then the website has grown to include homewares, jewellery, bags, hair accessories and clothing from indie designers from around the world.

My favourite thing about running Ji Ji Kiki is finding new products and bringing them to my customers. It can be a lot of hard work, but when I receive lovely emails it makes it all worth while! My aim is to continue to grow Ji Ji Kiki, expanding the range of clothing as well as adding lots of new indie designers to the mix."

     ** GET 20% OFF UNTIL JULY 31st WITH CODE BEE20 **     

SITE // FACEBOOK // TWITTER // PINTEREST

Just by perusing the virtual shelves at Ji Ji Kiki you'll get a sense of how chock full of awesome it is, but by purchasing from this store you're helping support a gal's indie biz dream! And believe me, it's not hard to find plenty of pretty things in there!

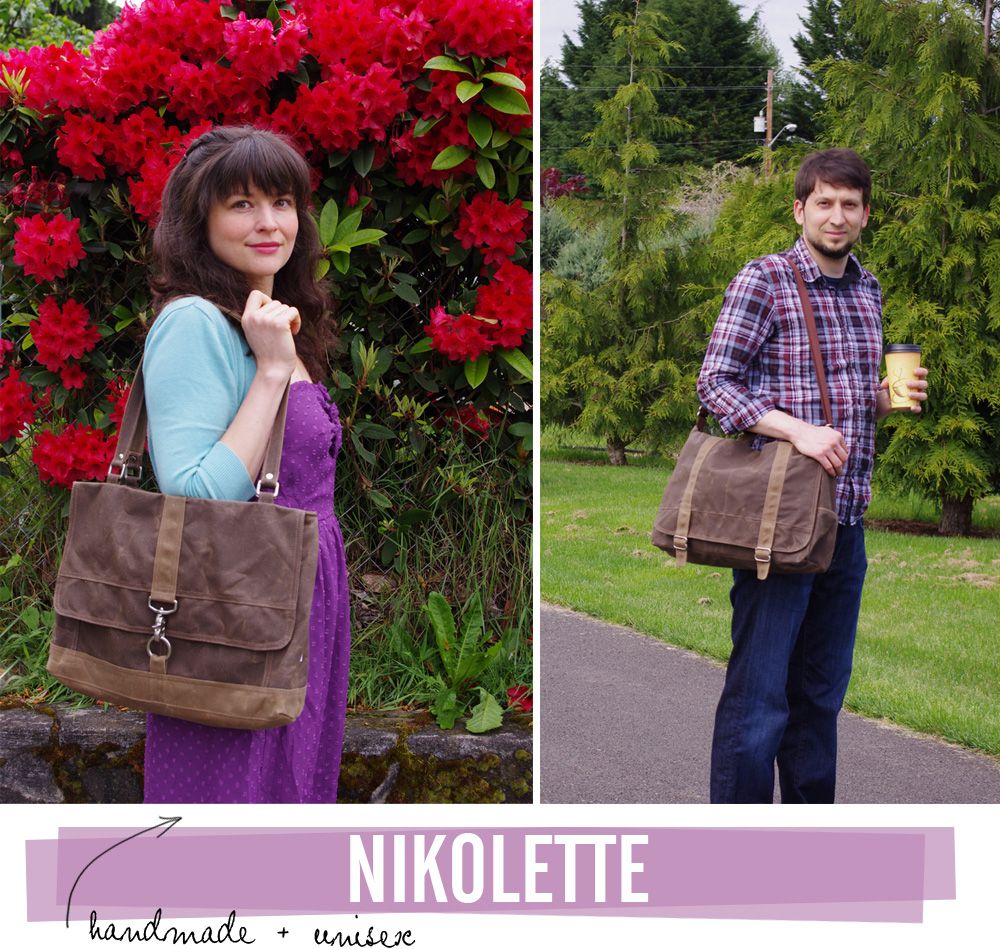
"Nikolette Bags, named for Miss Niko Jeanette Polka-Dot (my 12 year old rescue cat), was born in 2007 on Etsy after I found myself in possession of a HUGE garbage bag full of upholstery swatches from my job at a furniture store. I started out making little one-off bags that slowly developed into our current (expanding!) line. We now work in water resistant waxed canvas and pride ourselves on functional design and rugged durability." On the future of Nikolette Bags... "Right now Nikolette's product line is very utilitarian. We are working on some more girly designs that should be released very soon! I'm over the moon about expanding our line to this new aesthetic while still working with very good quality waxed canvas. We'll also be offering antique brass hardware, so lots of new styles to come!"
     ** GET FREE SHIPPING WITH CODE BEEFREE **     


Not only are these bags handmade by Miss Courtney, but they're also perfect for guys *and* gals. They'd make the perfect gift for almost any person in your life. Plus who doesn't like to support independent businesses?!

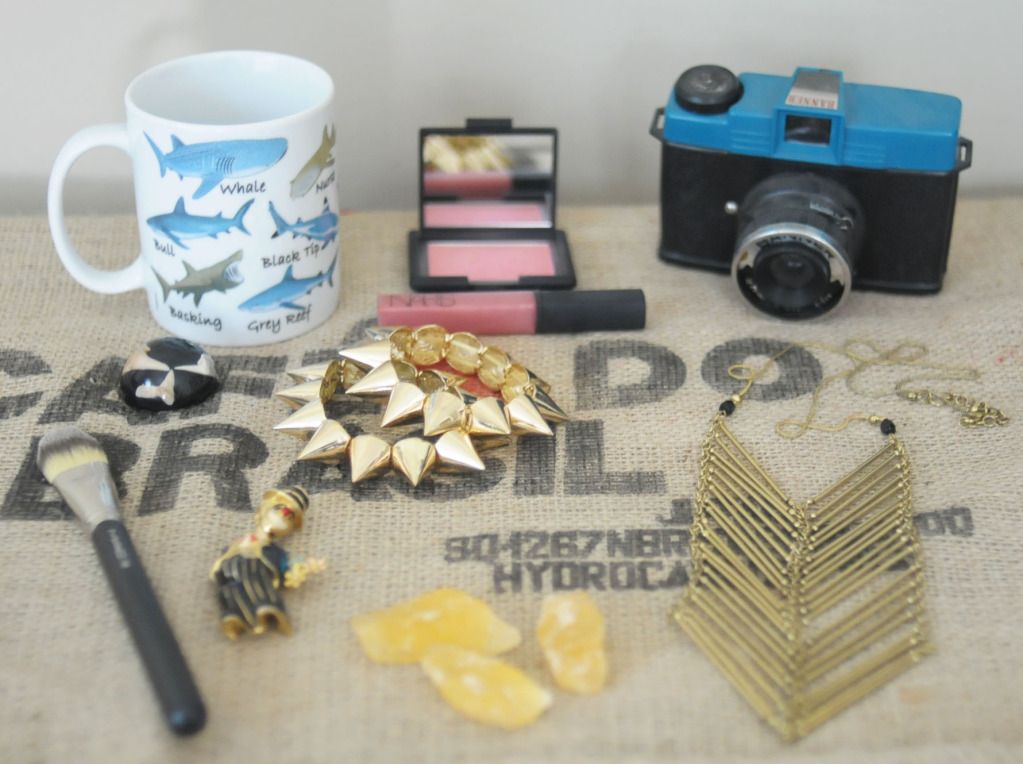
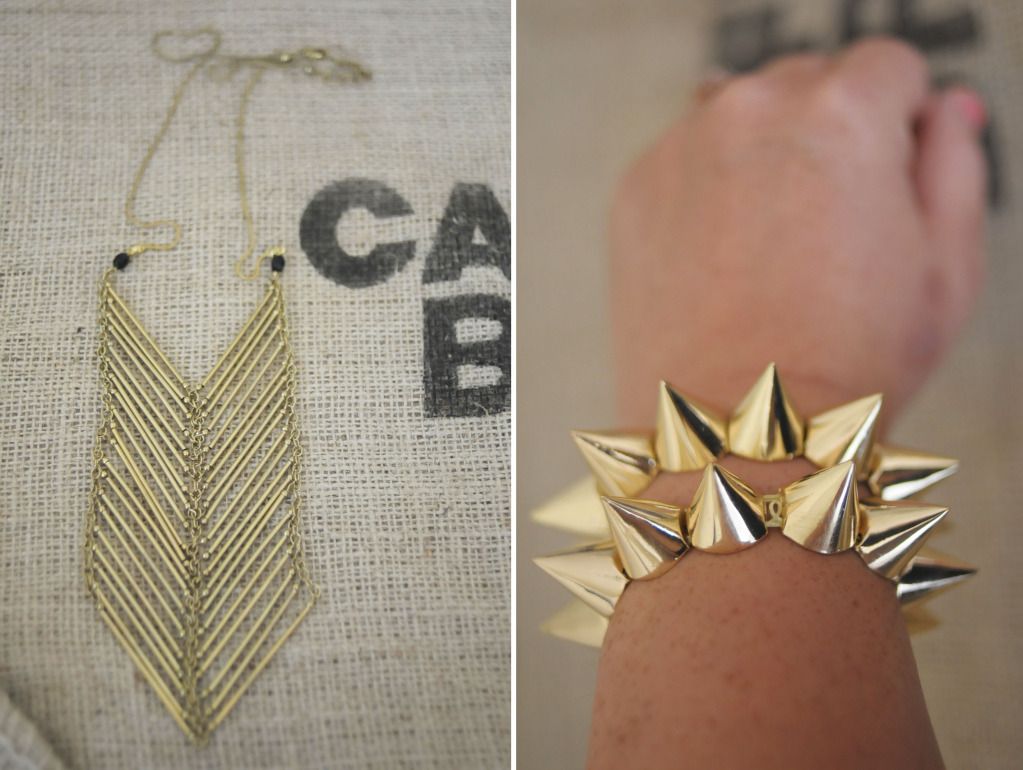
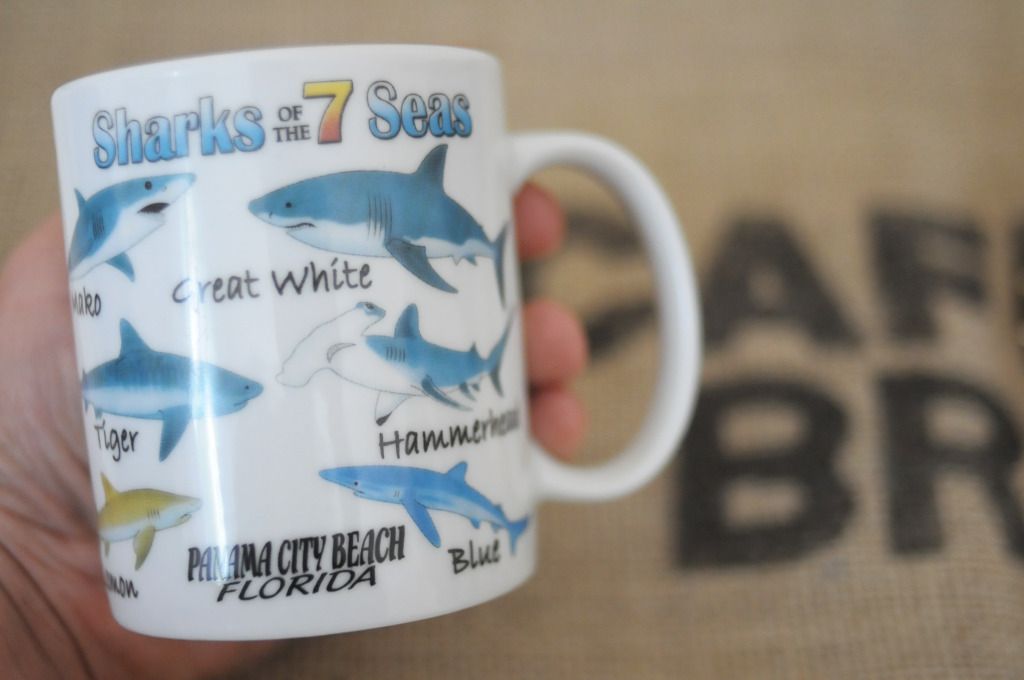
"My name is Erin and I live in Brooklyn, NY.  I have always really enjoyed scouting out new things whether it be artisan jam or handmade jewelry. I also love receiving subscription boxes so I thought it would be so much fun to create one of my own. My idea behind Hammock Pack is to be able to getaway without actually leaving your home. Essentially letting us bring the "me time" to you. Each month will be a new surprise theme and for the month of June, we are bringing the beach right to your door."

Hammock Pack is seriously an awesome way to enjoy a fun staycation. I received the above box earlier this week (will share more in detail soon!) and it was like receiving a care package from your best friend who went on a fun trip. My favorite is probably the soap, but let me get back to you on that!

♥ ♥ ♥ ♥ ♥ ♥ ♥ ♥ ♥ ♥ ♥ ♥ ♥ ♥ ♥ ♥ 
If you'd like to be a sponsor/featured sponsor for July, I've still got some spots left with the size of your choosing! Shoot me an email at kaelahbee@gmail.com and snag a one-day deal!

Photoshop Elements Tutorial: Making a Circle Blog Button

For my first tutorial as a Photoshop Elements Brand Ambassador, I'm going to share with you how to make a circular blog button. This button can be used for countless things: a profile picture, social media links, links to particular pages or blog features, sharable buttons, or even as an advertisement if you choose to sponsor another blog.


I get quite a bit of email inquiries on how to make blog buttons, and the best part of this tutorial is that you can make literally any shape you want. If you just want a standard square or rectangle, just skip the "Cookie Cutter" steps (steps 2 + 3) and head on into adding your text! If you want a speech bubble, a heart, or anything else your heart desires, just click through the shapes offered by PSE. One great thing about Adobe Photoshop Elements is that it makes doing shaped clipping masks insanely easy! If you have standard Photoshop then there are a few more steps you have to take to do it manually, but that's not too hard either. I'll be sharing screenshots throughout so you can follow along. Feel free to click on the screenshots to make them full size so you can see exactly what I'm doing. The directions will also be in the text in case you can't make out the buttons.

Anyway, let's get started!

1. Start by opening up Photoshop Elements. Click File --> New --> Blank File to begin. Decide on what size you want your button to be. A good "safe" width for most Blogger blogs is 200 pixels wide, by however tall you want. Since we want a perfect circle, I'll do 200x200. *Make sure your resolution is set to 72 and your Color Mode is RGB! 

Sidenote: Resolution refers to DPI (dots per inch) and 72 is the standard for computer monitors and tvs. Same with RGB. That's because all of the little dots you see making up a tv screen are red, green and blue! 300 is the standard resolution for anything that will be printed. CMYK, which stands for Cyan, Magenta, Yellow and Black , is the color mode for printing.


2. Choose the image you want to use as your button by clicking File --> Place. You can Transform your image to fit the canvas by pulling on the anchor points located on the corner of the image and in the middle of each side. *Tip: Hold "Shift" as you transform the image so it will retain it's proportions without getting skewed. 


3. Once you have your image situated as you would like, CTRL + Click (Right-click on a PC) the image layer on the Layers palette, and click Simplify Layer. 


4. After you layer has been simplified, Select the "Cookie Cutter" tool on the left tool bar (It's located under the crop tool, and it looks like stacked stars!). Select the shape you want your button to be made into. For this tutorial, I chose a solid circle. *Tip: Click the two arrows on the right of the shape palette to load even more options!

You can play around with size and placement of your shape as much as you'd like. You can also hold down the Shift key while placing it and it'll keep it's proportions! This is really important when it comes to shapes like circles.


5. If you'd like to add text to your button, Click the Horizontal Type Tool and choose the font, color and size. You can always edit your text after you place it, don't worry! 


6. If your shape is anything other than a square or rectangle, Click the eye icon to the left of the Background layer to hide it. Once you save your button as a PNG file, this will allow you to put it on any color background and you won't have an ugly white square border behind it. 


7. Once your button is just how you'd like it, Click File --> Save As and name your button. Choose the folder you'd like it to be saved in and click "Format". Choose PNG if your button is anything other than a square/rectangle, or choose JPEG otherwise. 
*Sidenote: PNG files save the image so that it has a transparent background. A JPEG simply compresses all of the layers and the white background will show up if your shape is a circle, etc. Also, when saving your button as a JPEG, the Options prompt will come up after clicking "Save" and ask you for the Quality. "10" is always a safe bet! If you want to keep a editable version of the button with all of the layers intact, also choose to save a Photoshop/PSD version! You can open this file from Photoshop at any time and make any changes that you want.

Now you're free to use your button for whatever you wish! You can use it as a profile picture on the sidebar, or you can make social media/featured post buttons, too. You can also use this as a way to make your own sharable blog buttons to swap with friends.

If you'd like to have the sharable buttons on your blog, along with the code for people to copy + paste, read below!


Another question I get pretty often when it comes to blogging is how to code the little box with the HTML for people to take and share. Just copy the HTML in the box underneath, paste it into a widget on your sidebar (or on a Buttons page) and plug in your own URL and image link! *Note: The code below includes the code to have the image above the box as well! That way people know which button they're choosing!

Copy and paste the following code where you want your button + HTML box to show up! Make sure you delete the asterisks (*) before saving!

<*textarea cols="23" rows="2"><*img src="URL TO YOUR BUTTON HERE!"><*a href="URL TO YOUR BLOG/PAGE HERE!"><*img src="URL TO YOUR BUTTON HERE!"><*/a><*/textarea>

Well friends, that'll do it! Hopefully that was decently easy to understand, and hopefully some of you found that helpful! If you have any specific requests for future Photoshop features or tutorials, I'd love to hear them! Just let me know what you'd like to learn!

♥ ♥ ♥ ♥ ♥ ♥ ♥ ♥ ♥ ♥ ♥ ♥ ♥ ♥ ♥ ♥ 

If you'd like to learn more about my role as an Adobe Photoshop Brand Ambassador, just check out this post! You can keep up with the fun tutorials made by all of the other brand ambassadors by checking out Photoshop Elements on Twitter, Facebook, Pinterest and YouTube accounts!

Things I Love Thursday

♥ this is fact. ♥
these flowers are stunning. ♥
♥ i would hug this. ♥
this serene little cottage ♥
this! ♥
o hai!
this photo! ♥
this colorful flight of stairs. ♥
♥ this is sweet ♥
this library lets visitors write whatever they want. ♥

♥ I'm giving away this super cute dress over HERE! ♥
Don't have a Tumblr? Leave a comment below saying you wanna enter!

Other Awesome Stuff:

// Imagine a camera that shoots exactly what you see... using your eyes. Sound like a thing of the future? How about a thing of right now! Royal College of Art student Mimi Zou has created an iris-controlled camera that you shoot by double blinking. That's not even the amazing part... The camera can recognize your iris signature and load in your pre-set favorites like ISO, aperture and screen display!

// Do you love Target clearance as much as I do? This gal shares Target's markdown schedule and how to know if it'll be marked down again, or if that's the final price cut! Save you some serious dough!

// I think this map-on-canvas project would be a fun one for a family hallway... to help document the trips taken as a couple/family/solo. Even if you skipped the pinning, it's a great accent piece!

// If you're a gadget loving gal and you haven't checked out Gadchick yet, you're missing out! It was started by Diana last year and seriously, it's awesome. I'm not just saying that because they're a sponsor either. Diana is one of those rare ladies who I totally envy and admire all at the same time (in the best way!) She's a kind spirit and a passionate person. But the girl power doesn't stop there, there are tons of writers and contributors worth checking out. Watching Gadchick blossom with each new issue is really exciting. So many relevant articles, too! You can check out the issues or peruse the blog at your leisure! To me, Gadchick is a great way to feel good about being a woman. (PS: You can also read Gadchick on the go via the app! Yep, they have an app. Freaking rad) This has been a gush-fest brought to you by my adoration for all things awesome. ;)

// Wishlist Wears: a pink chiffon dress with cream crochet collar?! count me in! -- this denim dress with waist cut outs is a straight up throwback to 1992... and it's awesome. -- if you're ever in search of cute detachable collars, you'll have no problem finding the perfect one here. -- mauve, white, cream and crochet dress... recipe for adorable. -- i love these spikey headbands and i'd wear multiples at once (maybe? too much?) -- i never look good in white shoes but these cutout brogues are desirable!

// I love this DIY maxi skirt tutorial.

// I know pallet DIYs are "like so last season" but we've got a stack of 'em and I wanna build things! This patio table is the perfect solution. The stain finish just makes it.

// Instagram Favorite:
@arrowandapple

What are you loving this week?

June Sub-Box Recap

This month I was only subscribed to BirchBox and My Glam Bag. For July I'll have Glossybox added (as well as a few indie sub-boxes so stay tuned for that!) I was pretty happy with both shipments and hope that it will continue on into July. First we'll start off with BirchBox...
After a "meh" shipment in May, I was pretty happy with this one. The theme was "Jet Set" and it seemed very fitting as I spent the entire month running from one state to another. I never thought I'd be excited about "designer" Band-Aids but I'm a big fan of Cynthia Rowley prints. The Shampoo + Conditioner is the only thing in the box I haven't used yet so I don't feel like I can give an accurate portrayal of it. Have any of you used Kelly VanGogh stuff? I'd love to hear your experience! Keeping my hair nice and bright is a big deal when it comes to selecting hair care products. The Rose Water spray is light and airy, and kind of perfect for summer. It's a sweltering 100*+ here in Nashville and the last thing I want to do is wear anything that bogs me down or makes me feel smothered (Already there thanks to the humidity!) This little spritz is the perfect cherry on top. The roll on purfume is nice, too. Though it's something I'd save for a nice evening out... somewhere complete with air conditioning! The BB cream was a nice surprise because it seems like BB cream is ~all the rage in the blog world right now. Am I just making this up? Then again I can totally see why as this is a pretty fantastic product. And last but not least, theBalm stainiac stain - it definitely packs a powerful punch in such a small canister. It's a nice color on the apples of my cheeks and the fullest part of my lips, too. I mixed it with a little NARS lipgloss for a fuller coverage.

Overall: Not a bad shipment! I know some people weren't stoked on the Band-Aids or the shampoo/conditioner set, but for $10 a month, I find no room to argue with this one! Let's hope July doesn't let me down! 

Now onto this month's Glam Bag...

My main argument against My Glam Bag is simply this: What on earth am I going to do with so many makeup pouches?! Each month's shipment comes in a new bag (hence the name), and it's a nice little accessory and all... but they're just going to pile up. I'd rather my products come in a brown paper sack and get another fun product to try out, but maybe that's just me! Even still, I liked the look of the metallic gold bag I got this month. Beats the blue and pink lips of May! The contents were actually pretty great, too. The hair styling cream has been a heaven send when it comes to my Nashville frizz. I love the Marbella eyeliner pen but truth be told: It does nothing that my $3 NYC eyeliner pen doesn't do. I'm all about my NYC eyeliner, too! The NYX lipstick was a fun coral color, and I was actually pretty into it. I still mixed it with another lipgloss to achieve a more flattering color for the outfit I was wearing, but it stayed put fairly well and didn't feel too dry. NYX has great prices on their cosmetics so it's easy to experiment without breaking the bank. (This lipstick is regularly $3.99!) And lastly, the moisturizer. Almost every sub-box I get has moisturizer but I really don't have room to complain -- I have really dry skin on my face. This stuff seems good enough, but I've only been using it for a handful of nights. If I deem it worthy enough for a full size purchase, I'll be sure to let you know!

Overall opinion on my Glam Bag: satisfied. Not overjoyed, but definitely not disappointed either. I do feel like it was $10 well spent!

♥ ♥ ♥ ♥ ♥ ♥ ♥ ♥ ♥ ♥ ♥ ♥  ♥ ♥ ♥ 

So that's that, honeybees. I know many of you subscribe to both BirchBox and MyGlamBag... what did you think of your shipment? What did get differently in your shipments? Out of the two shown above, I definitely tend to favor BirchBox, even if only because they don't leave me with a heaping pile of makeup bag. I can just recycle the boxes! ;) If you're interested in signing up or are on the fence about which service to go with, give BirchBox a go if you can swing $10! It really is such a great surprise to receive each month! CLICK HERE to sign up if interested! ;)

These Are A Few Of My Favorite Things // v.2

I almost let June pass me by before getting up this month's TAAFOMFT (whoa!) post! If you're interested in May's, just click HERE! Let's see what made the cut this time around...

Everything from a souvenir shark mug to rough stones, a 70's camera and a creepy brooch... you know, just keeping things varied! 

When Mike and I go on a trip somewhere, we always try to fit in an aquarium. Even though Gulf World Marine Park was across the street from our hotel in Panama City last week, we never seemed to make it over. We always add shark picture frames to our collection when we visit a new one, but since we didn't technically go to an aquarium (just, you know, the ocean!) we decided to add a mug or two to my shark collection. I got this "Sharks of the 7 Seas" mug and a travel shark mug, too. I don't care how kitschy, I don't care that it says Panama City on it... I'm just excited to have another shark mug! ;) I also snagged a shark tooth magnet (the black half sphere up there) for my magnet collection... I may or may not have also picked up a Great White magnet. Sorry I'm not sorry! haha -- 

Also making the cut would be: NARS blush in "Orgasm" as well as NARS lipgloss in "Ophelia" -- 2 gold spike bracelets I picked up from the Arm Candy collection at Edition 01 (you can also get them for quite a bit cheaper at ASOS, too bad I didn't know that then!) -- a beautiful gold herringbone rib necklace that came in one of my recent Stitch Fix packages (I'm 3 boxes behind in sharing!) -- the MAC 190 brush -- a creepy clown brooch I snagged at the Flea Market Sunday, as well as some rough stones from "Rick the Rock Man" -- last but most certainly not least, a 1970's clone of the original Diana camera. It still works and everything! I like to set it with our Diana F+ and Diana Mini so they're a little collection.

What are your current favorite things?

Speaking of 1970's goodies... our little family is hopping in the car and heading to Indiana today in pursuit of something incredible from the 70's! Here's to hoping it's just as perfect in person as it is in pictures! ;)

Tomorrow I'll be sharing June's sub-box round-up, too!