
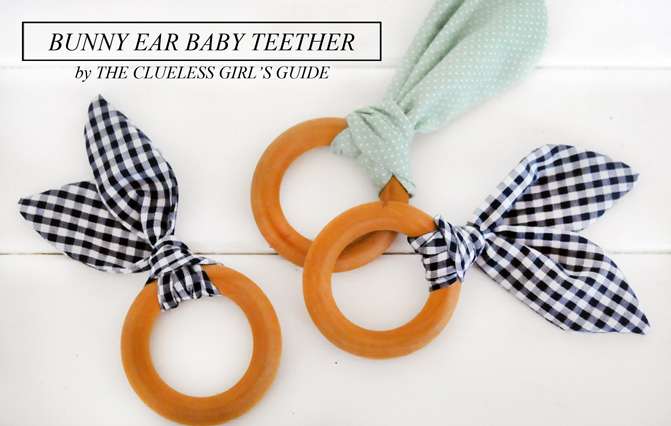
The nesting instinct has kicked in full throttle as of late, and I've been trying to be as productive as I can on all ends of the spectrum. I've been perusing Etsy lately looking for unique toys for the nursery and I stumbled upon some cloth teething rings. They looked so incredibly simple to make so I thought I'd give it a go. Even though Baby Flynn won't be using these for quite some time, I wanted to get a head start on some simple DIYs because who knows if I'll even be up to thinking about doing them once he's here. These are seriously so easy to do and they take about 5 minutes each (if that!)... and the best part? They're so cheap to make! Since they take such little amounts of fabric I've been tearing through my scraps to make some and even sending them to a few friends who are expecting. I love that I can just toss the fabric part in the wash and scrub the wooden rings with some soap and water in order for them to be good as new again.
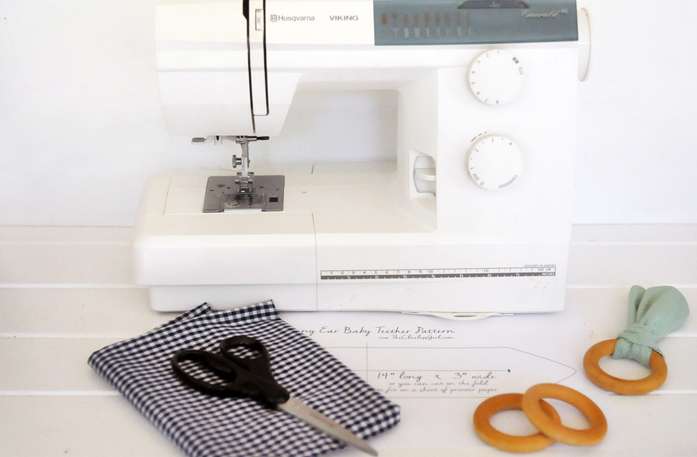
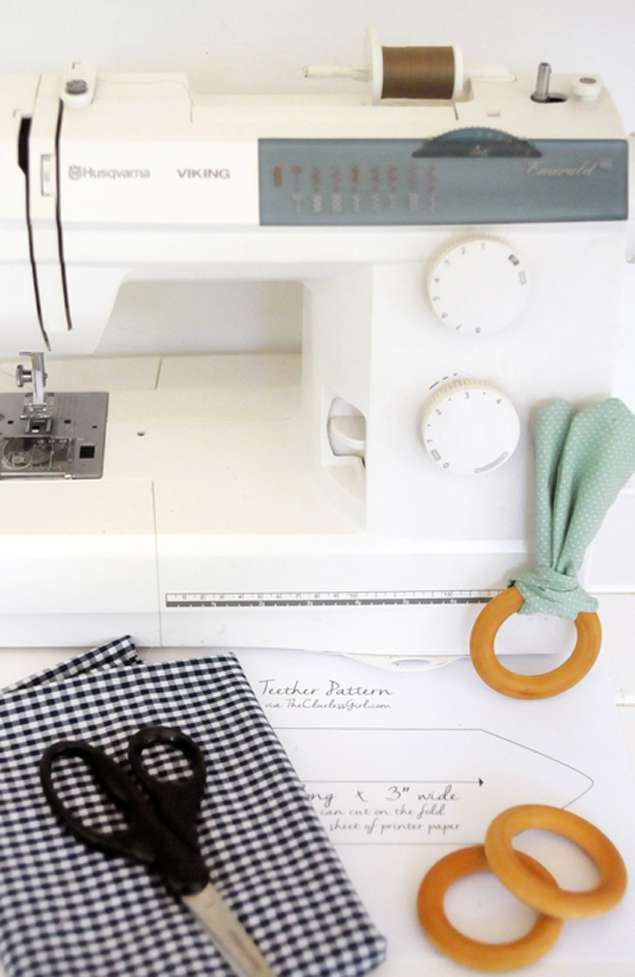
SUPPLIES:
+ Sewing maching+ 1/4 yd. fabric (organic cotton is great for this!)
+ Wooden teething rings (I bought mine on Etsy)
+ Thread
+ Scissors
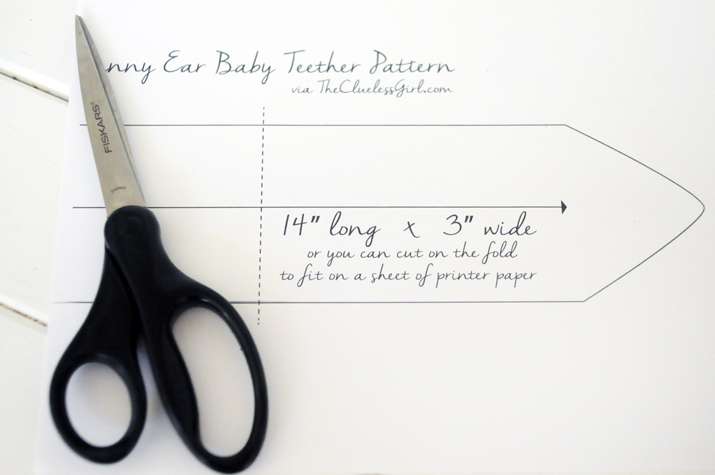
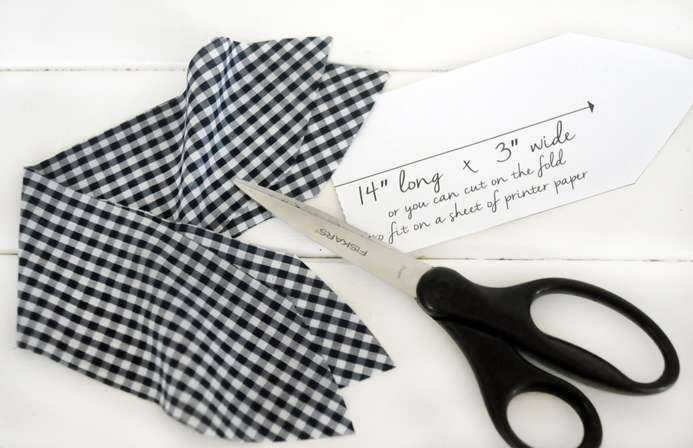
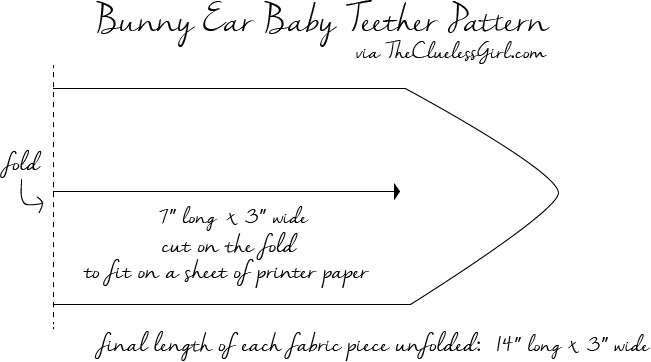
+ This handy template (Optional. I printed mine on 8.5x11" cardstock + cut on the fold)*
INSTRUCTIONS:
Step One: Since I only had 8.5x11" cardstock available at home, I opted to print my template* at 100%, but "in half" so I could cut on the fold. (Do not scale the image to fit your paper - If the template gives you trouble, just cut a 14" x 3" rectangle [or 7" x 3" on the fold like I did] and shape the ends however you prefer!) Because my paper was smaller than my template, I just doubled over my fabric and made sure the short end of my pattern piece was on the fold. Since I had really sharp scissors I was actually able to cut both pattern pieces at the same time (Your fabric should be 4 layers thick to do this!) This way I ended up with 2 perfectly uniform 14x3" pieces of cut fabric. Win/win!
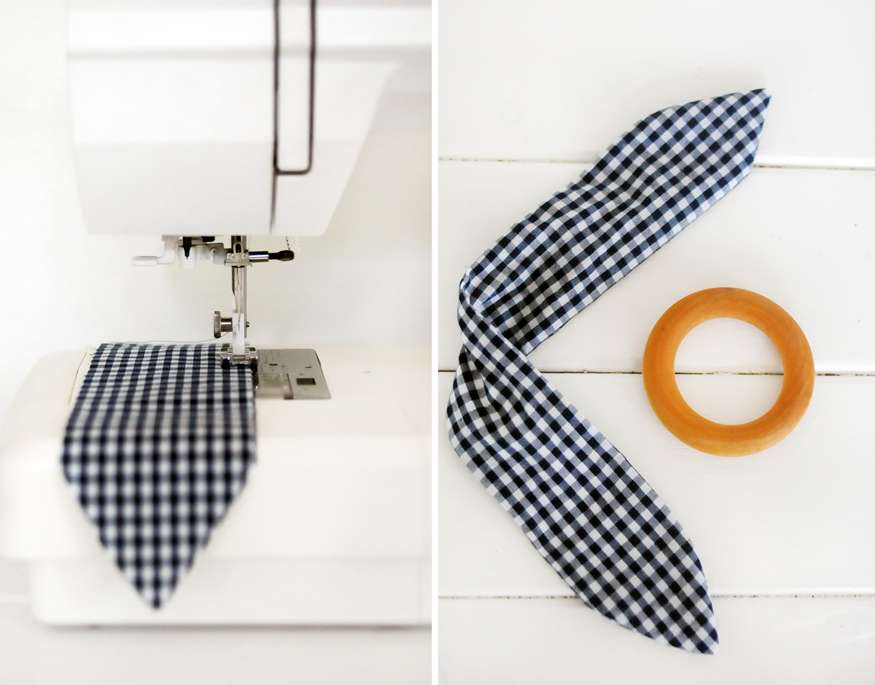
Step Two: I placed the wrong sides of the fabric together and started my stitch in the middle of the longest side. I used a 1/4" seam allowance. I sewed all of the sides together, but left a 1" opening in the middle of the longest side so I could turn my fabric piece right side out. Once I had the fabric right side out, I poked the seam so it'd be flat and then I ironed the whole thing. This makes it easier to sew up the little gap. You can choose to do a slip-stitch or you can keep it simple by just running a topstitch around the entire fabric piece.
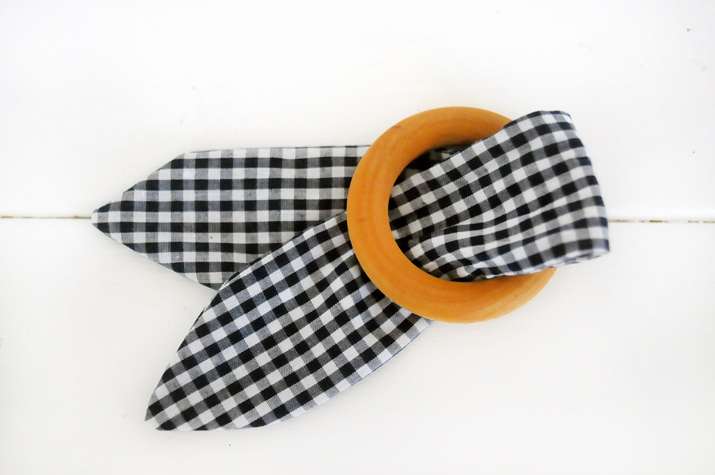
Step Three: After the fabric piece is sewn, fold it in half and slip it through one side of the wooden ring. Then take the "bunny ears" and loop them through the center part of the ring. Once you pull tight your teether will start taking shape. You can iron the bunny ears of your teether one last time to make them nice and crisp looking. Voila! You have a teether! Told you it was simple...


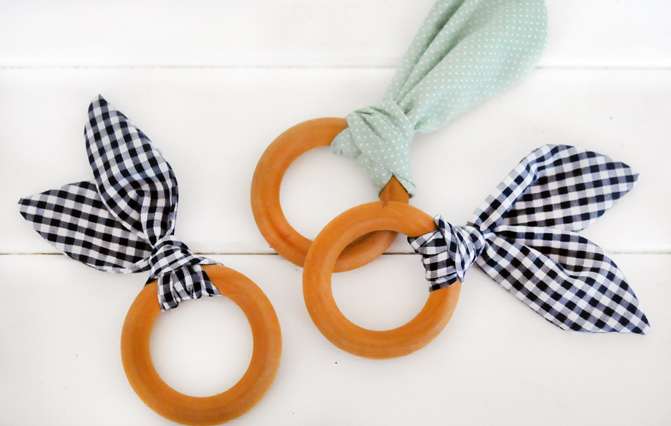
I opted to do a fatter, rounder top on the mint polka dot teether and I love how cute they all look together. I wish I had ordered more wooden rings but now that I know how simple it is to make these, I plan on cranking them out like crazy! They make the perfect little "happy" for babies of friends and family. And since they're so inexpensive and easy to make, I won't be heartbroken when they inevitably get lost.
Let me know if you decide to give it a whirl! I'd love to see what you come up with (and the fabrics you choose!) Happy Tuesday! xo
* I used the full/original template in my photos, but opted to upload a smaller version to cut on the fold so you don't have to mess with your printer's cropping settings! If you have any questions about the template, please leave them below! You can just wing it with a 14" x 3" cut if you prefer!


So simple I can use this template for those head bands that forever 21 sells that have the wire inside to wrap around the head!!
ReplyDeleteVery cute and easy, as well as the perfect thing for teething babies. I love the look of these! A great project. ♡
ReplyDeletexox,
bonita of Lavender & Twill
Hi. Thanks for the tutorial. Your bunny ears are very cute... not too fat, not too skinny... just right! One thing though... in step 2, it should correctly read "I placed the right sides together" and then sewed...
ReplyDeleteYou're welcome ;)