Showing posts with label do it yourself. Show all posts

// Bunny Ear Baby Teether DIY


The nesting instinct has kicked in full throttle as of late, and I've been trying to be as productive as I can on all ends of the spectrum. I've been perusing Etsy lately looking for unique toys for the nursery and I stumbled upon some cloth teething rings. They looked so incredibly simple to make so I thought I'd give it a go. Even though Baby Flynn won't be using these for quite some time, I wanted to get a head start on some simple DIYs because who knows if I'll even be up to thinking about doing them once he's here. These are seriously so easy to do and they take about 5 minutes each (if that!)... and the best part? They're so cheap to make! Since they take such little amounts of fabric I've been tearing through my scraps to make some and even sending them to a few friends who are expecting. I love that I can just toss the fabric part in the wash and scrub the wooden rings with some soap and water in order for them to be good as new again.
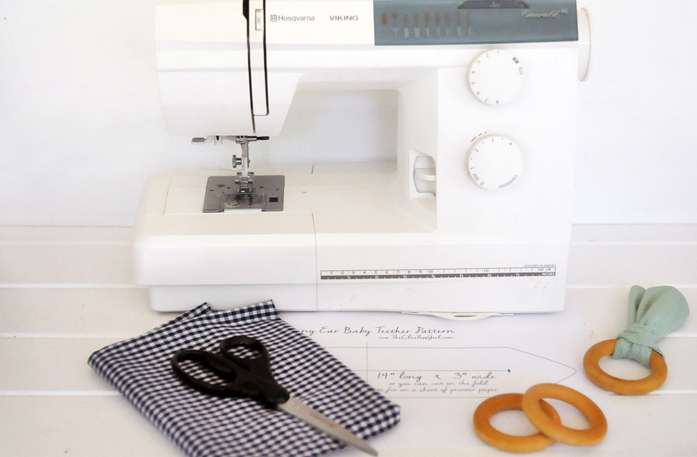
SUPPLIES:

+ Sewing maching
+ 1/4 yd. fabric (organic cotton is great for this!)
+ Wooden teething rings (I bought mine on Etsy)
+ Thread
+ Scissors
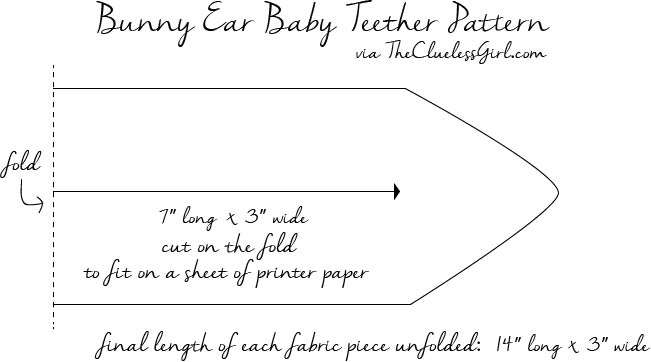
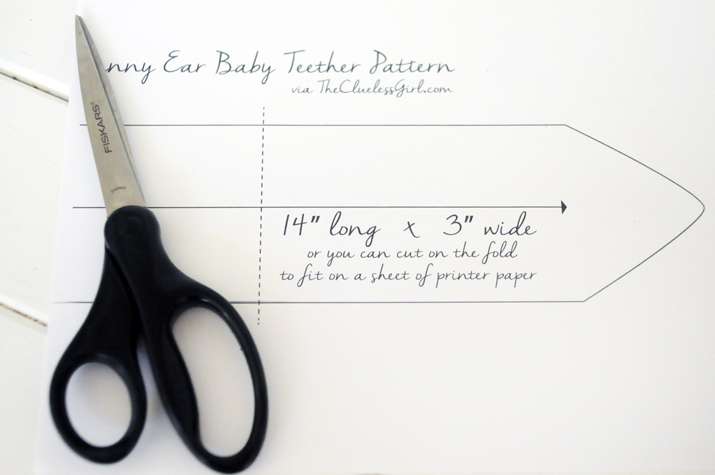
+ This handy template (Optional. I printed mine on 8.5x11" cardstock + cut on the fold)*
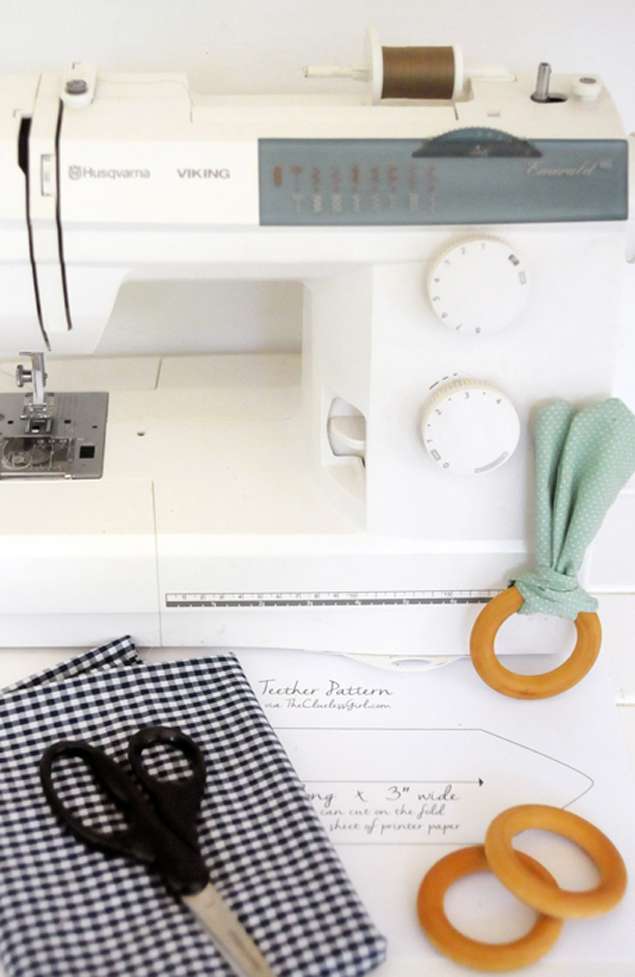

INSTRUCTIONS:

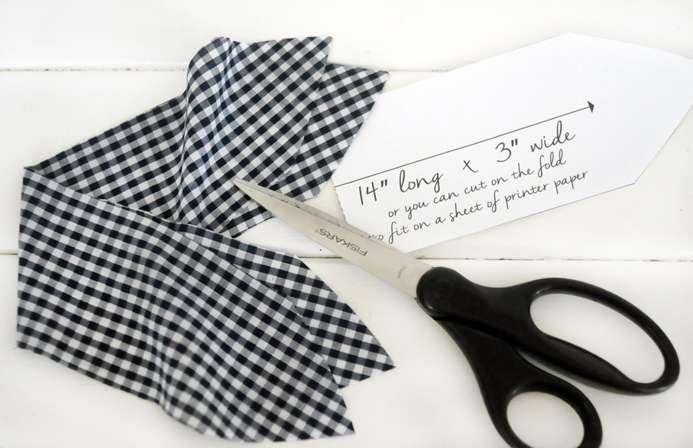
Step One: Since I only had 8.5x11" cardstock available at home, I opted to print my template* at 100%, but "in half" so I could cut on the fold. (Do not scale the image to fit your paper - If the template gives you trouble,  just cut a 14" x 3" rectangle [or 7" x 3" on the fold like I did] and shape the ends however you prefer!) Because my paper was smaller than my template, I just doubled over my fabric and made sure the short end of my pattern piece was on the fold. Since I had really sharp scissors I was actually able to cut both pattern pieces at the same time (Your fabric should be 4 layers thick to do this!) This way I ended up with 2 perfectly uniform 14x3" pieces of cut fabric. Win/win!

Step Two: I placed the wrong sides of the fabric together and started my stitch in the middle of the longest side. I used a 1/4" seam allowance. I sewed all of the sides together, but left a 1" opening in the middle of the longest side so I could turn my fabric piece right side out. Once I had the fabric right side out, I poked the seam so it'd be flat and then I ironed the whole thing. This makes it easier to sew up the little gap. You can choose to do a slip-stitch or you can keep it simple by just running a topstitch around the entire fabric piece.

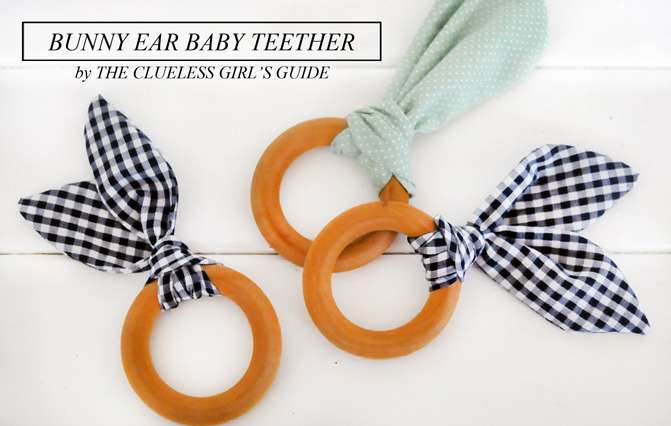
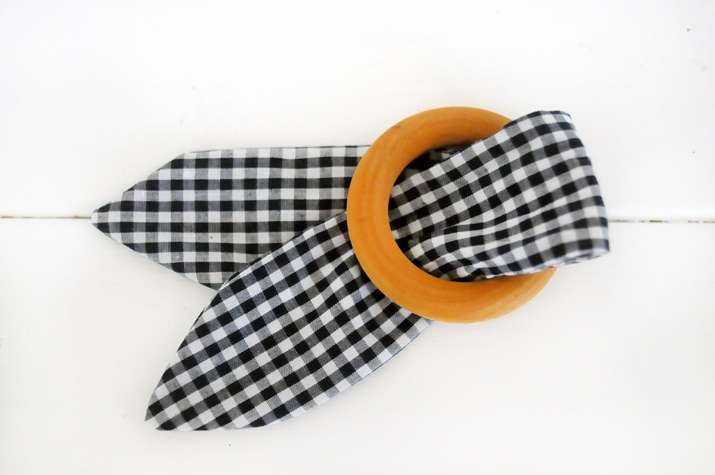
Step Three: After the fabric piece is sewn, fold it in half and slip it through one side of the wooden ring. Then take the "bunny ears" and loop them through the center part of the ring. Once you pull tight your teether will start taking shape. You can iron the bunny ears of your teether one last time to make them nice and crisp looking. Voila! You have a teether! Told you it was simple...

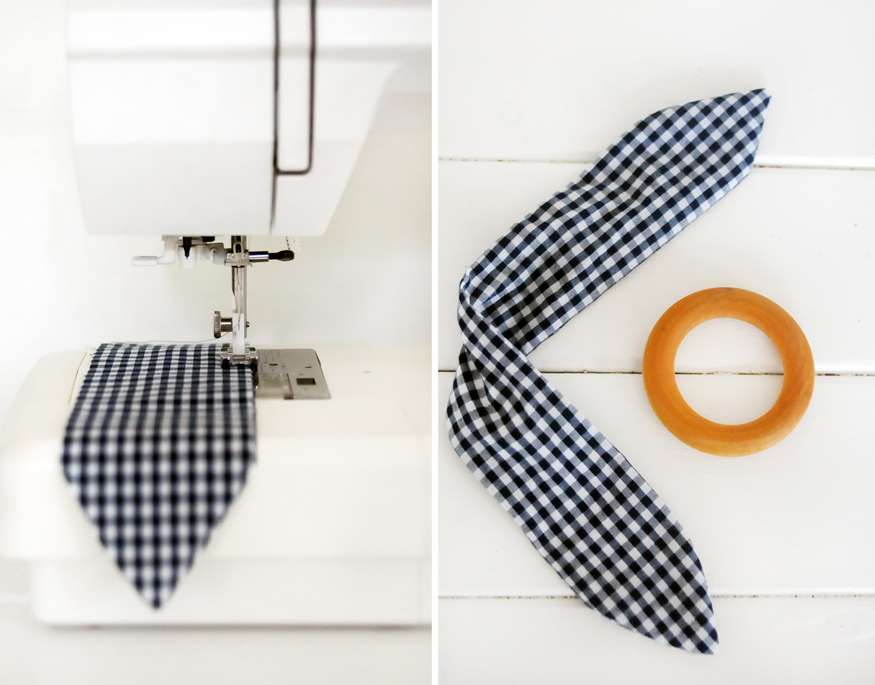

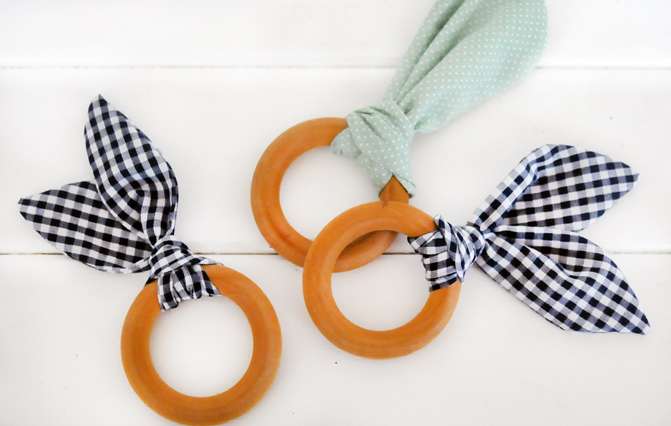
I opted to do a fatter, rounder top on the mint polka dot teether and I love how cute they all look together. I wish I had ordered more wooden rings but now that I know how simple it is to make these, I plan on cranking them out like crazy! They make the perfect little "happy" for babies of friends and family. And since they're so inexpensive and easy to make, I won't be heartbroken when they inevitably get lost.

Let me know if you decide to give it a whirl! I'd love to see what you come up with (and the fabrics you choose!) Happy Tuesday! xo

* I used the full/original template in my photos, but opted to upload a smaller version to cut on the fold so you don't have to mess with your printer's cropping settings! If you have any questions about the template, please leave them below! You can just wing it with a 14" x 3" cut if you prefer!

Wedding Wednesday


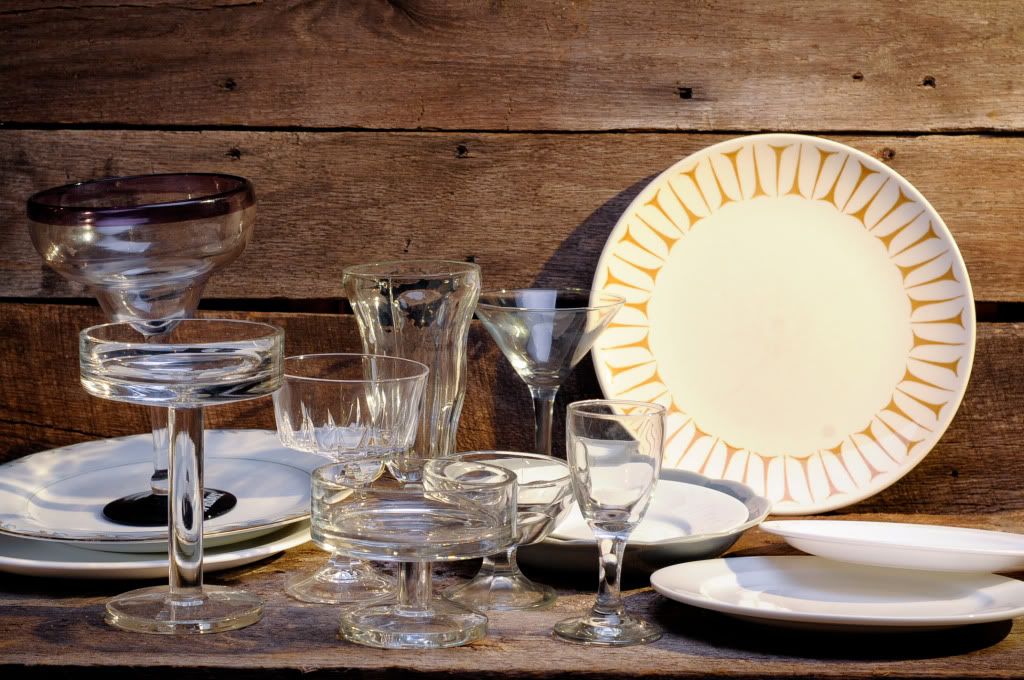
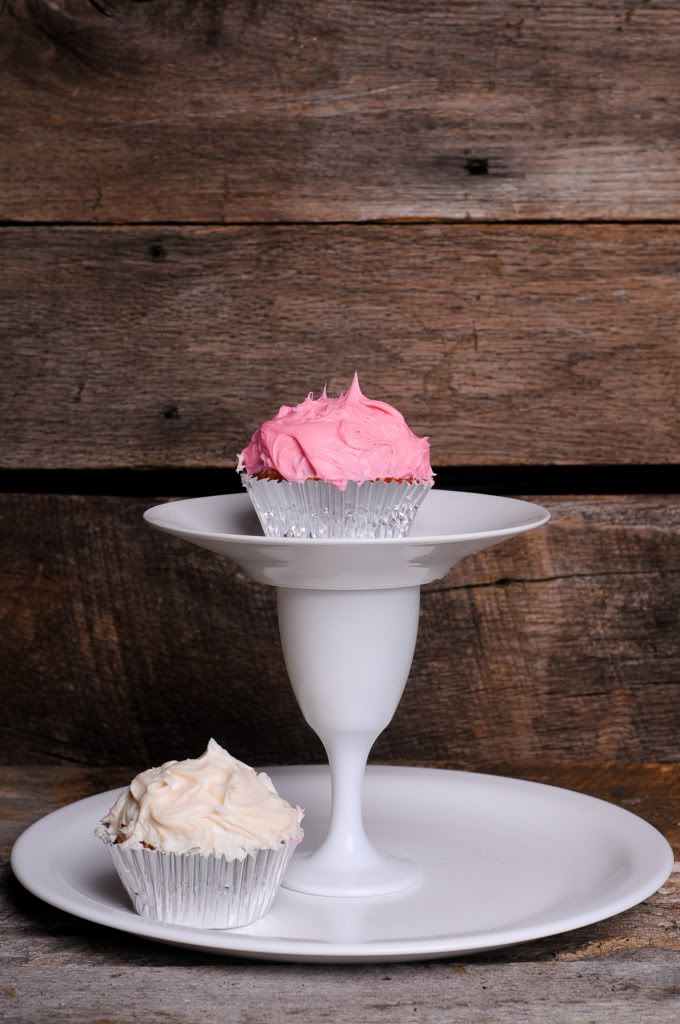
This Wedding Wednesday is another super simple DIY that I've been doing for a few years. I love the look of cute little cake stands at a gathering or party. I'm kind of drawn to "mini" sized things and think they're cute (admit it, you do too!). Maybe you're throwing a fete of your own, a wedding, a birthday party, or a baby shower... either way, these little DIY stands would make a great addition to your spread! It's an easy process so peep below! 

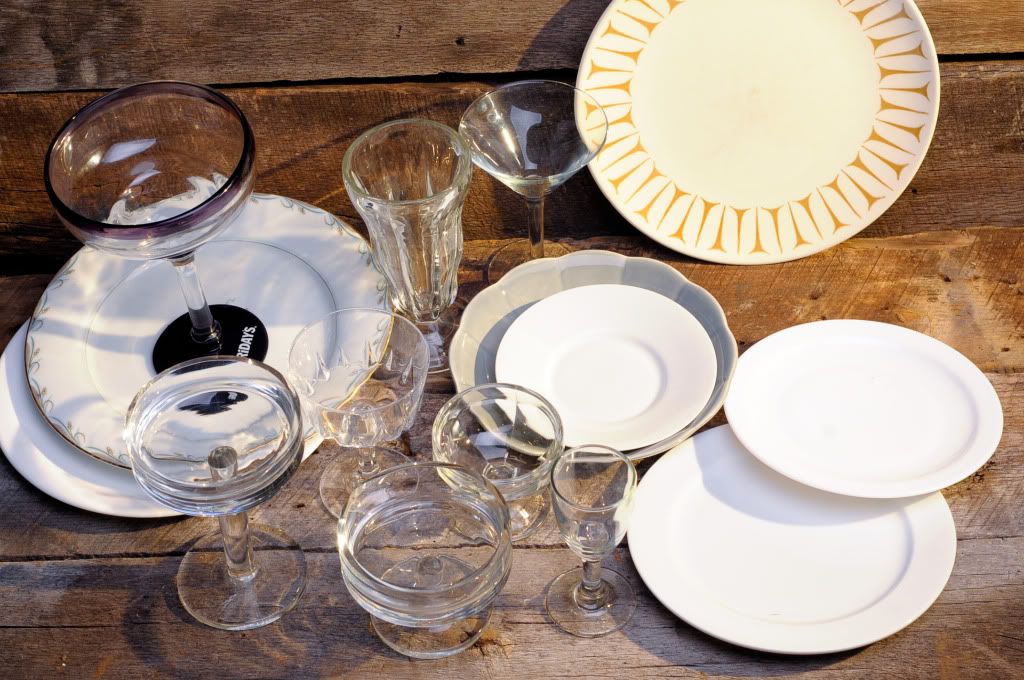
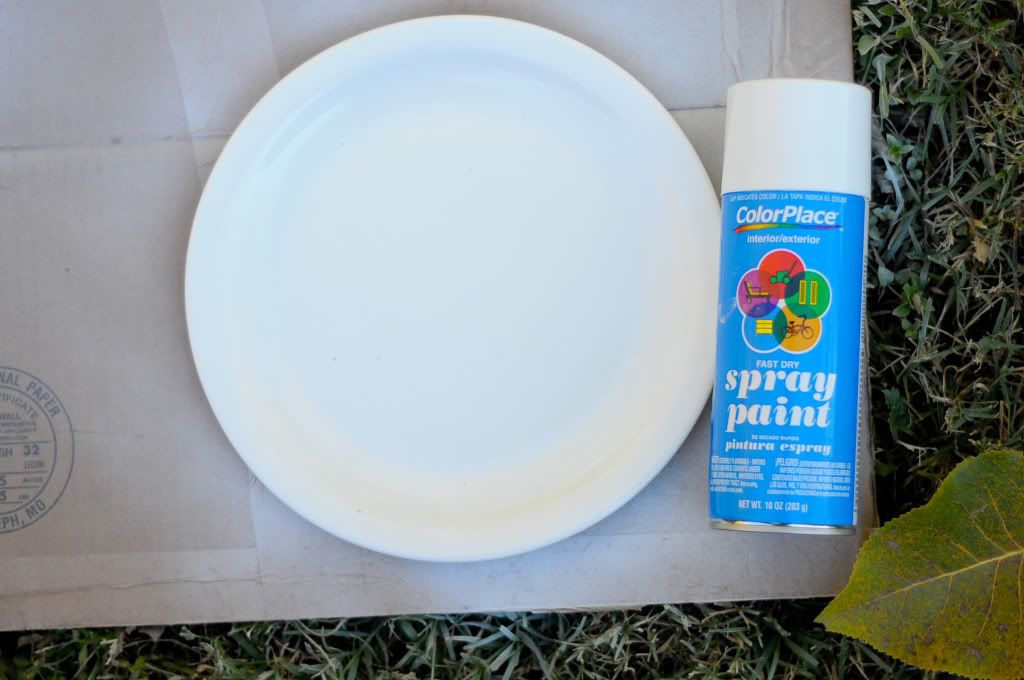
What you'll need: A variety of glassware (with stems for maximum effect!), plates, saucers and/or small bowls, your choice of colored spray paint, an industrial strength epoxy or glue (like E-6000), and a surface which you can spray paint on (cardboard works great!)

We picked up all of our glassware at Goodwill to keep the cost down. This is a really great, inexpensive way to make a statement at any party you might throw!


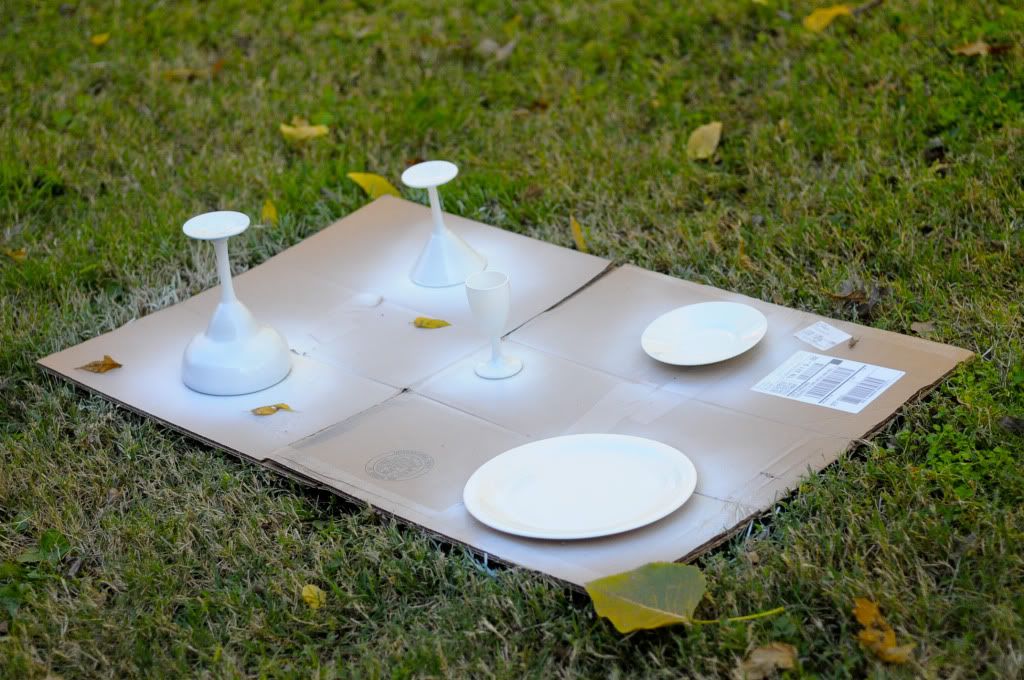
First make sure all of your glassware is clean and there is no left over sticker residue. Wash them really good and dry them thoroughly. Lay them out on your cardboard and give them a couple of light paint coats. Be careful not to put it on too thick or too quick! The paint will start to run and it'll look not so pretty! Let the paint dry and see if it needs another coat. Then flip it over and do the other side!

Once the paint dries, bring the pieces inside and decide what pieces you want to go with each other. Use your industrial strength glue to line the edges of the stemware that will act as the bottom of the stand, and place the plate on top of it. E-6000 says for optimal hold, allow for up to 24 hours to dry. I've found that just giving it 4 or 5 is perfectly fine, especially if you can stack a book or two on top of the plate to help weigh it down! Do this to all of your pieces and let them dry.

Above you will see a few that we made using various glasses such as martini and margarita stemware. You can choose to paint all of the pieces, or you can leave the stem or plate unpainted to show a cool pattern of color. Use the stands to put cookies, brownies, cupcakes, or even tortilla chips on! You can always add additional tiers to make it super fancy or to hold something like your salsa! Yum!

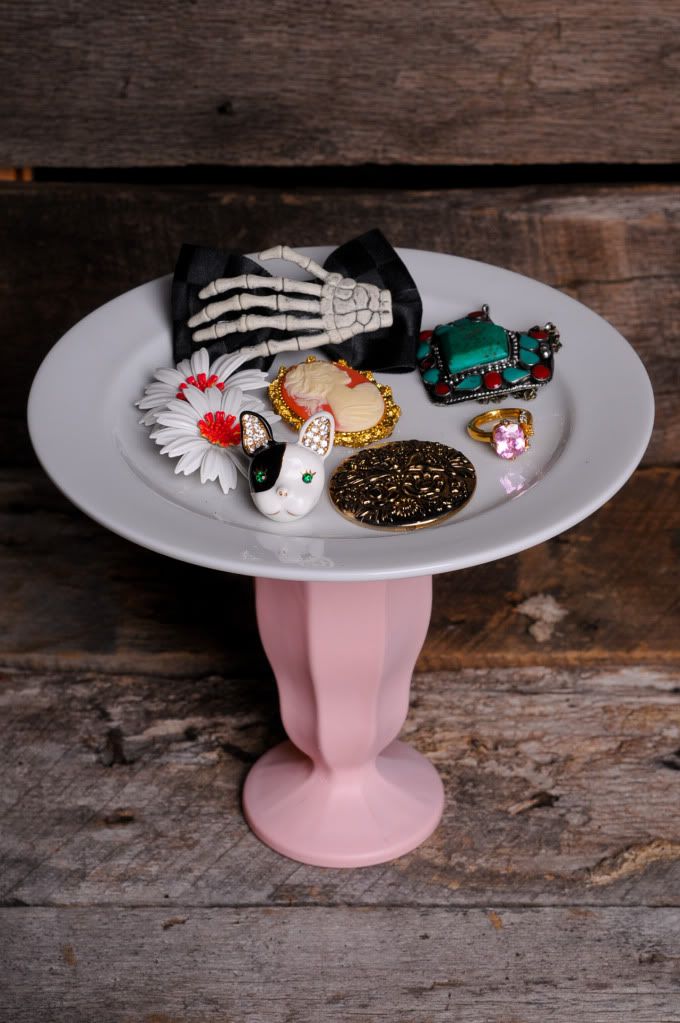
Other practical uses for these stands: Jewelry and makeup display (I have the pink/white one above on my vanity that holds bits and bobs like some of my brooches, plugs, and rings!). Use it in your craft closet to keep track of thimbles, your pincushion, loose buttons or handy trim. You can even set it up at a craft show to hold your business cards so they're easily accessible when people walk by!

The uses for these little things are endless! So many things you can make, and so many ways you can use them! Get creative with your color palette or patterns. Mix and match, use a bowl on a candlestick or a saucer on a margarita glass! The cooler the shapes, the better! In places like your bathroom, vanity, and craft closet, they really help add a bit of storage without taking up a lot of real estate on the bottom. You can still set things underneath and around!

Enjoy! xo

PS: Be sure if the cake stand will have direct contact with your food, to put a piece of wax paper, or a paper doily, underneath to avoid any type of contact with the paint! This isn't an issue with cupcakes since they have liners and the like, but for cookies, brownies or cake, make sure there's a solid layer of something to keep it safe! ;)

DIY: Teacup Bird Feeder

I stumbled upon a crafty venture by Cap Creations the other night while I was up from a serious case of insomnia and she was making a bird feeder out of a teacup and saucer! Too cute! I knew this was something I could easily do myself so I documented the process myself and shot the photos to go along with it. So with that, I'm happy to introduce you to a DIY post!



Teacup Bird Feeder


Materials You'll Need:
  • Teacup
  • Saucer
  • Spoon
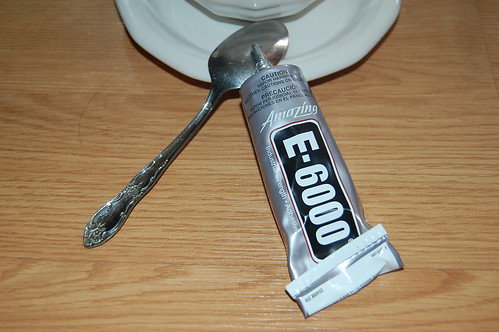
  • E-6000 Adhesive
  • Sandpaper
  • 1/2" Copper Cap
  • 1/2" Copper Pipe (I used 24")
  • Birdseed
  • Water


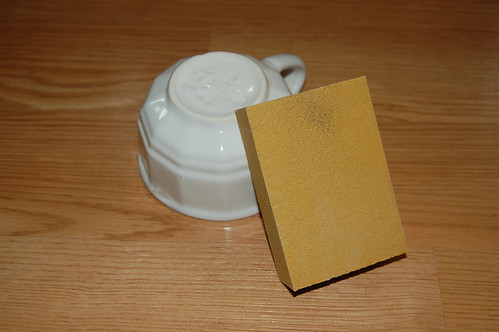
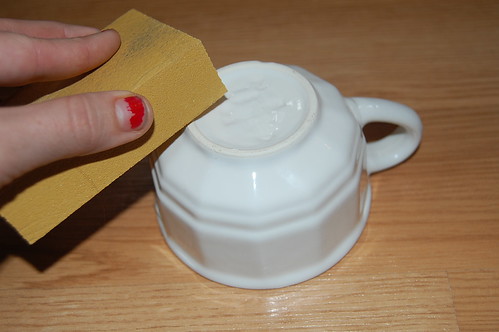
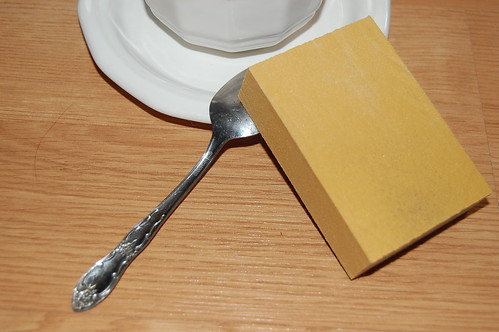
Step One: Sand the bottom rim of the teacup that will sit on the saucer to allow for better adhesion. (I bought my teacup and saucers at Goodwill for $1!)


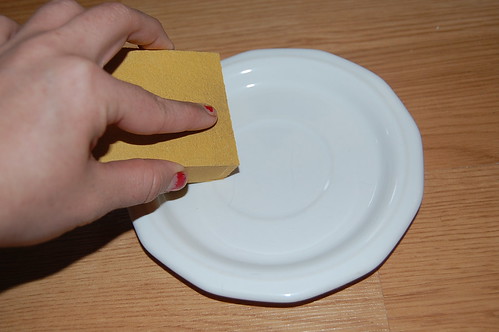
Step Two: Sand the inner part of the saucer where the rim of the teacup will sit. This, too, for better adhesion.


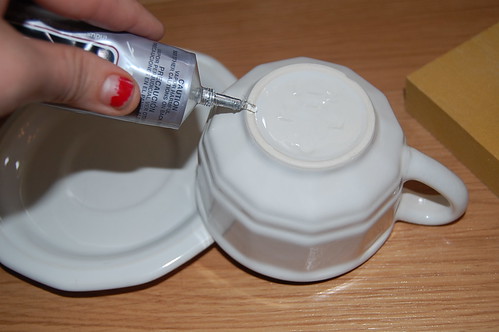
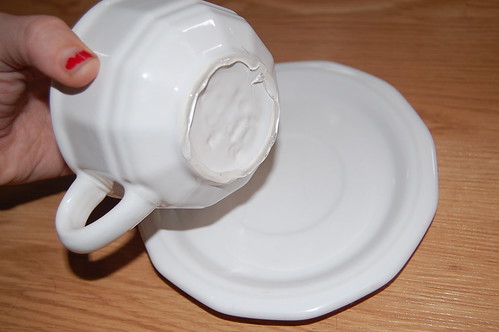
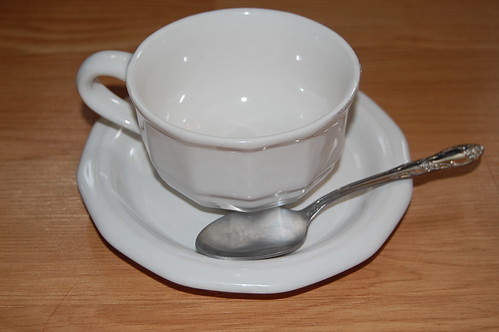
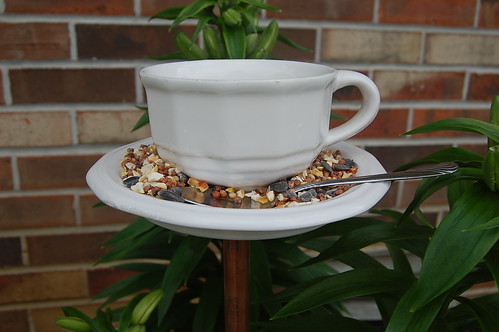
Step Three: Add the adhesive to the bottom rim of the teacup and place the cup on the saucer where you would like it to harden. (Apply pressure to the cup and saucer at this time to ensure a good bond.)


Step Four: Sand the bottom of the spoon that will rest on the saucer.


Step Five: Apply adhesive to the bottom of the spoon and situate on the saucer.


Step Six: The hardest part of all.... WAIT! You must give the adhesive the proper amount of time to dry so that it does not slip once put upright on a post. This can be as long as 24 hours, so check the back of your adhesive for drying times (I gave mine 3 or 4 hours and it was fine).


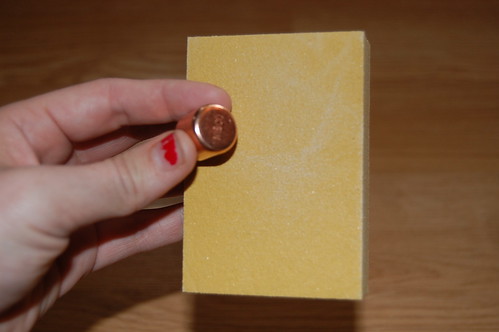
Step Seven: After you ensure that your teacup and saucer are properly bonded, sand the top of the copper cap.


Step Eight: Apply adhesive to the top of the cap and situate in the center bottom of the saucer. and then once more... WAIT! Give it just as much time, if not longer! This bond needs to be very very strong because this bird feeder is so top heavy!


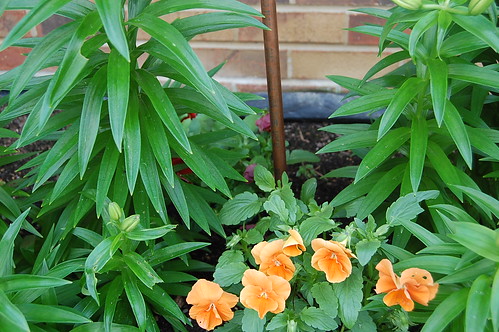
Step Nine: After the cap has dried, insert the copper pipe once turned upright. Take outside and place in a flower bed or potted plant. (The deeper the potting soil, the better. It will help keep the bird feeder from tipping over.)


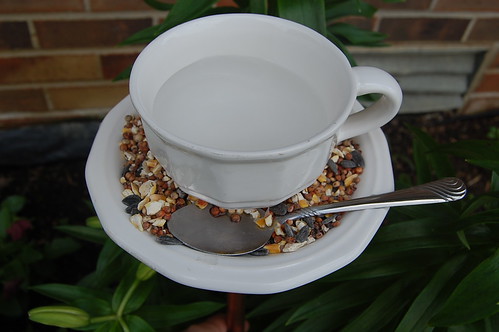
Step Ten: Add water to the teacup and birdseed to the saucer. Then sit back and enjoy! Your little birdie friends will love the little perch of the spoon handle and the yummy bird feed you've provided for them. It doesn't hurt that it looks awesome, too!


* DISCLAIMER: You do NOT have to use copper piping for this project. I simply did it because it looks nice! (It's very expensive, so if you DO decide to use it, be sure not to use it in places that are easily accesible by greedy hands! People steal copper on the daily because they can get a lot of money for it!)

Hope you enjoyed my little DIY post! Let me know if you decide to try it!

xoxo