
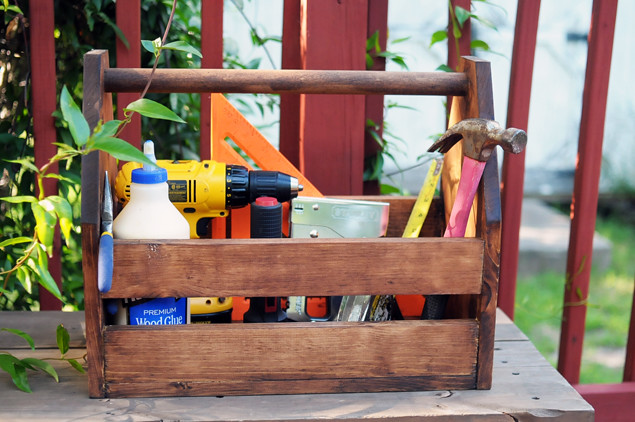
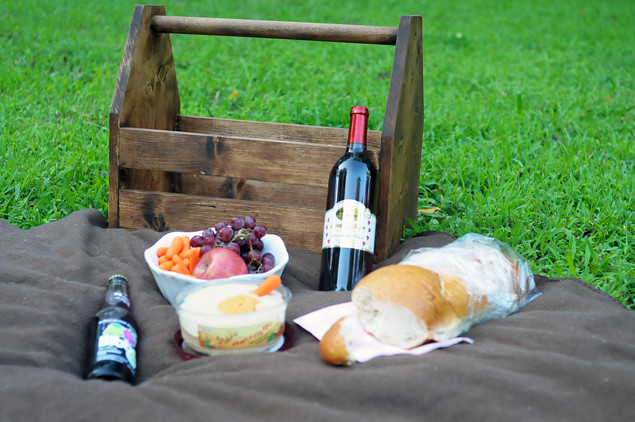
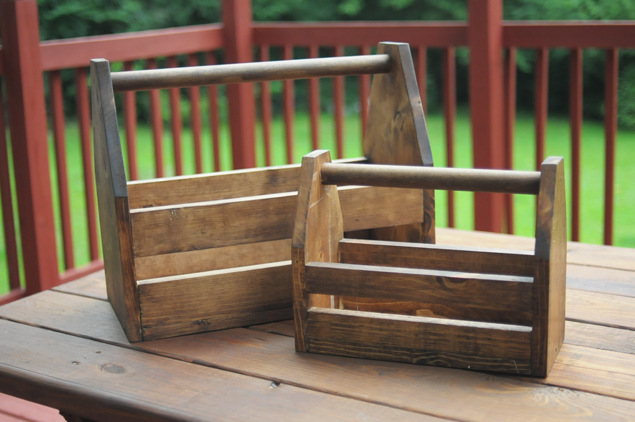
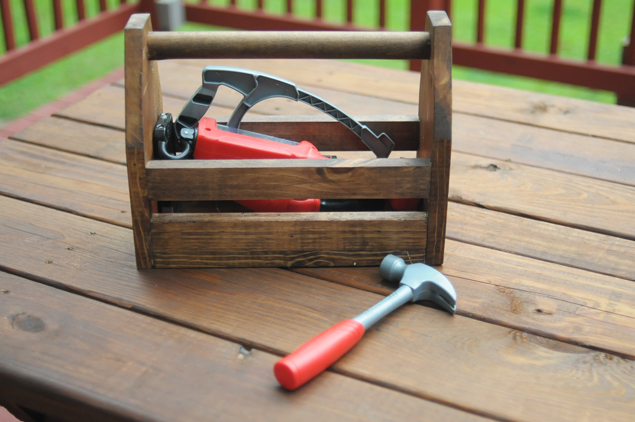
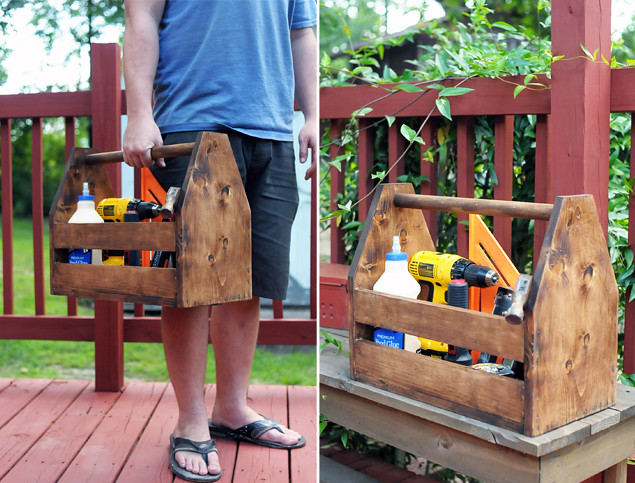
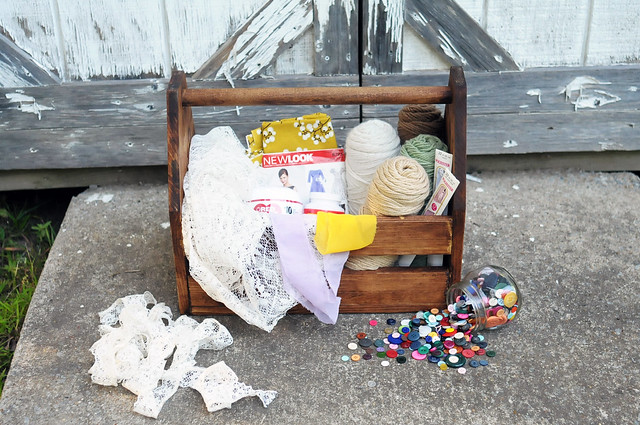
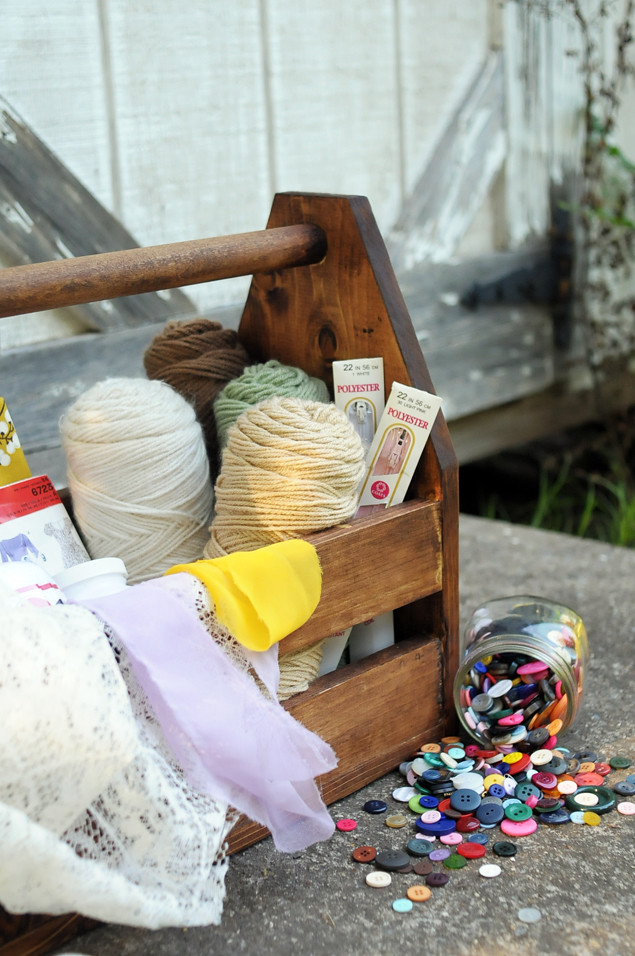
Mike has been wanting to build himself a handy little wooden toolbox for some time now, but we finally got around to it a few weeks ago. The best part? The only thing we had to buy for this project was the dowel rod! We had a lot of scrap wood as usual, so we were able to cut all of the pieces out of our overstock. When we realized how easy it was to make one of these little guys, Mike popped outside for about 5 minutes and then came back in with one for Toby, too! Aren't they so cute when placed side by side? If a toolbox isn't your cup of tea, don't worry! You can also use this wooden box for: craft storage and transport, picnics, craft shows, book or vinyl storage, etc. There are so many options for what this little box can do. Aside from the staining the finished piece, construction should average about 15 or 20 minutes! It's a super fast DIY and you don't need any fancy equipment either.
Material List:
One six foot 1x10
One six foot 1x3
One 48 inch 1 1/8" dowel rod
1 1/4" (1.25") nails
Two 2 1/2" screws
Wood Glue
Cut List:
Two 15" 1x10s
One 17" 1x10
Four 17" 1x3s
One 17" dowel rod

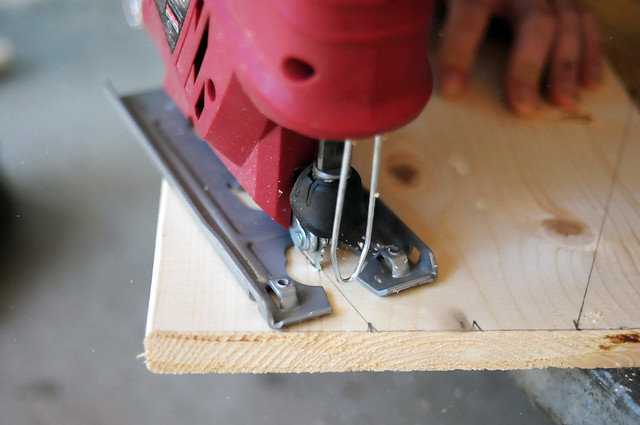
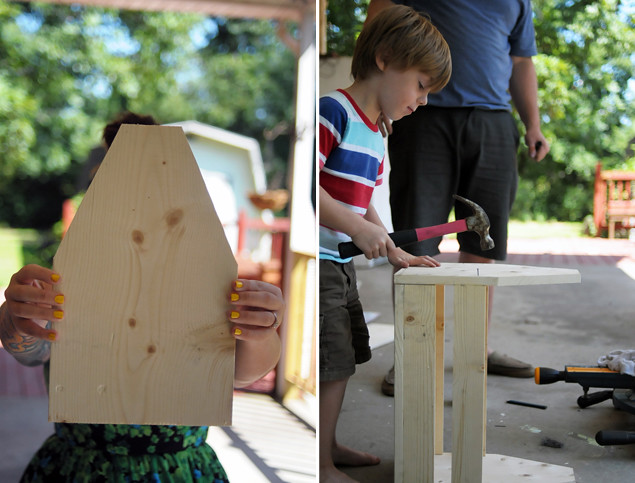
ONE: After you have all of the pieces cut, the first thing you need to do is shape your two end pieces. Take one of your 15" 1x10s and start marking off for your cuts. For our design we decided we wanted a 3" top. We also decided, based on how we wanted our side slats to be spaced, that the cut would start 8" from the bottom.
For the top you will find the center of your board and put a mark 1 1/2" (1.5") out on each side. Now you should have a mark on each side 8" from the bottom and two marks for your 3" top. Take a straight edge and draw a line between those marks on each side. Now cut both sides. I used a jig saw, but you could just as easily use a circular saw or even a hand saw if thats all you have.
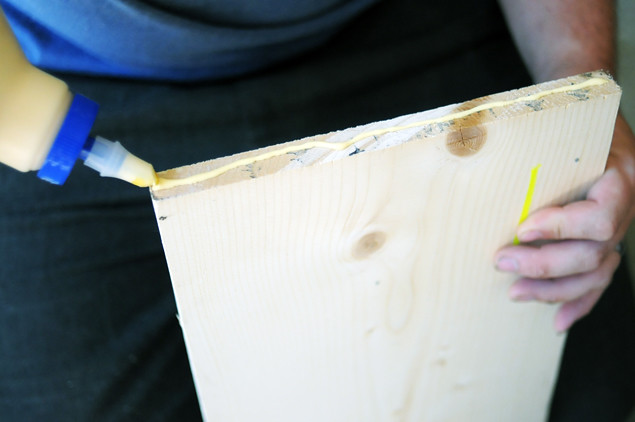

TWO: For each of your joints you'll want to use a little wood glue, so just run a small bead like this before you nail it in place. Make sure to wipe off excess glue that seeps out because it will not accept stain later on. (A good rule of thumb for this project is to put wood glue on every board that touches another board. You'll then nail those meetings in place.)
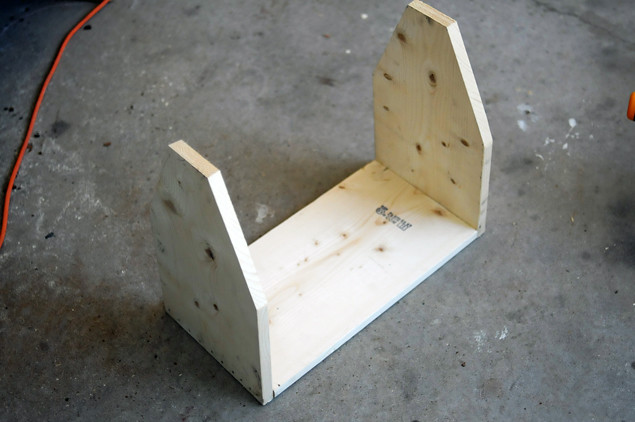
THREE: Start by nailing your two side pieces to your bottom piece (17" 1x10)
FOUR: Next put in your first row of side slats (17" 1x3). Nail them in from both the sides and the bottom.
FIVE: For the next row of slats we decided we wanted the bottom of the top slat to be placed 1 1/2" (1.5") above the top of the bottom slat. So place a mark on each side, line up your board and nail it in place. It helps to get your nail started then line up your board and drive it the rest of the way in.

SIX: Now it's time to attach the handle. We wanted to use a couple of screws on the handle since thats what will be holding up all the weight. We put the top of the handle 1" down from the top. Just make a mark 1" down centered from the top of each side so that you can line up your handle while you screw it in place.

Now you have a (basically) finished tool box.
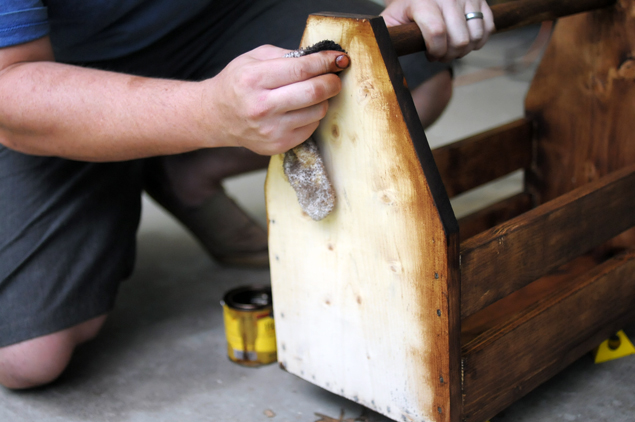
Wait for your glue to dry and then you can sand everything down to get it ready for stain or paint. We used Minwax stain in Red Oak for ours, but any paint or stain would be fine.
SEVEN: We applied our stain by just wiping it on with an old rag, then we added a finishing wax to shine it up a bit. This is totally optional, but we liked the final result. Now your tool box is ready for any and every occasion! Load it up with your favorite tools, pack it up for a craft night with your girlfriends, or fill it full of yummy bites for a family picnic. You'll be amazed at how handy this little toolbox can be! (You can even finagle it to be a planter or use it for a craft show set up!)
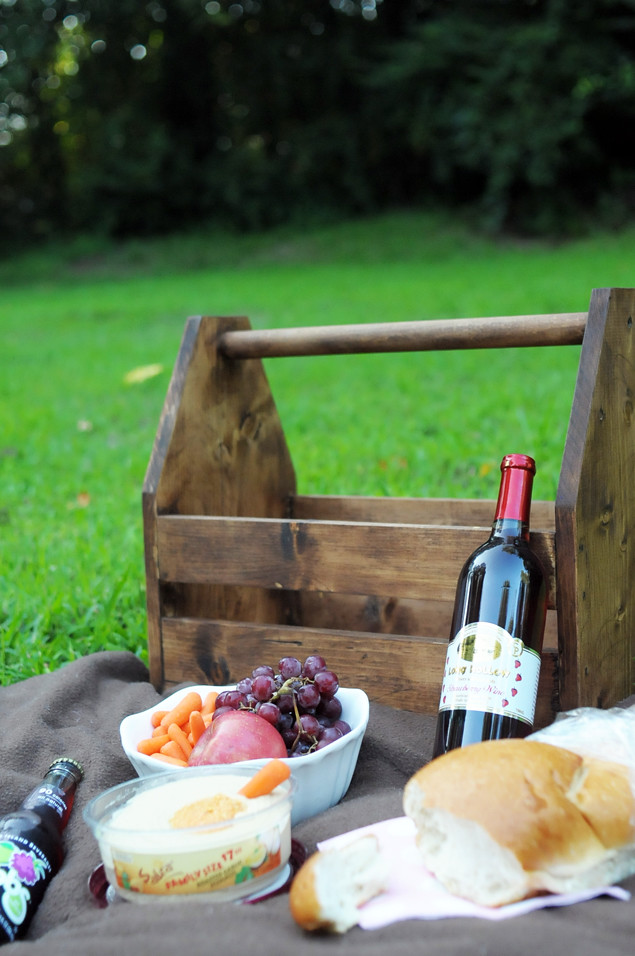
There are so many ways to use this handy little toolbox! I even loaded it up full of pears from our tree in the backyard and took them to some friends I was meeting for dinner. It was a much more stylish way of carrying 10+ pounds of fruit, ya know? I didn't to fiddle with plastic bags or anything like that. Plus I can't get over how adorable Toby's little toolbox is! You can make the sides any size or shape you want as long as the edges where the side slats meet are flat/straight. I'm already dreaming up a few different designs! Maybe I'll make one or two of them and share the finished product on the blog :)
Let me know if you end up making one! I promise you won't be disappointed. xo


Love this so much! It looks so easy. I guess now I just need some tools haha.
ReplyDeleteCarlee
Little Sloth
looks so good!
ReplyDeleteWhat a great project! My boyfriend and I have been sloooowly collecting tools since we moved in together, but they just kind of lay around in the closet. This would be awesome to store them! Thanks for sharing!
ReplyDeleteElyse @ Cuddly as a Cactus
Oh god that tiny Toby-sized toolbox, I am dying.
ReplyDeleteThis would be great for a housewarming/dormwarming gift. I'd just have to make the box and fill it with goodies!
ReplyDeleteThis is so interesting, I would never be able to think of something like this :)
ReplyDeletewondorla.blogspot.co.uk/
this box is so cute!! sigh, i wish i was handy :)
ReplyDeleteYou guys are too cute.
ReplyDeleteSo much talent in your family. Is there anything y'all can't do if you put your minds to it?! :)
ReplyDeleteAdorable! This reminds me of something similar my grandfather used to put his tools in as well as a magazine holder he made for their house (he was a carpenter).
ReplyDeleteYou guys are so crafty and adorable!
ReplyDeleteWondering about the dimensions of the smaller box that is pictured?
ReplyDeleteWondering about the dimensions of the smaller box that is pictured?
ReplyDelete