Showing posts with label home decor. Show all posts

// Autumn Front Porch Makeover

Michaels Makers Autumn Porch Makeover
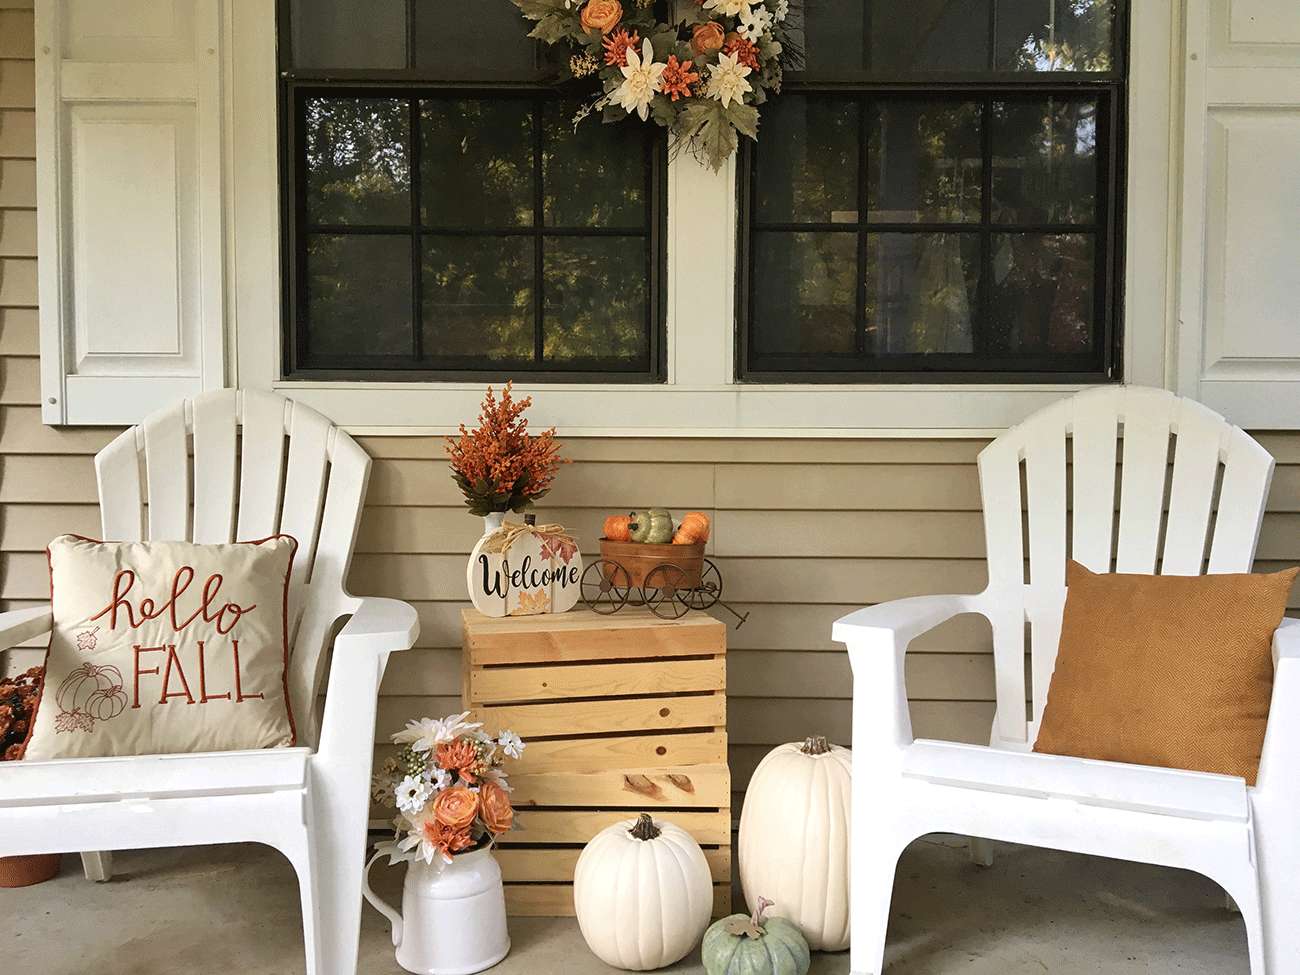
For September's Michaels Makers challenge half of us were tasked with doing something fun with the variety of craft pumpkins found in Michaels. There are so many awesome projects out there - from painting them, to carving, bedazzling, and wrapping them in fabric. I kept mine super simple - using them as decor, as is. I love how they look real, but you don't have to worry about them getting all rotten and gross after a while. I can save these year after year and do all sorts of fun and different things with them if I'm feeling it. The traditional orange ones are great, but I really love the cream pumpkins personally. And I can't forget that little green guy! I thought this challenge would be the perfect time to give my front porch a little refresh. 
Michaels Makers Autumn Porch Makeover
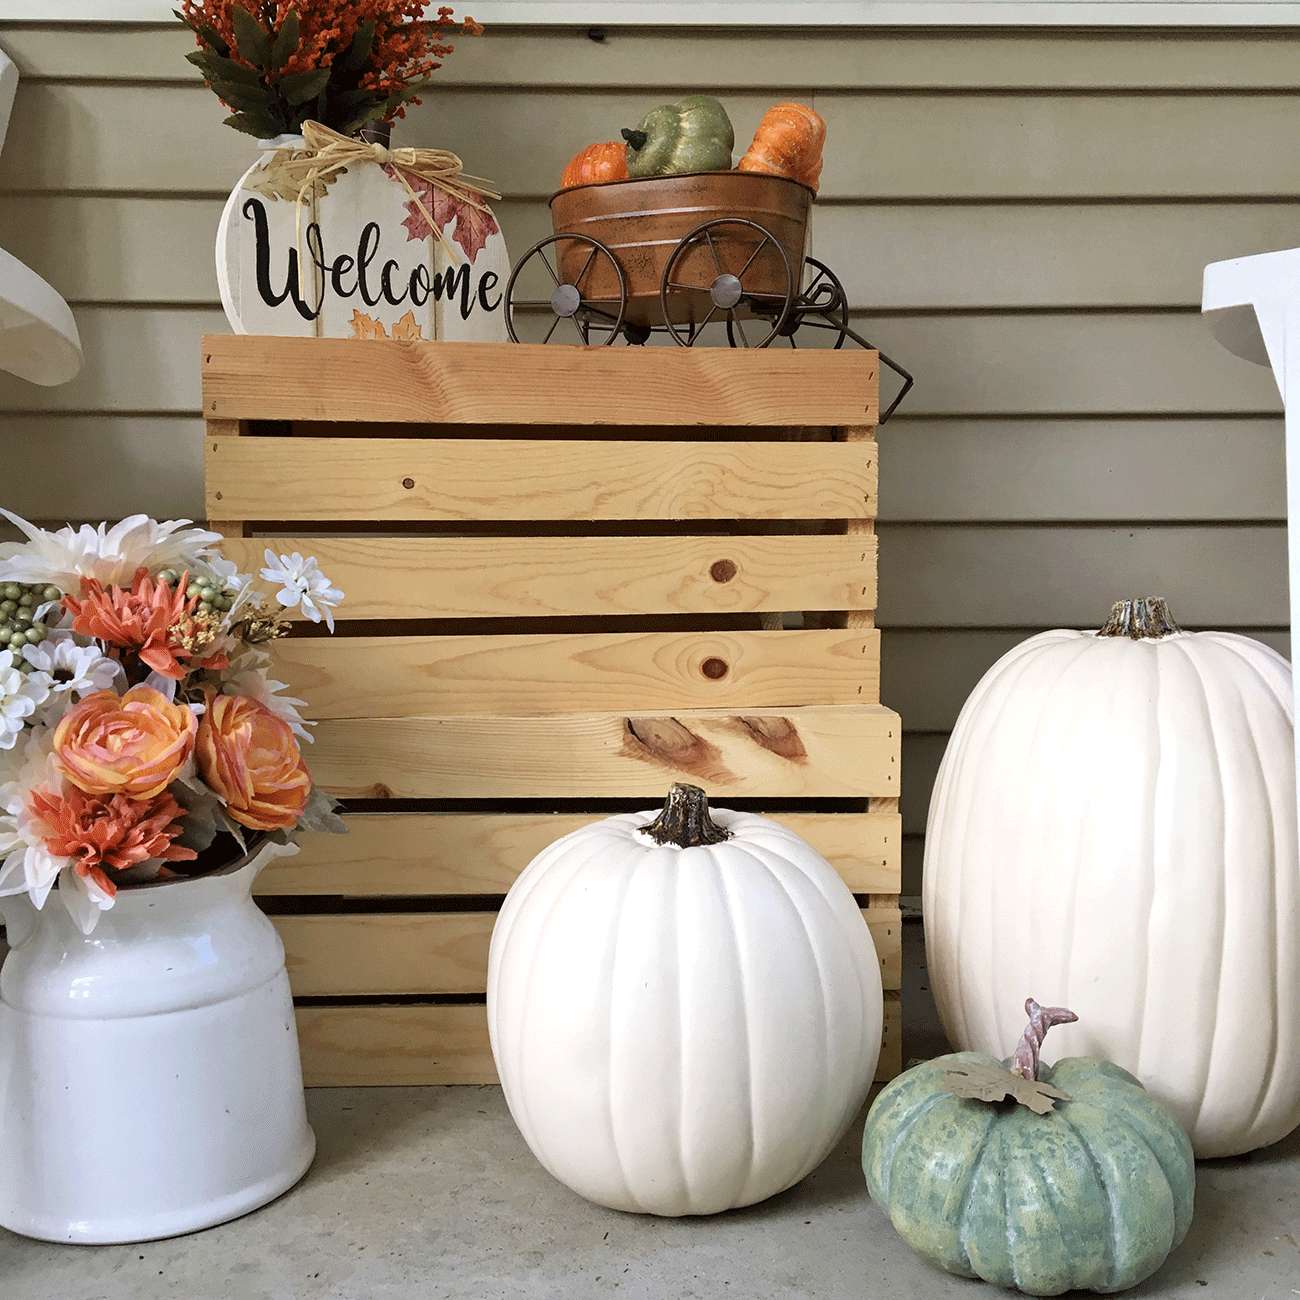
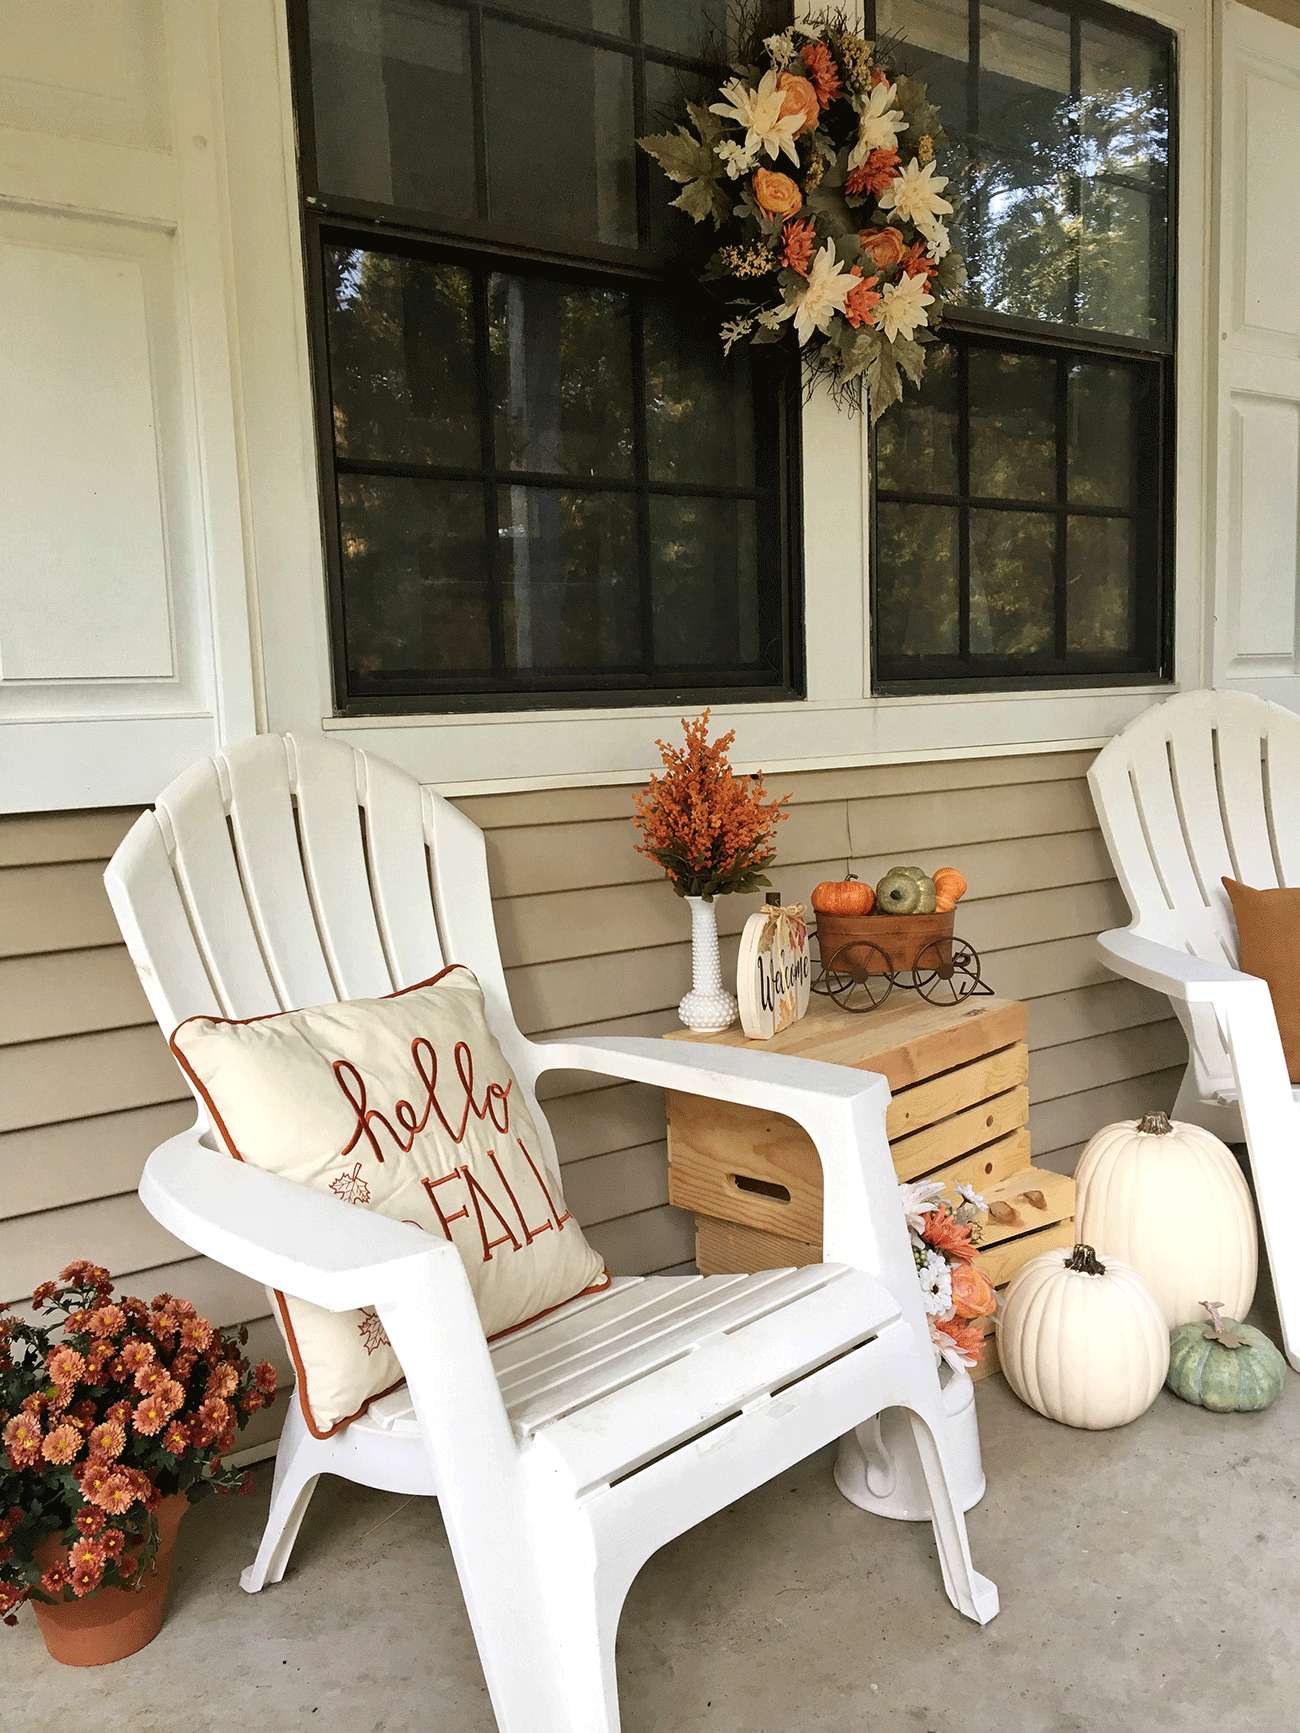
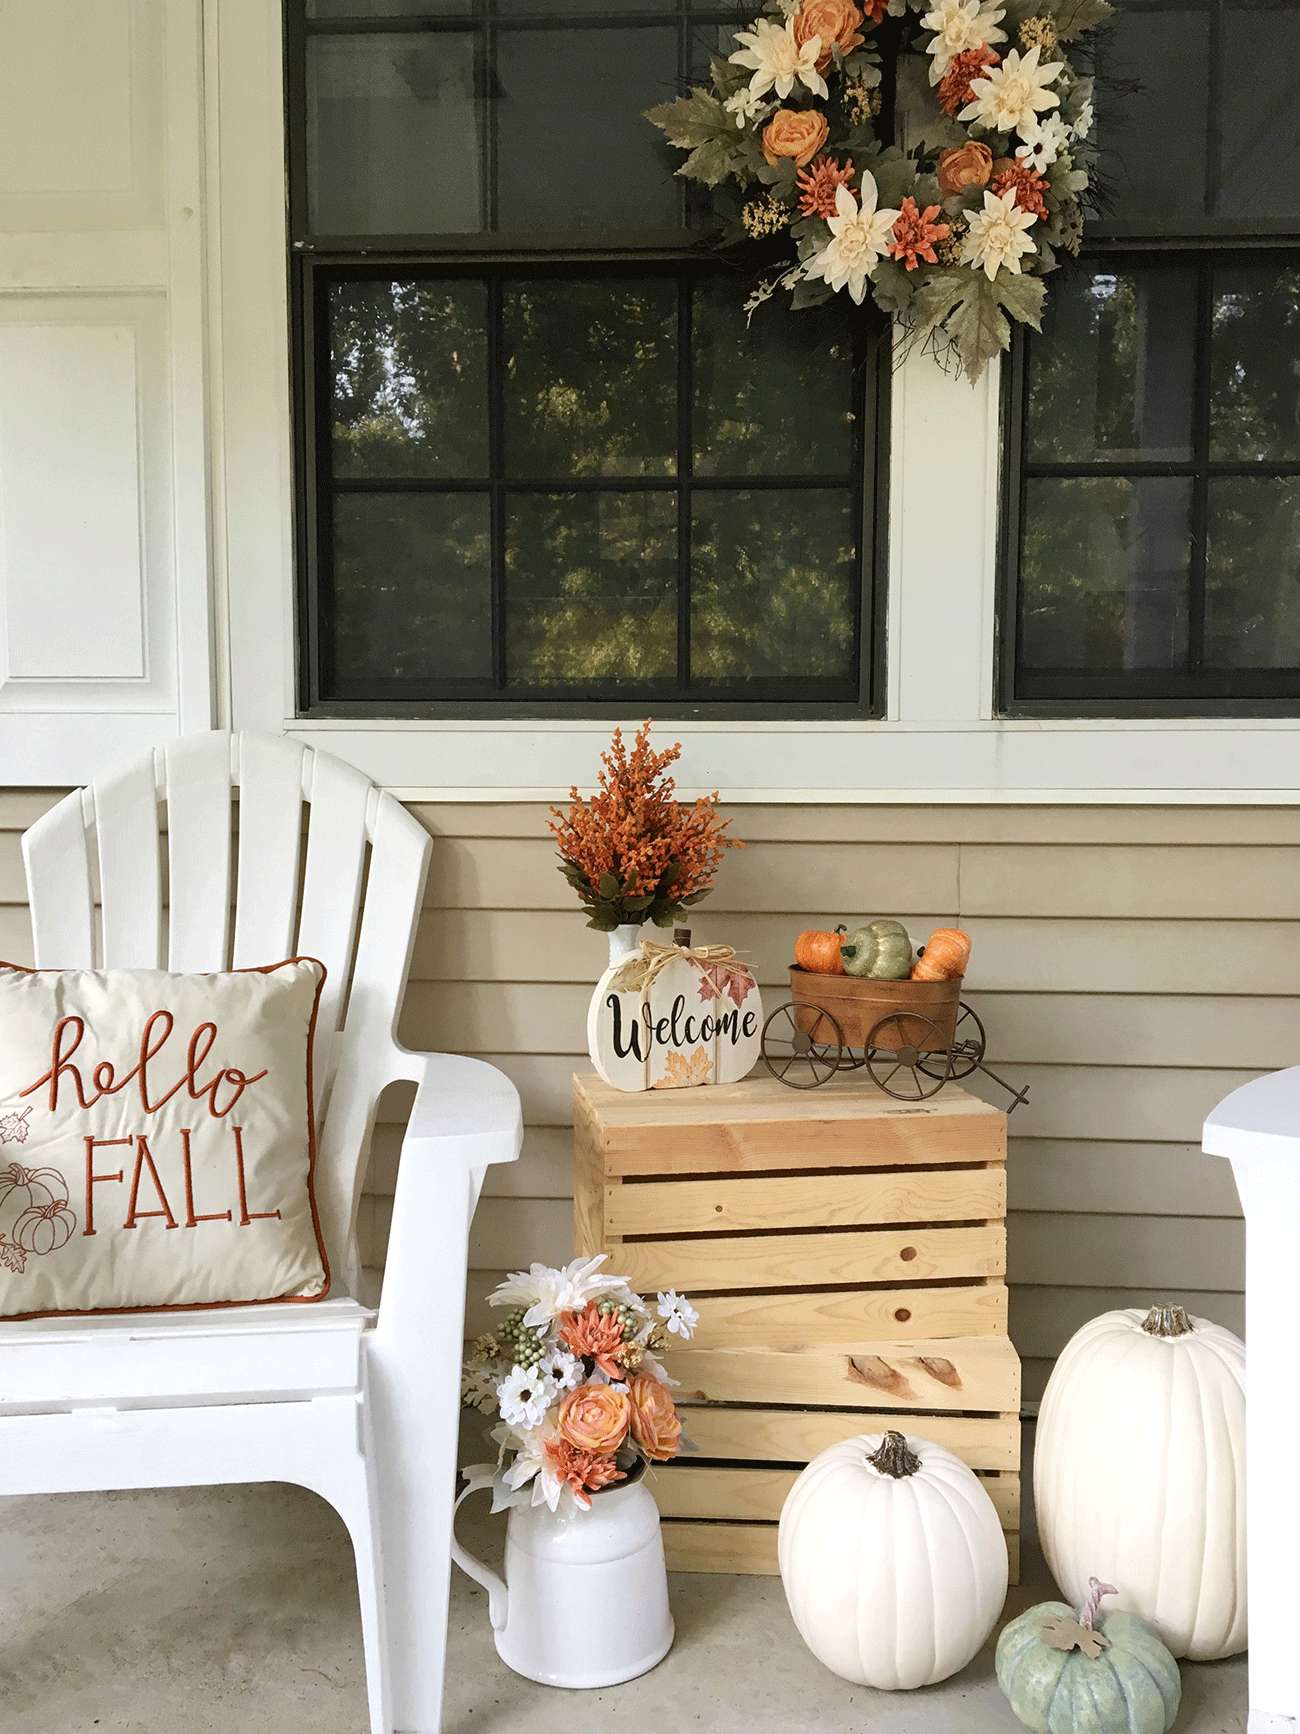
I scored these white (plastic) adirondack chairs on end-of-summer clearance ($10!) to replace the wicker set I had for a while. Enid liked to use my wicker chairs as a scratching post, so they were totally tattered and scraggly. While these plastic alternatives aren't really anything special, they can withstand my big ol 60+ pound bulldog lounging in them and I appreciate that because it's literally her favorite thing to do - to just lay on the front porch, in her chair, nipping at any bees that fly near her. It's precious really. They don't really have that "homey" feeling though, so I tossed a couple throw pillows on them to spruce 'em up. I used two of the wooden crates from Michaels to create a little side table of sorts, and I decorated with this adorable mini wagon (!!!), mini pumpkins, some Autumn florals, and a little Welcome pumpkin, too. I snagged this wreath for half-off and had it on my front door at first, but I really love the way it looks centered on my front windows. I feel like it brings it all together. 
Michaels Makers Autumn Porch Makeover
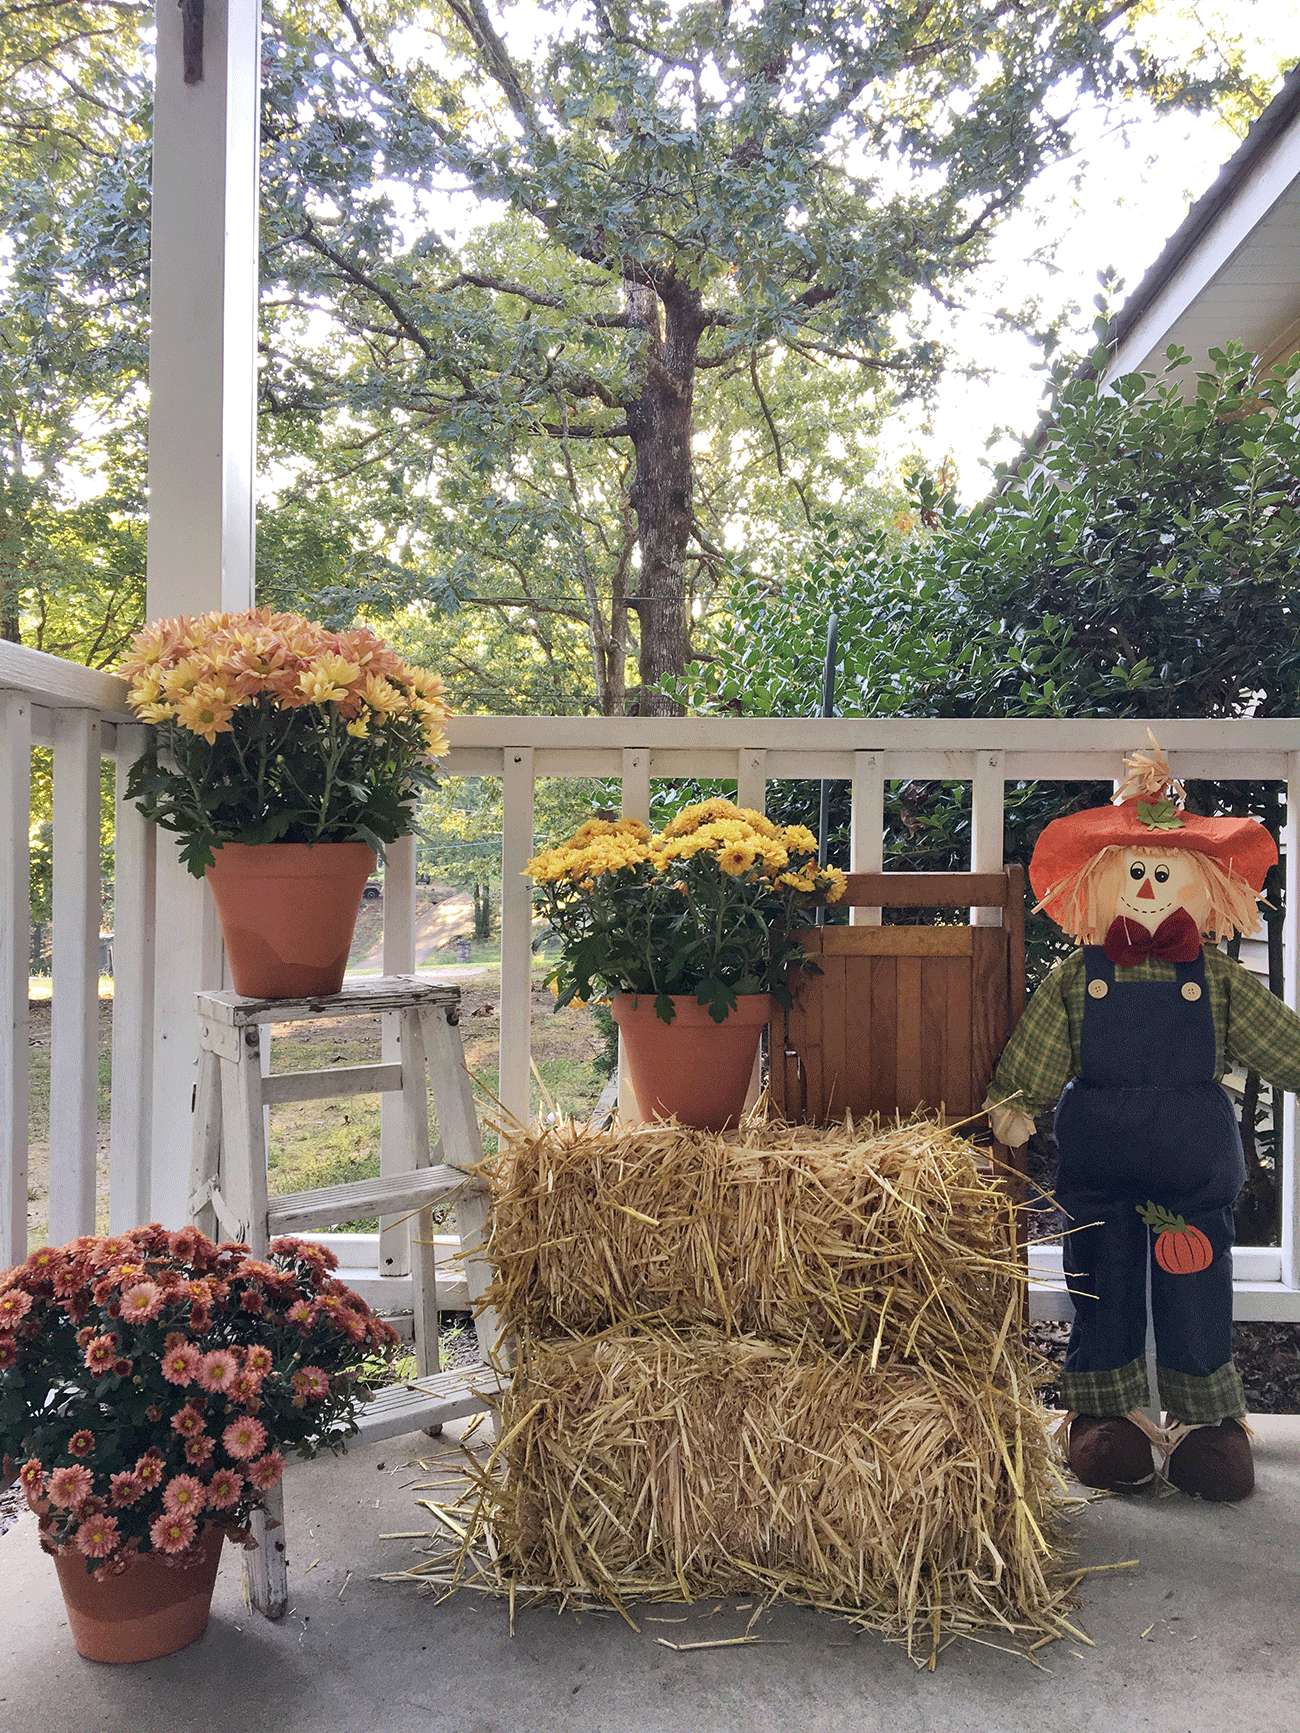
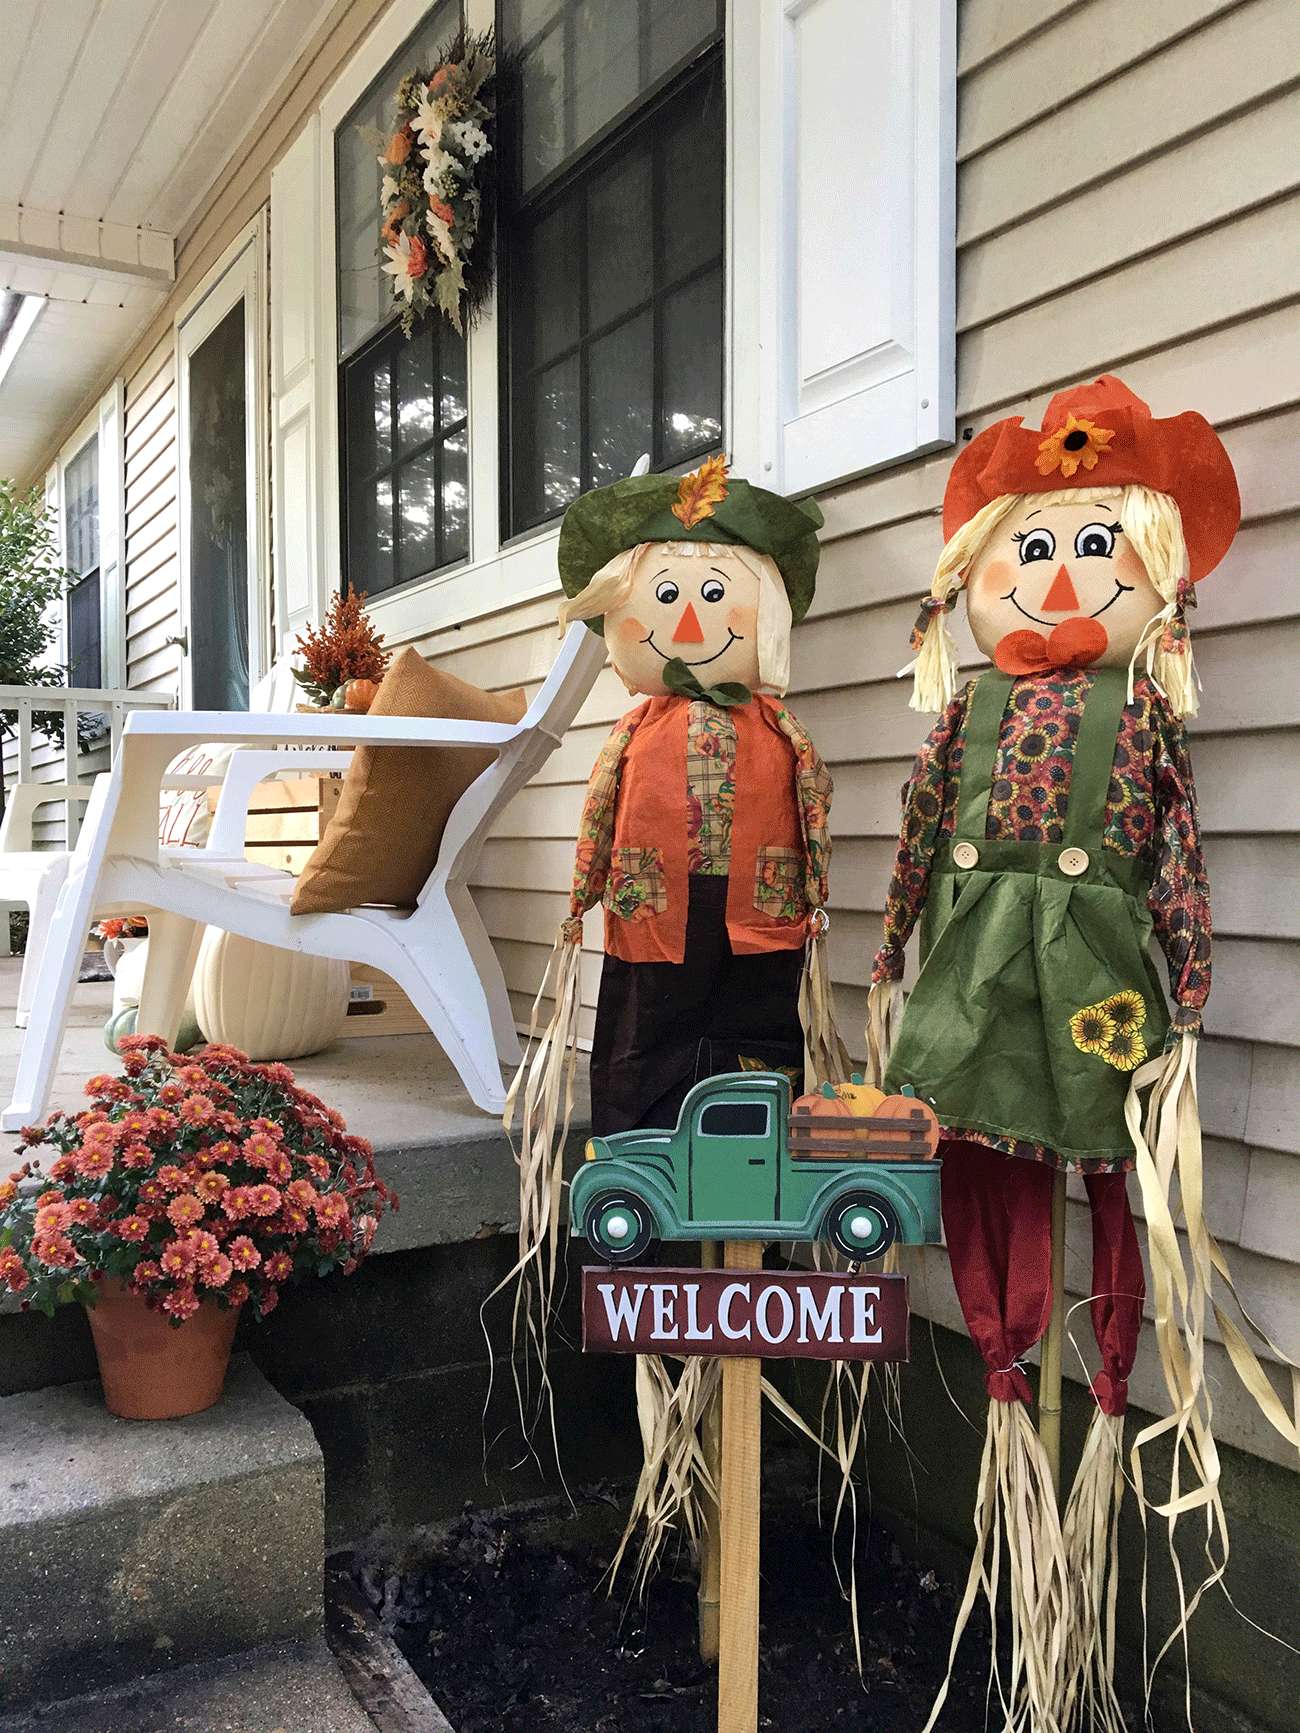
The other side of my front porch has an old rickety step ladder that I used to stagger my mums, and two straw bales from Michaels, too. And the cutest little scarecrow guy! Linden gets such a hoot out of this scarecrow. The step-side of my porch has a couple more mums (I LOVE FLOWERS!) and two more scarecrows ($6 each!), along with a darling old pickup truck Welcome sign. Two welcome signs aren't too many, right? I just want to be friendly here! haha It makes me so happy to come home and see the festive state of my porch, and it's even more enjoyable when I get to sit out there and drink my morning coffee while Linden rides his bike or jeep. There's just a sense of warmth and happiness that comes along with seasonal decorating, I think. Of course Toby is already begging to decorate for Halloween, so we'll see how long these little Autumn ditties last! 
Michaels Makers Autumn Porch Makeover
We don't do a lot of holiday decorating really, mainly because we had always moved every year, but now we've been in this house for almost 5 years (!!!) so I feel a little more comfortable acquiring seasonal pieces that need to be put away and stored for the remainder of the year. We've never decorated for Halloween before, so I think that will be a fun challenge for us all to tackle together. I might pick up a few more of these craft pumpkins from Michaels and then paint them for Halloween... Now I have about seventeen fun ideas running through my head. One at a time, KB!

Whether you want to jazz up a pumpkin with crystals and jewels, paint and glitter, scary faces or gilded foil, Michaels has pretty much any size and shape you might need. They even have teal pumpkins in case you want to showcase that you have non-food treats available - a great way to be inclusive to those children with special dietary restrictions. Halloween can be a tricky time for families managing food allergies, so if you hand out treats on October 31st, consider grabbing a bag of party favors, or whipping up some awesome slime cups, to give out! Check out more about The Teal Pumpkin Project if you haven't heard of it! And be sure to swing by Michaels - online or in store - to check out some of the other great projects.

xo KB

// Picking A Dining Table + Chairs


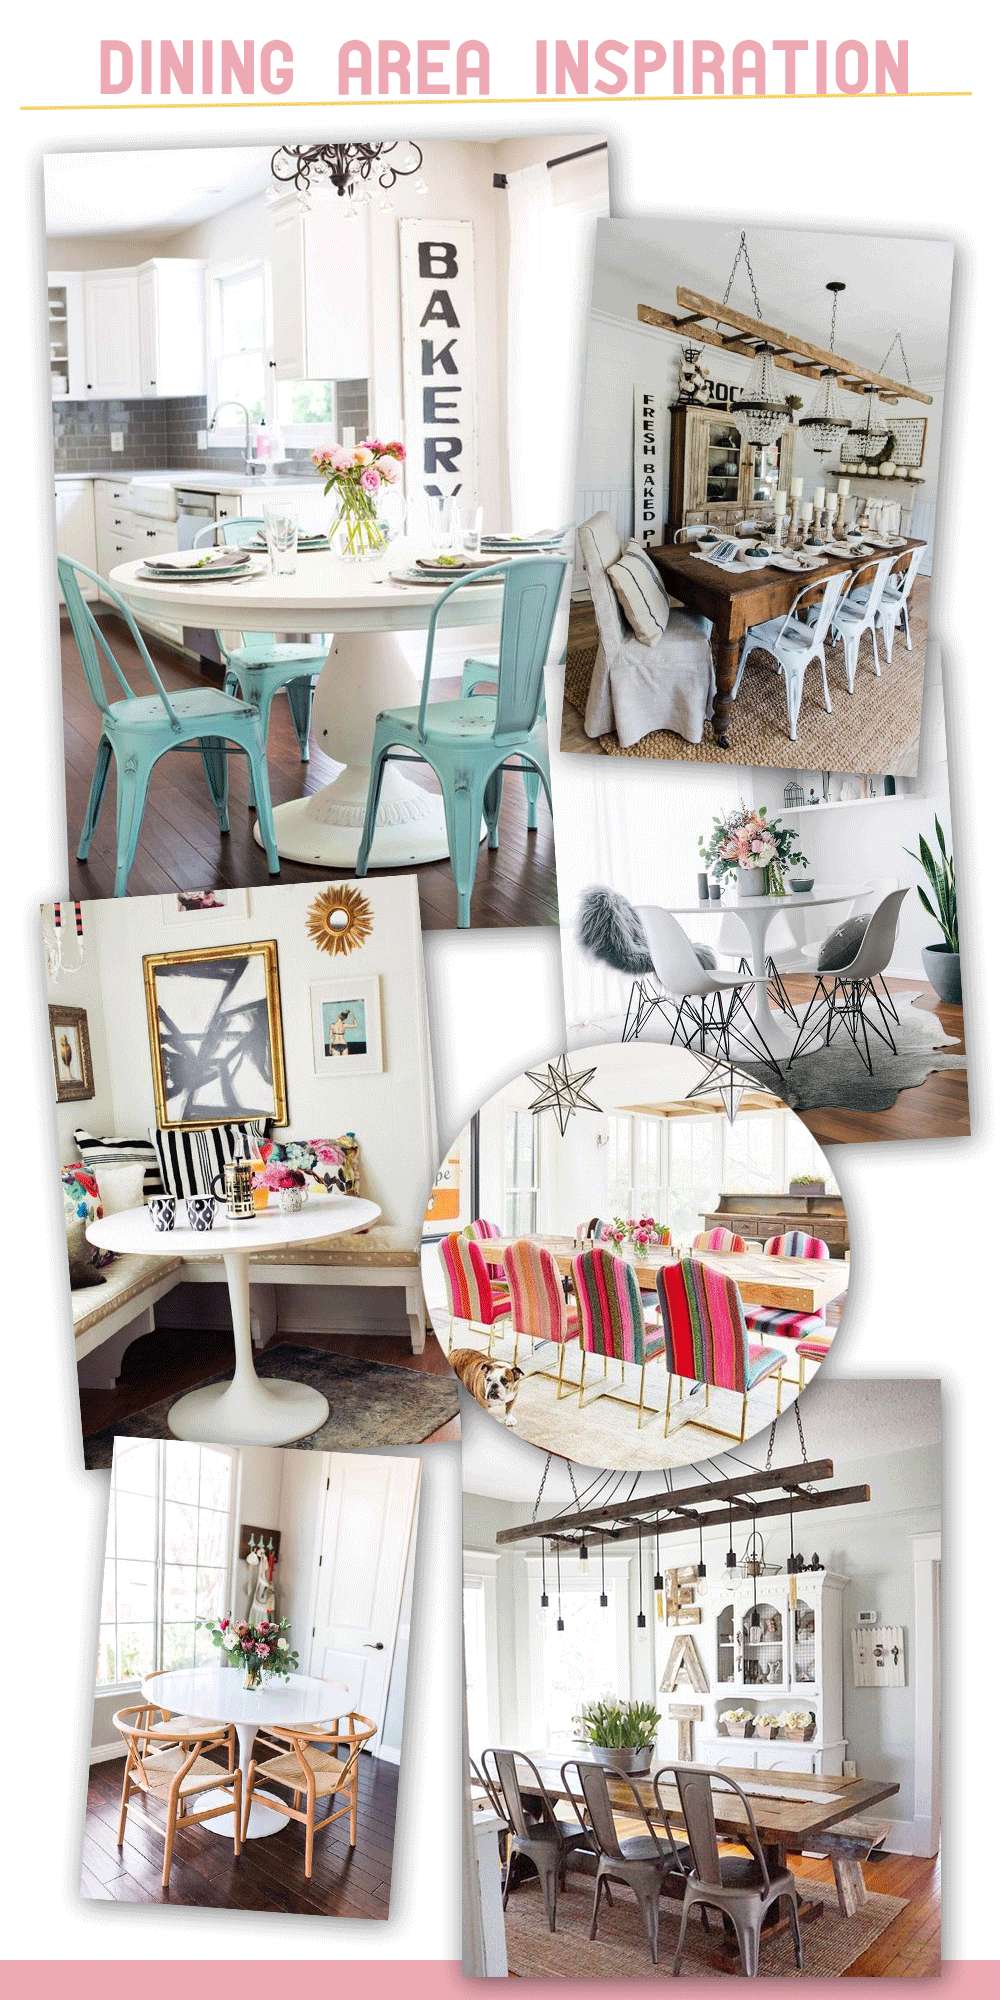
My parents had me a custom island built as a Christmas present this past year, and it has ~transformed our kitchen. We got rid of our diner booth + Formica table last year, so we had been eating at the coffee table ever since. Now that we have this big island, we're able to eat together and enjoy it. The spot where we had the diner booth is sad and lonely though! I currently have a trunk and a bench over there, with Linden's doll house, but it's not a very good use of the space. We really need a seated dining area but the space is kind of small and awkward (our back door is right in the middle of the room). I've been toying with the idea of a small round table (like the tulip tables above) with 3-4 chairs or an L-shaped bench, but I'm having a little bit of trouble narrowing down exactly what style chair I want to go with. I'll eventually replace our black and white retro tile floor, but for now it stays. Our cabinets are white and our countertops are a dark grey "dalmatian" pattern. You can tell by the photos above that I tend to gravitate toward those industrial chairs - I just can't help it! I have a seafoam green one in my studio, and they make matching bar stools, too. This post makes me want one of everything though: The 30 Coolest Contemporary Dining Chairs Ever. I'm now on the hunt for dining rooms featuring those acrylic ghost chairs! I know they'll never work in my dining space, but I'm kind of in love with them regardless haha. We do have more than one of those "Eames" style shell chairs in our house, so going with the smaller version (without sides) might be an option, too.

Any of y'all have any suggestions on where to look for dining tables/chairs? I've been half-heartedly scanning both Overstock and Wayfair, but I think I really need to nail down a direction first. What style chair gets your vote? 


xo KB

instagram // pinterest // tumblr // twitter // facebook // snapchat

// Spring Decor Refresh: My Living Room

Spring Home Decor with Michaels Maker, Kaelah - kaelahbee.com
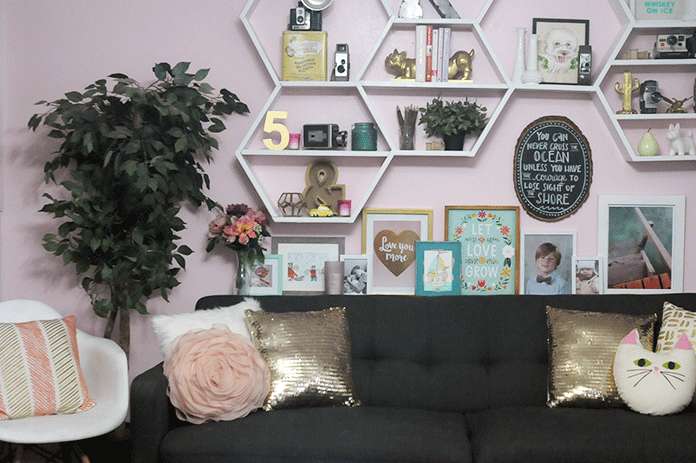
Spring is my favorite because I can't help but get so motivated and so stoked when the weather breaks and the temps rise. There's something about Spring that just feels so refreshing and good! If you've seen any snaps of my home you'll know I really love florals. Real or faux, I'm not picky. I usually buy myself a bouquet of (real) flowers about once a week. Since that can be a pretty expensive habit and you never know how long they'll last I supplement with pretty silk flowers from Michaels. This month's challenge was to share how we refresh our home for the new season so I was all over it. I'm always changing things and painting things, so who knows how long it'll look this way haha! But until I do get around to it, here you go...
Spring Home Decor with Michaels Maker, Kaelah - kaelahbee.com
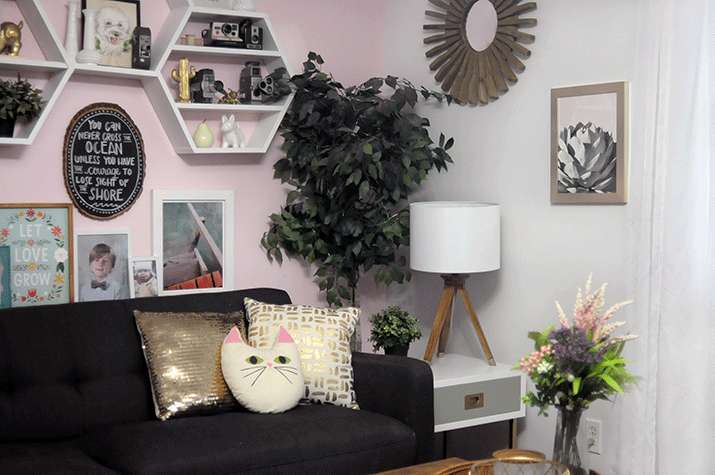
pillows: target (pink/gold) + michaels (furry/gold sequin) + handmade (cat) // couch: at home // frames: all from michaels (except let love grow)
Spring Home Decor with Michaels Maker, Kaelah - kaelahbee.com
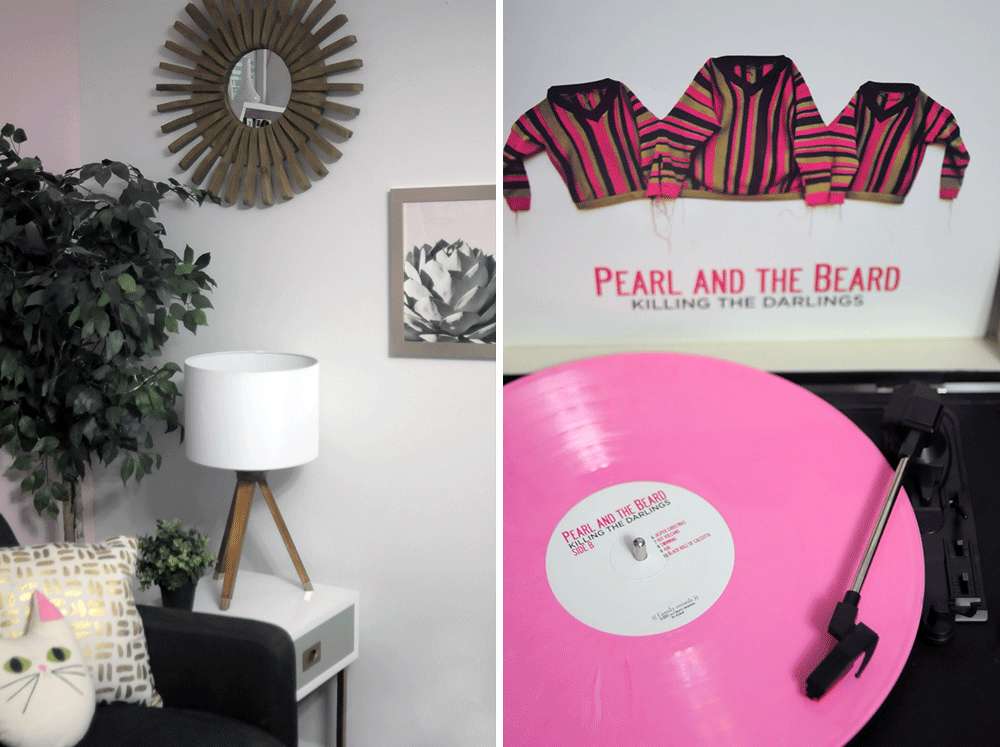
mirror: michaels // lamp: nate berkus x target // succulent print: minted // gold frame: michaels // side table: oh joy x target // record player: michaels
Spring Home Decor with Michaels Maker, Kaelah - kaelahbee.com
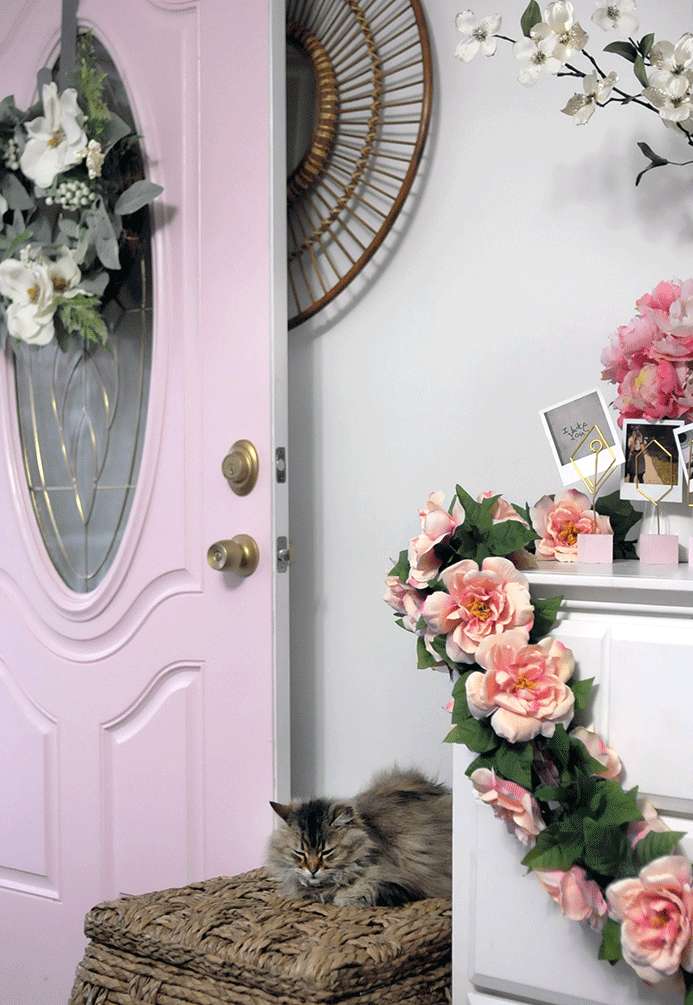
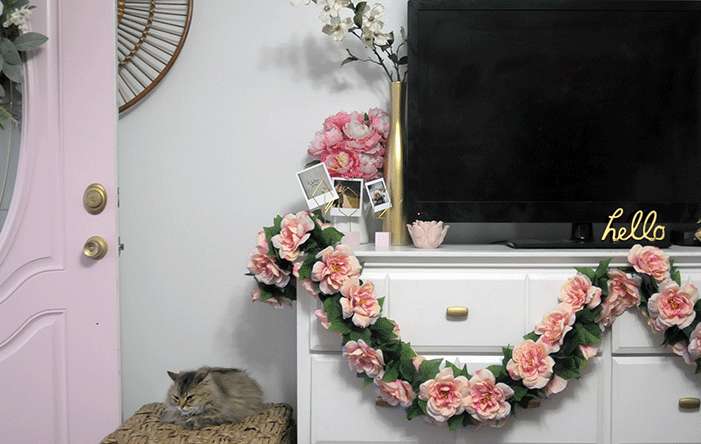
mirror: target // woven trunk: michaels (love these! i seriously own 3!) // floral garland: michaels // faux florals: michaels // photo holders: michaels // 'hello': michaels
Spring Home Decor with Michaels Maker, Kaelah - kaelahbee.com
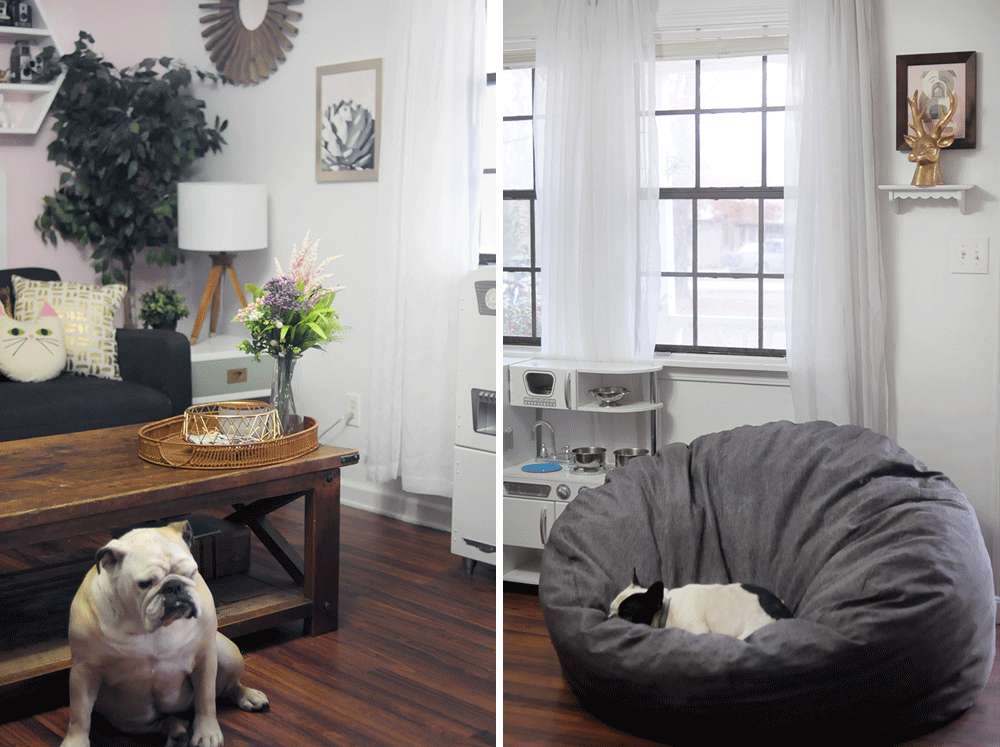
wicker tray: target // gold basket: michaels // deer head: michaels // bulldog print: local artist (lmk if you want the name, i'll go check!) // amazing giant "bean bag": lux by big joe (!!! we love this thing... pipkin included haha! this one is the 'king fuf')
Spring Home Decor with Michaels Maker, Kaelah - kaelahbee.com
I get so giddy every time Michaels releases a new home decor collection. Right now they have 3 (and they're all 50% off right now): Vintage Romance (the hello, bud vase, and furry stool that's in my room - maybe you've seen it on IG or Snapchat), Coastal Prep (the wooden mirror), and Global Chic (bold and retro designs). I love the way my living room feels when the windows and doors are open, and there's a warm breeze flowing through the house. Having a tidy and decorated space is a great way for me to jump start my Spring cleaning (purging). Of course all of that is a bit easier said than done when you have two rowdy munchkins tearing through the house, but it's a give and take kind of thing. I'm digging the way everything looks and clearly all the animals are pleased, too. At least until I change it all up again...

Want to see how some of the other Makers refreshed their homes for Spring? Pop over to the Michaels blog, The Glue String, or click any of the thumbnails below! Happy decorating!

xo KB

instagram // pinterest // tumblr // twitter // facebook // snapchat


// On The Glitz: A Glittery Glam Christmas Tree

Michaels Dream Tree Challenge
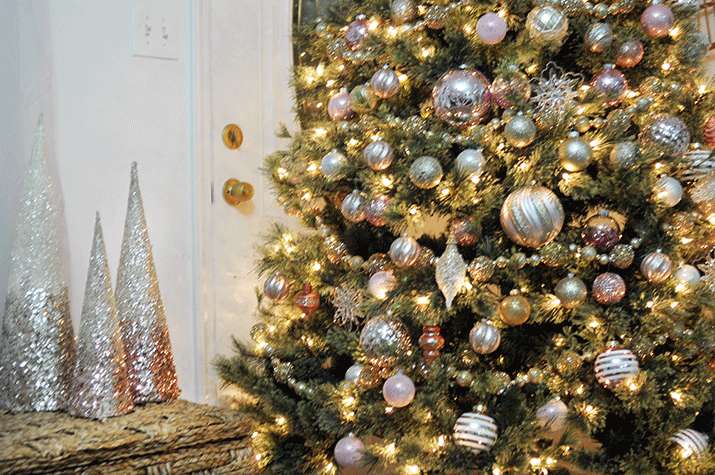
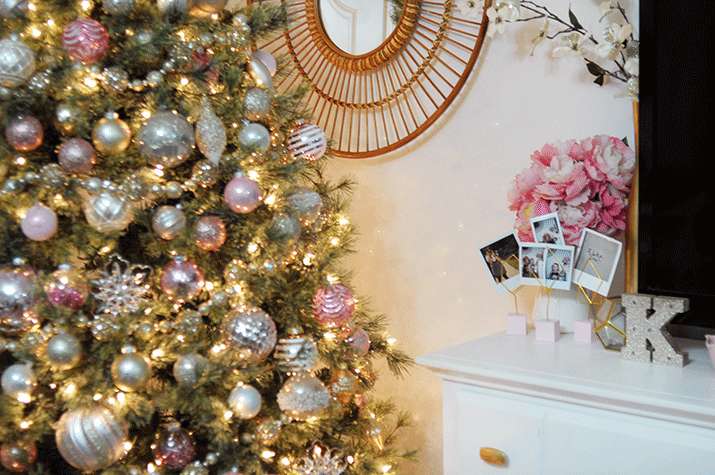
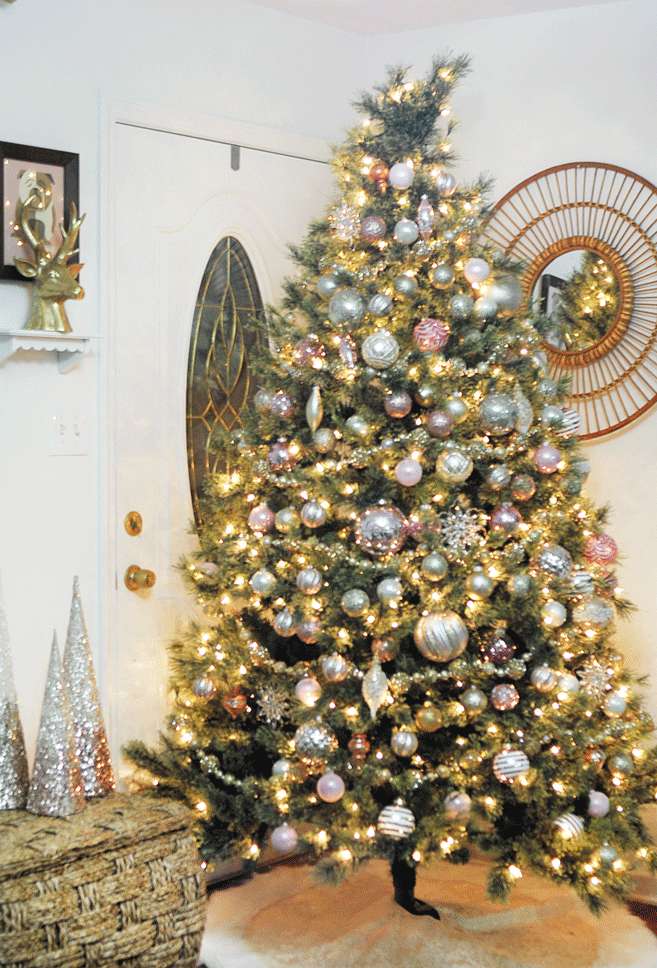
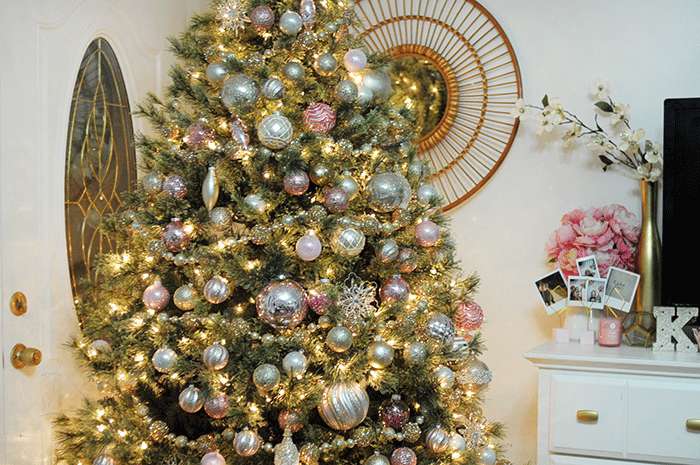
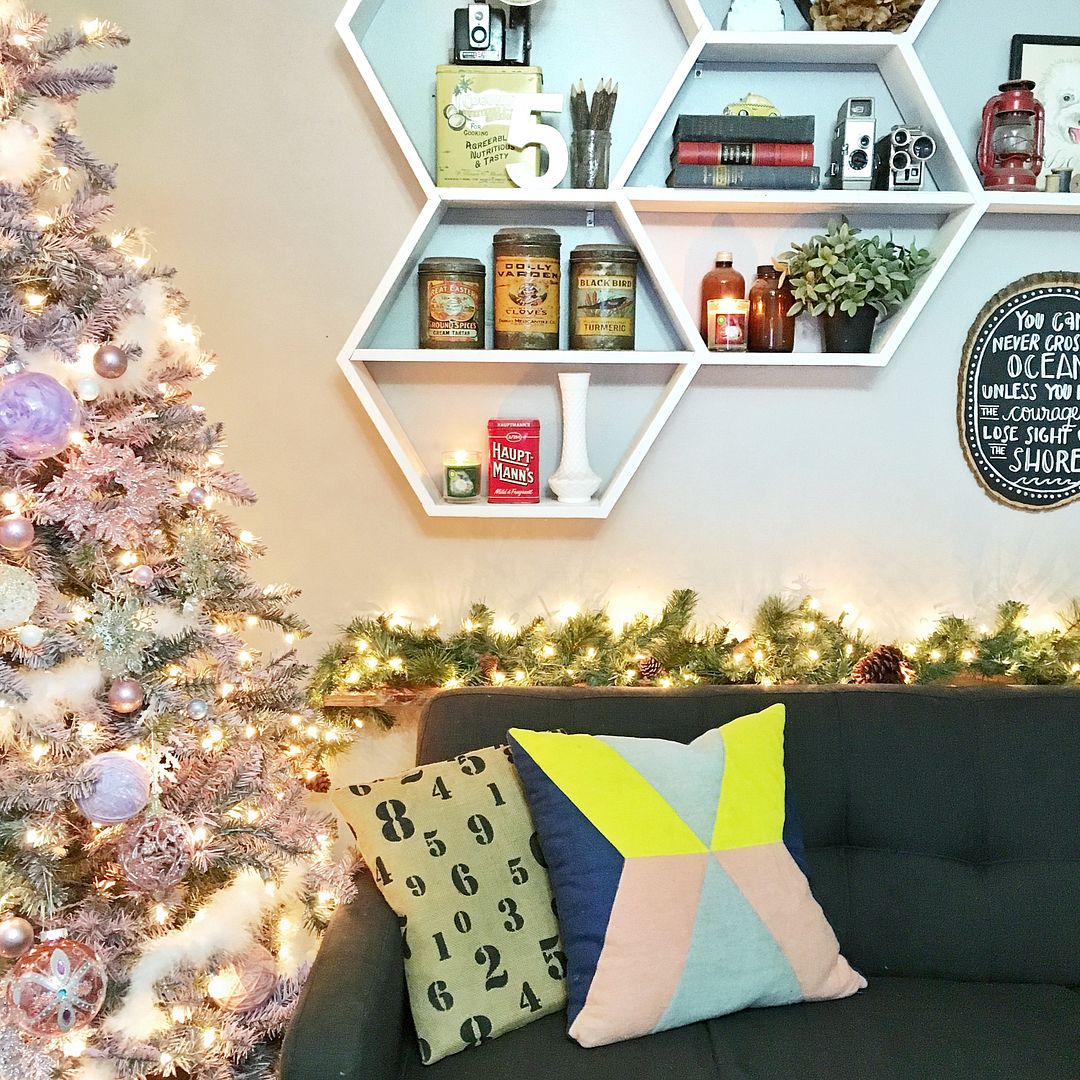
This is without a doubt my absolute favorite project to work on every year. This is my third (!!!) Dream Tree with Michaels and I swear it never gets old. (See previous years: 2014, 2015) This year's tree took a 180 degree turn on like, November 7th... Yeah, like, last week. I had decided on my theme back in October and I spent a solid day picking out ornaments and things to craft. The theme was neat (in my opinion), but it wasn't really ~me. I love the creative freedom we get in the Michaels Makers program, and I really wanted the tree to reflect our home a bit more than first theme did. I recently repainted the living room and bathroom in our house, totally on a whim. The bright white reflects so much light, it really makes the space feel bigger. There's a lot of gold and pink in the living room (but the boys dig it. Well, Toby does. L doesn't care) so one day when I was lurking the #MakeItWithMichaels hashtag on Instagram I saw the newest collection of ornaments that were hitting the shelves and OH MY WORD! If I were a Christmas ornament or decorative accent, I would totally be in this collection. It spoke to me on an almost spiritual level. I scooped up stuff off the shelves at the One Hundred Oaks Michaels as the associates were basically unboxing them. (I totally apologized profusely for being all up ~in their biz, and they were so sweet). Anywho, I wanted to decorate around the colors and textures of the new throw pillows and accents I recently picked up/upcycled, and this collection fit so perfectly! Here's my ~glitzy glam Christmas tree! 
Michaels Dream Tree Challenge

Michaels Dream Tree Challenge
Everything on the tree (including that fabulous tree skirt) is from Michaels. Most of the ornaments are ready made, but I did grab a box of gold and pink "decorative filler" styrofoam balls which I simply stuck a straightened out ornament hook into. Easy peasy! Didn't even need hot glue! The gold garland is one of my favorite things on the tree. I love the different sizes of all the balls and baubles. In this collection they also had those awesome glittery tinsel "trees" you see on my trunk next to the door. They're so pretty and they come in like three different colorways, but holy glitter. If you're at all anal about glitter, don't get them. But otherwise, they're so fantastic and worth the extra sweeping. 

Looking at these pictures makes me realize just how much of our decor is from Michaels or the product of a DIY for Michaels haha! I'll try to link as many relevant products as I can, but if it's not linked feel free to ask and I'll let you know where it's from. You must stop in at a local Michaels soon though because you gotta see this collection. There's a white version and a pink version basically, both with gold accents. There aren't really many pieces online.
Michaels Dream Tree Challenge
I'm sure some of you are thinking "Those poor boys!" because it's so feminine, but I bought the boys their very own 4 foot tree - with multicolored lights, as requested by Toby - to keep in their room. (Yeah, their. Linden has been bunking with Tobes lately and boy it's nice to have my bed back! Tangent, sorry) Anyway, making and shopping for ornaments will be activities in their advent calendar come December, so I'm excited to decorate it with them. They are 110% in the driver's seat with theme and everything. We'll likely decorate this tree some more with our personal family ornaments, but I'm really excited to see how theirs ends up. They helped decorate this one and it was the most precious thing. I really really love this time of year. This year is extra special in so many ways. I want the boys to remember it forever. All the feels to be felt!

As for your holiday decorations go, Michaels has their largest tree assortment this year, including colored and flocked trees. Check out all of their trees, ornaments and coordinating holiday décor on Michaels.com. Are you feeling inspired to start decorating your own tree? Eh? Maybe? Make sure you visit Michaels’ blog, The Glue String, to see the rest of the Michaels Makers’ dream holiday trees that were created this year.

xo KB

PS; This tree is by far the prettiest artificial tree I've seen, no lie. I totes called it flocked on snap, but it's ~"cashmere" tips and they make a world of difference aesthetically. Seriously, love this tree!


// Scents and Seasonal Decorating (+ Giveaway!)

One of my favorite things about the holiday season is the smells! From cookies in the oven to the rich pine scent of a real Christmas tree, I love how powerful and memorable the sense of smell can be. In the past Mike and I haven't ever really "decorated" for Christmas aside from putting up a tree. We never went all out with garlands or outdoor lights. Now that we're settled somewhere for the next little while, I've really been itching to really deck the halls. I picked up some outdoor pre-lit garland and some wreaths the other day, and even snagged some lights to lay over our bushes, etc. Of course we haven't gotten around to putting them all up yet, but even just the thought of it has me feeling festive.

Our Christmas tree went up incredibly early (on Halloween!), but I've held off on everything else because I didn't want to get too carried away before Thanksgiving. Now that Thanksgiving has come and gone, I'm ready to throw myself into it all. This year will be the first year we spend Christmas Eve at home as a family. Every year since I was born (minus one), I've spent Christmas Eve at my mom's house. Once Mike and I moved in together that was just what we did. This year Toby has requested that we sleep at our own house so Santa can come visit us here. I'm a little heartbroken and excited at the same time. We'll be making new memories and establishing new traditions. I really really love traditions.
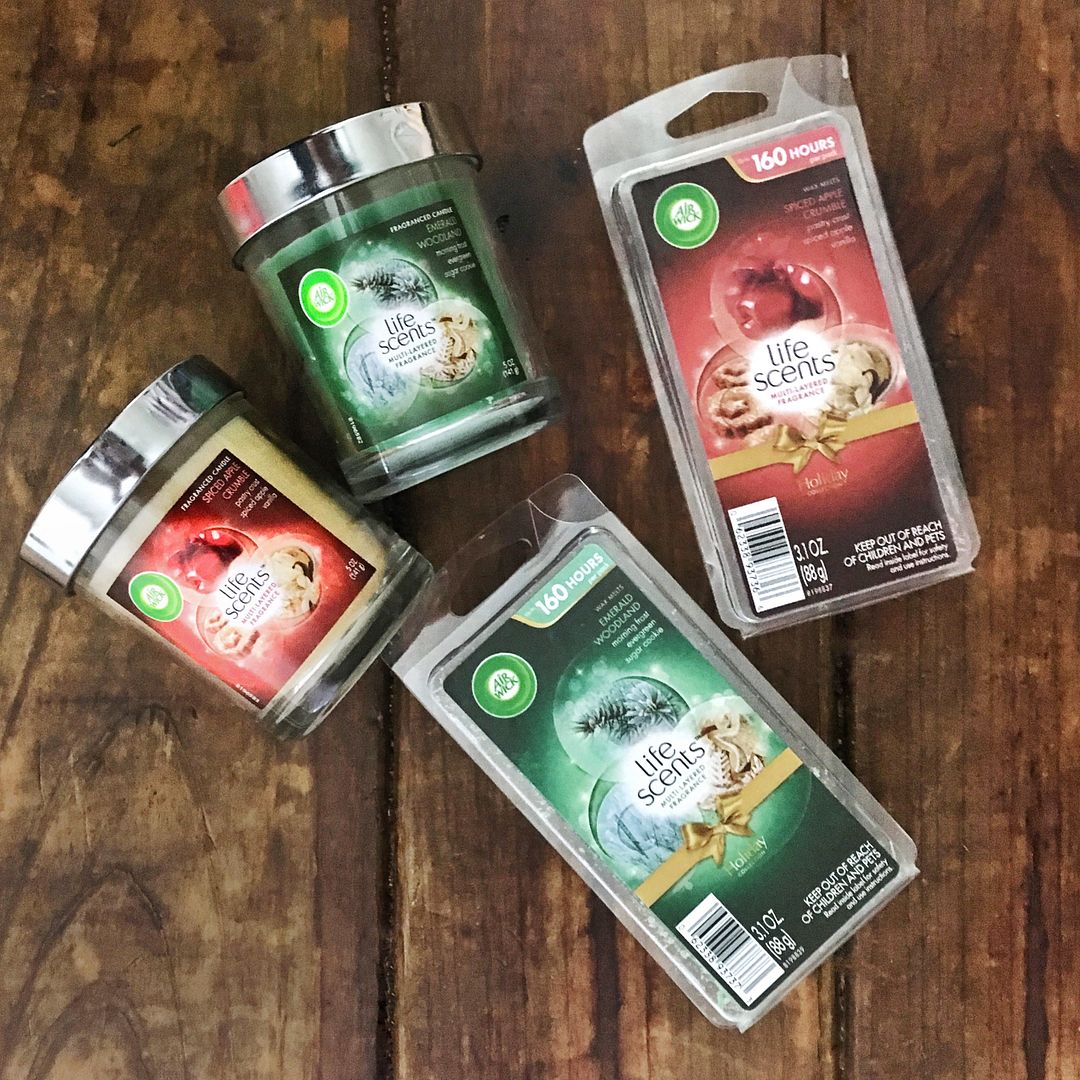
Since I only just recently ordered our stockings, things aren't feeling super festive inside our home. The tree is lit and I listen to "Punk Goes Christmas" far too much, but still, something was missing. Holiday scents! From New Year to Thanksgiving, our house smells like honeysuckle. It's my favorite scent and I love how it keeps our house feeling fresh and Spring-like. But between Thanksgiving and New Years Eve, I bust out all of my holiday candles and wax melts, and I constantly wish we had a fireplace. This year I'm melting/burning scents from Air Wick (Spiced Apple Crumble - OMG, and Emerald Woodland - They come in both candles and wax melts.)
I'm a huge fan of wax melts, and if you follow me on Instagram you've probably seen countless photos of my wax warmers in the background of photos. I have one in our room, the bathroom, the kitchen and the living room. If I really want this place to smell good, it takes all of about 10 minutes with all 4 going! I've really loved the Air Wick melts so far because they're "layered" with different scents so you never really go nose blind to them (the candles are multi-layer too!). Just when you get familiar to the smell of the room, you're hit with a new note that is complimentary, but fresh.
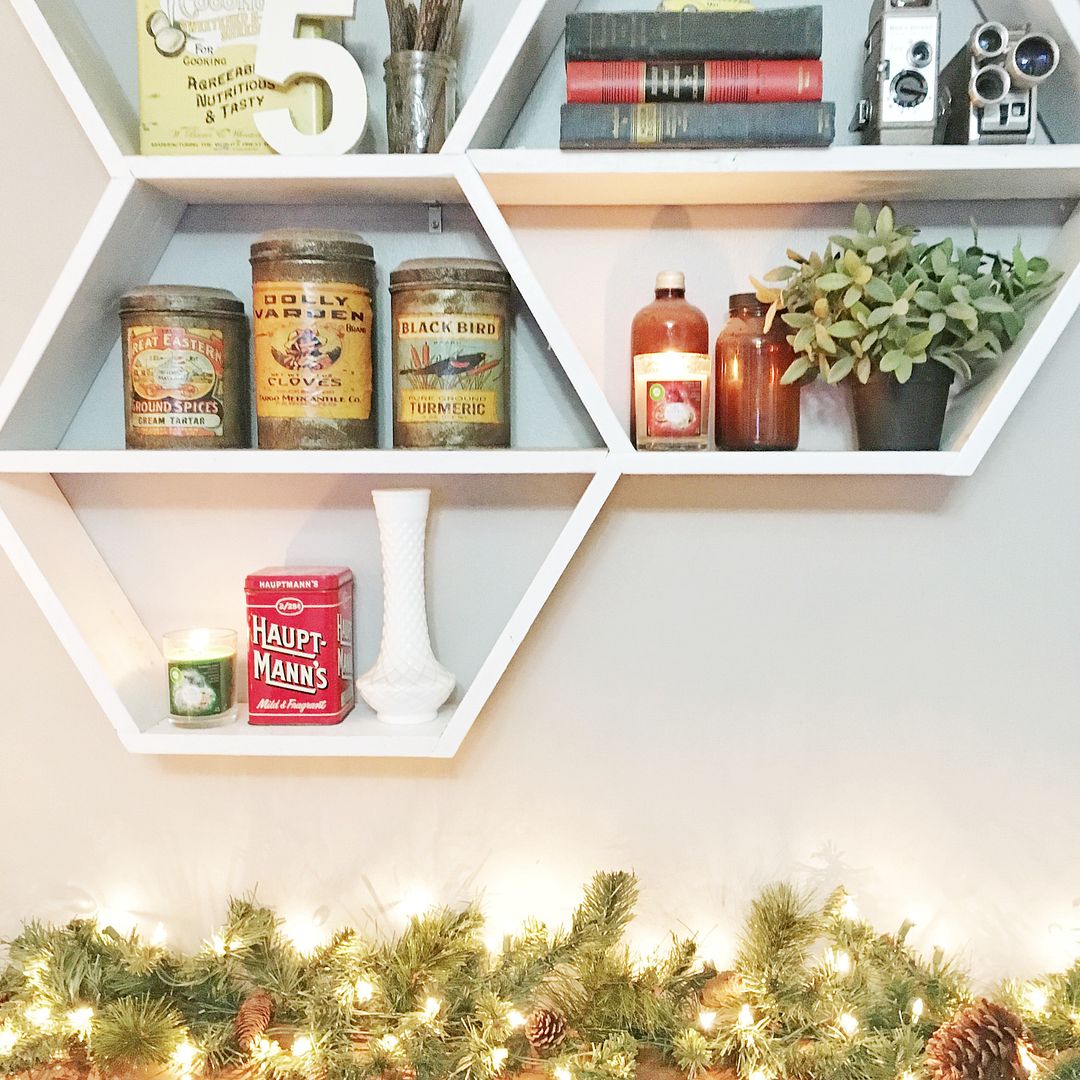
Decorating with a Linden around is a little difficult at times. I can't have an open flame or melted wax anywhere he can reach it, so I'm pretty much left to just decorating on the counters or the window shelves we built between the living room and kitchen. However sometimes I also just prefer to pop the wax melts in the warmer and "hide" it on a shelf so there's no distracting light - just an awesome holiday atmosphere. There's something about walking into a space and being greeted with such a warm, inviting smell. I truly think the scent of your environment can greatly impact your mood and experience.

What are your favorite seasonal scents?

If you're interested in snagging 2 of each Air Wick Life Scent candles shown above, pop over to my Instagram (@kaelahbee) and tag a friend! I'll be announcing a winner this weekend! You can have your home smelling delicious before Christmas rolls around, too!

xo KB

This post is in partnership with Air Wick. All opinions and words are my own, as usual.

// Home Sweet Home: Bedroom Sneak Peek


Mike and I have been hard at work on a little mini bedroom makeover this past weekend. Our walls were a medium grey (much like the rest of our house) and we had very few things on the wall. It just felt so drab and boring. We knew we wanted to spruce it up a little bit before the baby comes, but we weren't really sure how to go about it. I knew what color I wanted the walls, and we planned to do some faux board-and-batten on the lower half. We still plan on actually doing that, but that was just too much for us to take on at this particular time. We repainted the whole room and that was all of the cash we spent. Everything else was refashioning things we had, building frames and shelves out of wood we had laying around, and finally hanging some artwork on the walls. We still have plenty left to do, but here's a little sneak peek at how it's coming along. We're hoping to have it totally finished by this time next week, but you know how that goes...

I'm sure I'll get an earful about how it's so girly or pink or whatever, and Mike can't possibly be okay with it. But he is (surprise!). I didn't show too much of his side of the room just yet because that's actually the part that needs to get finished. He hasn't really decided on artwork or decor just yet, so here's to hoping we can nail that down. It feels so nice to finally feel happy with our bedroom. The past year and a half has just been so "blah" when we went in there. I love that it's bright and happy now. I'll be sure to share the final photos so you can see everything (and link where everything is from) in case you're interested!

Not bad for only spending $50 on a gallon of paint, right?

// Project Nursery: v.1


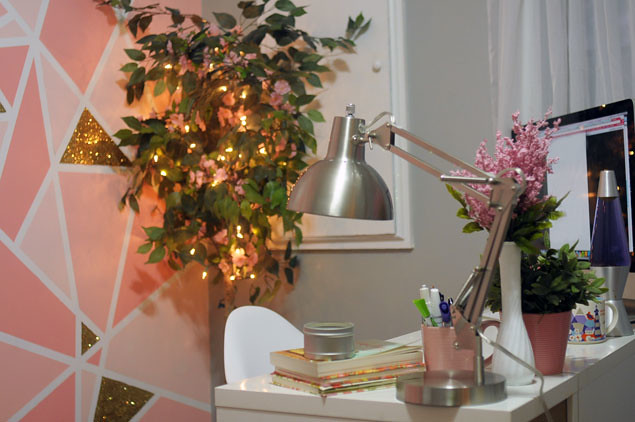
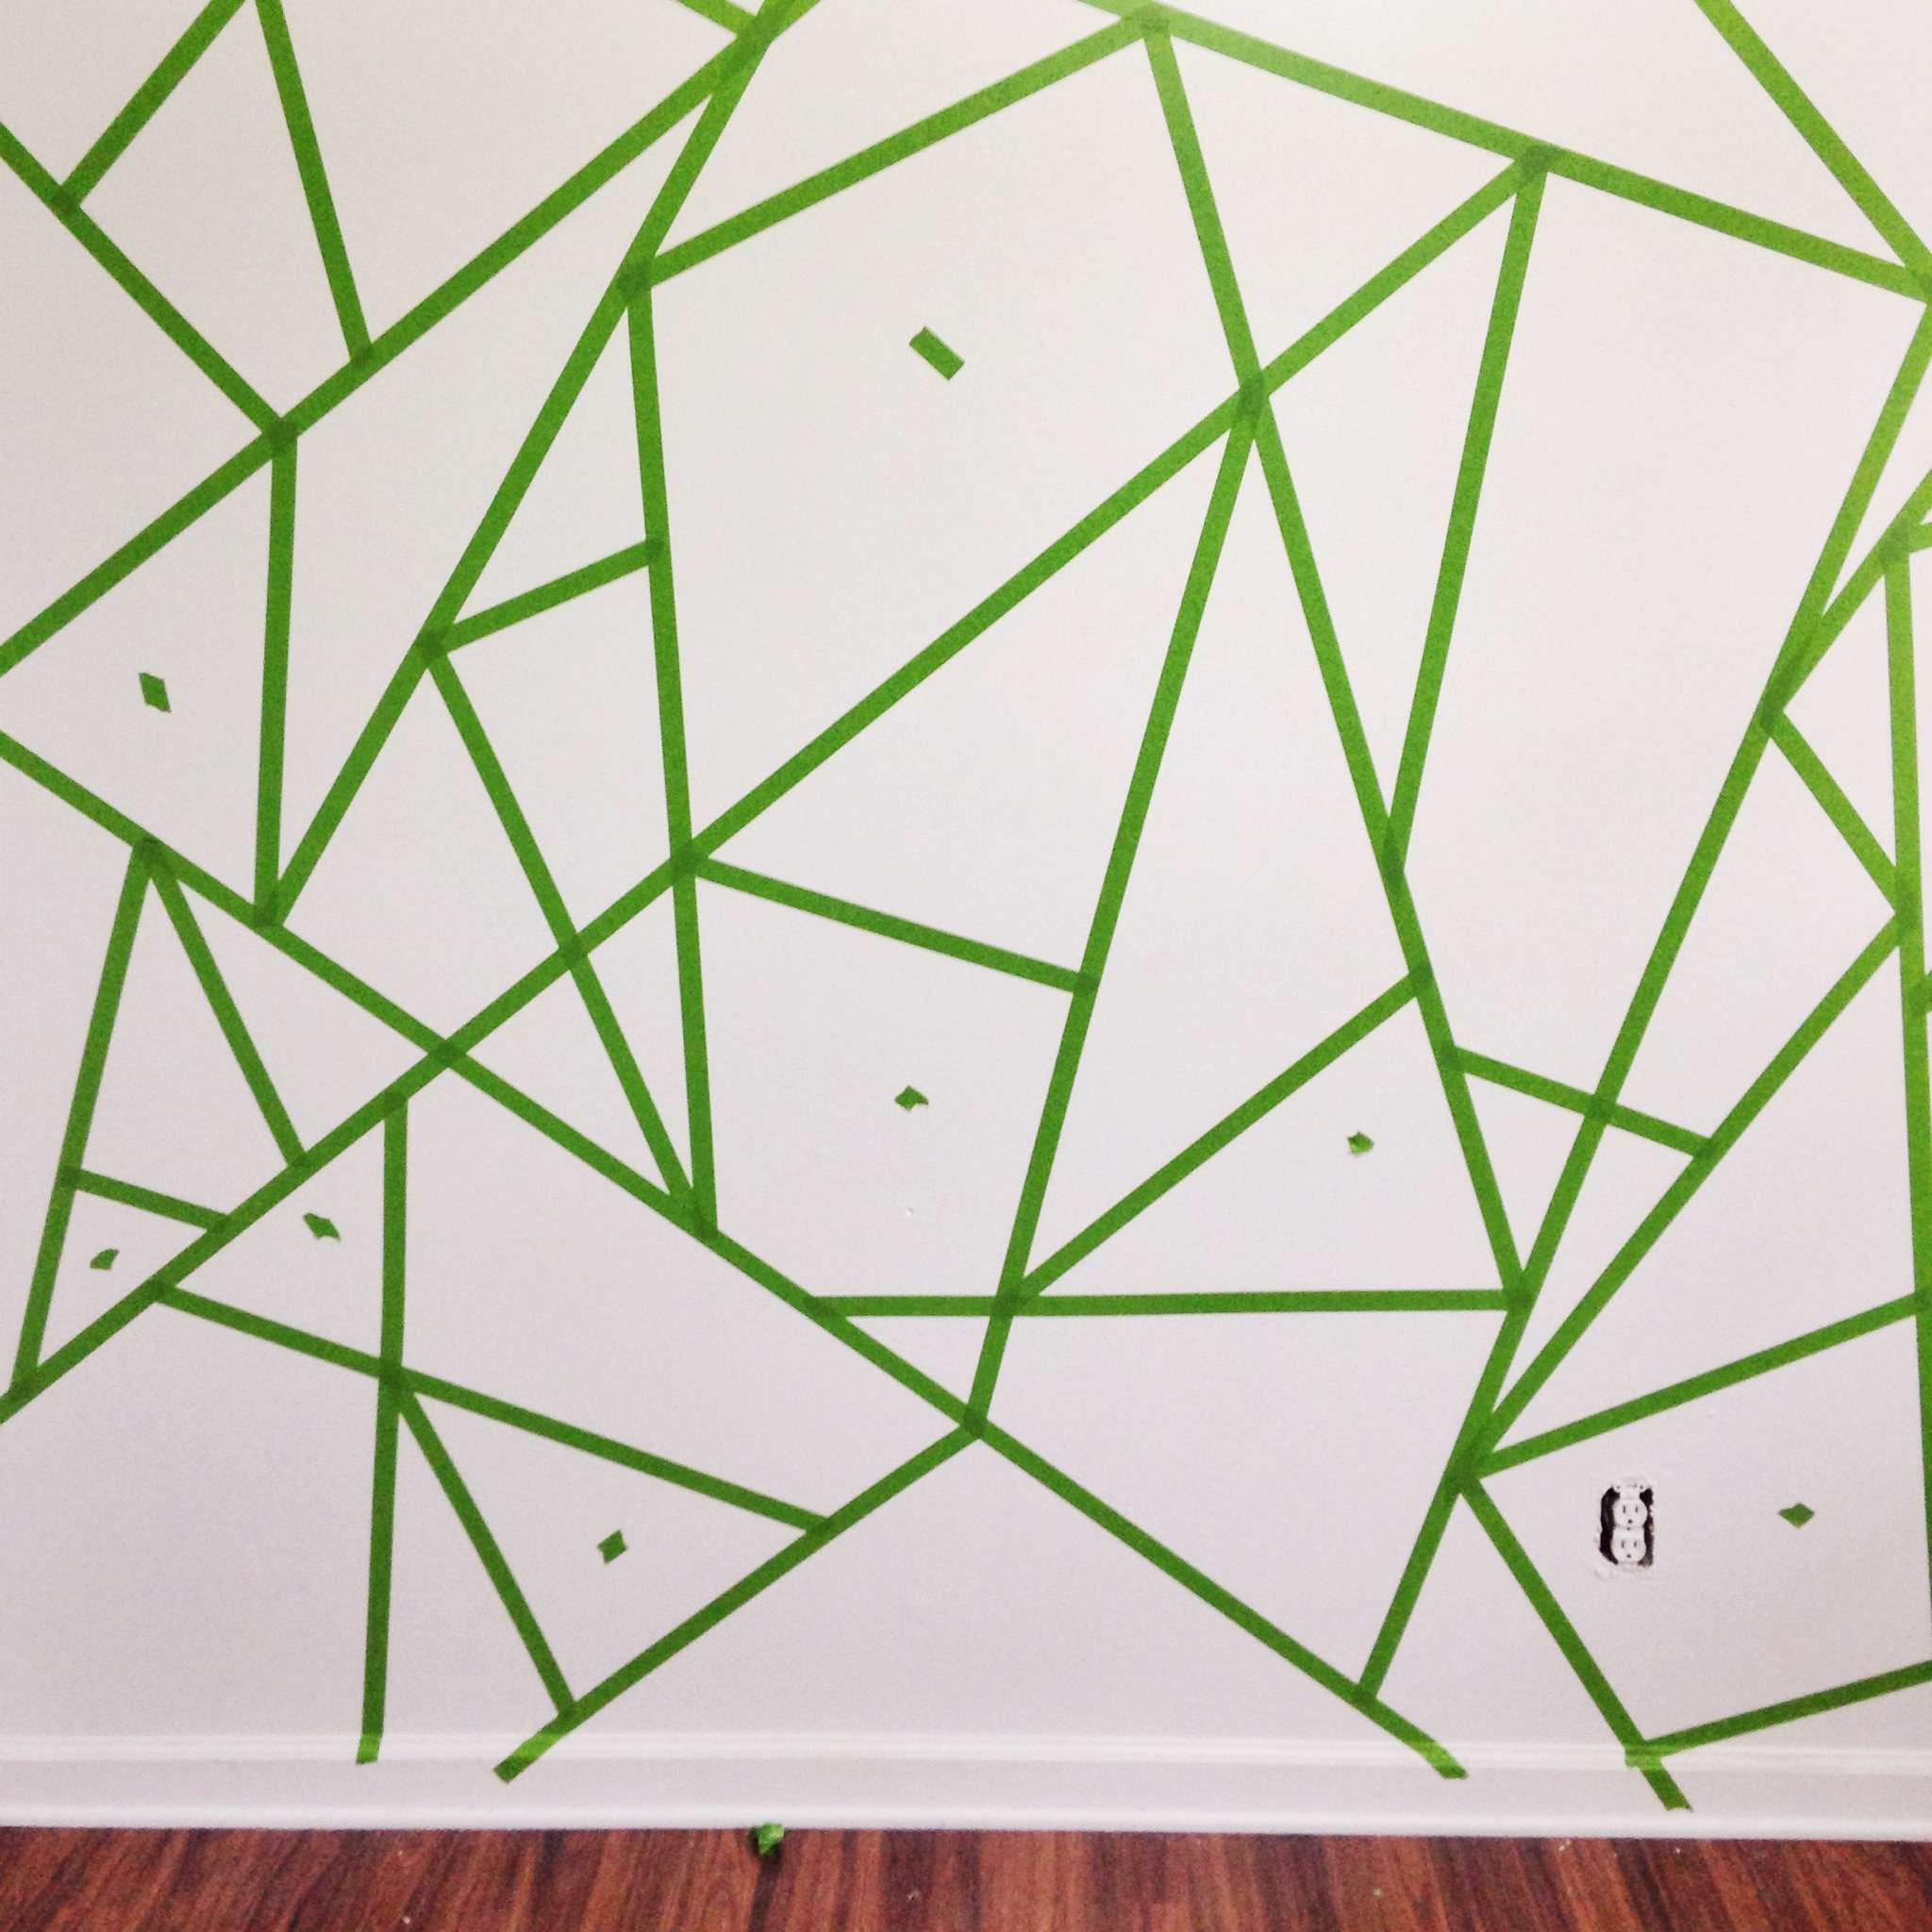
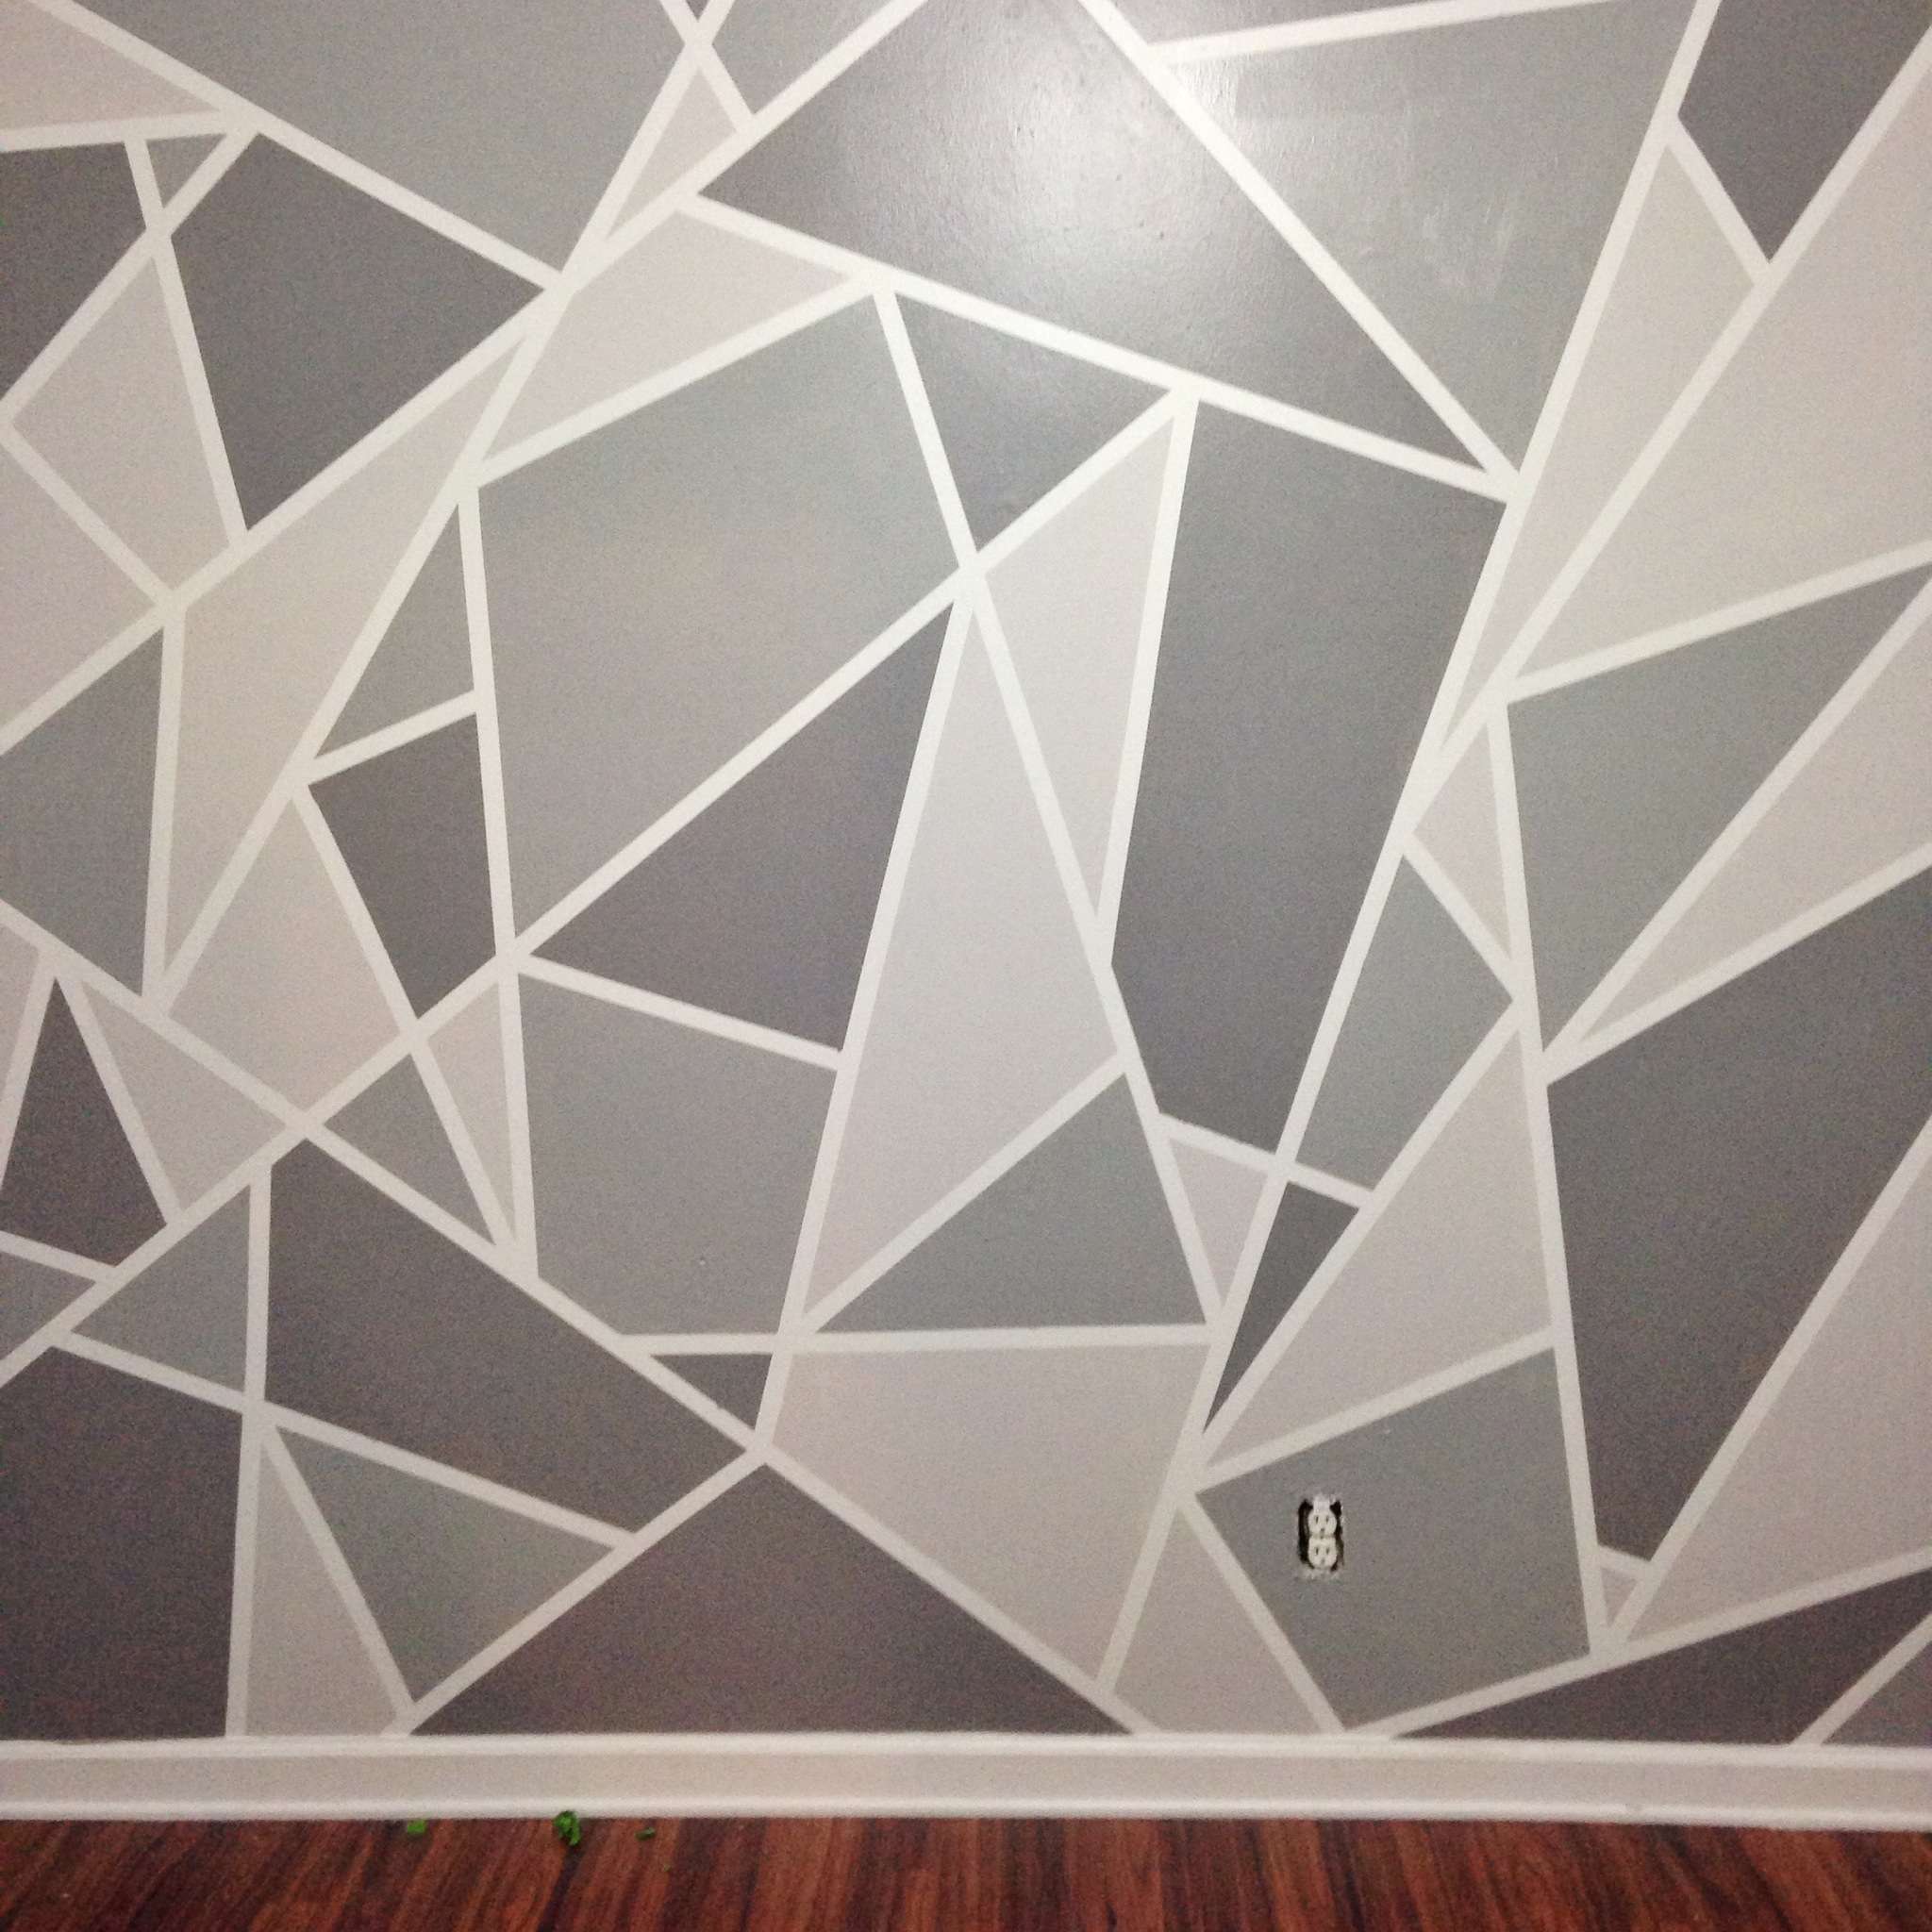
We finally said goodbye to our gorgeous, glittery and pink geometric wall last week. If Baby Flynn had been a girl, we would have undoubtedly kept it. But even since we're bringing a little dude into the world, we couldn't really part with the fun look and feel of a mosaic wall. Rather than scrap the idea all together, we decided to channel the nursery theme around a much more subtle and masculine geometric design. The best part? This project is so budget friendly. The whole thing cost us less than $20!

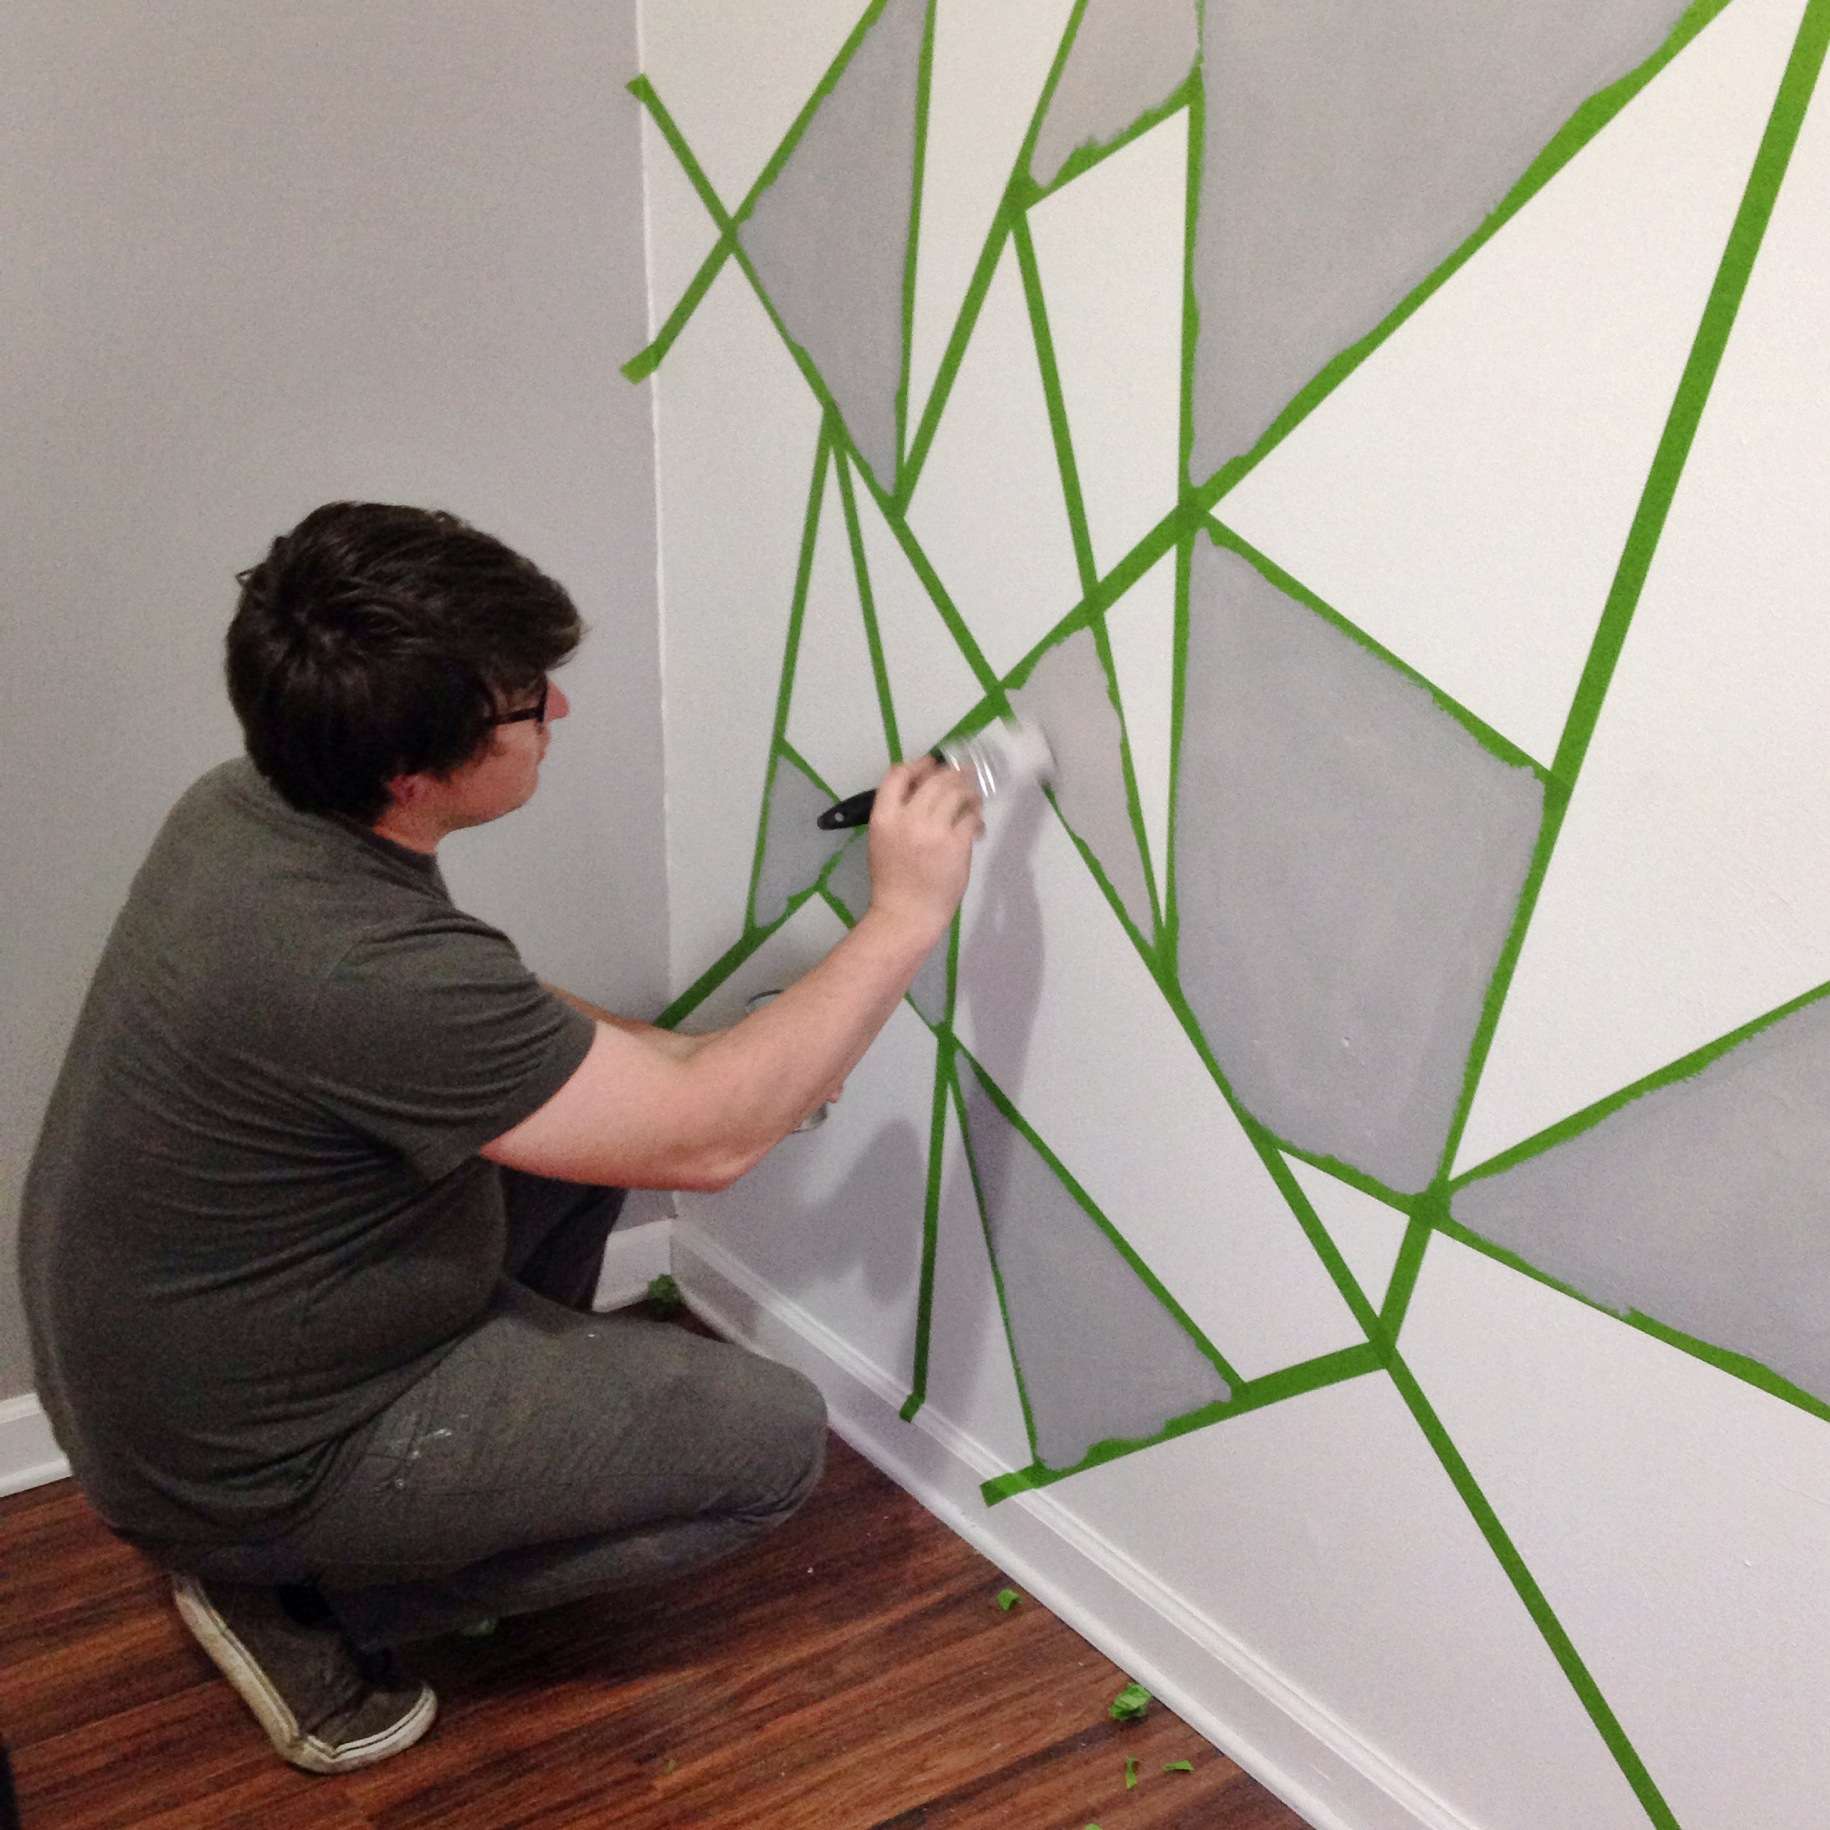
Now, I've received a lot of questions about how we got the glitter off the original wall, and I'm happy to report it was much easier than we expected! It still took some elbow grease, but a spritzing bottle of warm, soapy water and a putty knife did the trick. After we got all of the glitter off the wall and then off the floor, Mike painted over the pink design with Kilz primer. I busied myself elsewhere for that portion since the fumes are pretty tough. After that he threw down a layer of satin white so the lines would match the finish of the geometrics, and then it was time to tape! If you remember from our original wall, we used regular FrogTape in the .94" size. Last time we had some issues of it rolling up on us, but this time around was perfect! We seriously couldn't have asked for better lines. 

I've also been asked a few times if there's a rhyme or reason to the way we tape the shapes. The simple answer: Nope! The longer answer: We try to do the longer/larger lines first, to sort of set the stage on the wall. Then we break those down into smaller lines. We put more time and effort into the execution this time around, but I think both walls turned out great (I'm totally biased). We didn't use any glitter this time since I didn't want it to get stuck all over everything in the nursery, but we'll be adding some extra color to the room with the accessories. 


If you're still interested in giving a geo wall a whirl, here are a few tips and tricks I'd recommend employing in order to help you get the best results:
  1. Run your fingers over either side of the tape after you put it down. This will push out any wrinkles or bubbles that might have formed while placing. If you don't do this, you run the risk of getting paint caught under them and then ruining your crisp, white line.
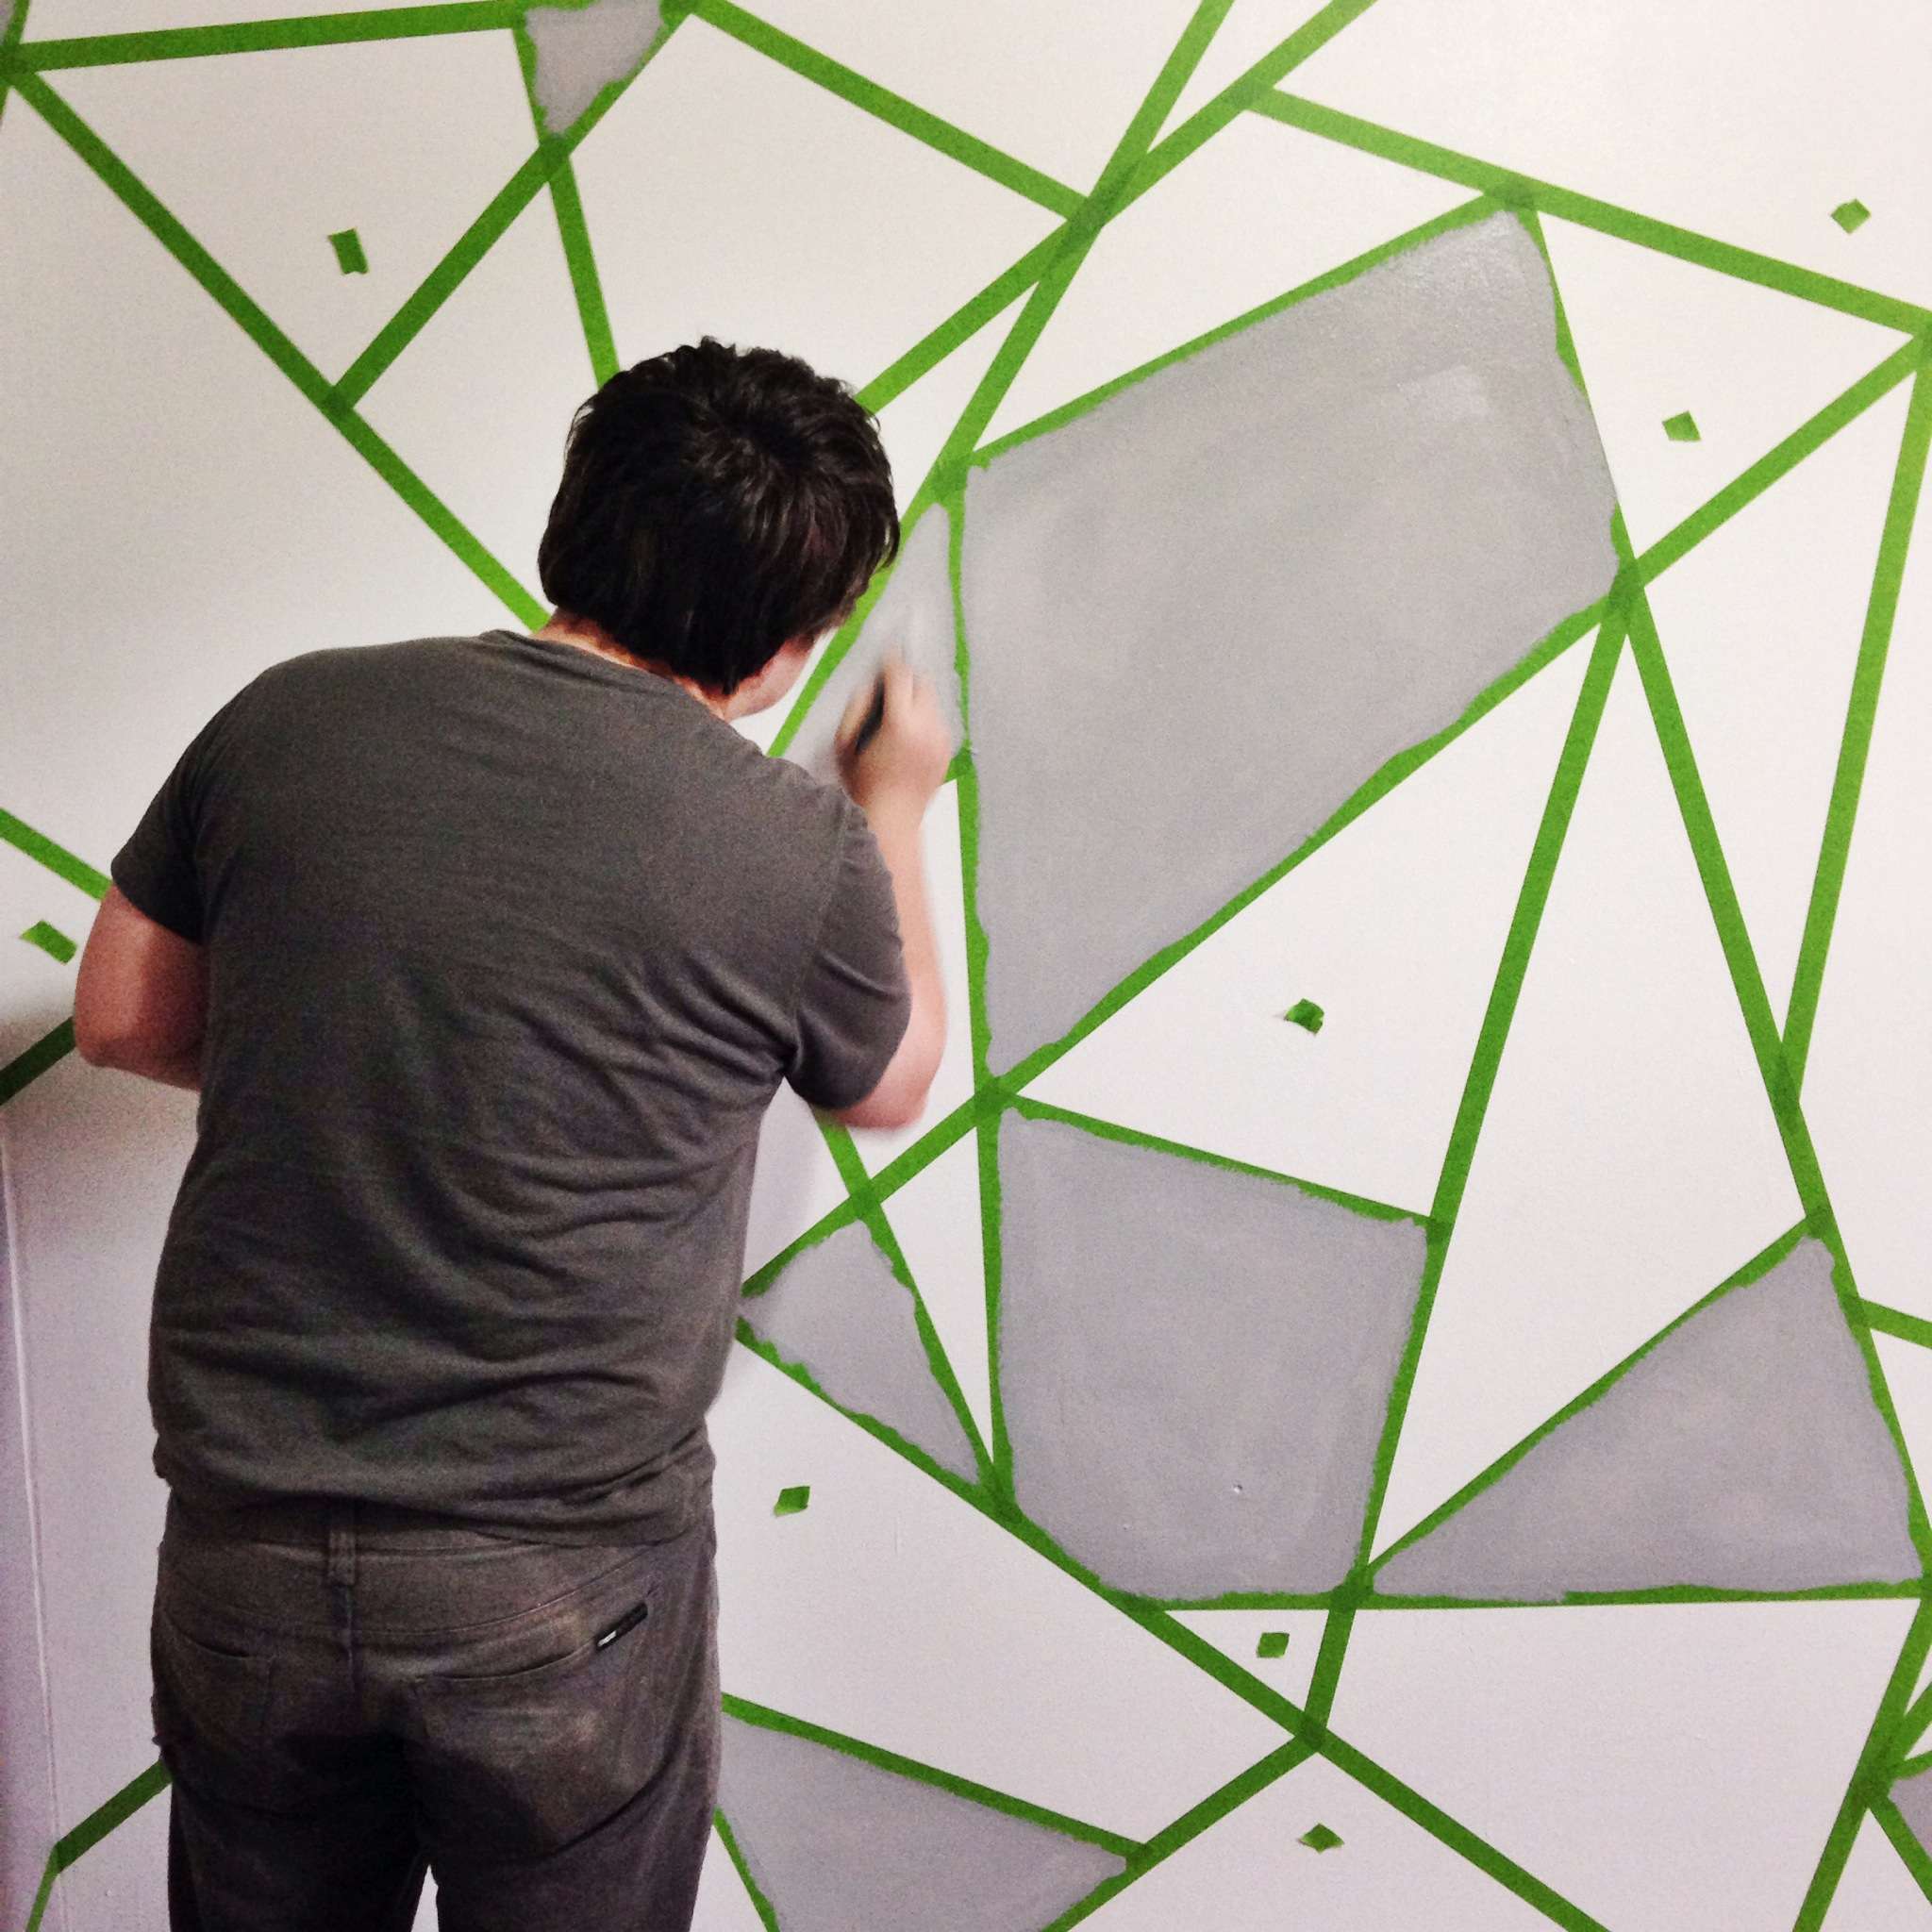
  2. After everything is taped, choose your middle color and then mark the shapes you want to be in that hue. We did this by taking small pieces of FrogTape and marking them. Mike was able to start painting the first color while I worked on figuring out what color was next.
  3. When picking colors, get three colors from the same paint swatch for the best results. Of course that's if you want a cohesive ombre color palette. Loads of people have used our original tutorial with contrasting colors and it turned out great. We just greatly prefer the coordinating hues. (Our middle grey is the exact color of our other 3 walls in the nursery. This made it feel really cohesive overall)
  4. Allow the paint to dry for roughly an hour or two, then remove the tape. Try not to leave it on longer than you have to. It's way easier to pull off when the paint is just sticky enough to release, but not so tacky it pulls with the tape. Last time I said ~15 minutes or so, but I think we had a better experience this time around.
  5. Try not to work from left to right or top to bottom with the paint. Step back and view your wall from across the room and pick shapes here and there to mark. This will ensure you have a better balance of colors at the end of the project.
  6. If you're only doing one wall, buy the Valspar paint samples! They're $4 each and 3 of them did our entire wall. That's only $12 spent! (We only have 8' ceilings, but you could make it work with 10' ceilings as well) This does not have to be an expensive undertaking!
  7. If you want to know the Valspar colors we used, they were: Cinder Block, Rocky Slope, and Cathedral Gray (from lightest to darkest).

Now that we have this tiny little bit of the nursery done, I'm excited to try and dive in deeper. It's hard to do much when you don't have the first piece of furniture, but I'm holding out hope we can spring for the items on our dream list. We printed the first pieces of "art" for his room this past weekend and now I just need it to all fall together. It'd be nice if it were that simple, right?

I'm working on a nursery moodboard right now and it's focused around the theme of his room. I'll be sure to share it soon, along with our ultimate nursery wishlist! That way y'all can chime in let me know if you have any experience with any of the brands or products! I'm going into this totally blind haha

Thanks for reading! xo

// A Cozy Bed

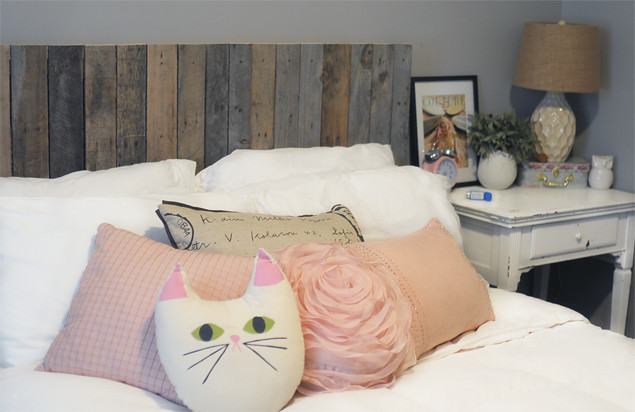
DIY Reclaimed Wood Headboard - KaelahBee.com
There are few things I enjoy more than freshly laundered bedding. Especially white bedding! It always makes me feel like I'm in a hotel, ya know?

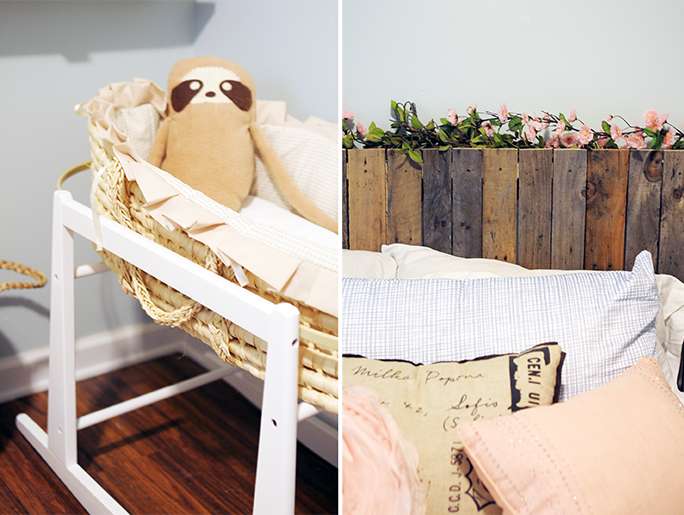
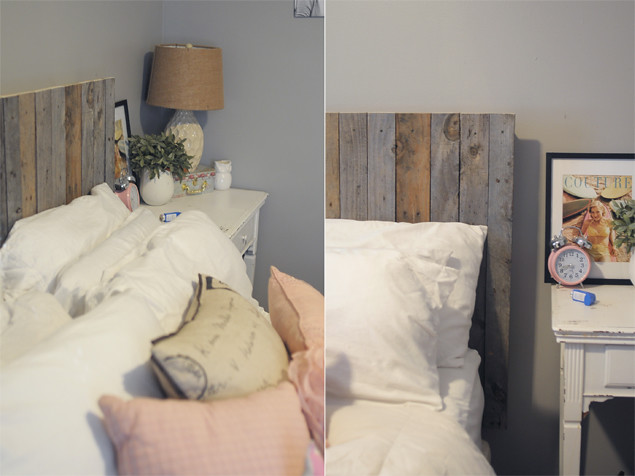
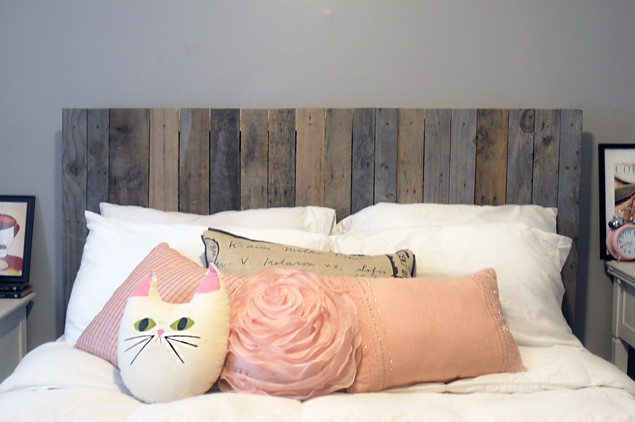
Mike and I agree on a lot of things, but one thing we don't agree on is the type of bed frame we want. Over the past several years we've had the conversation more times than I care to remember, and it never ends agreement. I love all things white and feminine. He loves low, platform beds and minimalistic lines. We compromised (if you can call it that) in East Nashville with some rustic palettes as the bed frame, just to keep our mattress and box spring off of the floor. Even still, we had yet to agree on a headboard. We didn't have one in East Nashville because our bedroom was mostly windows so we didn't want to block the light, but now that we have a full wall behind our bed we knew it was time to do something. We've tossed around the idea of doing our own tufted headboard, or a simple wooden one. We had a lot of weather scrap lumber laying around so we decided to whip something up just for the time being.
DIY Reclaimed Wood Headboard - KaelahBee.com
Mike built this simple rustic headboard in under 30 minutes earlier this week. It's such an easy project honestly. I wasn't planning on loving it as much as I do, but after an immense amount of support via Instagram I couldn't not love it, ya know? A few people have requested a tutorial on how to build your own, and luckily we have a lot of scrap wood left. Would that be something y'all would be into? If so, I'm sure we could make it happen! I feel like a lot of our woodworking DIYs are sort of hit or miss. Sometimes they can be too involved for anyone to want to tackle, but the great thing about this is all you need is a drill and a saw. Easy peasy! 

Do you have a traditional bed frame and headboard? Or have you DIY'd something yourself?! Toby will be growing out of his bed before too long so I'm constantly on the hunt for bigger and better ideas. Who knows how long our little headboard will last either. The great thing is it cost us exactly ZILCH so I'm not too worried about it haha! I want to do something super fun for Toby though... Hmm!