
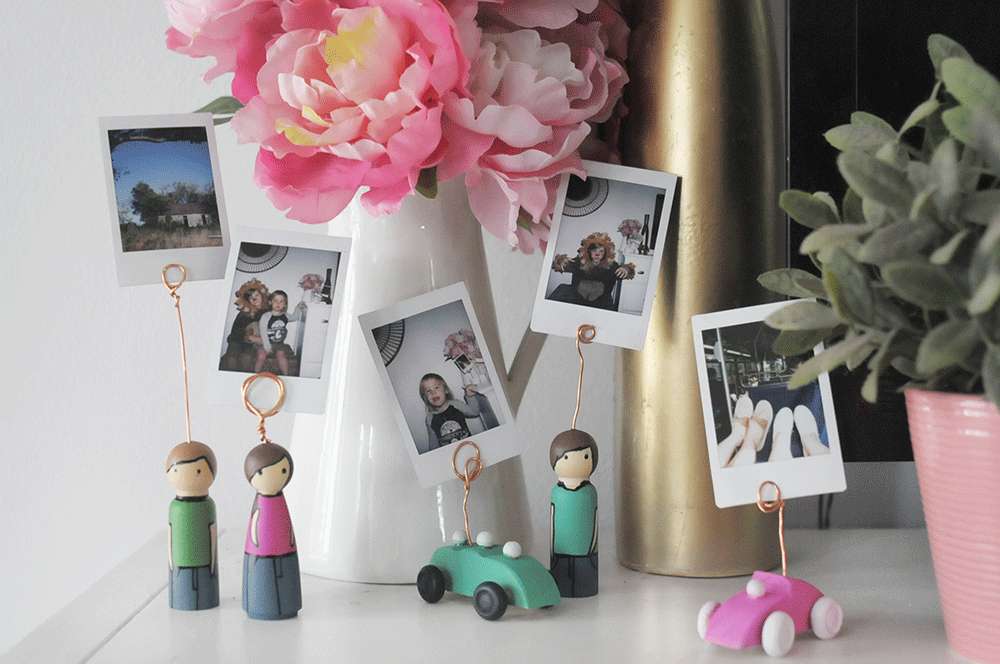
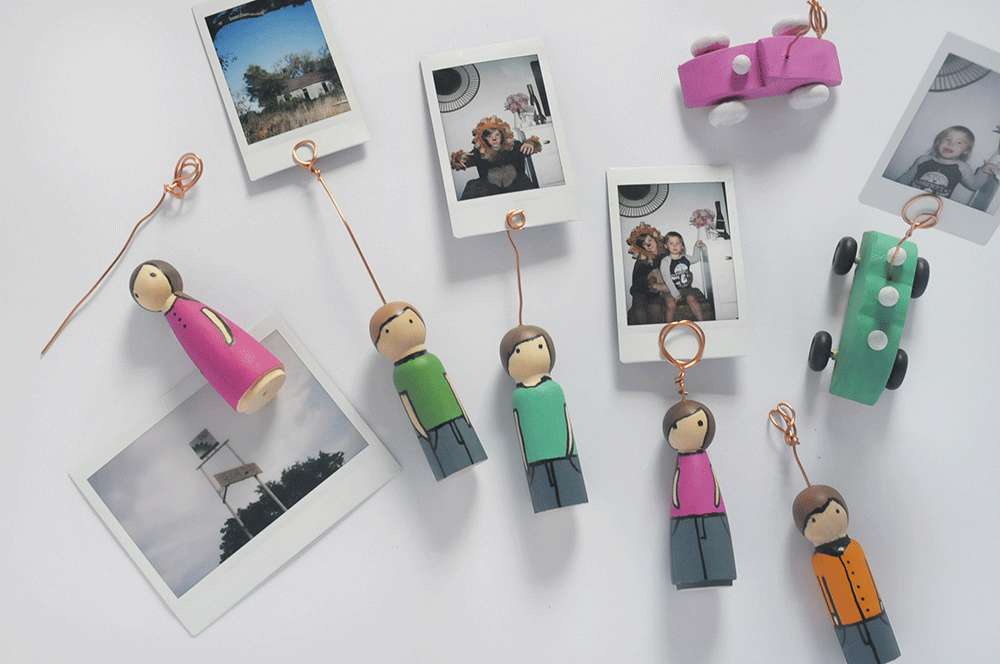
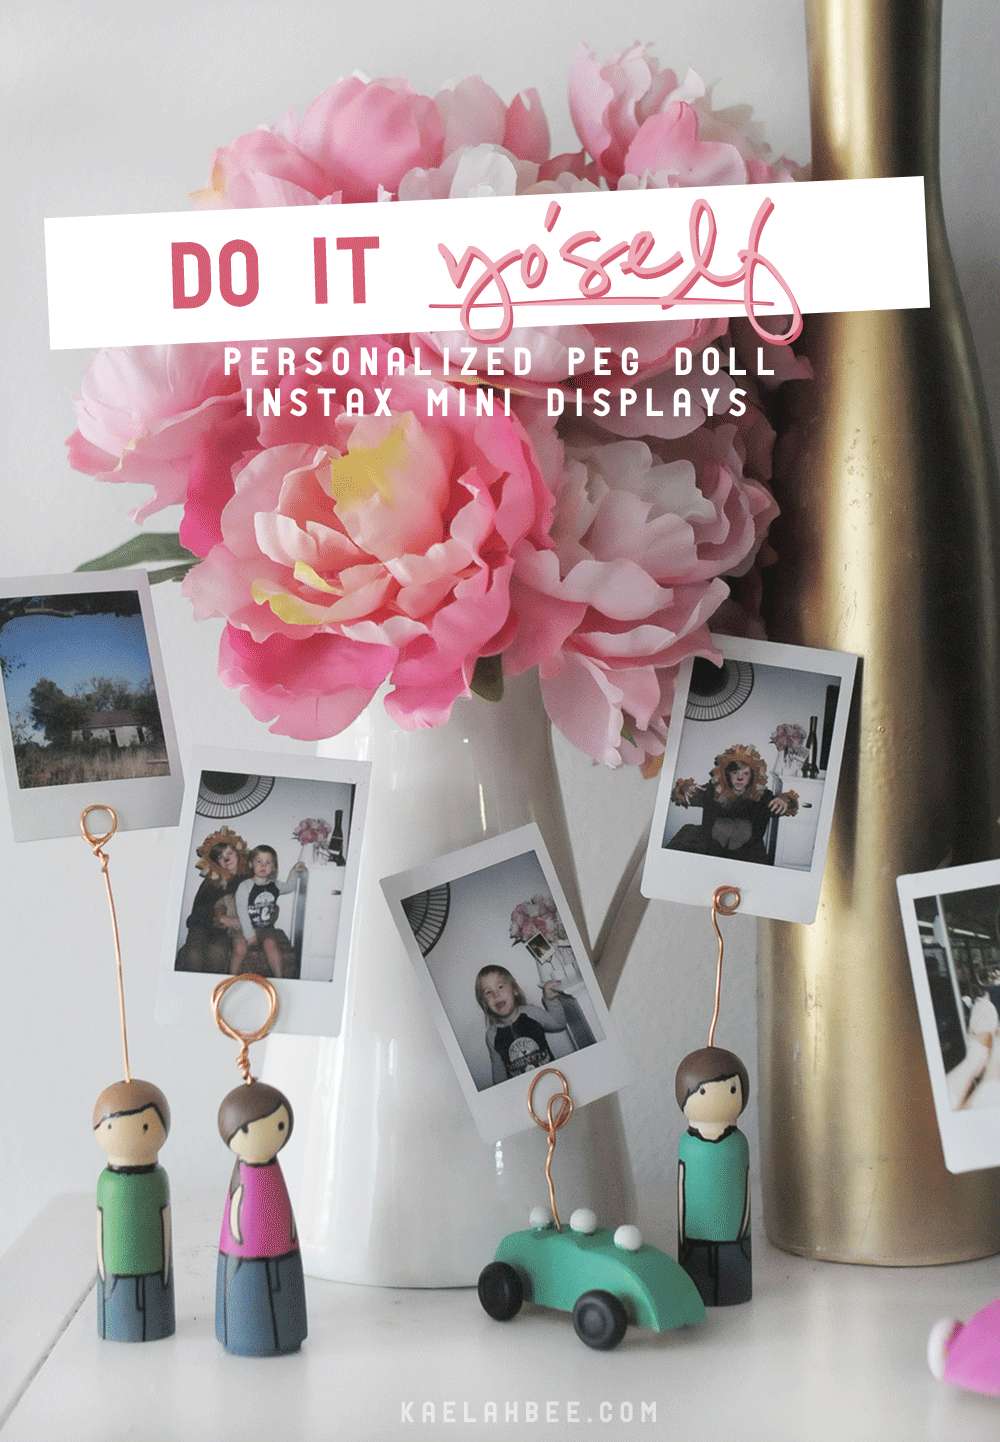
This blog has seen its fair share of novelty cameras and photo gear over the past (almost!) 8 years, but one that has always stuck around is the Instax Mini. Back in the day I had a little brown Instax Mini 7s (which still works like a charm!) but now I mostly tote around my "Dubarry" Instax Mini 8. Despite the change in models everything functions just the same as it always has - why fix what isn't broken, right? It's always just been a neat camera to have on hand, and I am a sucker for the pocket-sized photos that instantly begin to develop. Instax cameras are kind of like the best of both worlds when it comes to film vs. digital. They have that old school film feel to them but they deliver that instant gratification we all love with digital. I have shoe boxes full of Instax photos and I get so sentimental looking at them. I knew I needed a fun way to showcase some of them, and since I'm participating in the Michaels Make-A-Thon (14 days of amazing deals, ideas, and hands-on making!) I thought it'd be the perfect little DIY project. SO! I decided to paint some wooden peg dolls (which are supposed to resemble us - ha!) and crafted my own little displays using copper wire and pliers. This is such an easy peasy DIY! Even your little ones can get involved during the painting stage if you don't mind a little clean up!
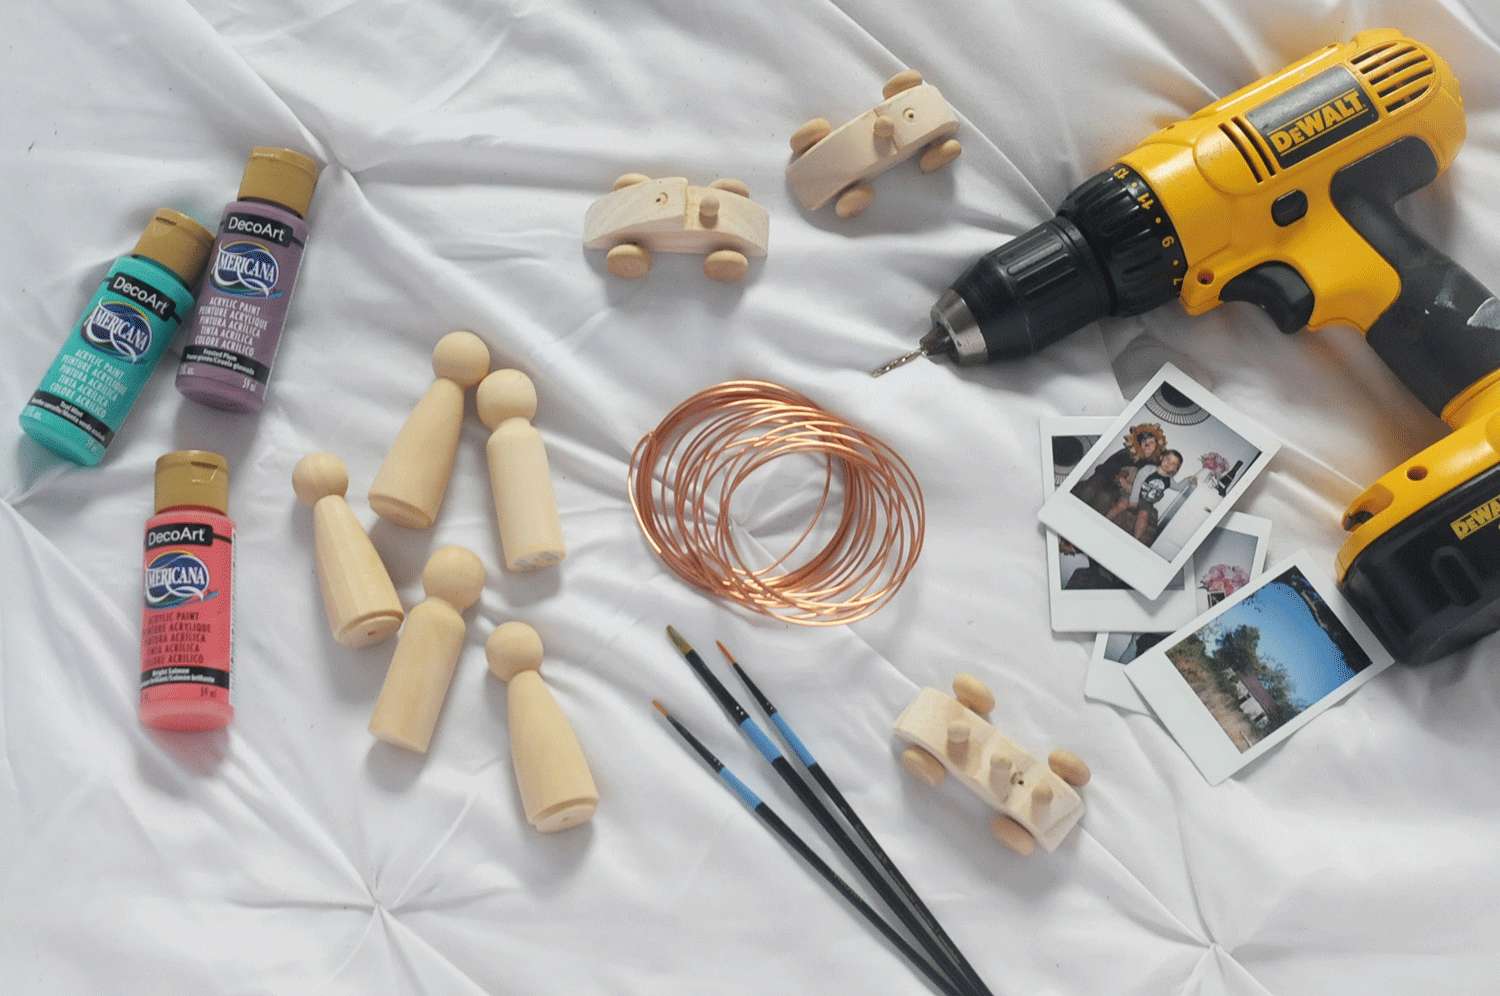
Supplies
Copper Wire (I used 16g)
Drill + 3/32" Drill Bit
(or almost anything with a small diameter)
Instax Mini Photos (+ camera!)
INSTRUCTIONS
// ONE. Grab your peg dolls and use a pencil to mark the top center of each head. Use your drill with that tiny lil' drill bit and hollow out an area as deep as you can.
// TWO. After this you'll sketch out your "character" on the wood with your pencil. These are great to keep simple or to jazz up - it's hard to go wrong so don't stress yourself over it.
// THREE. Once you've nailed down how you want it to look, break out the paint and brushes! You can go back over the edges of areas with a black paint pen if you don't dig the super tiny tip brushes but want the contrasting color.
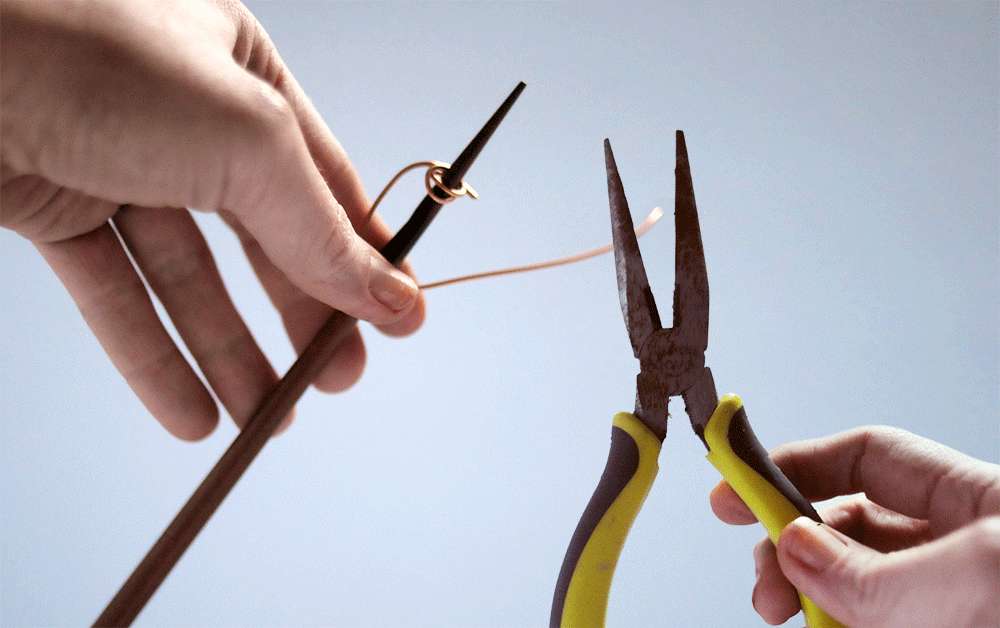
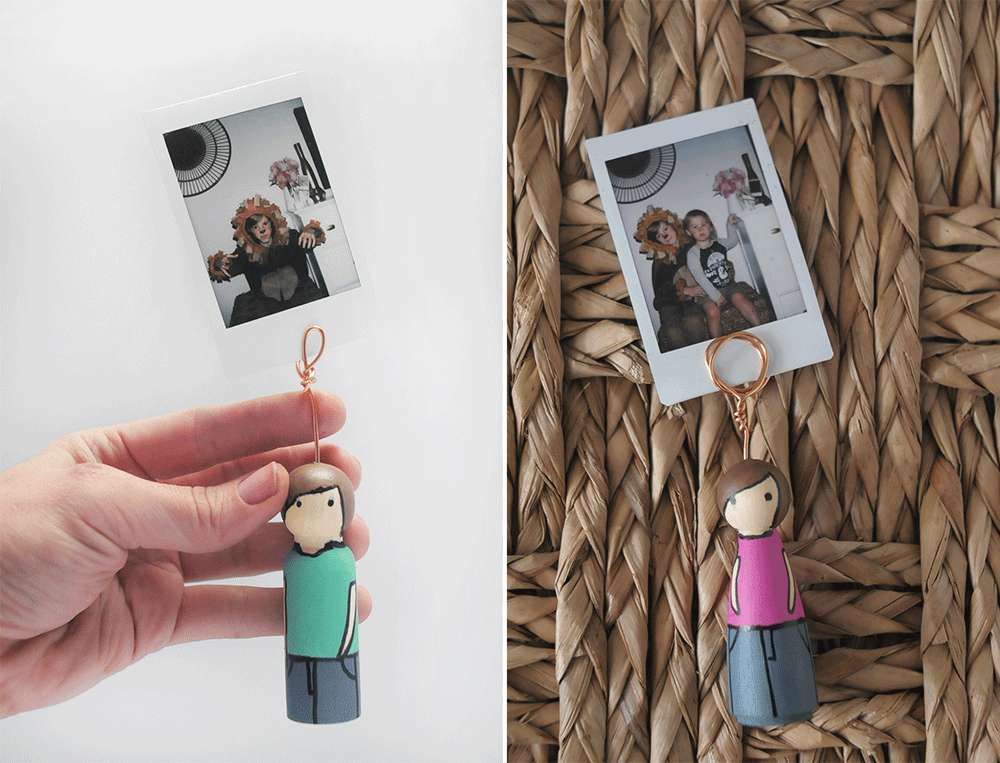
// FOUR. While the paint is drying on your peg dolls, grab your wire and pliers. Cut off varying lengths of wire and use your pliers to help mold the coil shape on one end. (Pro tip: Use something like a pencil or chopstick to wrap the wire around. It'll save your fingers a bit of trouble) Leave the other end of the wire straight and then pop it down into the top of the peg dolls. If your drill bit was larger than your wire you can always dab a smidge of industrial glue (like E-6000) onto the end of your wire before inserting it into the peg doll. This will help ensure it doesn't spin around when handled. Just be sure to clean up around the top of the doll so the glue doesn't accumulate and dry)

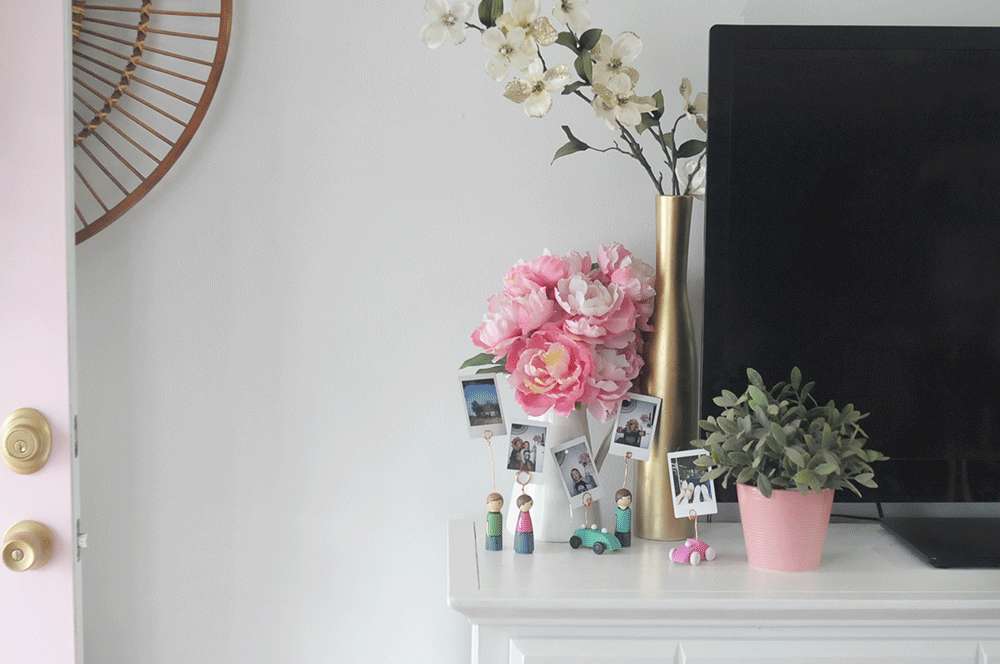
I didn't glue my wire into the peg dolls so both Linden and Toby popped the wire out of the dolls to play with them after dinner. Once they went to bed I put them back together and returned them to the TV stand. I kind of dig that they're dual-purpose and they can be fun toys to play with, too. So many fun possibilities! Definitely let me know if you decide to give 'em a whirl!
Check out the 13 other amazing projects and allllll the deals happening now through March 18th!
Check out the 13 other amazing projects and allllll the deals happening now through March 18th!
Happy Crafting!
xo KB


This is SO cute! I'm going to share it with my friend because she's super crafty and I think her daughter would love it!
ReplyDelete