Showing posts with label sweet little home. Show all posts

// The Flynn Nest: Our Bedroom

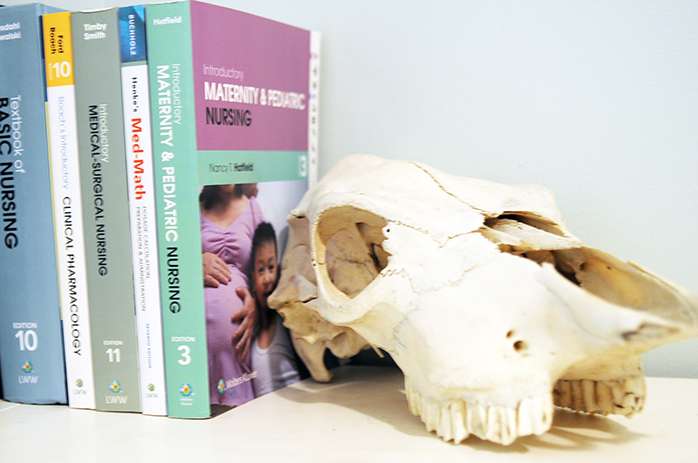
Whoa! Happy freakin' 2016! How did that happen?! I took some time away from the blog to enjoy the holiday with the family. And of course by enjoy I mean stress about any and everything. (Am I right or am I right?!) It wasn't all stress though - Honestly, it was quite nice to take it easy. It's been interesting navigating our first big holiday season with Mike as a nurse. He worked every single major holiday haha We're trying to adjust! Anyway, I'm starting off 2016 by sharing our bedroom tour! The crazy 75 degree weather after Christmas really triggered my Spring Cleaning Fever and I'm looking to finish so many projects this year!

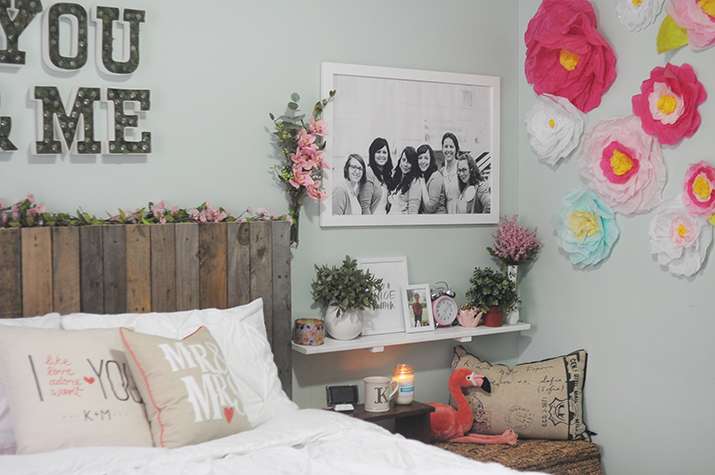
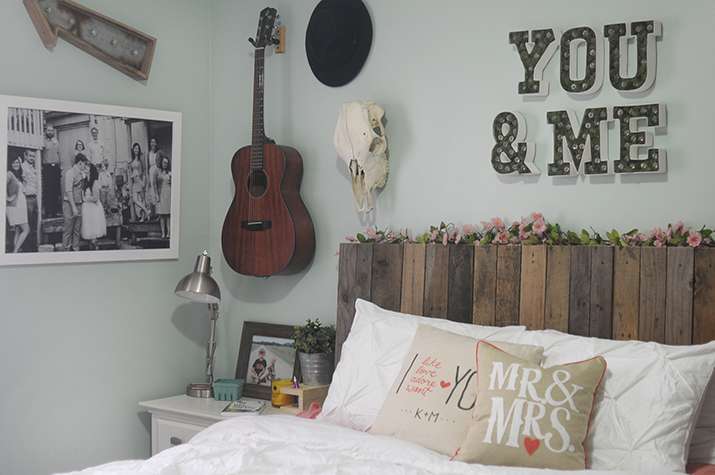
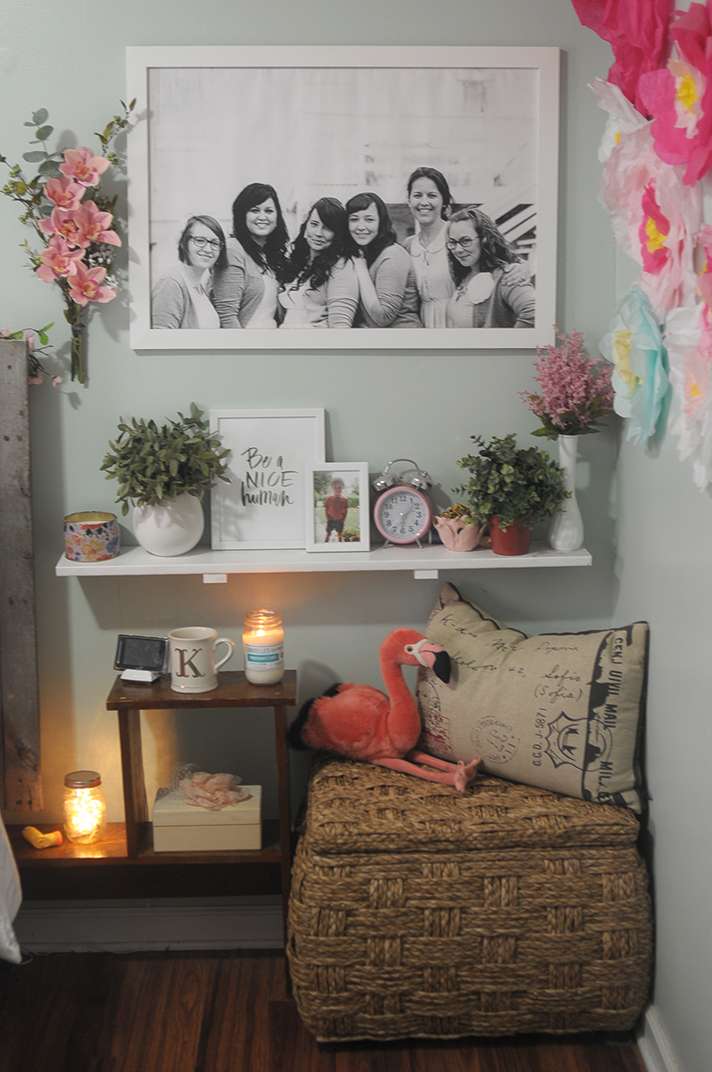
Our bedroom has become my favorite room in the house. With all of the hustle and bustle of work, school, and the holidays, it's been really difficult to find time to just be with Mike. This time of year just asks so much of us, so we have to squeeze in "us" time wherever we can. On top of the stress season, Mike works nights so he's gone at least half of the week (and he sleeps during the day when Linden and I are home.) Our bedroom is the only space in our house that's just for us. We finally got around to tidying it up and finish up this phase of our home. Now even when we're sleeping alone, it's a little more relaxing and "sweet". It's been a bit of an organizational nightmare though, I won't lie.

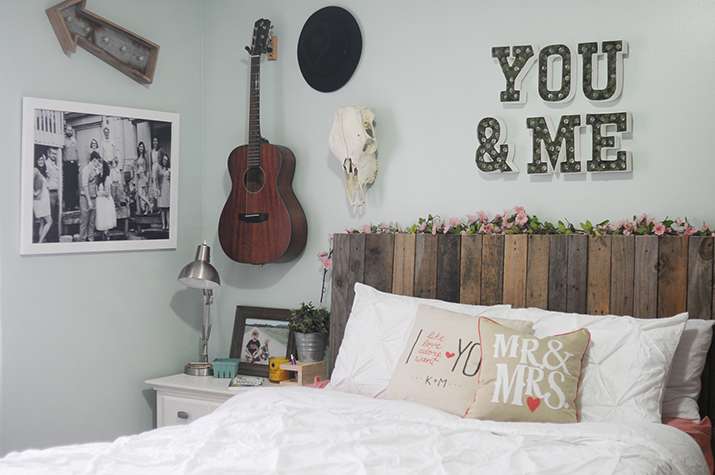
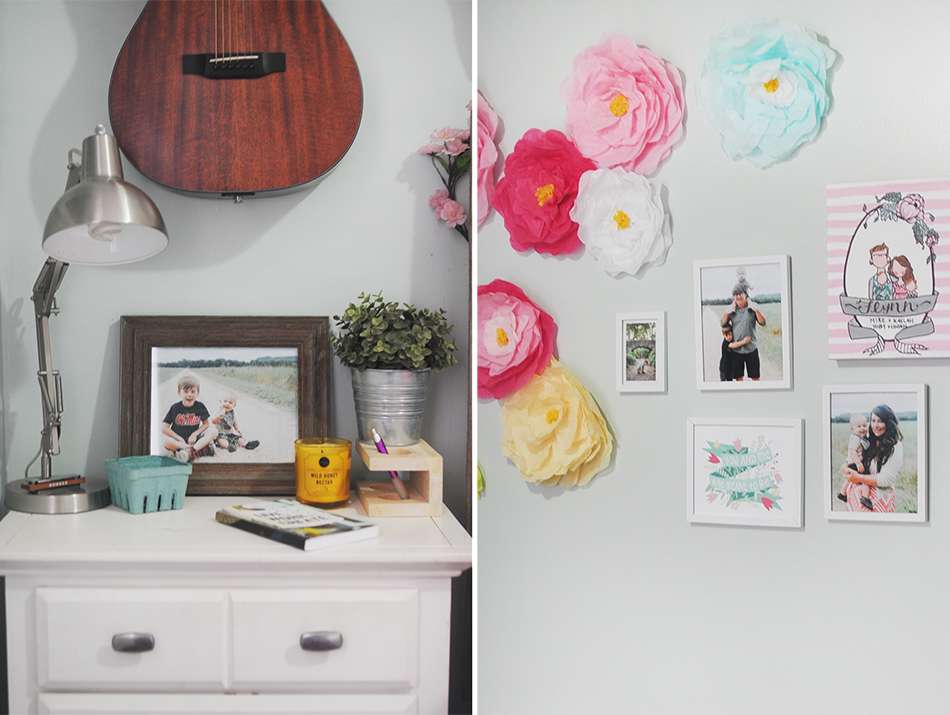
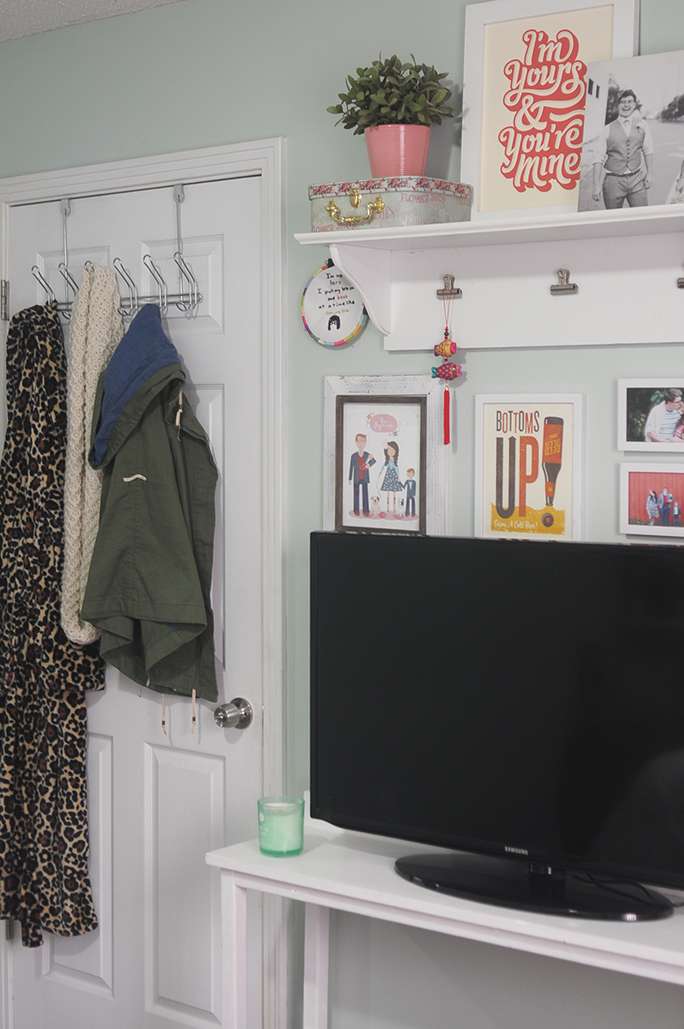
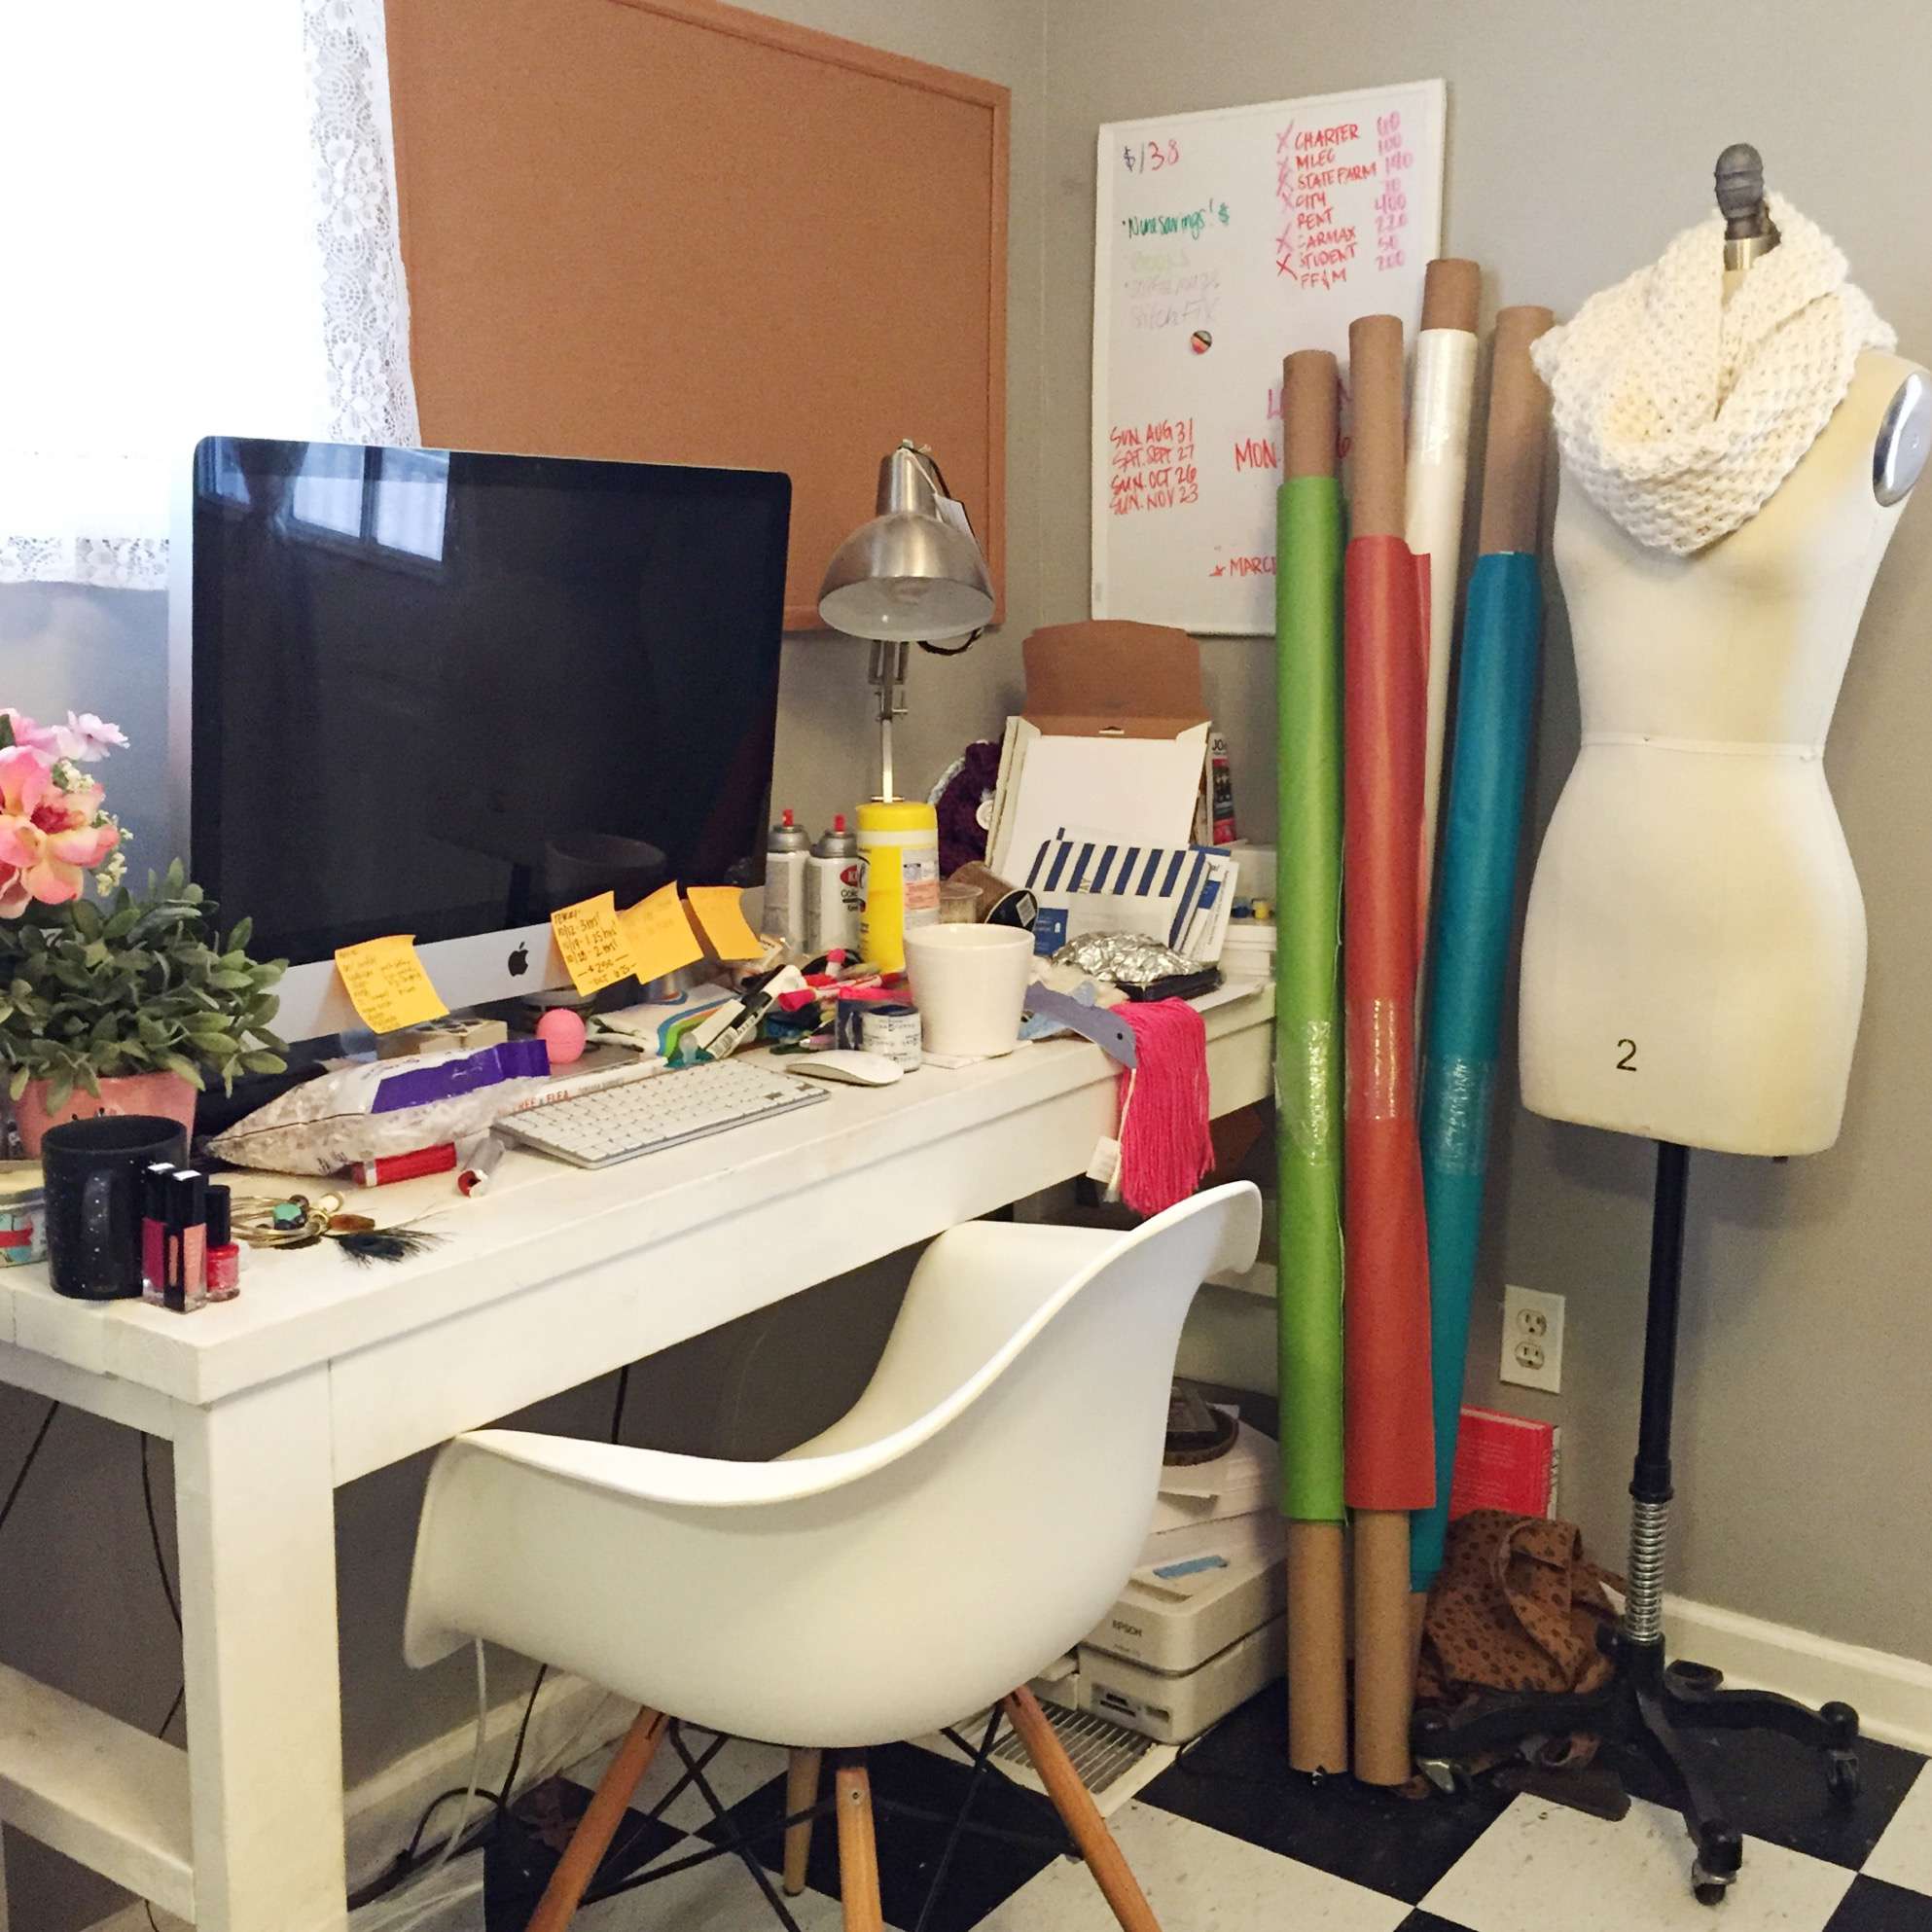
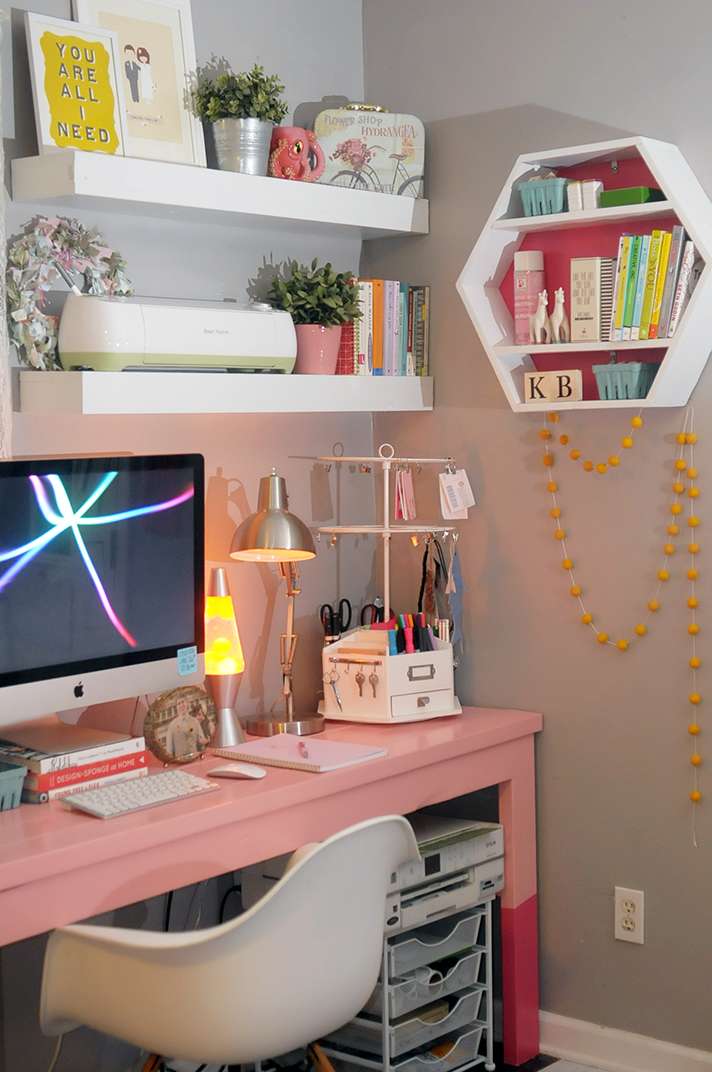
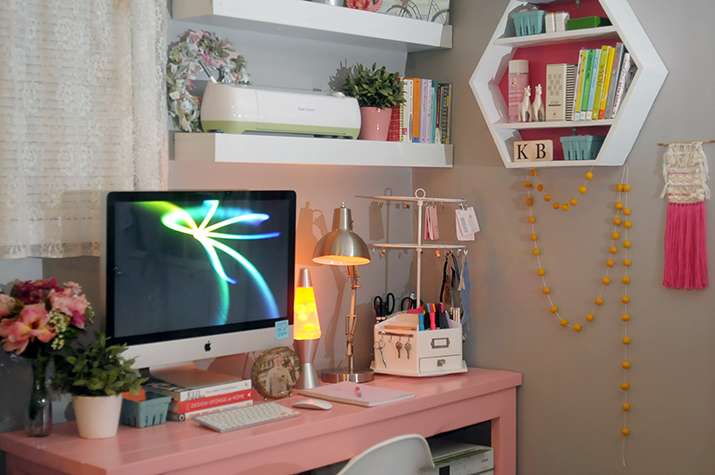
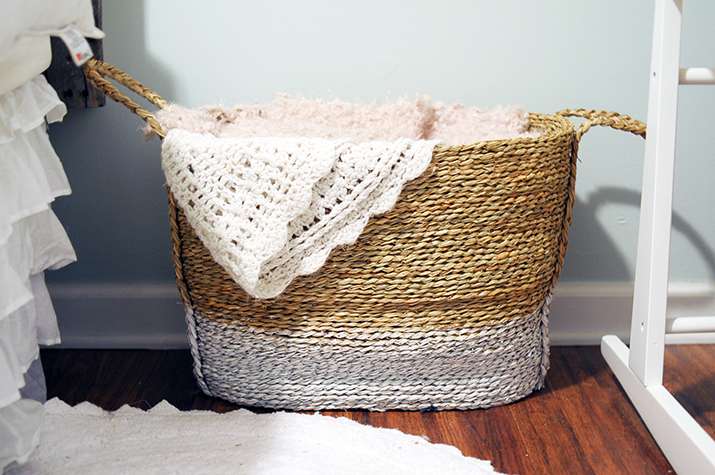
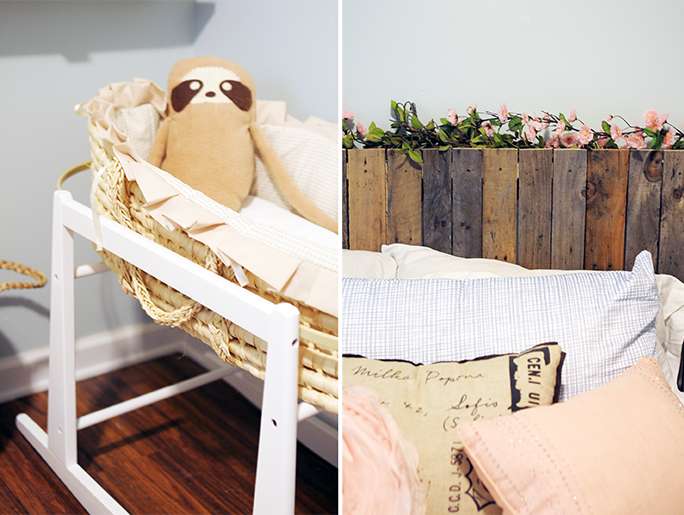
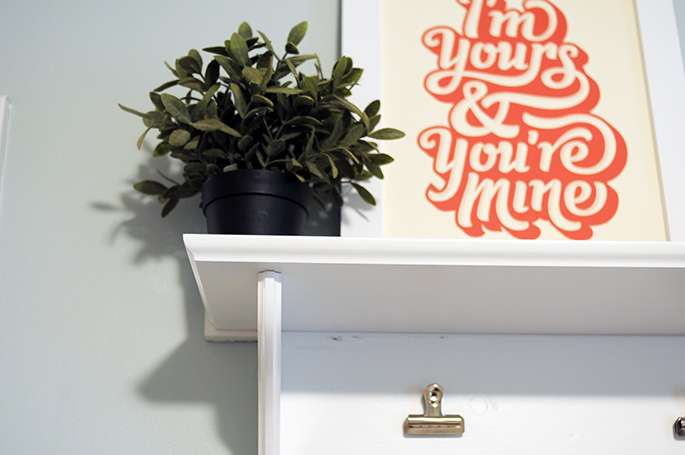
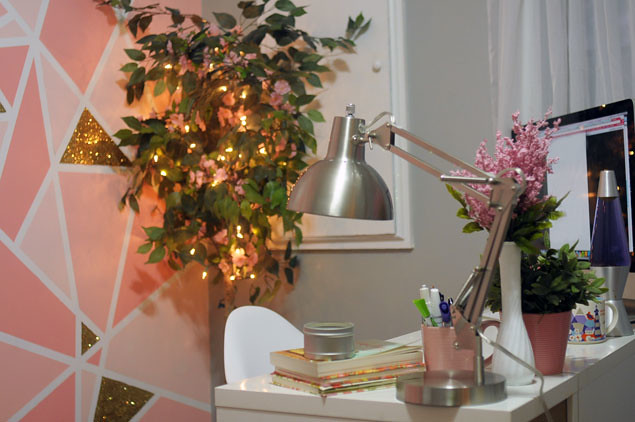
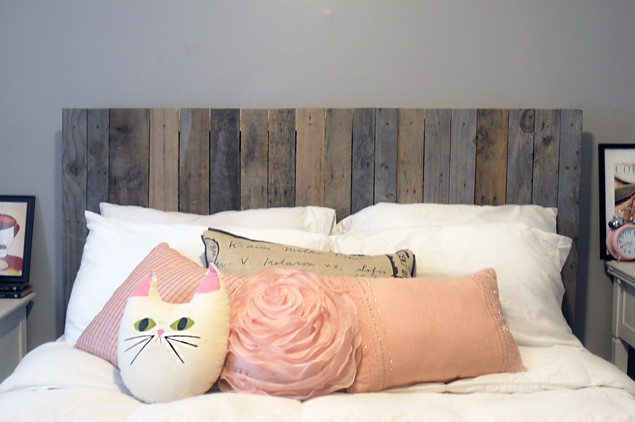
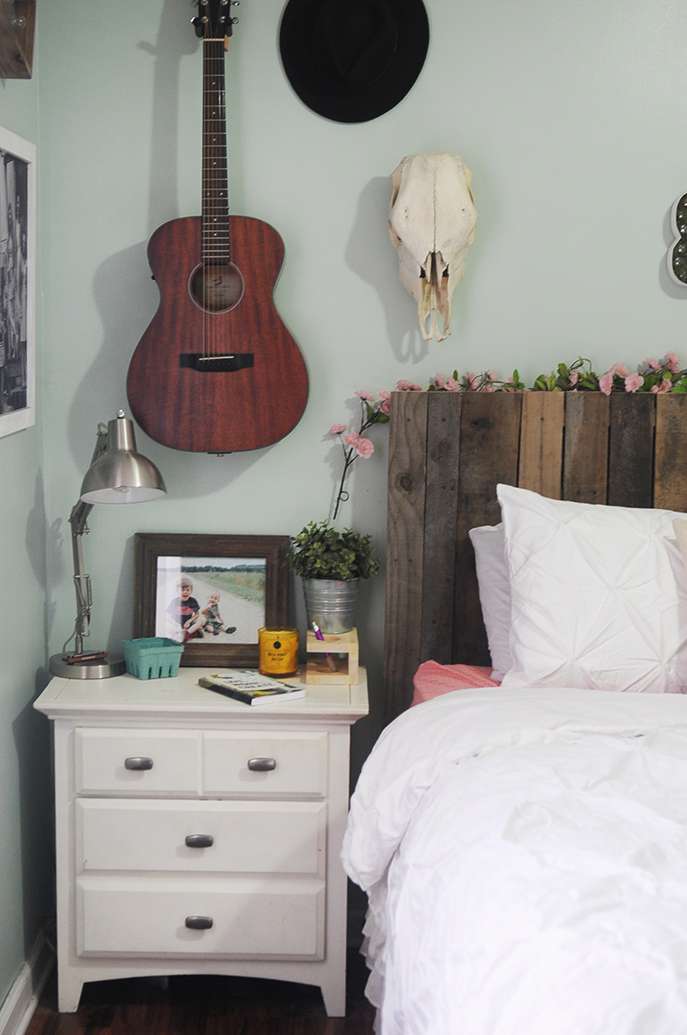
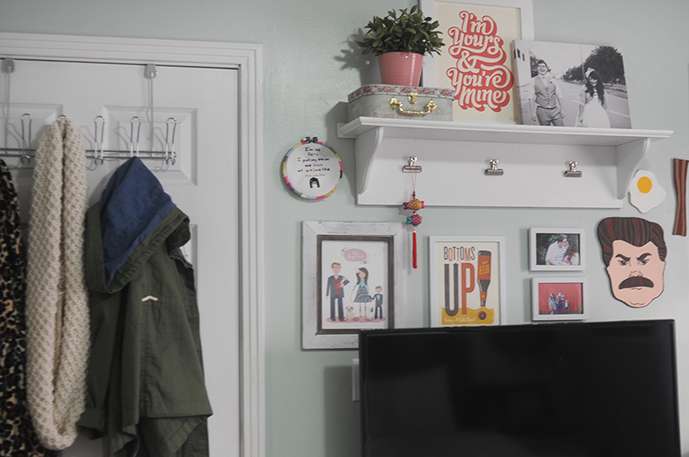
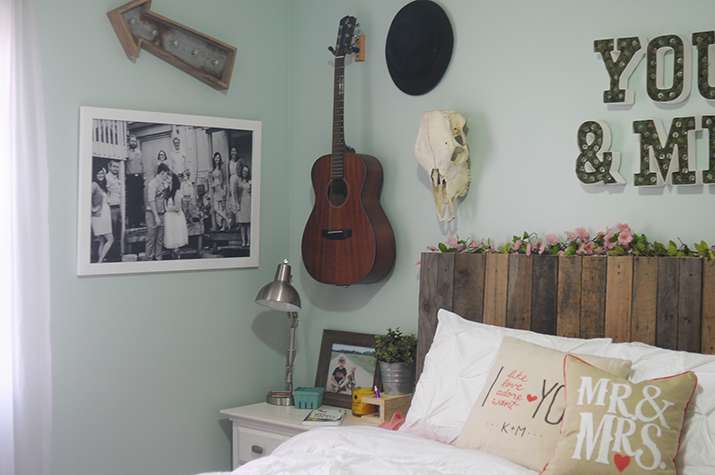
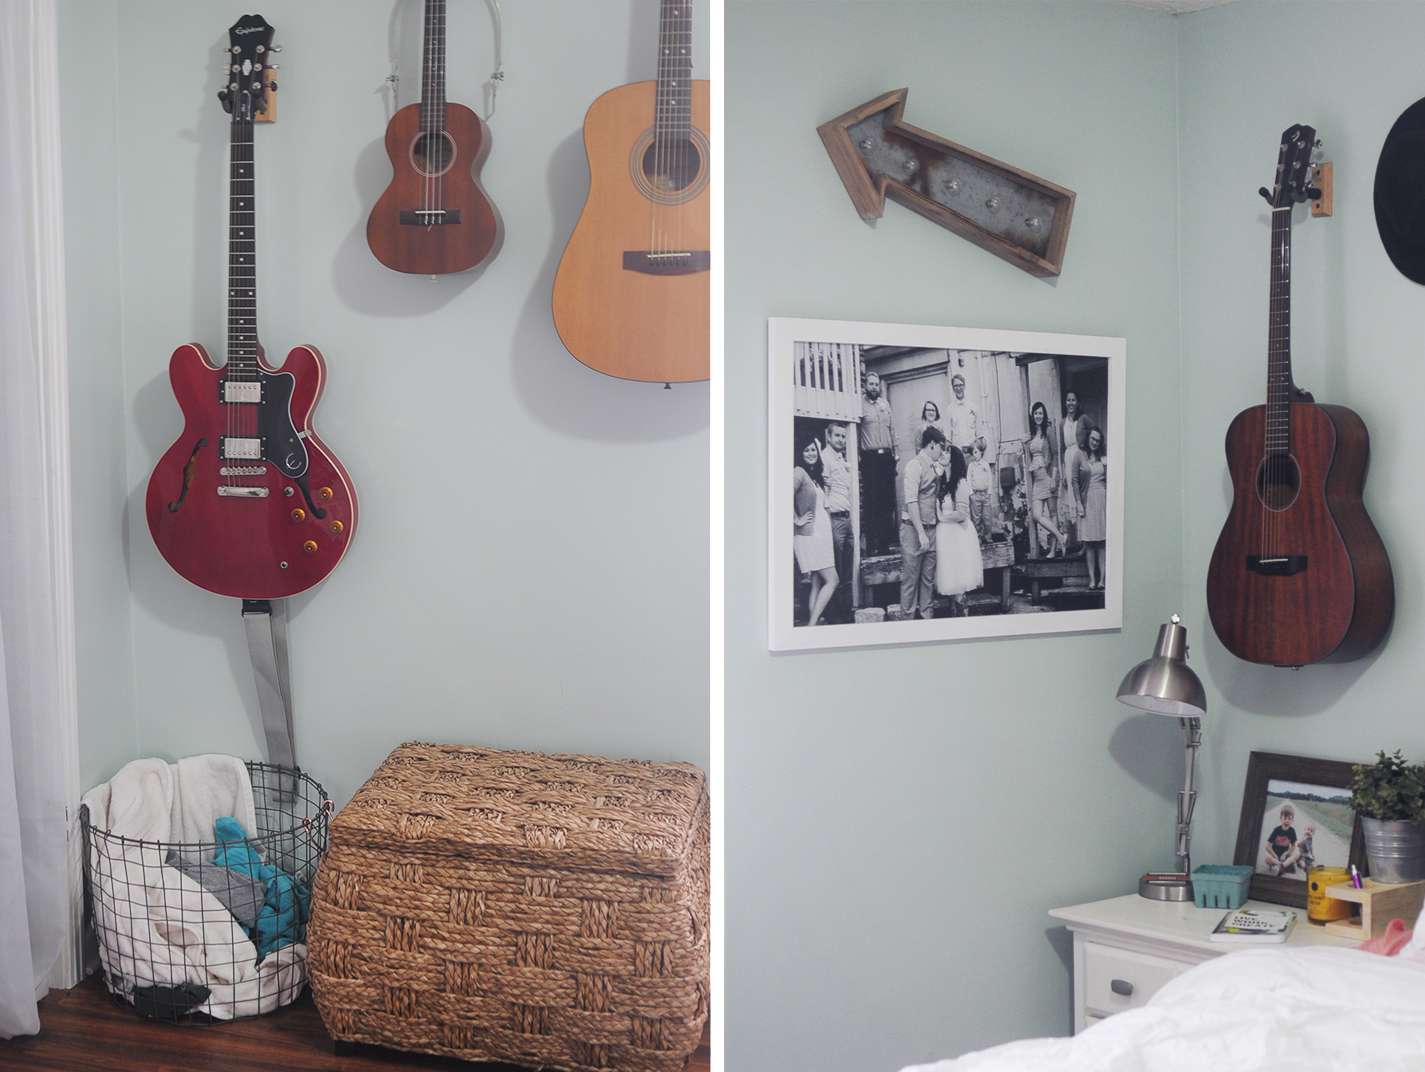
Despite being the "master" bedroom in our house, our room is really tiny. We have a queen size bed, a thin tv table, and small bedside "tables" on either side of our headboard. We don't have room for a lot of stuff. In our small room we have an equally small closet. Mike and I each have quite the wardrobe, and seriously nothing fits. Since we both needed somewhere to store extras like underthings and what not, we opted to pick up two straw trunks at Michaels to serve the purpose. It's not the perfect solution, but it actually works quite nicely for our space. We've lived here for 3 years now (whoa!) but we've yet to put the closet door up in our room. Sad, no? Right now we're doing it college-style with the same sheer panels over our closet as our window. I'll get around to changing those one day! There are a few baskets and boxes scattered around the room that hold our jewelry or loose change. Mike likes to set up his bedside table to write music, while I use my sidetable to hold my inhaler (ha!) and the baby monitor. We're exciting people, I'm telling ya!


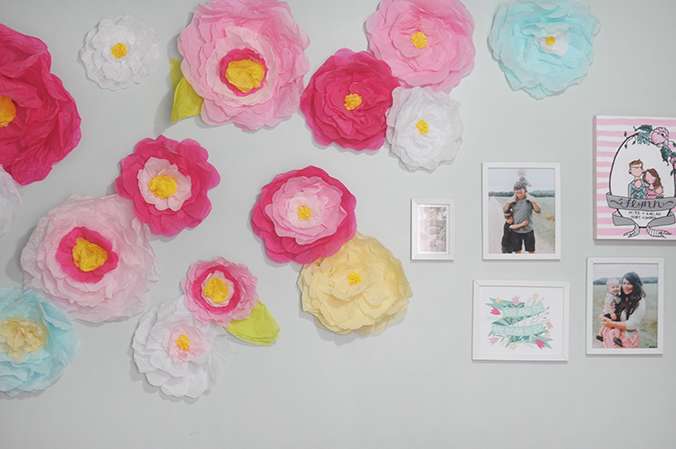
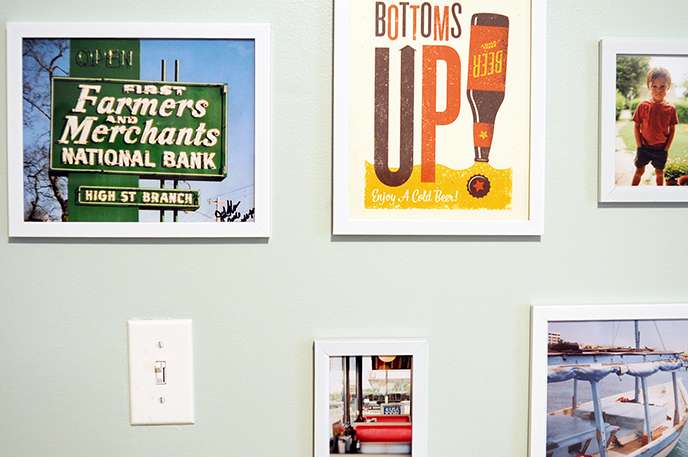
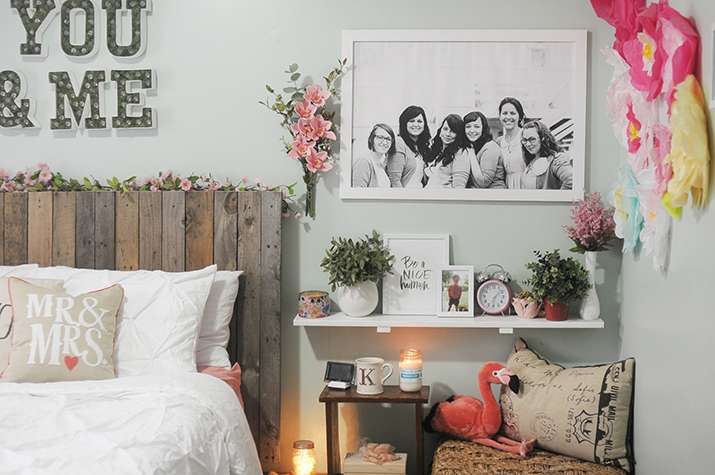
I feel like our spaces say a lot about us as individuals, but also as a couple. I think our unique take on things really meshes well together. Obviously I tend to have more of a hand in the decorating when it comes down to the knick knacks here and there, but we did this room together after Christmas and I'm so glad we tackled it as a team. Our room is playful enough to not make me feel old and stuffy, but grown up enough that I don't feel out of my element. I'd like to play with the layout of the closet a bit more, just to see what else I can fit in there haha! After going through all of my clothes, I have quiiiiite the Kaelah's Closet stock! Goal: Organize sale by the end of January!


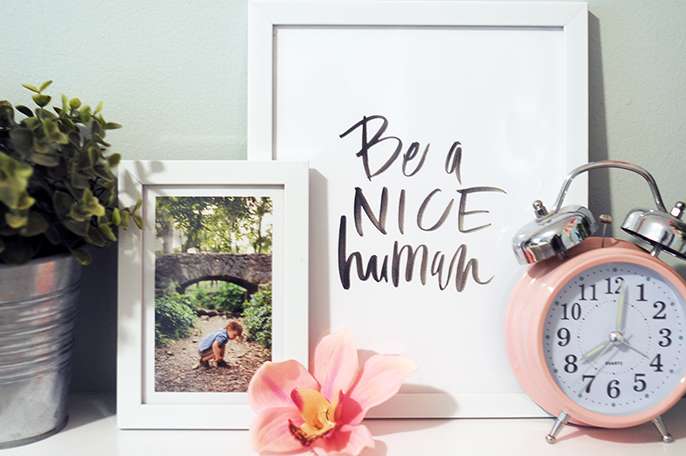
Inspired to organize your own space? Start your new year off right! Michaels has tons of products and storage supplies that you can use to decorate your space. They just launched a new line called Cre8ted Spaces (there are like 300+ items in 4 different colors), but I haven't had a chance to pick up any yet! The white range would look awesome in Toby's room, so we're tackling that soon! I'm so glad we finally hunkered down and tackled our bedroom. I'm so so happy with the space and it just feels so cozy. It's definitely inspired me to tackle the rest of our house, too. If you want to check out the other overhauls by the Michaels Makers, check out the Glue String blog!

xo KB


// Tidying Up


Mike and I spent most of Saturday morning and all of Sunday overhauling our room and Linden's nursery. L's nursery had turned into a "catch all" for every random piece of furniture and ever basket of laundry that had yet to be folded (ugh), and honestly, it was just bad. We had previously taken his crib and turned it into a sidecar in our room, but the time had come to move it back. He's been sleeping roughly half of the night in his crib next to our bed, so we opted to swap it out and put his 4moms Breeze in our room instead. It felt good to finally get his nursery done! You know, 6 months after he was born. These photos are just a few sneak peeks but I'll be sure to share a full tour shortly.

Our room is coming along, too. We had a giant clothes mountain form in front of our entirely-too-small closet and we dove headfirst into it. I bagged up 2 huge bags of clothes to get rid of via Kaelah's Closet, and I tossed even more into the garbage. It's nice to see our floor again haha! 

We have a couple of little projects to finish in both our room and Linden's, but I'm eager to get them started soon. Remember when I said only two rooms in my home could be clean at one time? Don't ask about the kitchen or the living room. We're getting there! Happy Monday! xo

// REVEAL: KB's Workspace Makeover


Huzzah! A newly updated workspace for the new year! I'm ashamed to say how bad my workspace had gotten during the holidays a few weeks back. My computer went untouched, my desk became a catch-all for every discarded piece of paper, and I could maybe find my keyboard or mouse if I searched long and hard enough. It was bad. Like, bad bad. Don't get me started on how dingy my desk had become thanks to the far-too-matte white paint! I wanted to spruce the place up so I'd be more motivated to keep it clean and be productive with the new year. It was sort of perfect timing for my January Michaels Makers challenge because the theme was "New Year's Craft Resolutions." I had resolved to organize (!!! there's that magic word!) my work area and keep. it. clean! I had put it off long enough, right?
I went from having an entire bedroom as my "studio" to a mere 8 foot by 3 foot corner of the kitchen. (Yes... that picture directly above is the "before"... except it has totally been a lot worse... So embarrassing!) It took some getting used to, but generally speaking it's been a good change. I had so much fun decorating the nursery that I didn't mind giving it up for Linden. And I'm also the type of gal who can't really have drawers on her desk because I'll stuff them full of useless clutter and junk. Anyway, Mike built my desk last year and even though this wasn't it's original home or purpose, it fits perfectly in my little nook. I knew I wanted to liven the space up a bit by painting the desk, but I had the hardest time deciding what color. I fell in love with a color on a spray paint can at Michaels and that's what I ultimately matched it with. (The desk color is "Blushing" by Valspar). I knew I needed a high gloss sheen to keep it clean and wiped down, so I topped the pink paint off with some high gloss clear spray paint. So far so good! It's shiny and smooth and perfect! Did you catch the hot pink paint-dipped legs?! I think that's my favorite part! The hot pink matches the color on the backside of the honeycomb shelf.


Organizing my space was the next challenge. I opted to lose the dry erase board and cork board because there was no balance for me. It was either full blown explosion of stuff pinned to them, or bareness. Instead I asked Mike to build me some thick floating shelves and a matching honeycomb shelf so it'd visually match our living room (which you can see from my workspace). I also took advantage of a 50% off sale at Michaels to load up on a few organizational pieces like this super cute honeycomb lazy Susan and the hanging tier that goes in the center. That lazy Susan is probably my favorite new storage solution for the space because it holds so much stuff! Prismacolor markets, Sharpies, scissors, cards, glitter... you name it! It's incredibly functional. I also picked up this wire basket drawer set that sits underneath my desk and it gives my printer the perfect boost so it's easy to reach and use.
I have a few berry baskets hanging around on the desk and shelves and they hold various things like my post-it notes, alphabet stamps, and mini ink pads. The little pop of blue makes a small but sweet impact, but provides the perfect amount of hidden storage. And my absolute favorite "totally can't live without it now" thing is my Cricut Explore! Holy moly, I'm going to be doing ALL THE PROJECTS! It fits perfectly up on my first shelf and it's so easy to bring down to use. I've already made a handful of car window decals and I can't get enough! You know those people with an insane amount of bumper stickers on the backs of their cars?! That's going to be me with vinyl decals. They are SO MUCH FUN to make! (If you have any awesome Cricut projects to share, let me know! I've started a board on Pinterest and I've gone Cricut crazy haha)
I still have a few bits and bobs that I want to work on like finding homes for a few things and hanging a few prints, but overall I'm so happy with the space! We finished it up earlier this week and I've been so insanely productive ever since. It's nice to have a space that feels cozy and purposeful. My trusty lava lamp made the cull and it bears repeating: It's like my silly little productivity secret. I turn that baby on when it's time to get to work and then I flick it off when I'm done. I don't know why it works but it's made the cut for the last several workspaces. 

This has been the perfect first challenge for the new year because I feel like it's really set me up to do awesome things from here on out. My space may be super tiny, but I love it and it's mine! Can't argue with that!

+++++++++++++++++++++++++++++++++++++++++++++++++++

If you're looking for a project to help kick off 2015, drop by the Michaels' blog The Glue String for inspiration from all 30 of the Michaels Makers! If one of your New Year's resolutions is to clean out your closet, office or even your bedroom, check out these fun and creative DIY storage ideas. If you just need a place to store scrapbook paper, paint, markets and yarn, these craft storage systems might be perfect for you!

Thanks for letting me share my new space! Maybe this will motivate me to finish the rest of the house and share it soon. You know, we've only been living here for two years... ha!

// Home Sweet Home: Bedroom Sneak Peek


Mike and I have been hard at work on a little mini bedroom makeover this past weekend. Our walls were a medium grey (much like the rest of our house) and we had very few things on the wall. It just felt so drab and boring. We knew we wanted to spruce it up a little bit before the baby comes, but we weren't really sure how to go about it. I knew what color I wanted the walls, and we planned to do some faux board-and-batten on the lower half. We still plan on actually doing that, but that was just too much for us to take on at this particular time. We repainted the whole room and that was all of the cash we spent. Everything else was refashioning things we had, building frames and shelves out of wood we had laying around, and finally hanging some artwork on the walls. We still have plenty left to do, but here's a little sneak peek at how it's coming along. We're hoping to have it totally finished by this time next week, but you know how that goes...

I'm sure I'll get an earful about how it's so girly or pink or whatever, and Mike can't possibly be okay with it. But he is (surprise!). I didn't show too much of his side of the room just yet because that's actually the part that needs to get finished. He hasn't really decided on artwork or decor just yet, so here's to hoping we can nail that down. It feels so nice to finally feel happy with our bedroom. The past year and a half has just been so "blah" when we went in there. I love that it's bright and happy now. I'll be sure to share the final photos so you can see everything (and link where everything is from) in case you're interested!

Not bad for only spending $50 on a gallon of paint, right?

// Project Nursery: v.1


We finally said goodbye to our gorgeous, glittery and pink geometric wall last week. If Baby Flynn had been a girl, we would have undoubtedly kept it. But even since we're bringing a little dude into the world, we couldn't really part with the fun look and feel of a mosaic wall. Rather than scrap the idea all together, we decided to channel the nursery theme around a much more subtle and masculine geometric design. The best part? This project is so budget friendly. The whole thing cost us less than $20!

Now, I've received a lot of questions about how we got the glitter off the original wall, and I'm happy to report it was much easier than we expected! It still took some elbow grease, but a spritzing bottle of warm, soapy water and a putty knife did the trick. After we got all of the glitter off the wall and then off the floor, Mike painted over the pink design with Kilz primer. I busied myself elsewhere for that portion since the fumes are pretty tough. After that he threw down a layer of satin white so the lines would match the finish of the geometrics, and then it was time to tape! If you remember from our original wall, we used regular FrogTape in the .94" size. Last time we had some issues of it rolling up on us, but this time around was perfect! We seriously couldn't have asked for better lines. 

I've also been asked a few times if there's a rhyme or reason to the way we tape the shapes. The simple answer: Nope! The longer answer: We try to do the longer/larger lines first, to sort of set the stage on the wall. Then we break those down into smaller lines. We put more time and effort into the execution this time around, but I think both walls turned out great (I'm totally biased). We didn't use any glitter this time since I didn't want it to get stuck all over everything in the nursery, but we'll be adding some extra color to the room with the accessories. 


If you're still interested in giving a geo wall a whirl, here are a few tips and tricks I'd recommend employing in order to help you get the best results:
  1. Run your fingers over either side of the tape after you put it down. This will push out any wrinkles or bubbles that might have formed while placing. If you don't do this, you run the risk of getting paint caught under them and then ruining your crisp, white line.
  2. After everything is taped, choose your middle color and then mark the shapes you want to be in that hue. We did this by taking small pieces of FrogTape and marking them. Mike was able to start painting the first color while I worked on figuring out what color was next.
  3. When picking colors, get three colors from the same paint swatch for the best results. Of course that's if you want a cohesive ombre color palette. Loads of people have used our original tutorial with contrasting colors and it turned out great. We just greatly prefer the coordinating hues. (Our middle grey is the exact color of our other 3 walls in the nursery. This made it feel really cohesive overall)
  4. Allow the paint to dry for roughly an hour or two, then remove the tape. Try not to leave it on longer than you have to. It's way easier to pull off when the paint is just sticky enough to release, but not so tacky it pulls with the tape. Last time I said ~15 minutes or so, but I think we had a better experience this time around.
  5. Try not to work from left to right or top to bottom with the paint. Step back and view your wall from across the room and pick shapes here and there to mark. This will ensure you have a better balance of colors at the end of the project.
  6. If you're only doing one wall, buy the Valspar paint samples! They're $4 each and 3 of them did our entire wall. That's only $12 spent! (We only have 8' ceilings, but you could make it work with 10' ceilings as well) This does not have to be an expensive undertaking!
  7. If you want to know the Valspar colors we used, they were: Cinder Block, Rocky Slope, and Cathedral Gray (from lightest to darkest).

Now that we have this tiny little bit of the nursery done, I'm excited to try and dive in deeper. It's hard to do much when you don't have the first piece of furniture, but I'm holding out hope we can spring for the items on our dream list. We printed the first pieces of "art" for his room this past weekend and now I just need it to all fall together. It'd be nice if it were that simple, right?

I'm working on a nursery moodboard right now and it's focused around the theme of his room. I'll be sure to share it soon, along with our ultimate nursery wishlist! That way y'all can chime in let me know if you have any experience with any of the brands or products! I'm going into this totally blind haha

Thanks for reading! xo

// A Cozy Bed

DIY Reclaimed Wood Headboard - KaelahBee.com
There are few things I enjoy more than freshly laundered bedding. Especially white bedding! It always makes me feel like I'm in a hotel, ya know?

Mike and I agree on a lot of things, but one thing we don't agree on is the type of bed frame we want. Over the past several years we've had the conversation more times than I care to remember, and it never ends agreement. I love all things white and feminine. He loves low, platform beds and minimalistic lines. We compromised (if you can call it that) in East Nashville with some rustic palettes as the bed frame, just to keep our mattress and box spring off of the floor. Even still, we had yet to agree on a headboard. We didn't have one in East Nashville because our bedroom was mostly windows so we didn't want to block the light, but now that we have a full wall behind our bed we knew it was time to do something. We've tossed around the idea of doing our own tufted headboard, or a simple wooden one. We had a lot of weather scrap lumber laying around so we decided to whip something up just for the time being.
DIY Reclaimed Wood Headboard - KaelahBee.com
Mike built this simple rustic headboard in under 30 minutes earlier this week. It's such an easy project honestly. I wasn't planning on loving it as much as I do, but after an immense amount of support via Instagram I couldn't not love it, ya know? A few people have requested a tutorial on how to build your own, and luckily we have a lot of scrap wood left. Would that be something y'all would be into? If so, I'm sure we could make it happen! I feel like a lot of our woodworking DIYs are sort of hit or miss. Sometimes they can be too involved for anyone to want to tackle, but the great thing about this is all you need is a drill and a saw. Easy peasy! 

Do you have a traditional bed frame and headboard? Or have you DIY'd something yourself?! Toby will be growing out of his bed before too long so I'm constantly on the hunt for bigger and better ideas. Who knows how long our little headboard will last either. The great thing is it cost us exactly ZILCH so I'm not too worried about it haha! I want to do something super fun for Toby though... Hmm!

// DIY Geometric Paint + Glitter Wall

Kaelah Bee : Office Makeover - Geometric Glitter Wall DIY
Okay! I'm so stoked on how excited y'all were about our geometric glitter wall! Seriously I've been dying to share this project since we did it and it's so easy! I think everyone should have a glitter wall in their house but I'm obviously super biased so whatever. Let's talk about a few things first, yeah?

Before you dive head first into adhering glitter to your walls, ask yourself these questions:
  1. Are you the type of person who will go bonkers if you have glitter stuck to you after 3 days/showers?
  2. Does the thought of finding more glitter in your bra than on the wall freak you out?
  3. Does the room you want the glitter wall in have carpet?

If you answered yes to any of those questions, you might be best just sticking to the geometric flat paint or opting for a glitter paint (Martha Stewart has one!). You can get around #3 by laying down a slick dropcloth (don't do a canvas/fabric one!) but seriously, don't blame me if you're stuck with glitter in your carpet forever! That's my disclaimer! Real glitter ends up looking so much better than a glitter paint in my opinion.

But really, you will find glitter everywhere. In your bra. In your hair. On your eyelids. And quite possibly your underwear. I don't know how it got there either. Maybe wear a turtleneck if it gives you the heebie jeebies. Picking tiny pieces of glitter off of yourself for a week is so worth it! I promise.

Okay... now the part you've been waiting for! Let's get geometric!
Office Makeover DIY Geometric Glitter Wall - KaelahBee.com
I was totally serious when I said this wall cost us around $15. Granted we had the glitter and ModPodge already, but it doesn't take much at all. We painted an 8x11' wall and had plenty of paint leftover afterward. We picked a Valspar paint swatch with 3 colors on it and just had the lady at Lowes mix up a sample size ($3!) of each color. We knew these shades would work well together since they came from the same swatch card. (Our colors are: Baby Blush, Peach Whisper, and Peach Punch)

SUPPLIES:
Satin finish paint in the colors of your choosing (we used 3 colors + a metallic spray paint)
ModPodge (Gloss)
Glitter
Foam brush
Aluminum pie plate (or paper plate)
Frogtape (we used .94")

INSTRUCTIONS:
Get crazy with your Frogtape! Whatever shapes and lines you want, slap that sticky stuff on! We had no rhyme or reason to our design, but we started with larger diagonal lines and then just built off of them. To be honest it's sort of a blind project where you have no idea how it'll turn out until it's done. We were skeptical, too, but now we are believers!

Once you've laid your Frogtape down, decide what color will be your "median" color and paint those first. We painted our medium pink to start, then we painted the lighter and darker shade at the same time. We just eyeballed what we thought would look good and went for it. You can always fill "holes" with the median color, too. You'll start to see how it all works together once you get 2/3 of your wall painted.

Our photos are a little out of order considering we opted to do gold spray paint on a few shapes first. The metallic paint fell a little flat for us so that's where the glitter came in. If you want to do the spray paint, just be sure to cover up the shapes around it with paper first. The smell of spray paint in your home should be enough to make you not want to do it, but hey, it's a lesson learned! All ideas can't be good ideas, right?

Be sure to pull off the Frogtape about 10-15 minutes after you finish the last color. This way the paint is still a little pliable if you need to fix it a bit. The Frogtape did a good job for us but there were a few small spots we needed to touch up afterward.

Let your paint dry for several hours before attempting the glitter portion. It gets messy and you don't want the glitter falling into the other colors.

NOW! THE GLITTER! (Sweep your floor if you have hardwood! This way you can just sweep up the glitter and reuse it if needed) Grab some more Frogtape and tape around the shapes you want glittered. It worked out well for us because our base was also gold so it didn't matter if the coverage wasn't even. If you can, I recommend matching the base paint and glitter, but it's not the end of the world if you don't! Now, dip your foam brush in the ModPodge and give your wall shape a good coating of it. Not super thin, but also not so thick that it's runny. As soon as you do the ModPodge on one shape, dump some glitter in your pie plate and fold it up a little bit. (You don't have to fold it like I did, but I noticed it made a huge difference in the coverage on the wall!) Start at the bottom of your shape and blow the glitter onto the wall, moving side to side and upwards. You'll have to do it a couple of times for each shape, but don't worry, it's amazing how much it'll cover! Repeat as necessary on the amount of shapes you want and voila! Remove the Frogtape and you have you a fancy, sparkly, glittered wall!
Office Makeover DIY Geometric Glitter Wall - Kaelah Bee
Kaelah Bee : Office Makeover - Geometric Glitter Wall DIY
Hopefully that was easy enough to follow! I know many of you expressed your excitement at making a geometric glitter wall of your own. I've read so many awesome color palette ideas! I think the mint ombre + silver might be my favorite! (Well, second to my own of course haha!) Mike and I said that if we ever have a little boy we're totally going to do this with a grey wall. (And if we have a girl then voila! We've already got part of the nursery done! Dreaming way ahead there...!) Let me know if you end up giving it a go. I'd love to see some shots of your own walls! Good luck! xo