Showing posts with label michaels makers. Show all posts

// Galentine's Day Sweet Treat Bags

Galentine's Day Sweet Treat Bags with Michaels
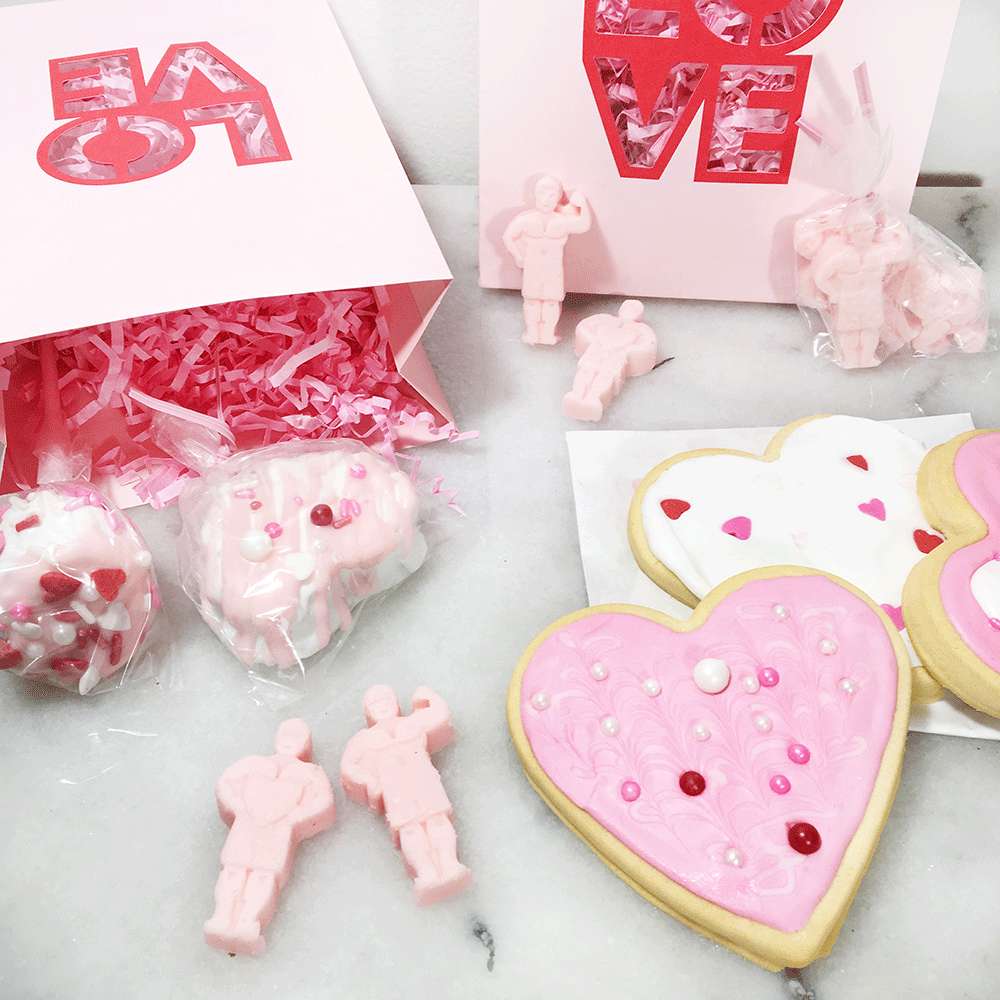
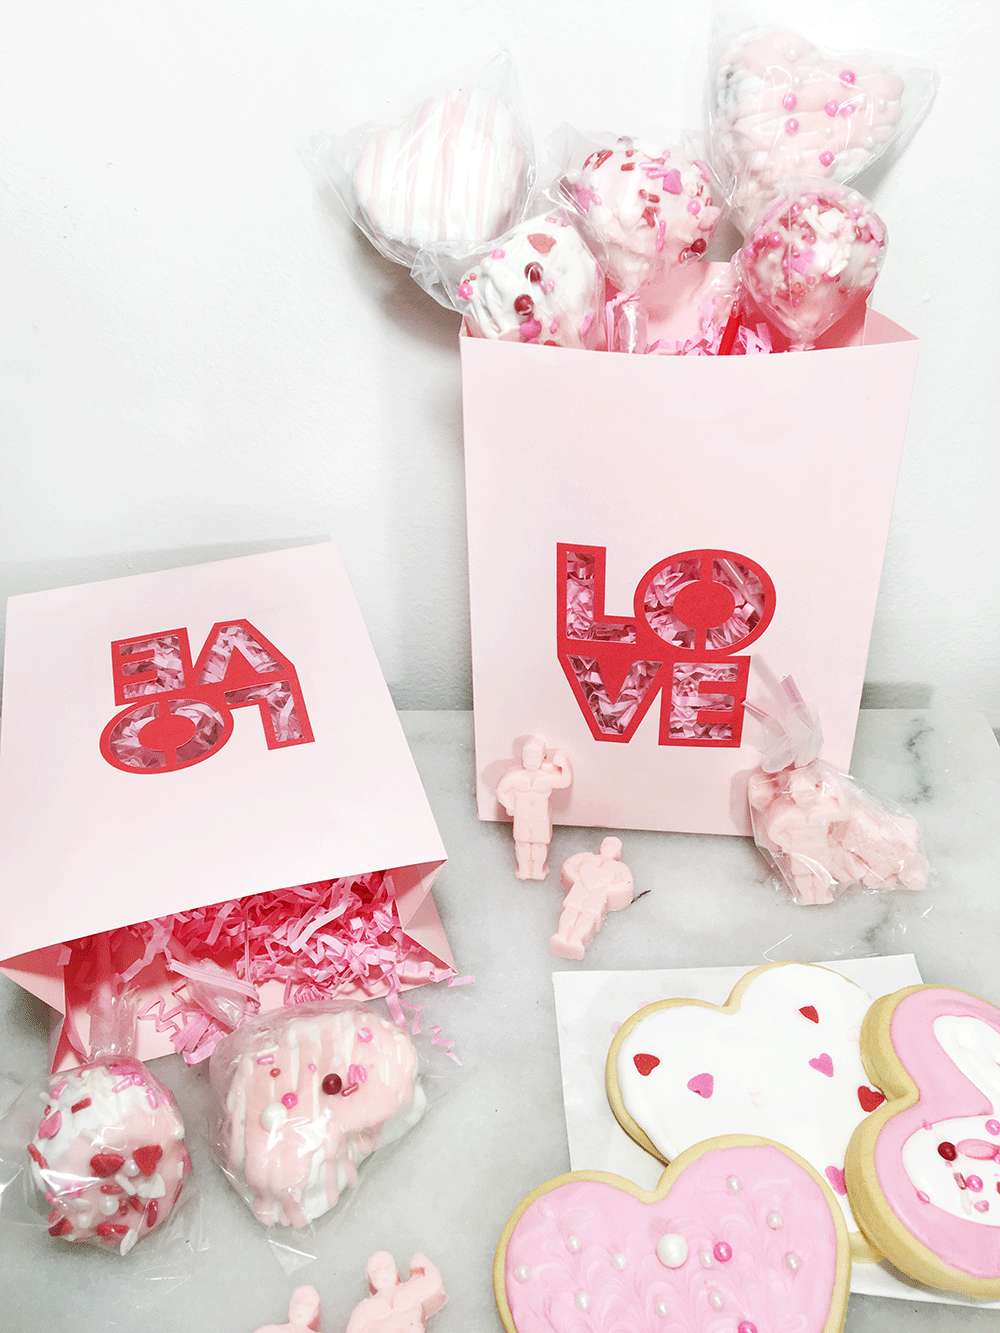
For this month's Michaels Makers challenge we were tasked with doing something Valentine's/Galentine's Day theme, and as soon as I saw the cute new baking bits and bobs in the store, I knew exactly what I wanted to do. The ~buff guy~ candy mold is what really sealed the deal haha! Men are instantly made better when they're made of chocolate, am I right? ;) I tried my hand at cookie decorating over the holidays and had a lot of fun. I saw Michaels carried a ready-to-decorate box of cookies so I thought I'd give it another whirl, without all the mess of creating the dough and icing from scratch. I picked up some pink and white cookie icing, along with some Valentine's Day themed sprinkles, and then set out for the candy melts. I started to make brownies in the heart pop molds, but I worried the brownies wouldn't be dense enough to hold their shape in the mold, much less when they're dipped in chocolate. Instead I opted to do some mixed Oreos and cream cheese, for oreo balls! I liked the mixture of the golden and regular oreos - so yum! And how cute are these LOVE bags?! 
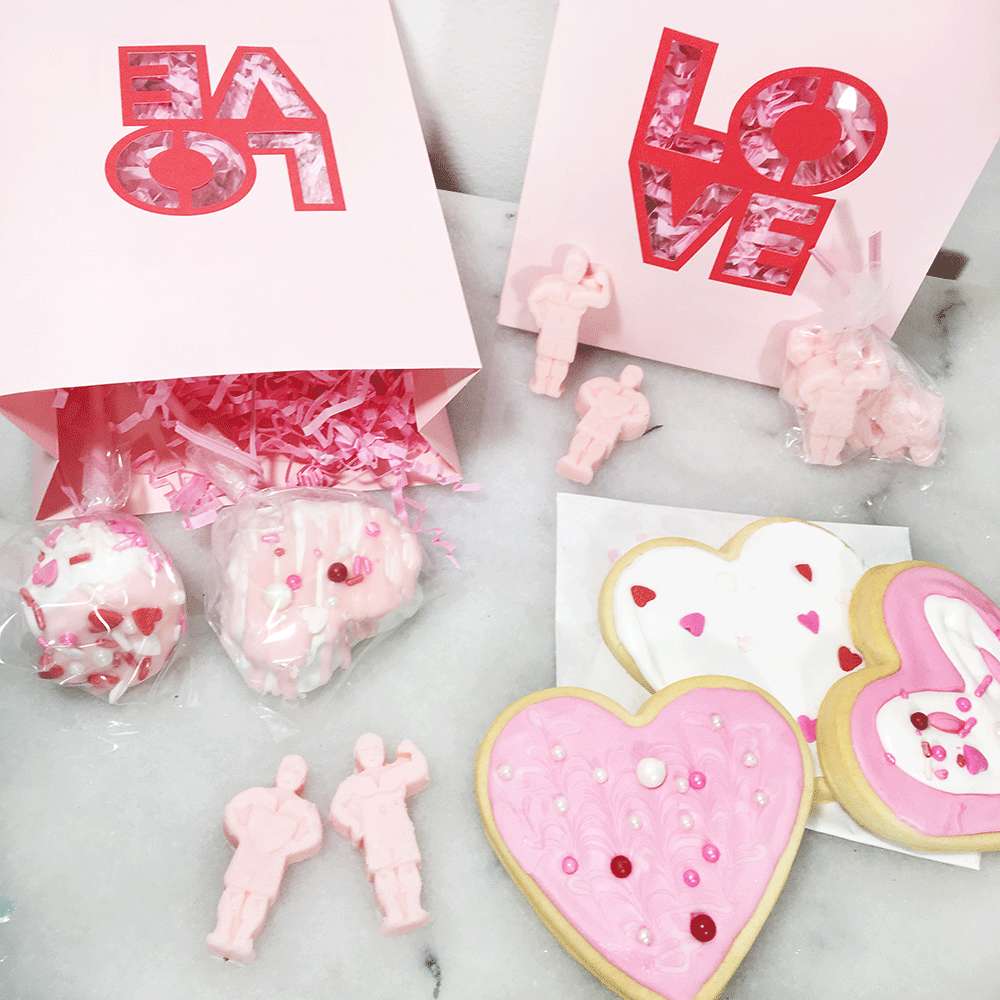
Galentine's Day Sweet Treat Bags with Michaels
The oreo balls were so so easy to make. You literally just crumble up a full container of Oreos, and then mix it all with one package of cream cheese (8 oz). You really have to get your hands in there to make sure it's mixed well, but once you've managed to get a nice consistency it's as simple as stuffing it into the molds and/or rolling the batter into balls. I did this the night before I planned on dipping them, and then put them in the fridge overnight. You can quickly freeze them for an hour if you'd like to get a move on rather than waiting. I made the mistake of letting mine sit out for a bit too long before dipping them, so they warmed up and got a bit soft. Lesson learned! None of the pops are perfect, but holy moly they're delicious! The boys helped me decorate a couple of the cookies, and that was really fun and sweet. Linden really just wanted to eat all of the sprinkles haha Tobes was a bit more skilled in his icing application.
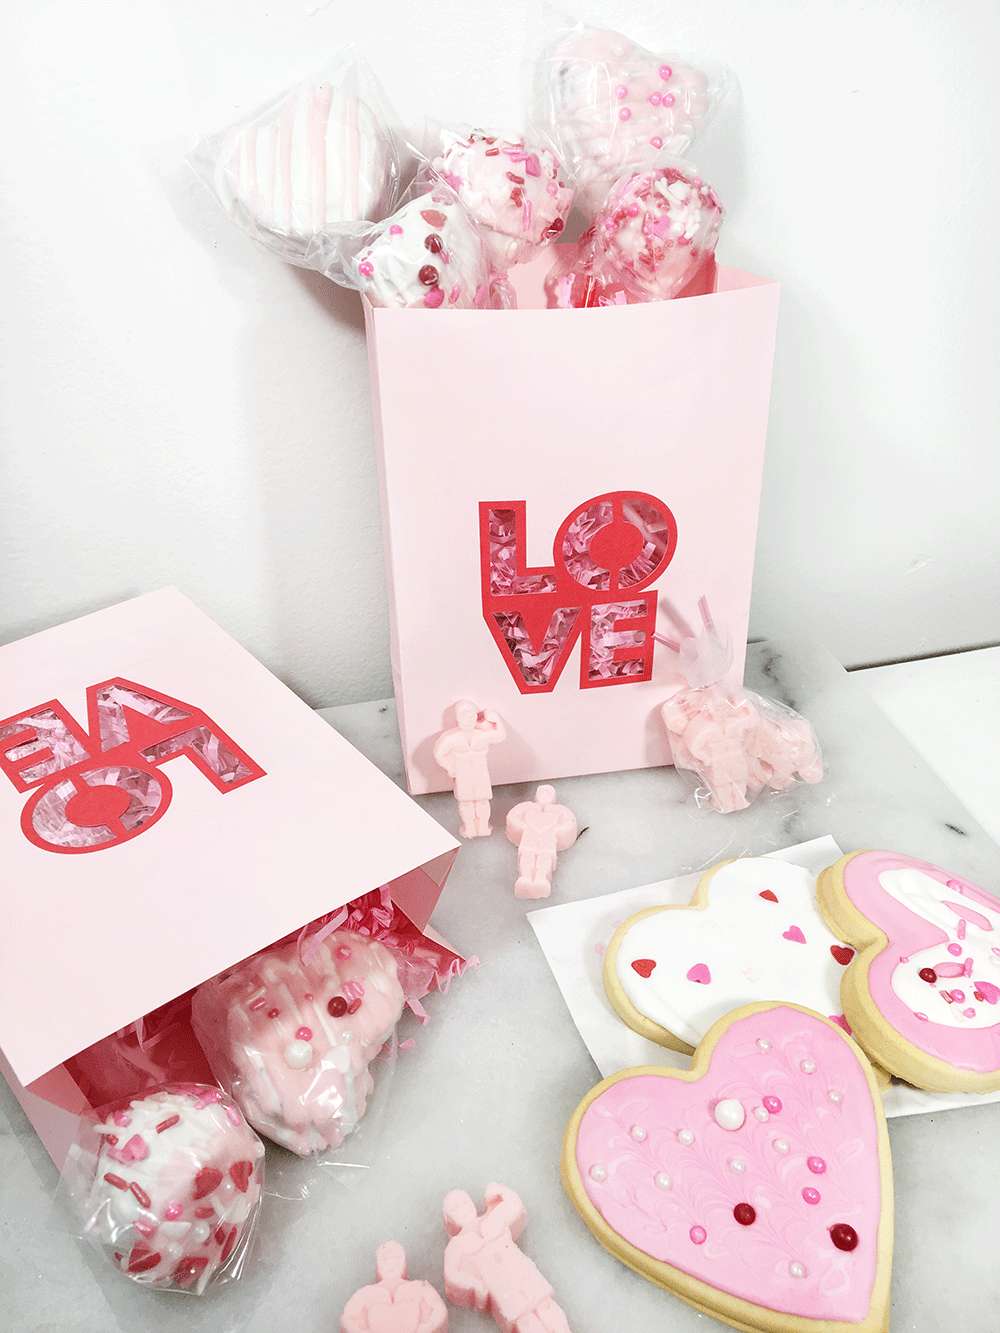
Galentine's Day Sweet Treat Bags with Michaels
I would be stoked to get a little bag full of sweet treats, so hopefully my gal pals are, too. Valentine's Day is my favorite holiday, and celebrating with your best girlfriends only makes it better! I love everything about the pinks and reds and hearts and sweet things. I don't care how commercialized it is, I just love love. As for this batch of yummy stuff, just looking at these photos really makes me hungry haha Maybe I should skee-daddle to the fridge so I can opt for something a bit healthier. Otherwise I'll sit here and eat every single one of these. 

It’s almost February and love is in the air! From classroom – perfect projects to gifts for her galentines or her one-and-only, Michaels makes it happen! Michaels has tons of baking supplies, craft goodies, and projects perfect for Valentine's Day. Swing by your local store or check out the website and see if anything tickles your fancy. Homemade treats and gifts are totally the way to go, in my opinion. 

xo KB


// POP COLOUR - Michael's Dream Tree Challenge 2017

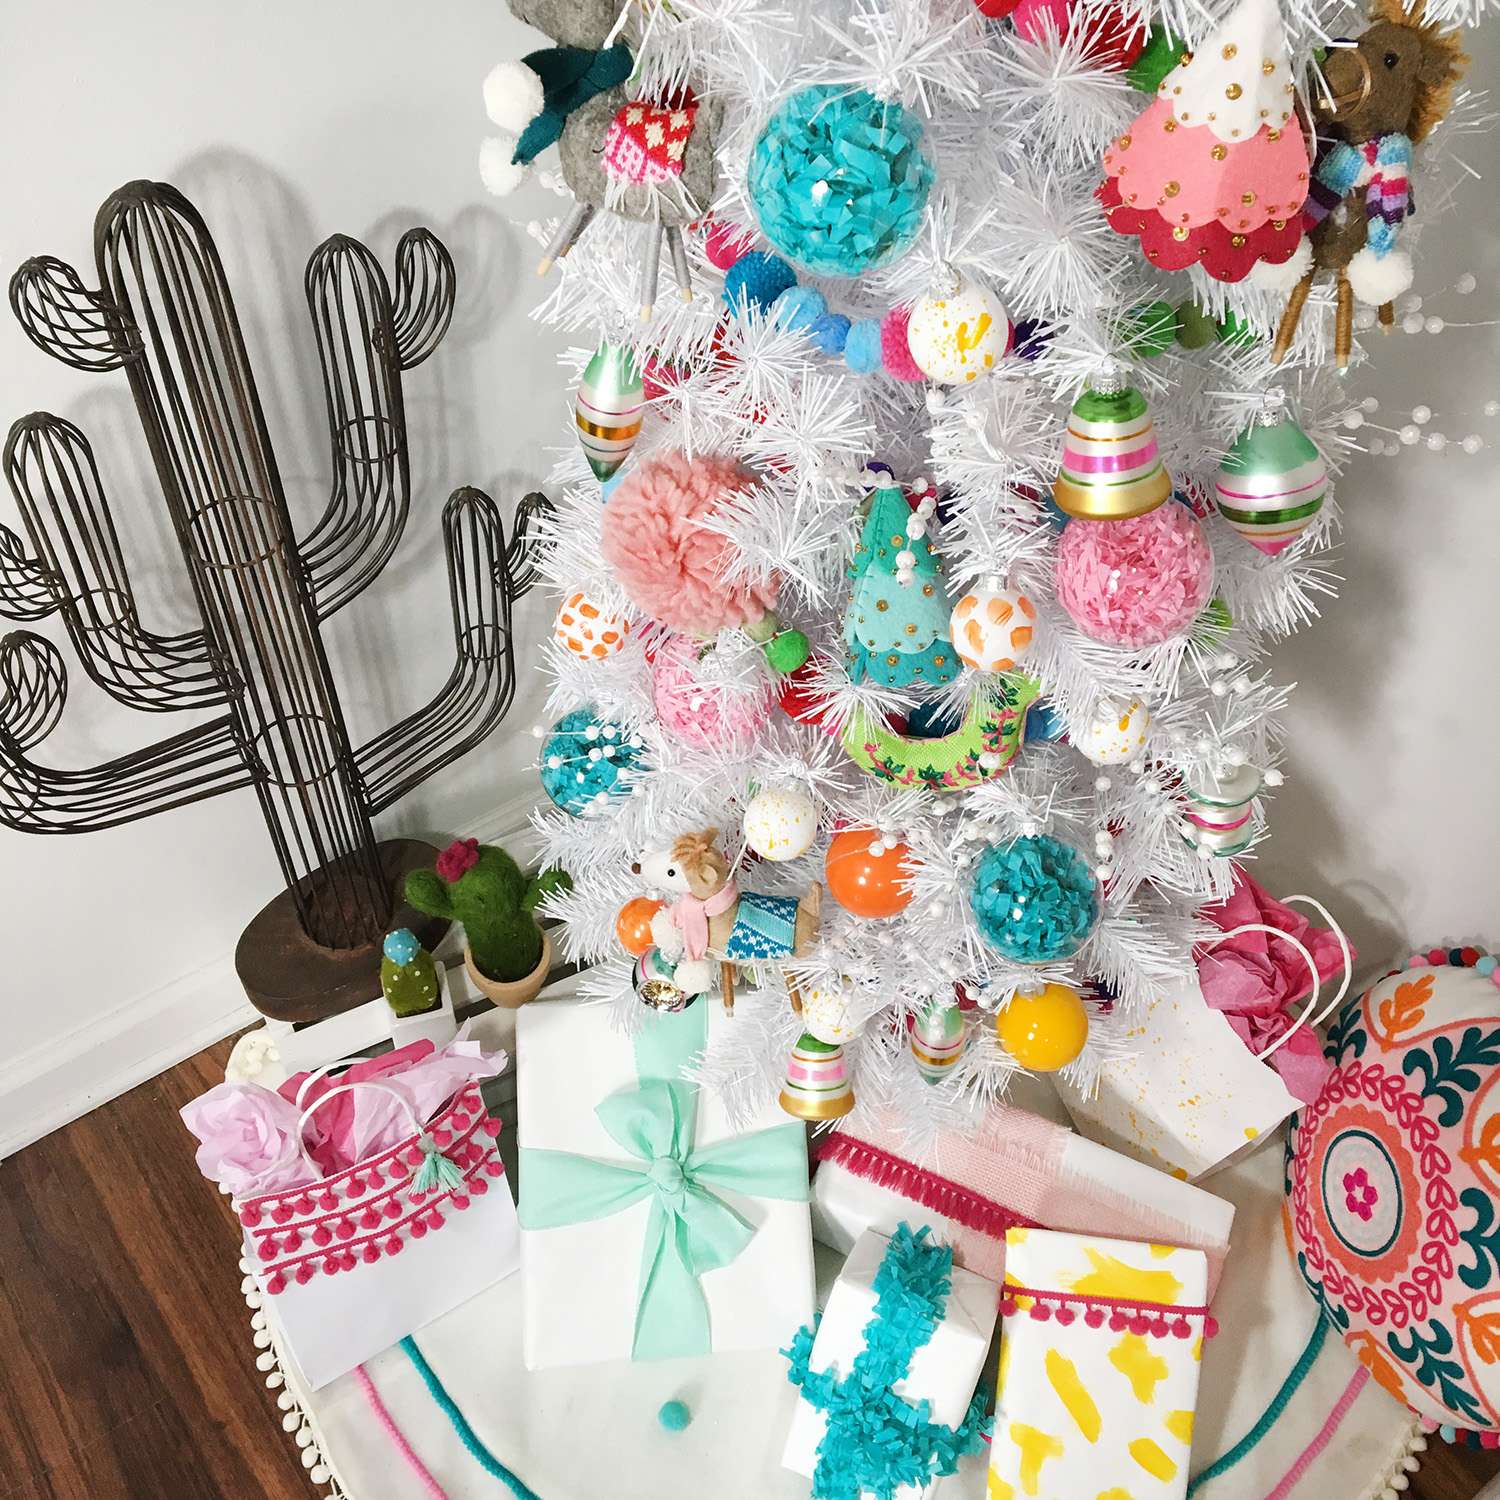
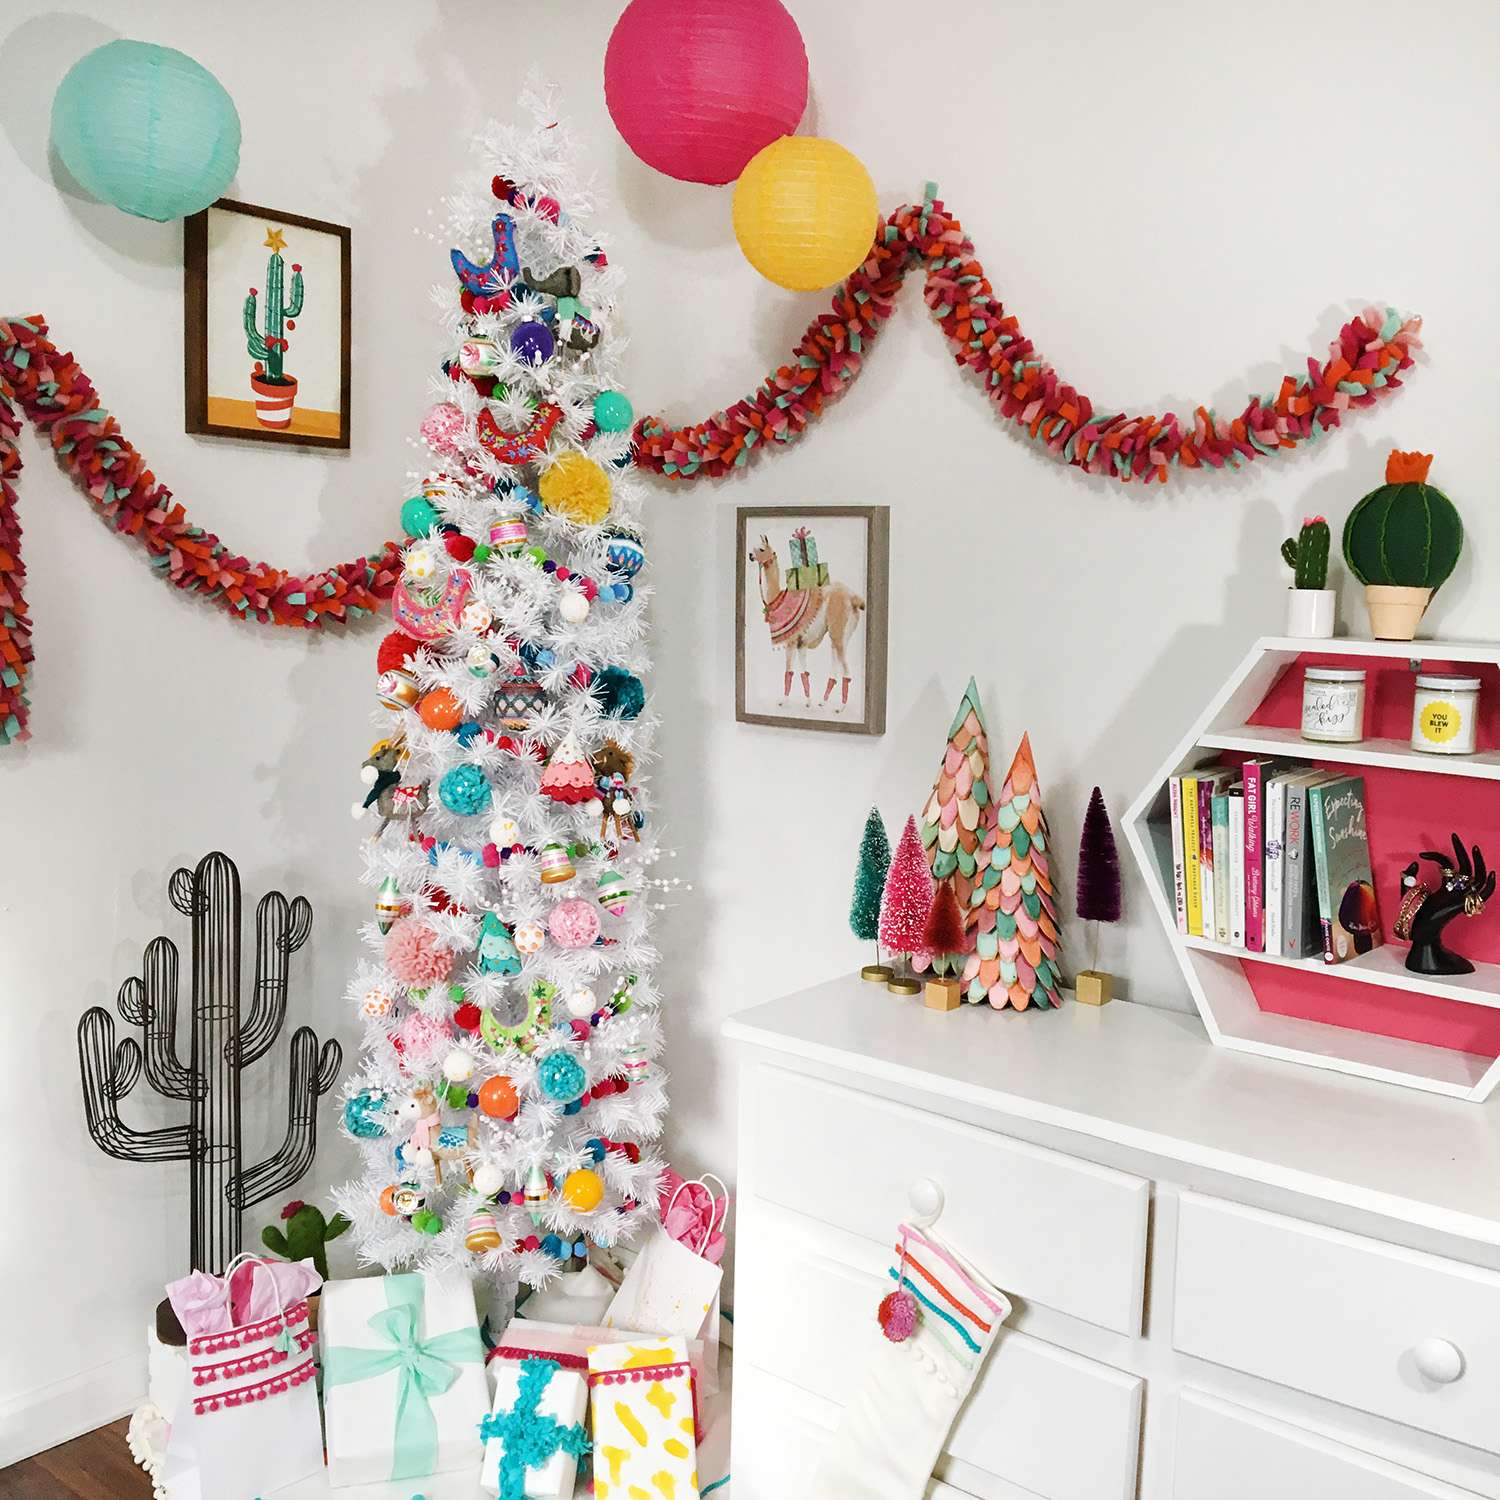
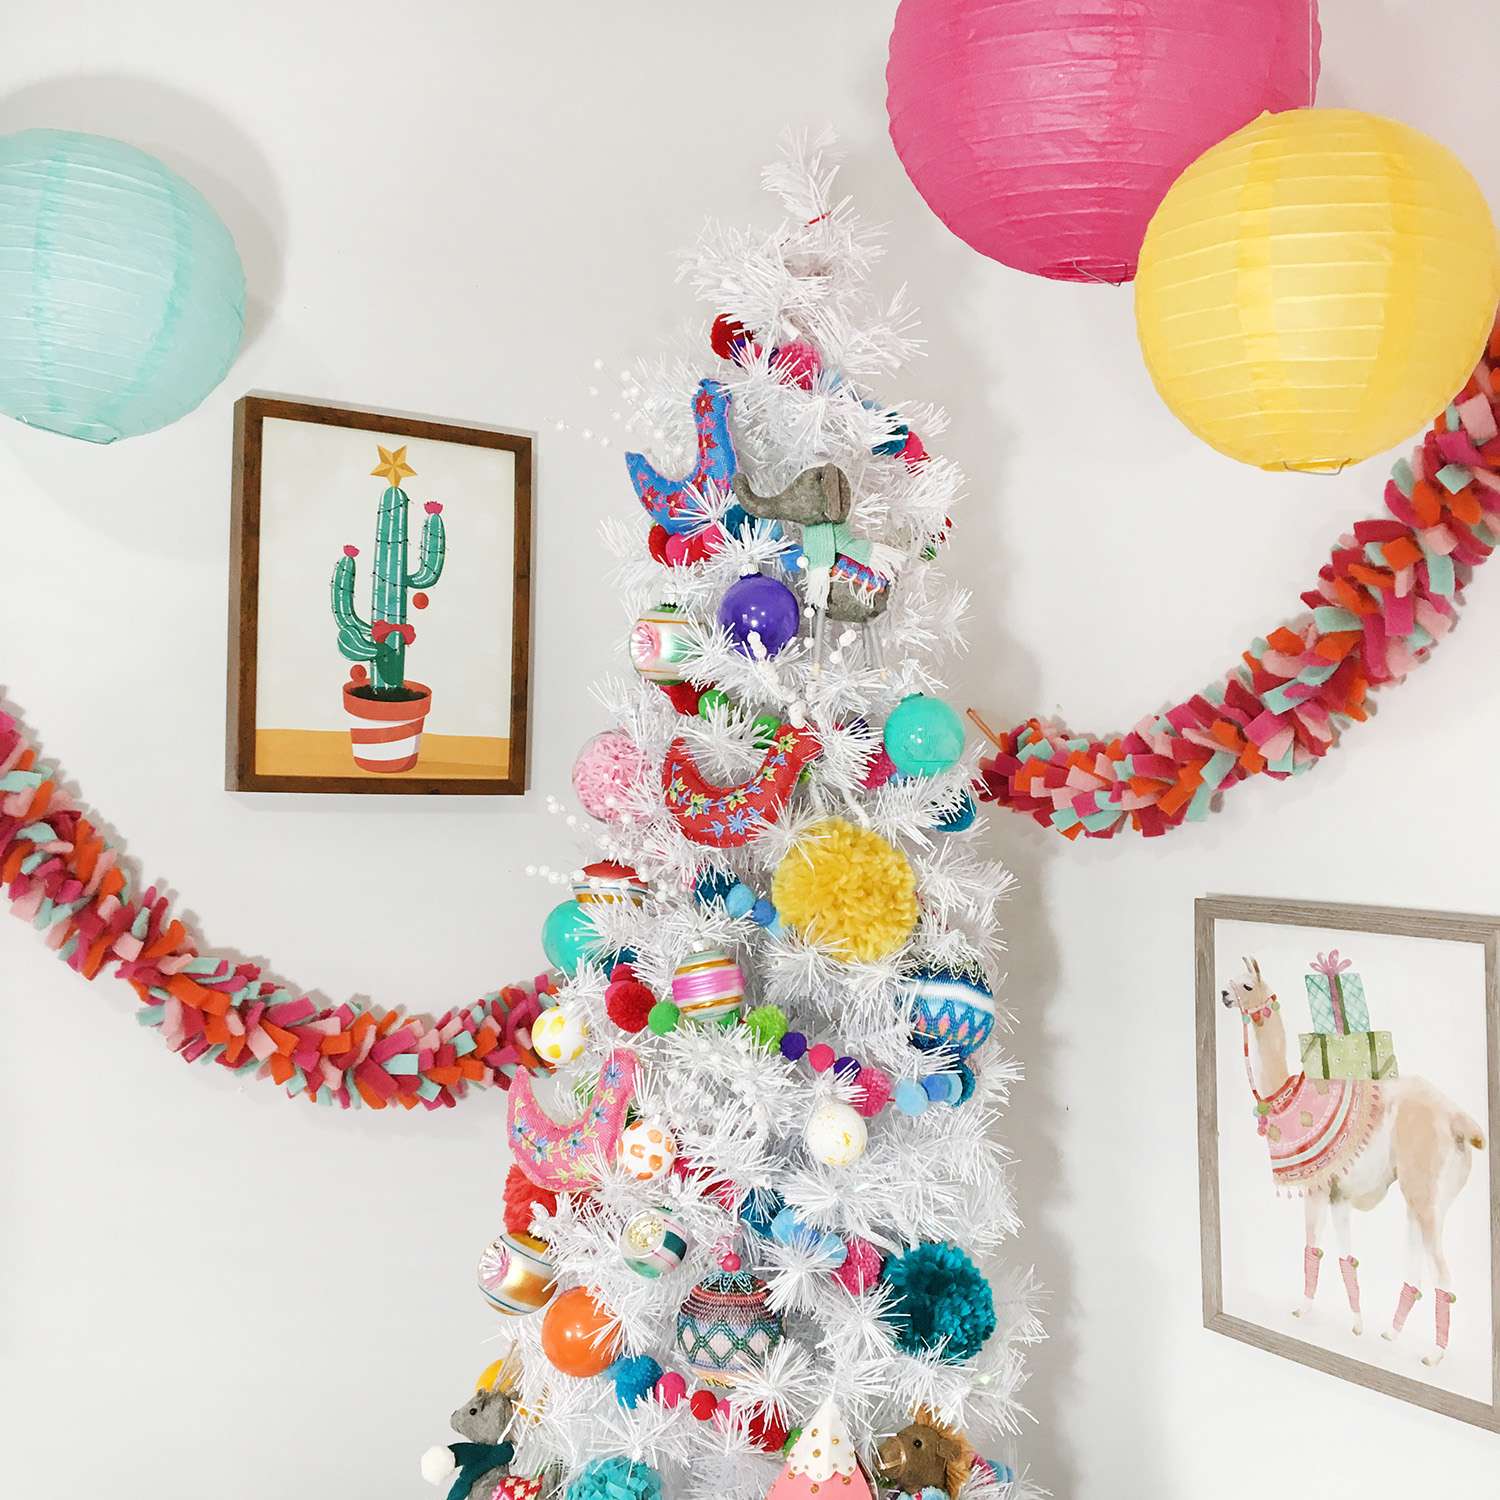
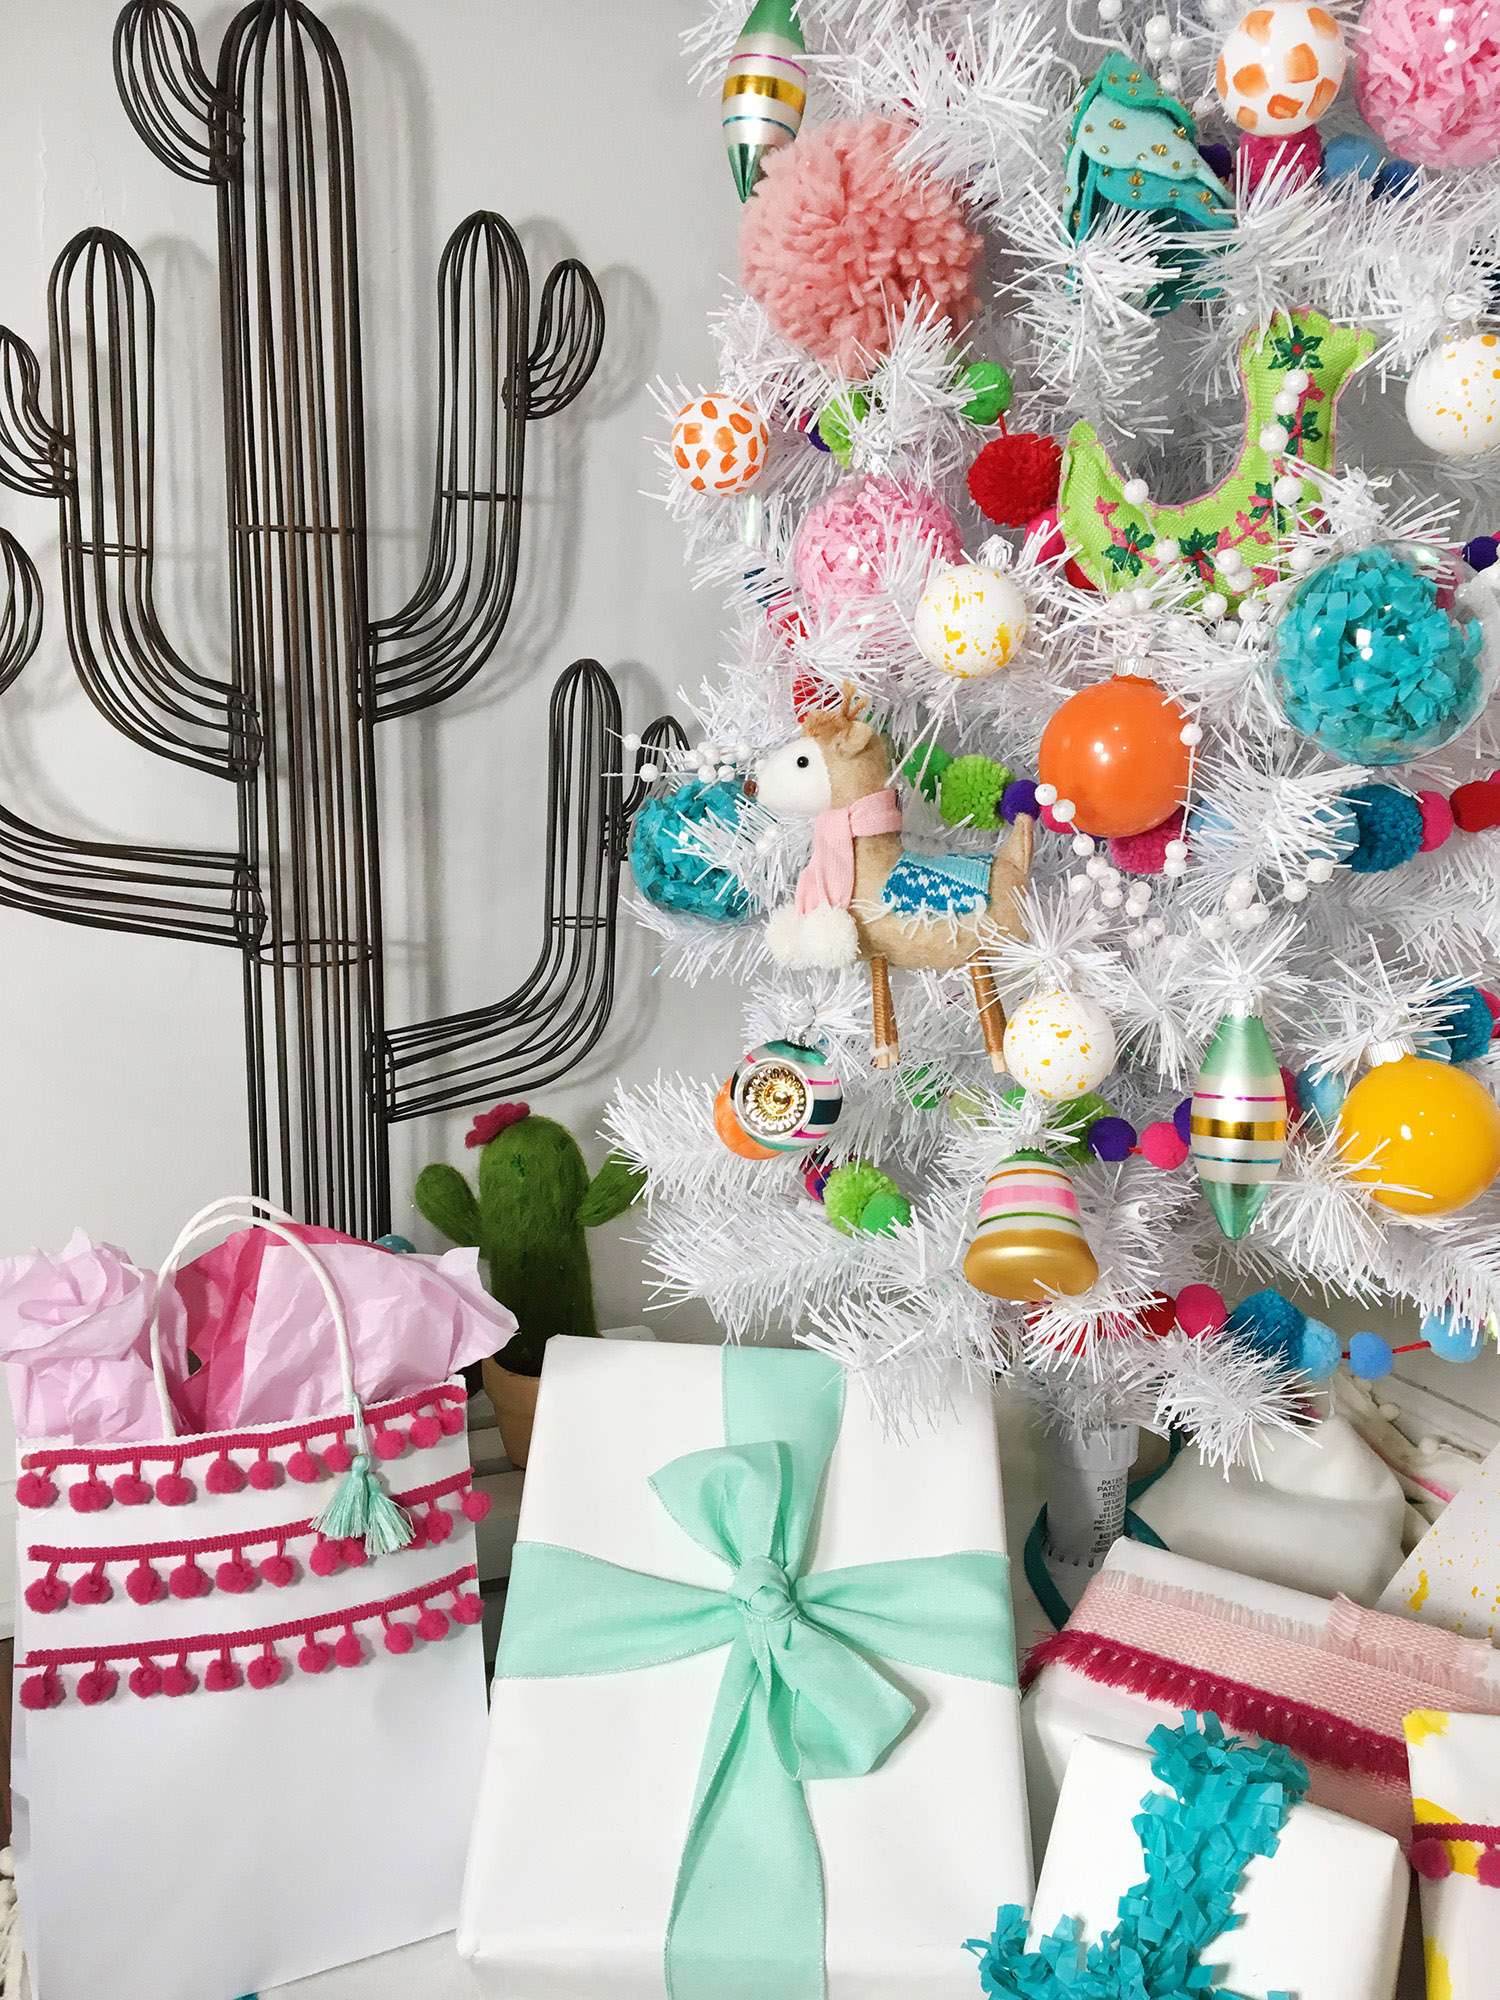
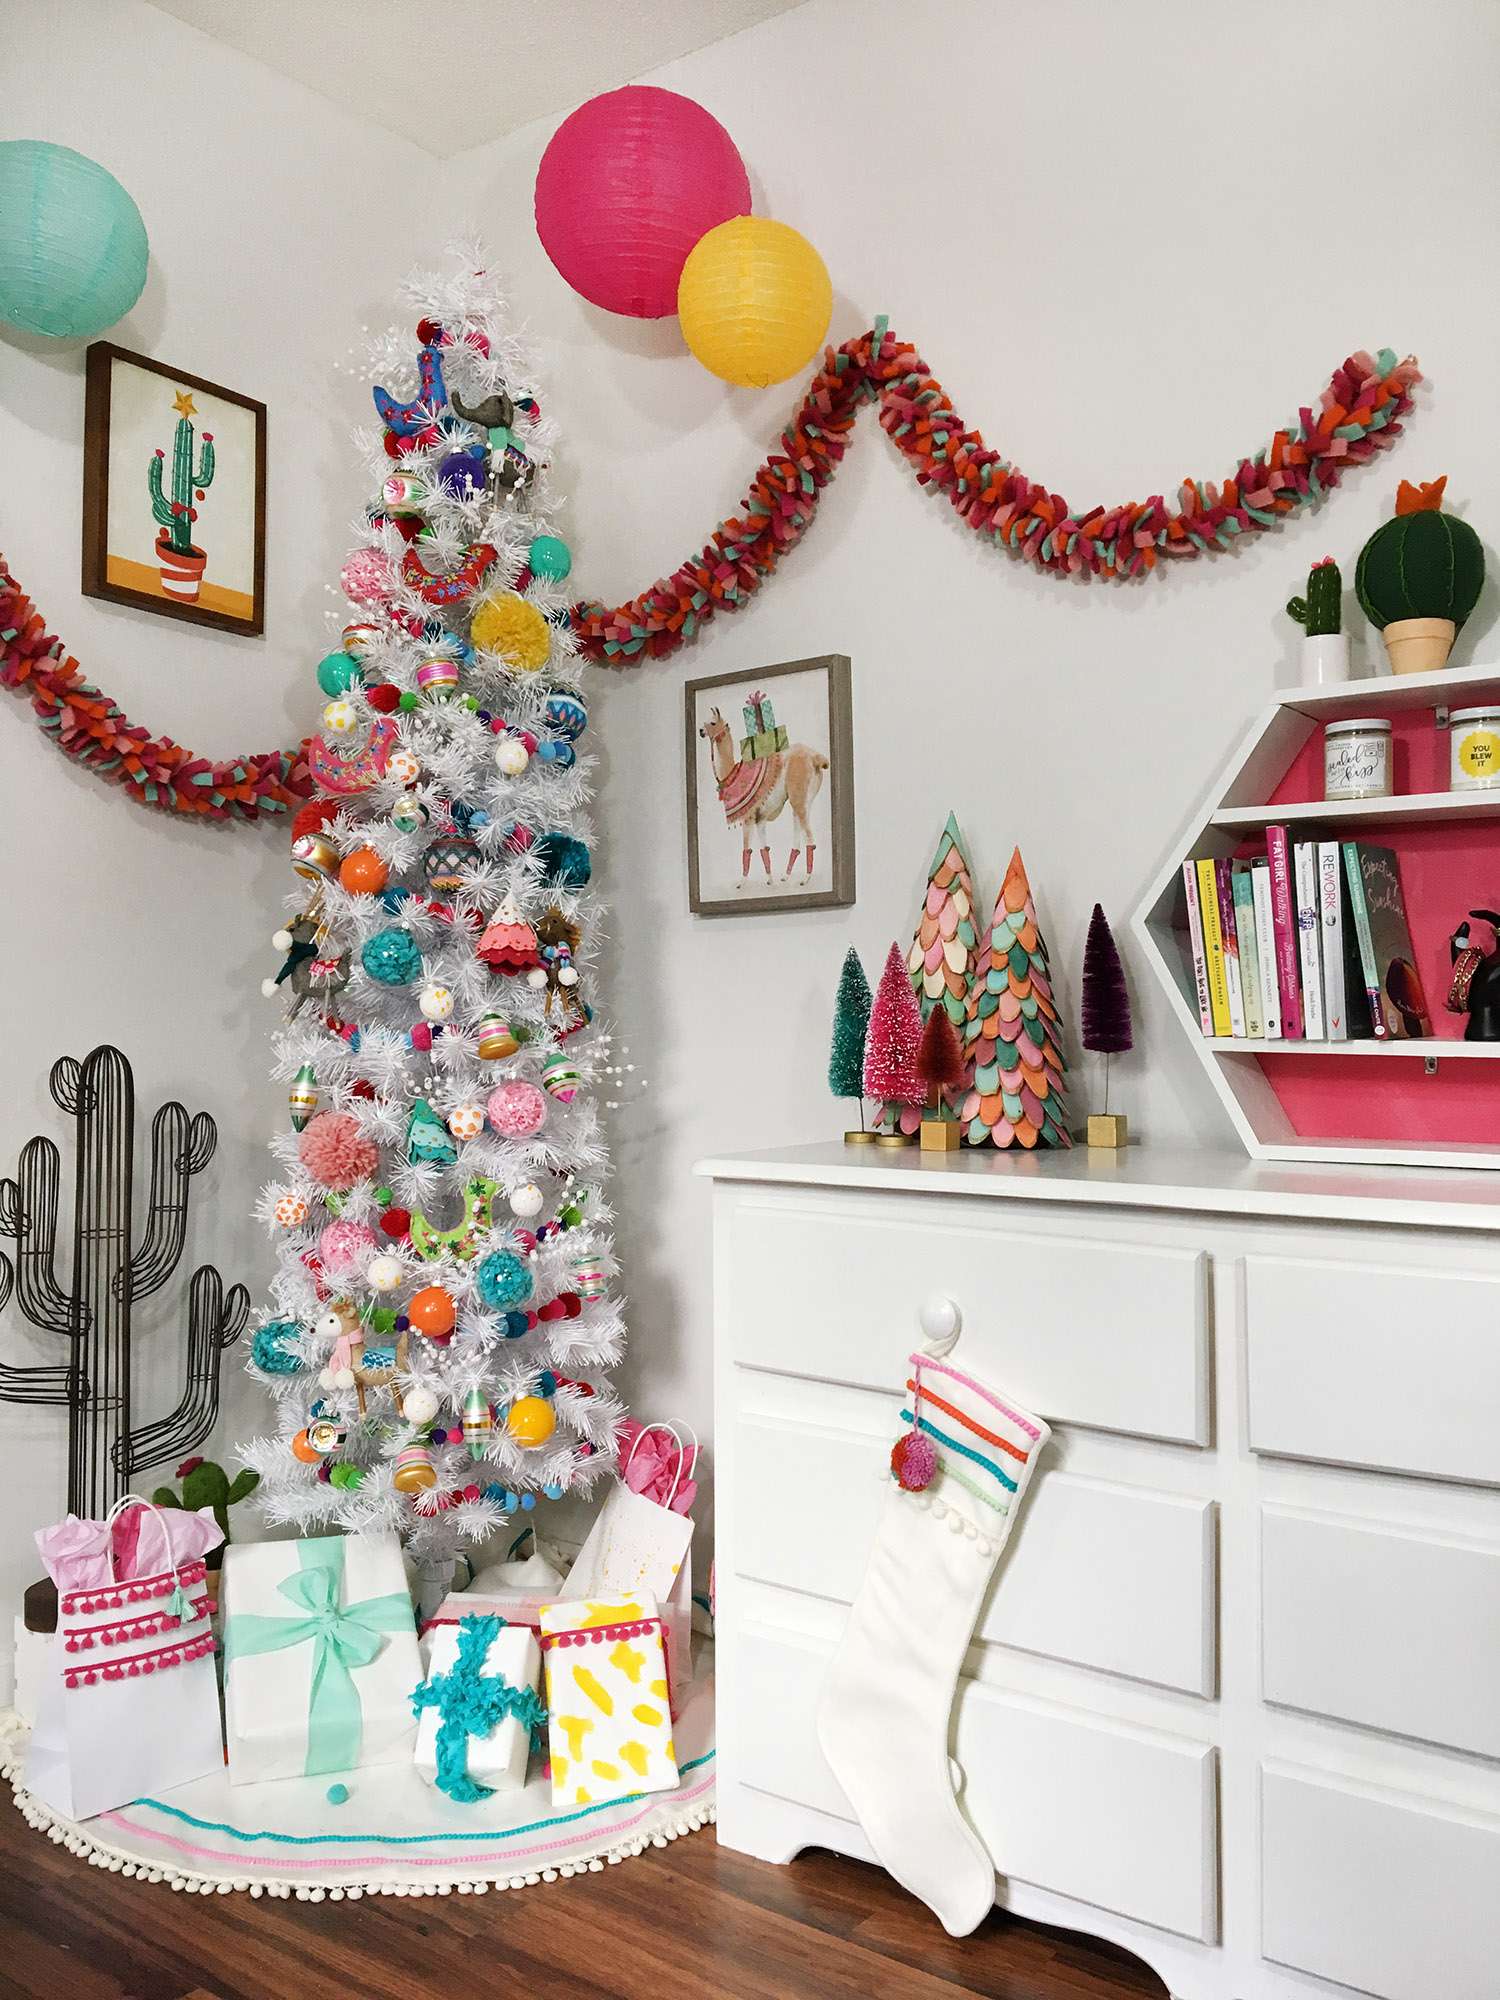
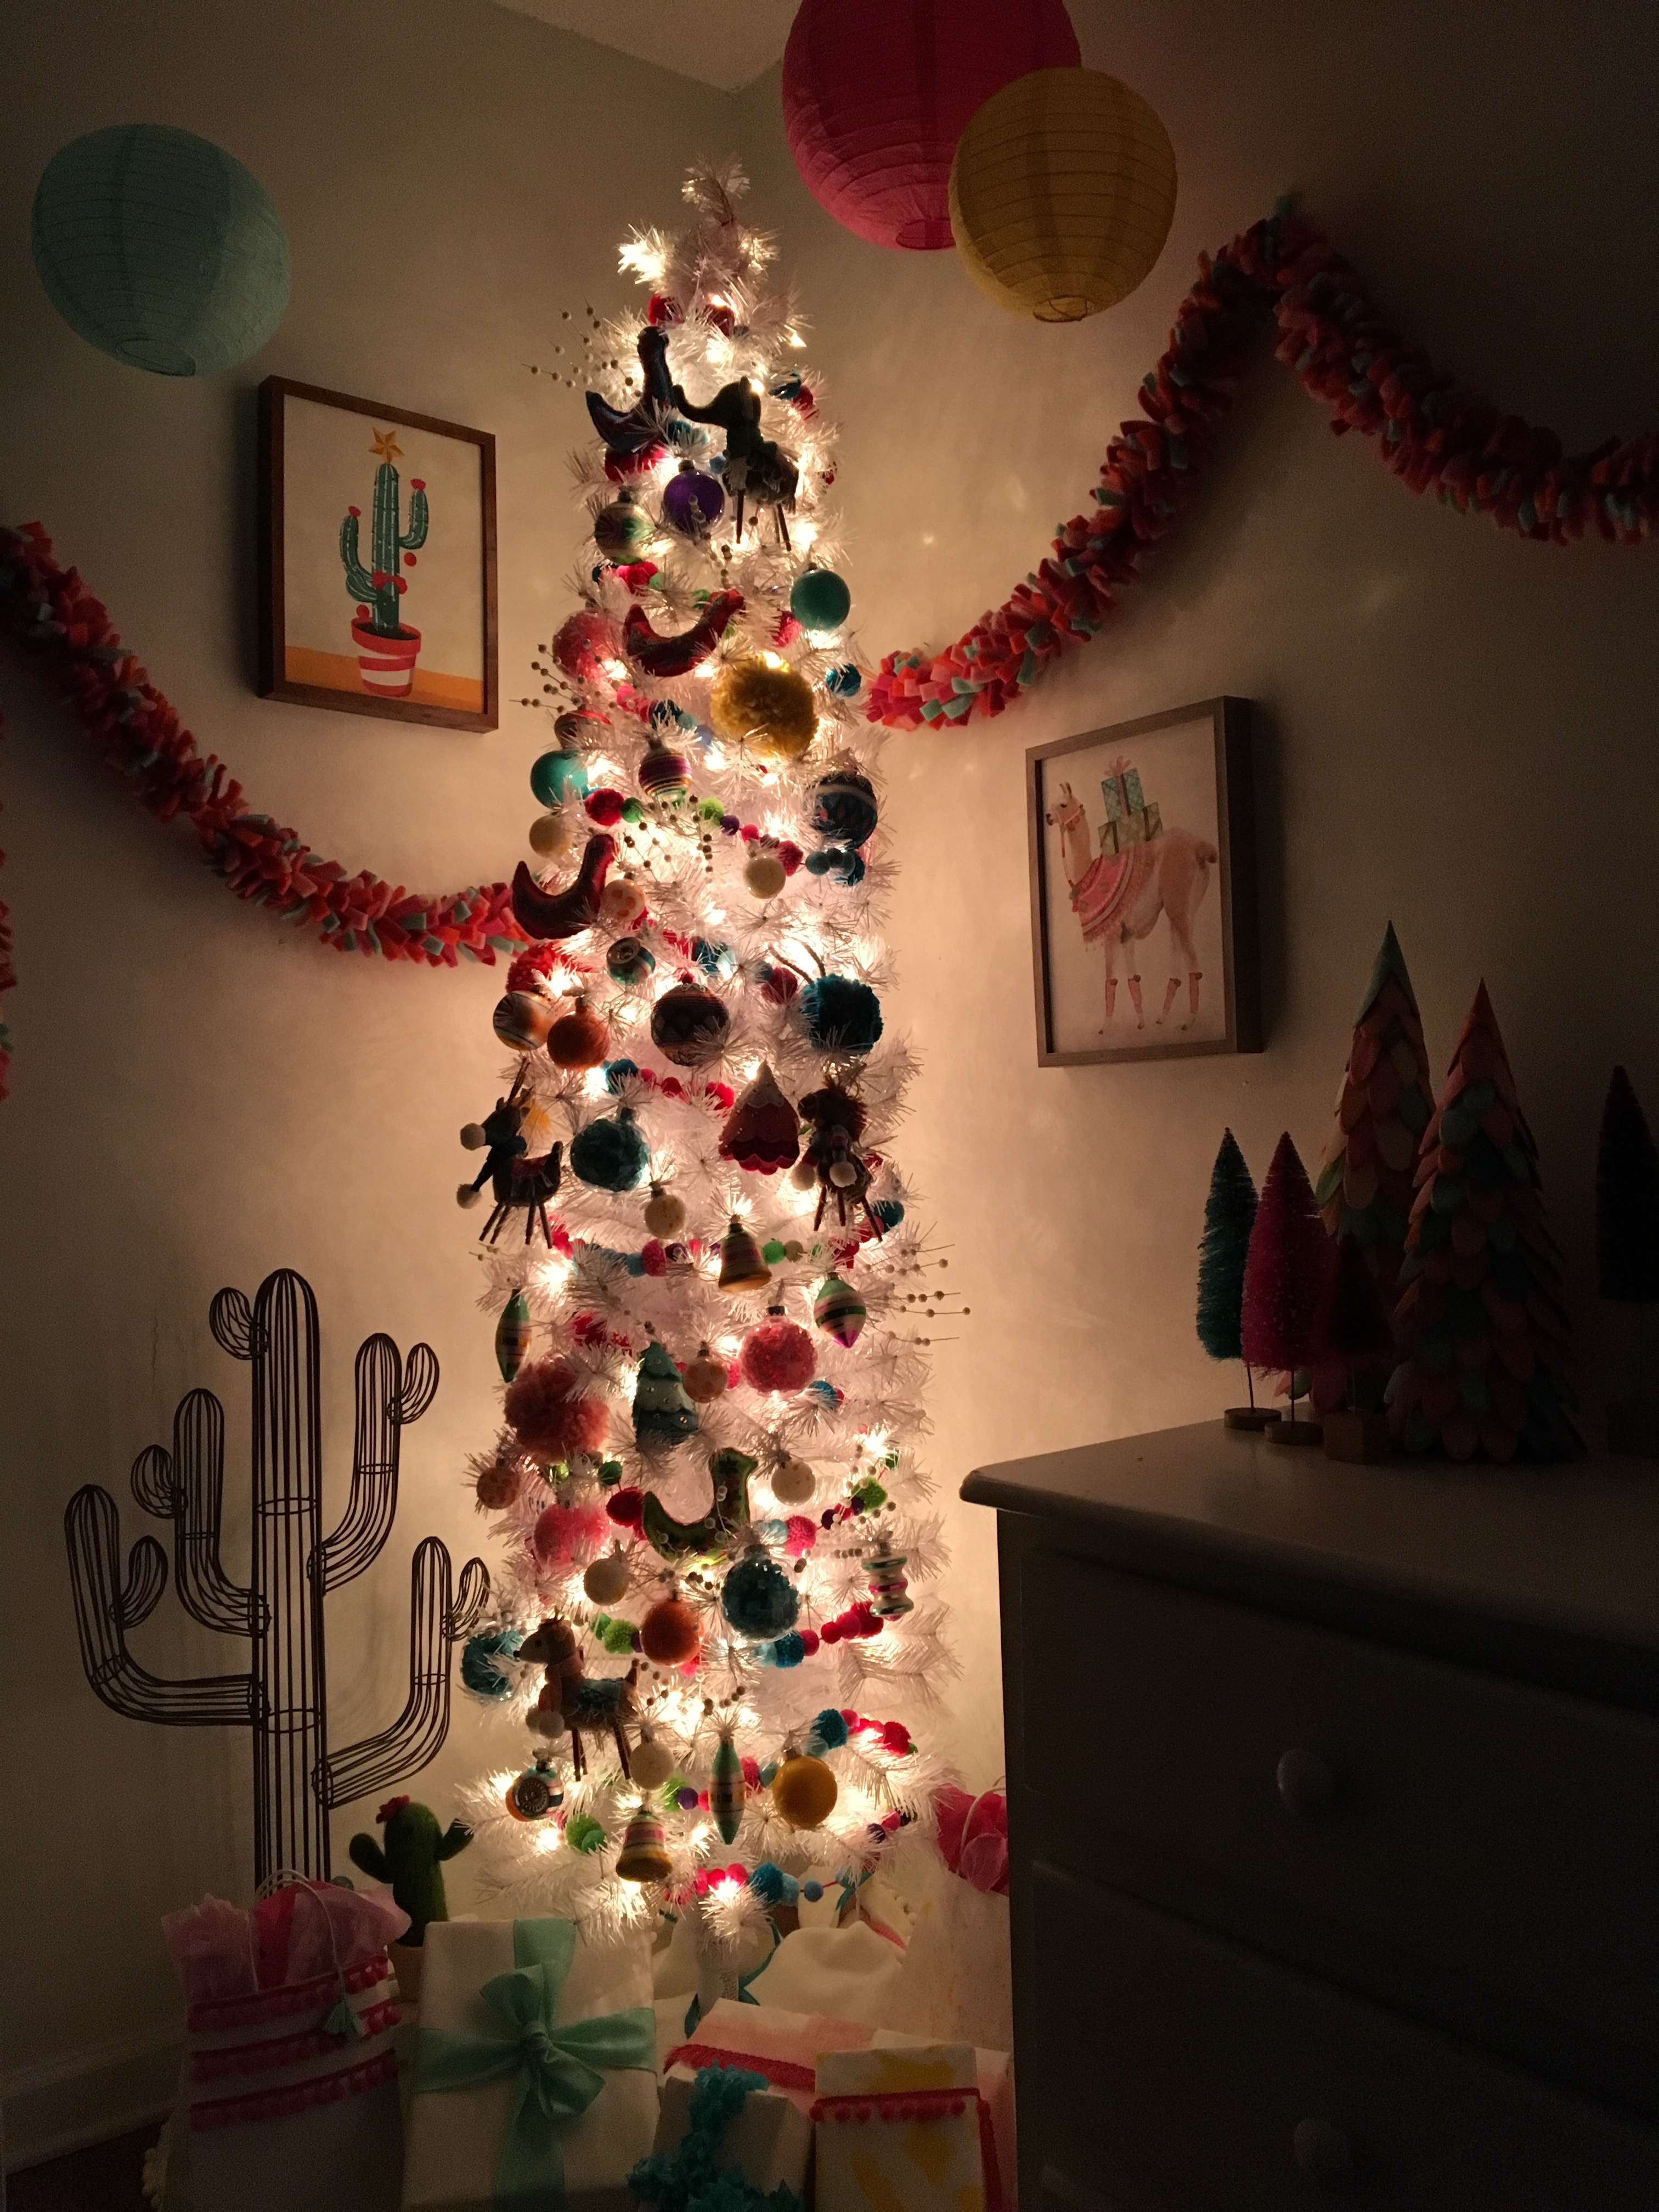
It's Dream Tree time, y'all! This is by far my absolute favorite Michaels Makers challenge each and every year, and this year is my fourth (!!!) tree! You can see the past 3 years here if you're interested: 2016, 2015, 2014 (loved this one so much!) This year I wanted to do something totally different, partially because the Jasper Cashmere tree I received last year was seriously so beautiful and I knew that I wanted to use it again in my living room, and also because I really wanted something fun in my studio. Michaels gave us a couple of different trees to choose from this year and I jumped on the white pencil tree since it was so unique. Not going to lie though, I was kind of intimidated to decorate it! I've never decorated a pencil tree before and I had absolutely no idea how much stuff would fit on it. I have a boatload of things to return but I can safely say I am totally head over heels in love with the way this tree turned out. My tree is publishing 2 weeks after most of the other Makers' trees simply because I opted to do one of the two limited collections and they were put into stores a bit later. The collection I'm featuring on my tree is the Boho Collection and I am so into the color palette! I immediately knew this is the collection I wanted based on the colors alone. I've always been more of a muted pink kind of gal, but here lately I can't get enough of bold, bright color on a clean white backdrop.
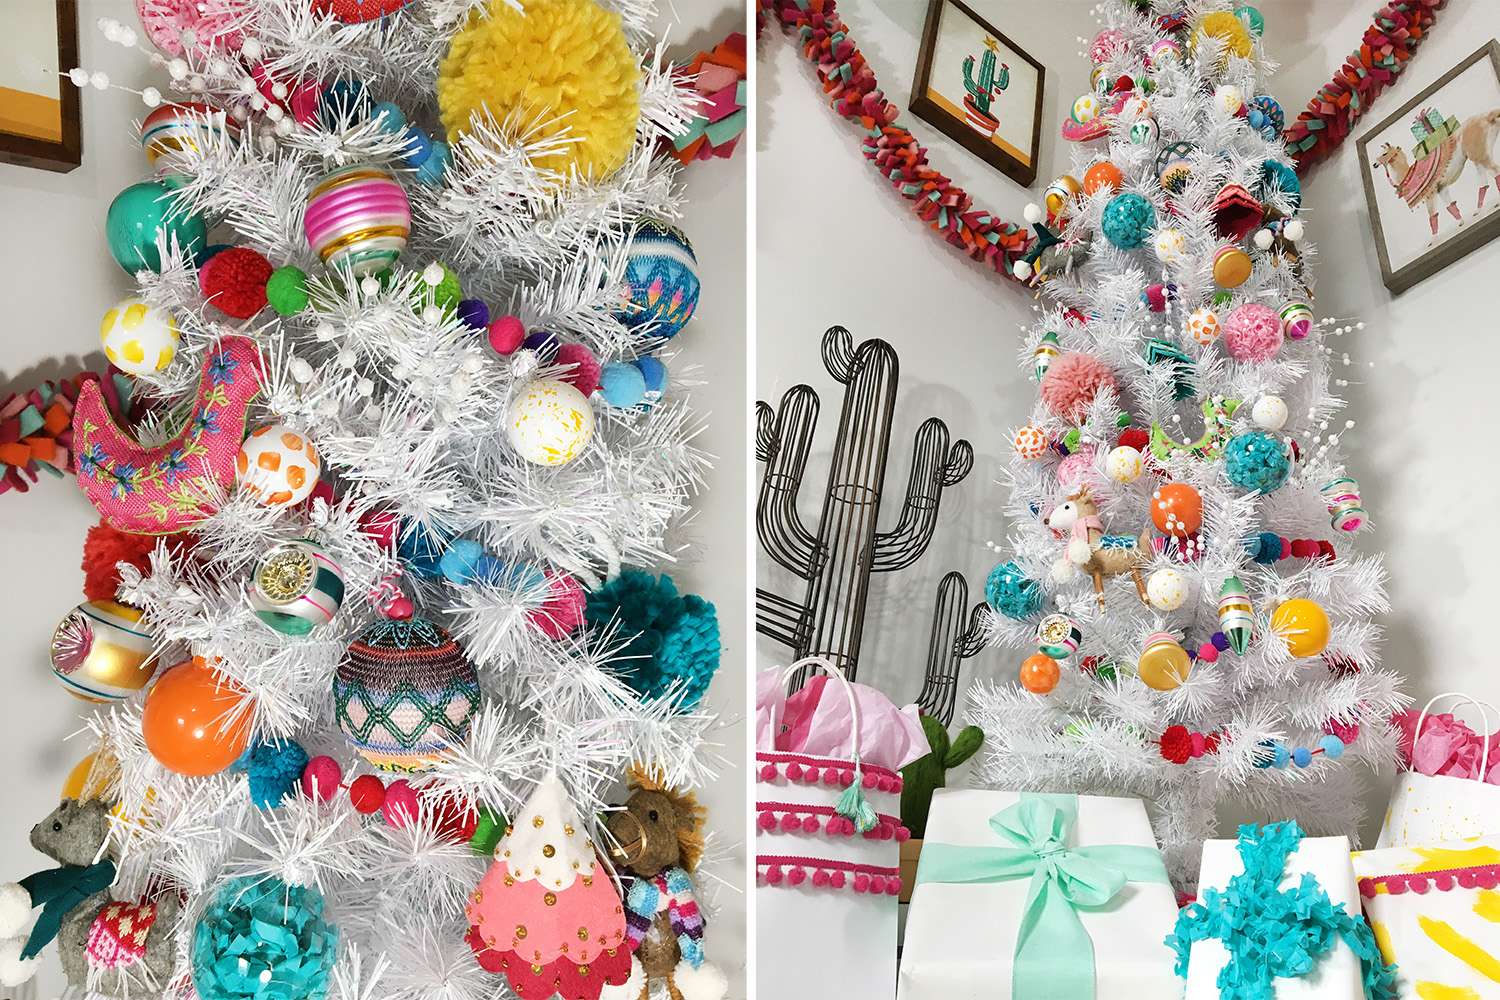
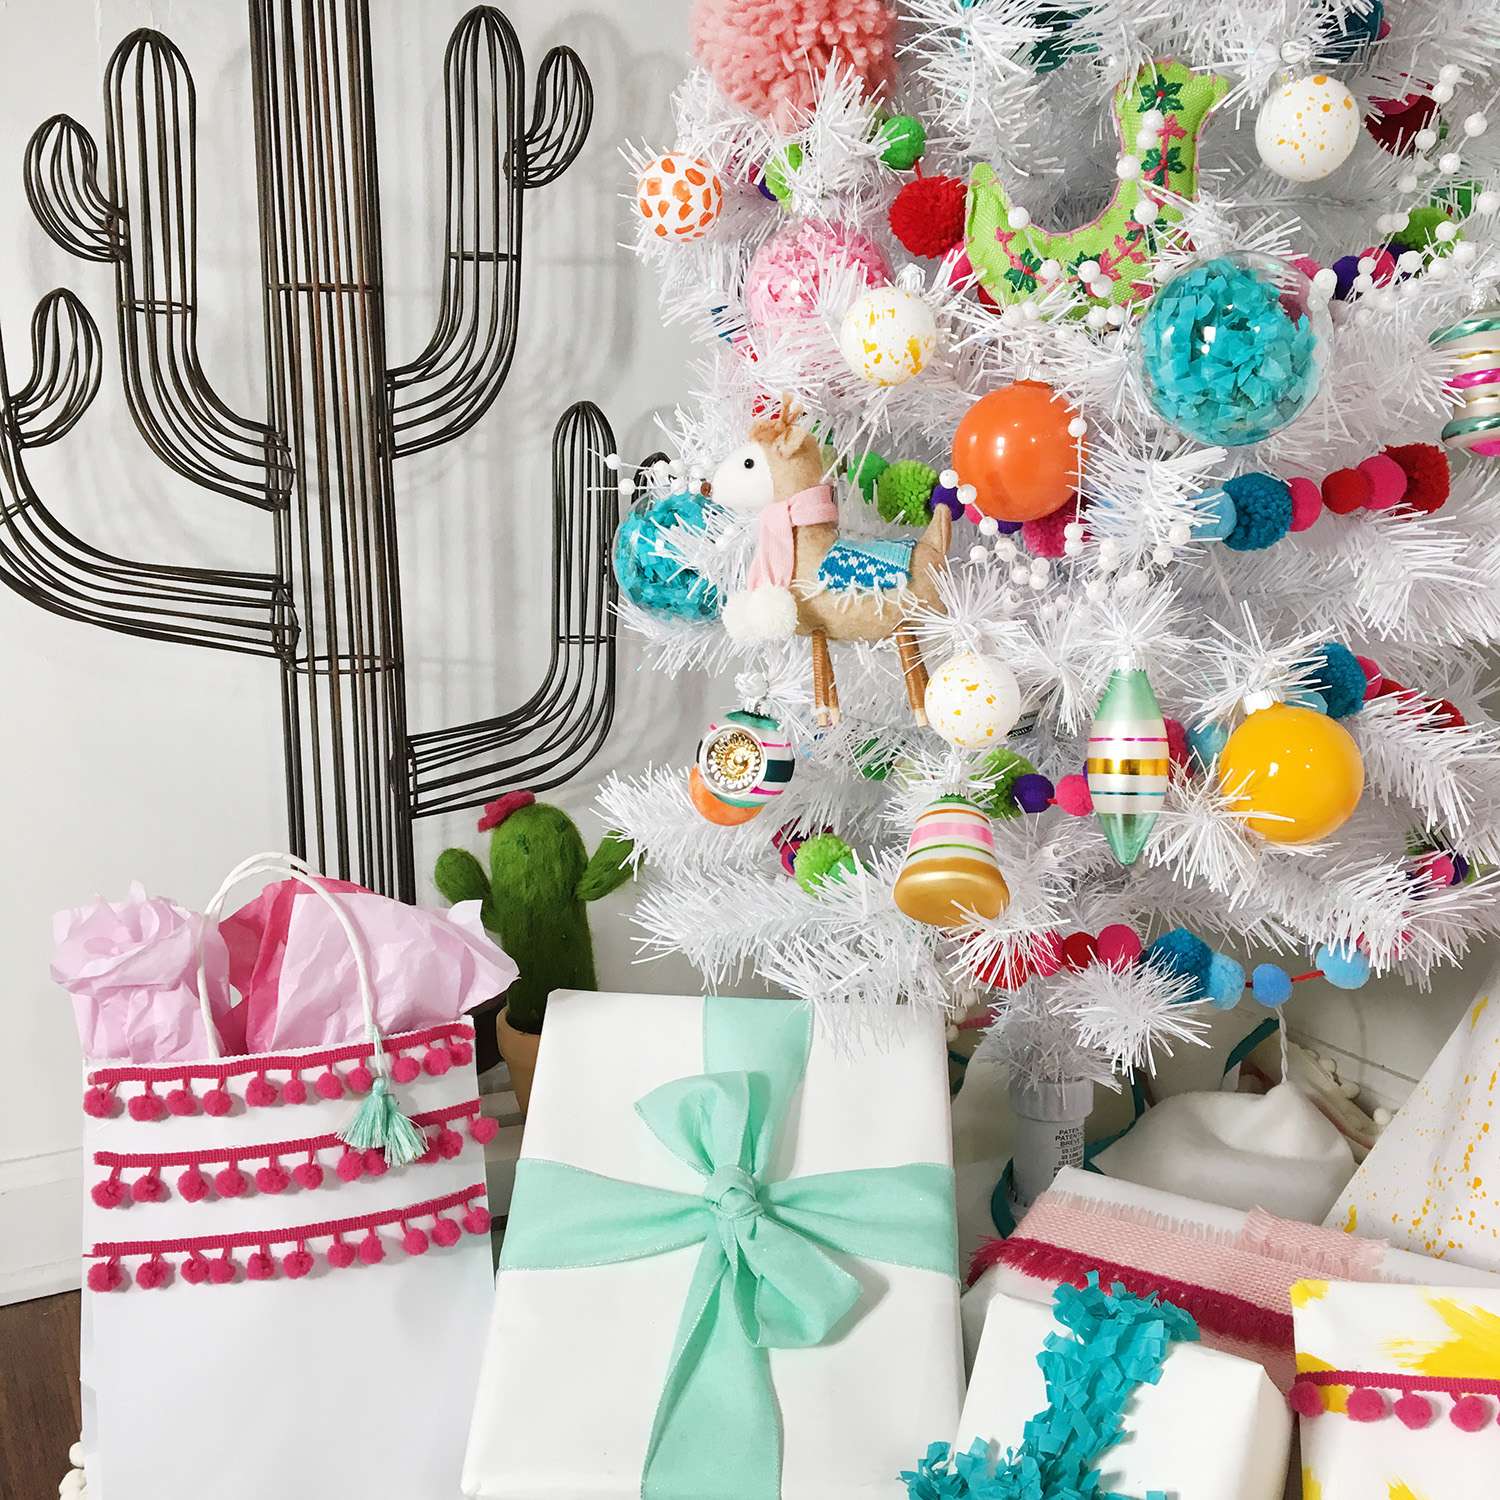
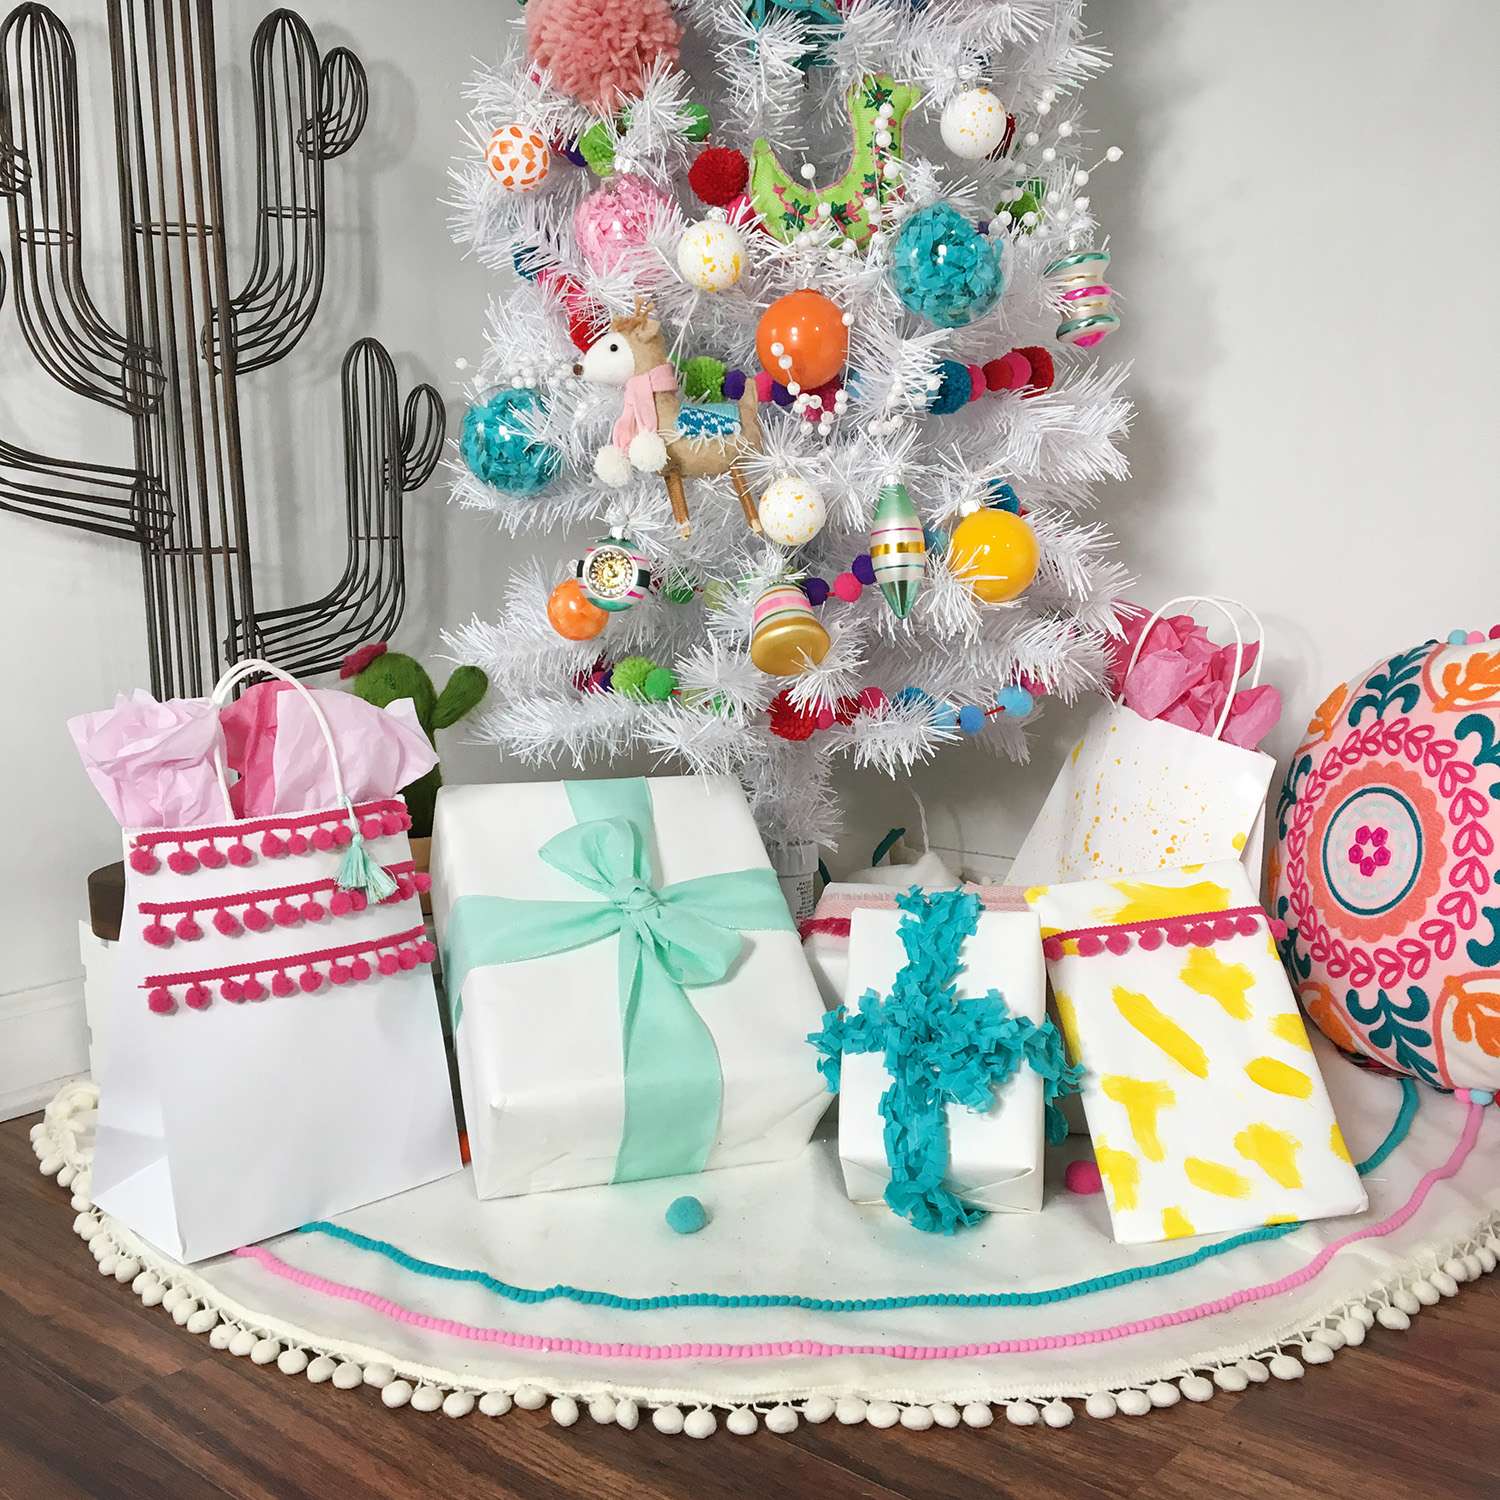
While most of my ornaments are straight from the Michaels' shelves I knew I wanted to DIY some things to tie it all together. I ended up taking some clear ornaments and shaking some acrylic paint around in them to get the colors I wanted. I also did some splatter and brush stroke looks on some white ornaments. A few of the clear ornaments include pink crinkle paper and teal paper trim. I love the look of the texture in them. My favorite ready-made additions from Michaels are definitely the super soft pom poms. The little animals are adorable, too. Only one store in the Nashville area carries this collection (Bellevue!) and I bought most of it, but hopefully they've restocked since I swept through. (You can check each individual product's availability at your local store - just in case you weren't aware! Just search by zip code on the product page.) If you're not local to me or you don't have a Michaels nearby you can still get a good bit of the collection online - and you can usually scoop up a code for free shipping! Currently this collection - and Michaels' 4 others - is 50% off.


I'm totally a "More is More" gal when it comes to decorating Christmas trees. This tree, despite being quite skinny, boasts so many different kinds of ornaments and garlands. I picked up a few awesome things (like pom pom and tassel trim) that would have made for great makeshift garland, but I'm not sure it would have fit on my tree haha Instead I opted to use some of it on my gift wrap and bags. I just hot glued a few strands of it here and there, and I love how it helps tie the whole thing together. Below I'll link some of the stuff I used in case you want to put your own spin on it.

From trees to ornaments and holiday décor, Michaels has everything you need to MAKE this holiday your own! You can even shop over 100 Christmas Trees at Michaels.com. Thanks for checking out my tree and giving me a space to share things like this. I definitely want to get myself back into regular making, no matter the medium. 

xo KB

SHOP THE TREE

// Autumn Front Porch Makeover

Michaels Makers Autumn Porch Makeover
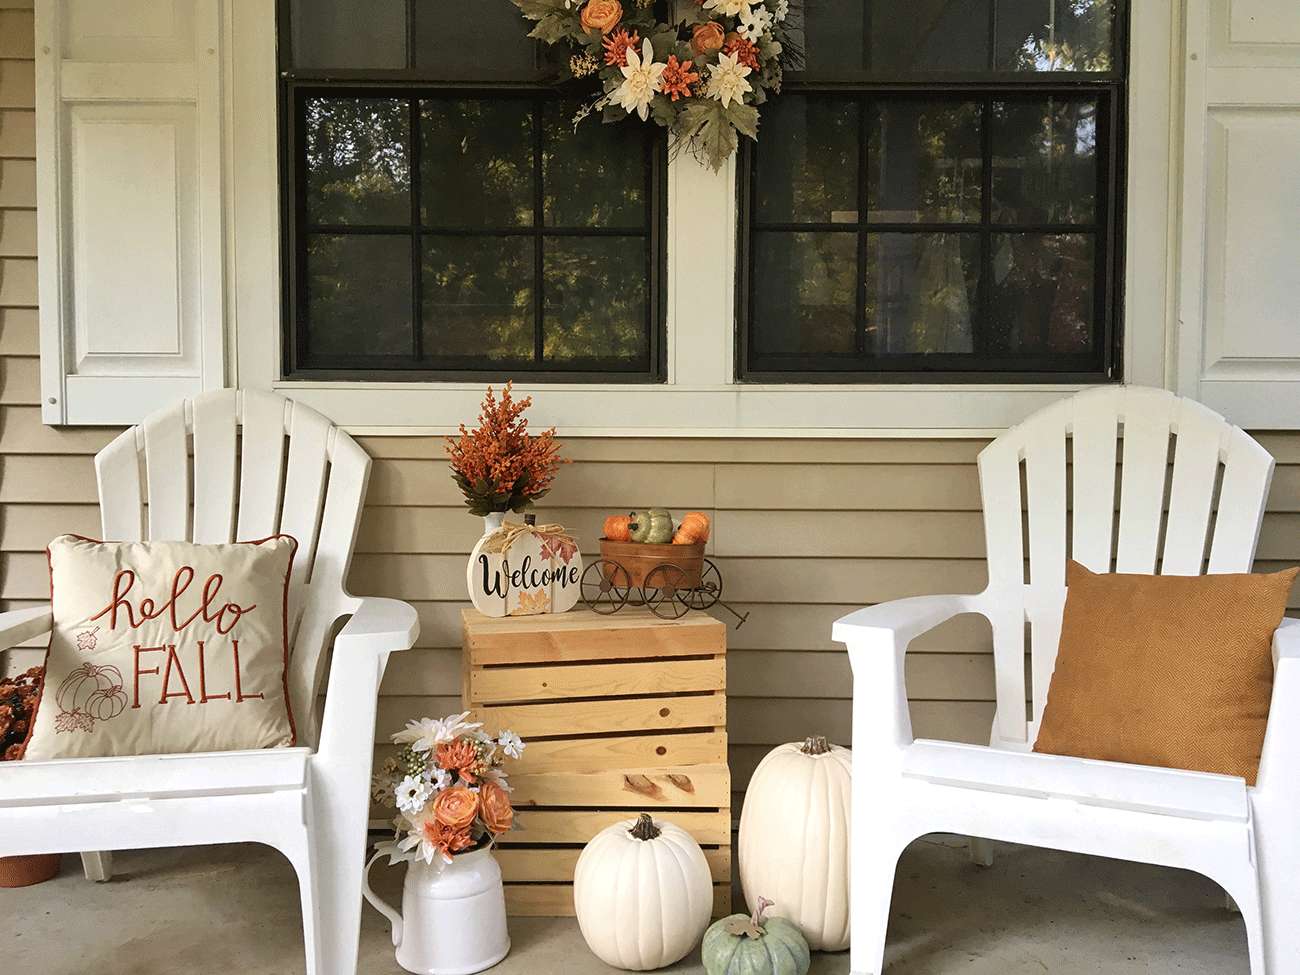
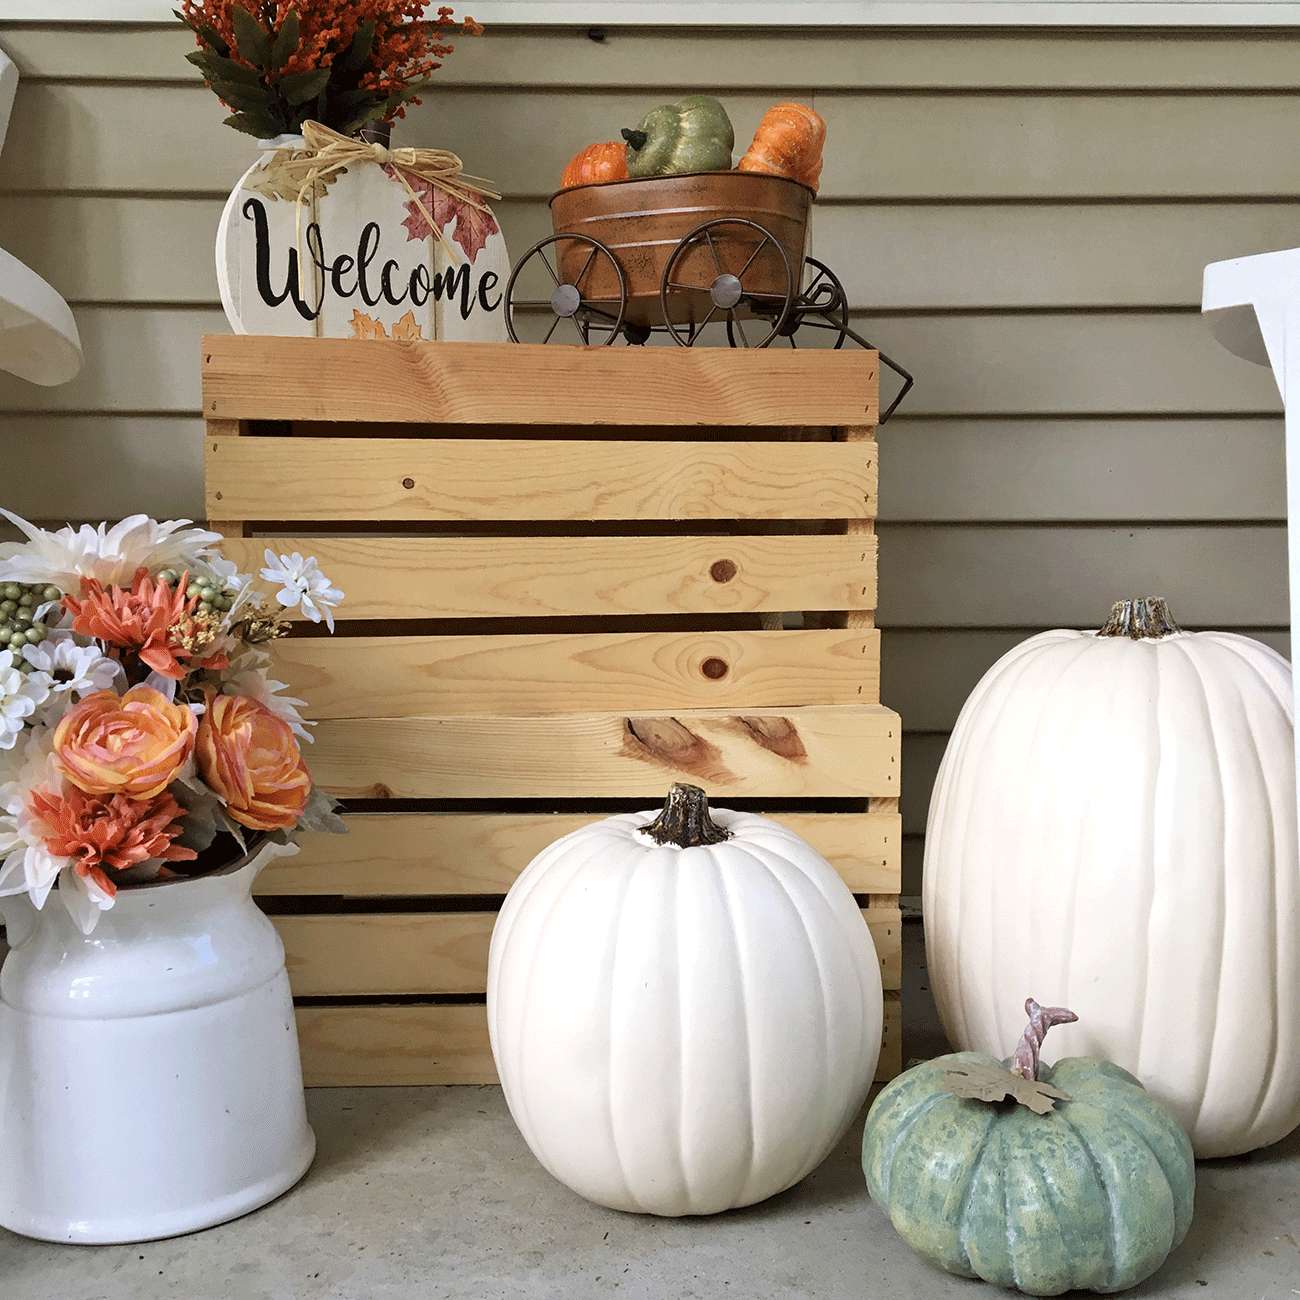
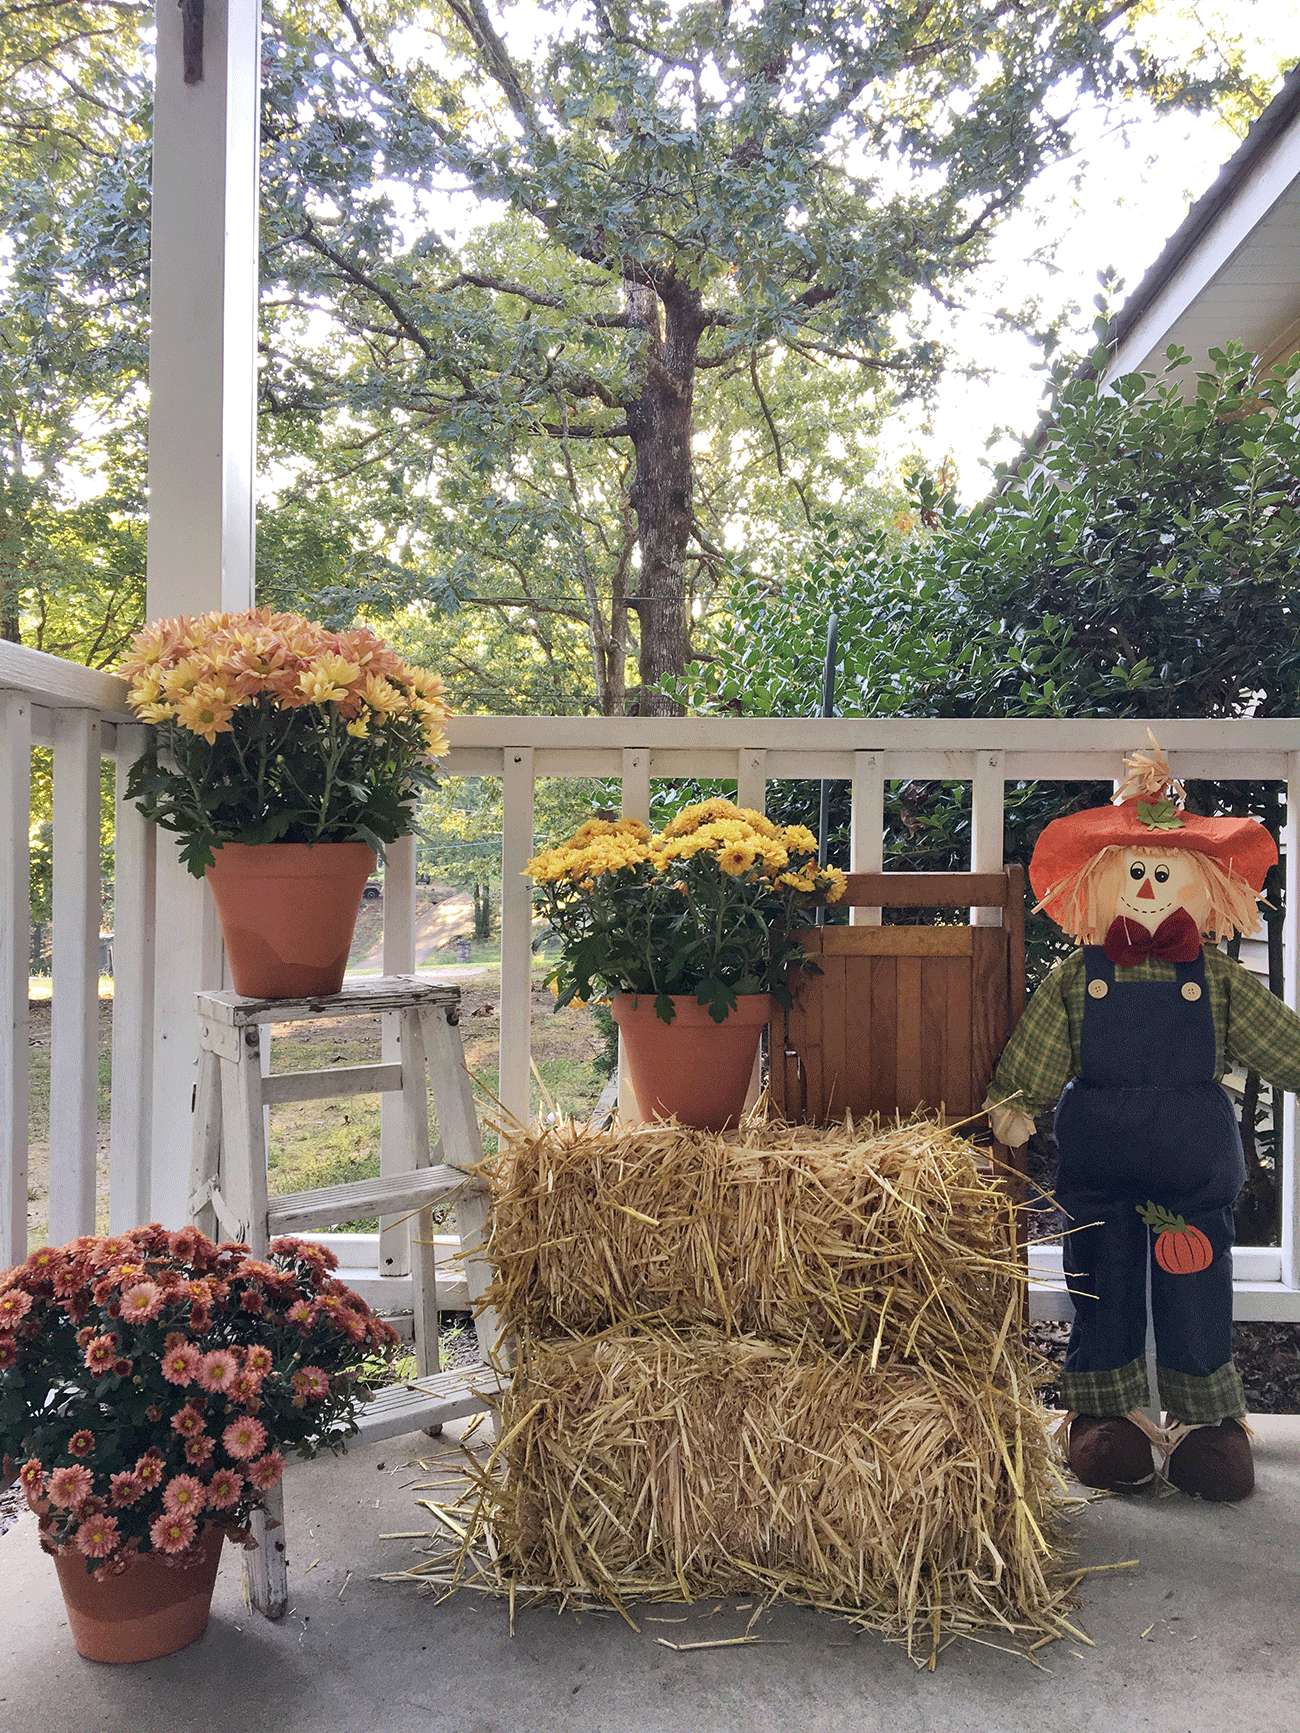
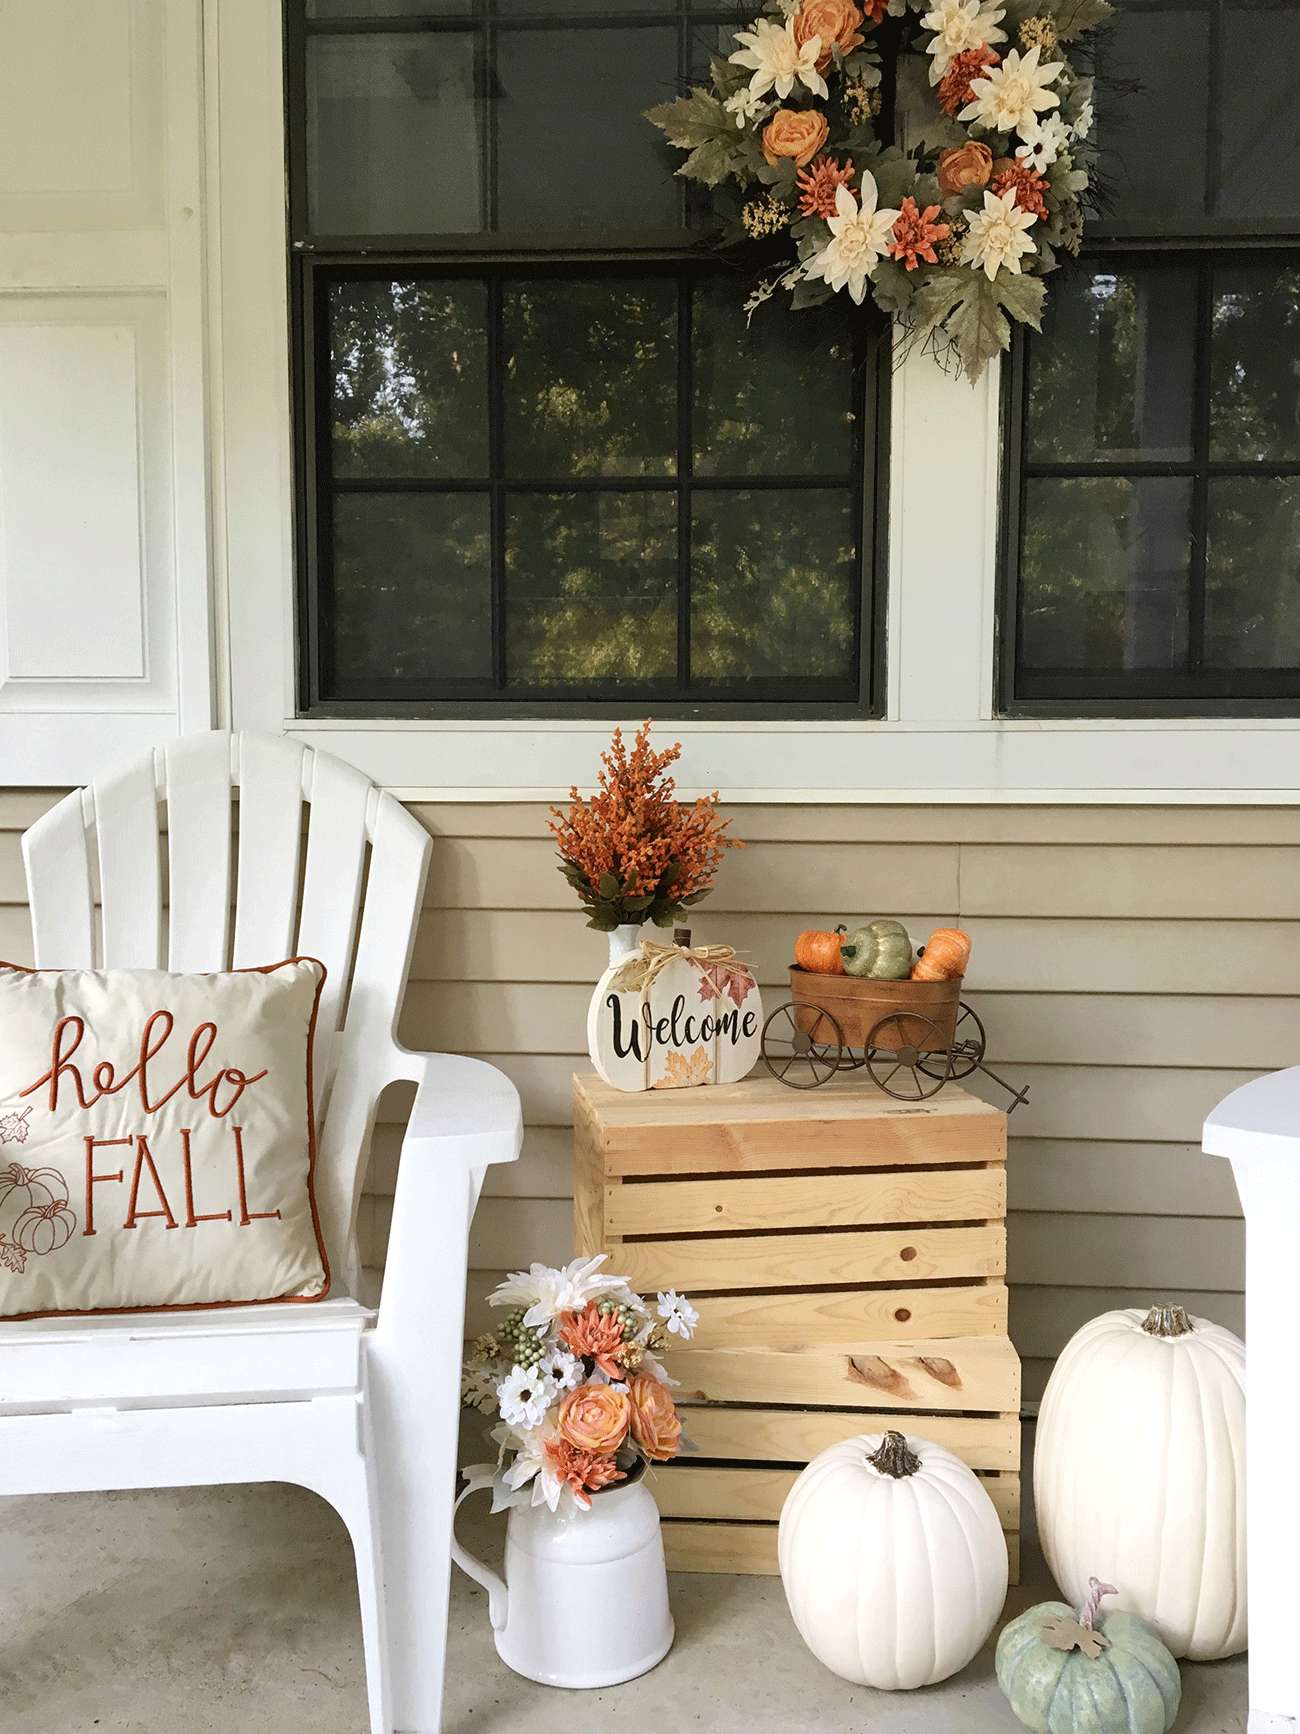
For September's Michaels Makers challenge half of us were tasked with doing something fun with the variety of craft pumpkins found in Michaels. There are so many awesome projects out there - from painting them, to carving, bedazzling, and wrapping them in fabric. I kept mine super simple - using them as decor, as is. I love how they look real, but you don't have to worry about them getting all rotten and gross after a while. I can save these year after year and do all sorts of fun and different things with them if I'm feeling it. The traditional orange ones are great, but I really love the cream pumpkins personally. And I can't forget that little green guy! I thought this challenge would be the perfect time to give my front porch a little refresh. 

Michaels Makers Autumn Porch Makeover
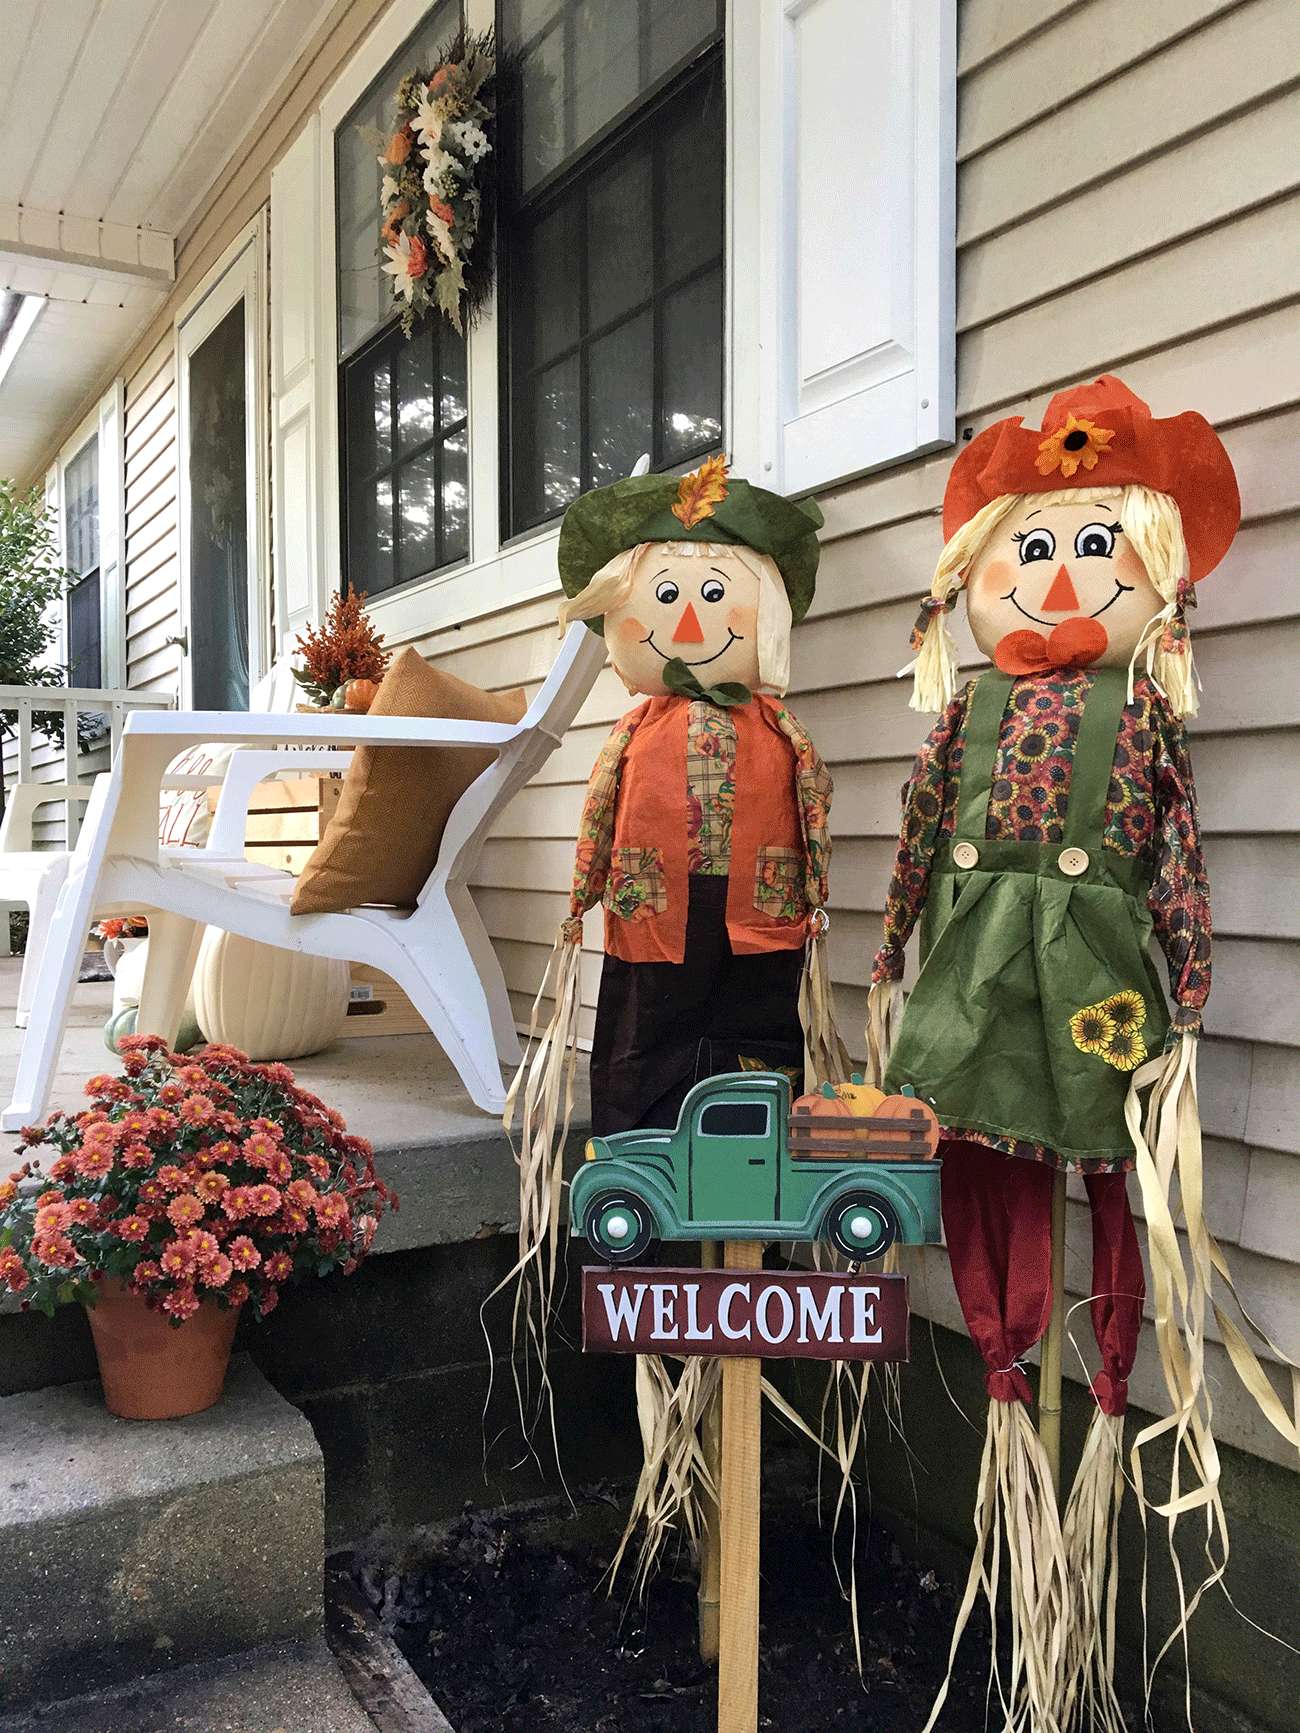
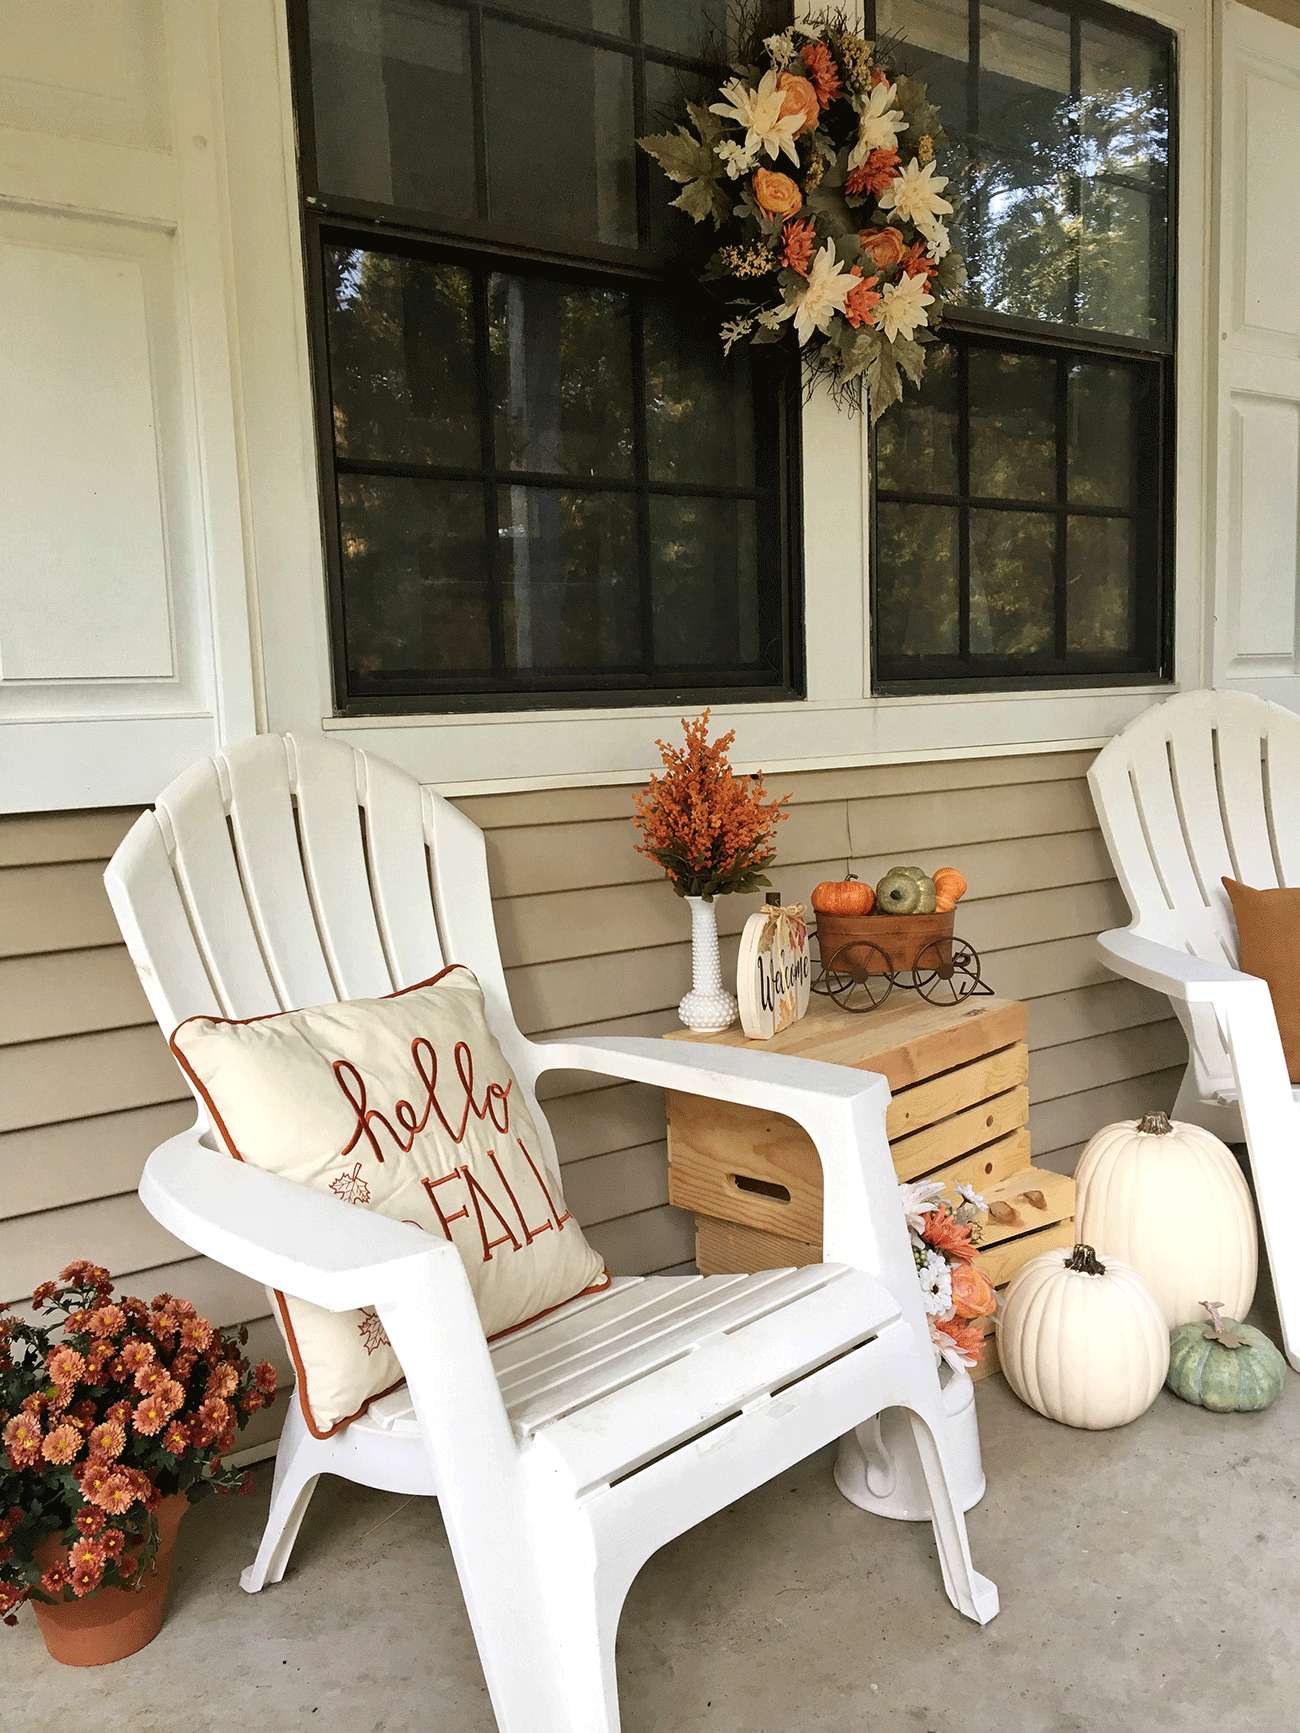
I scored these white (plastic) adirondack chairs on end-of-summer clearance ($10!) to replace the wicker set I had for a while. Enid liked to use my wicker chairs as a scratching post, so they were totally tattered and scraggly. While these plastic alternatives aren't really anything special, they can withstand my big ol 60+ pound bulldog lounging in them and I appreciate that because it's literally her favorite thing to do - to just lay on the front porch, in her chair, nipping at any bees that fly near her. It's precious really. They don't really have that "homey" feeling though, so I tossed a couple throw pillows on them to spruce 'em up. I used two of the wooden crates from Michaels to create a little side table of sorts, and I decorated with this adorable mini wagon (!!!), mini pumpkins, some Autumn florals, and a little Welcome pumpkin, too. I snagged this wreath for half-off and had it on my front door at first, but I really love the way it looks centered on my front windows. I feel like it brings it all together. 

Michaels Makers Autumn Porch Makeover
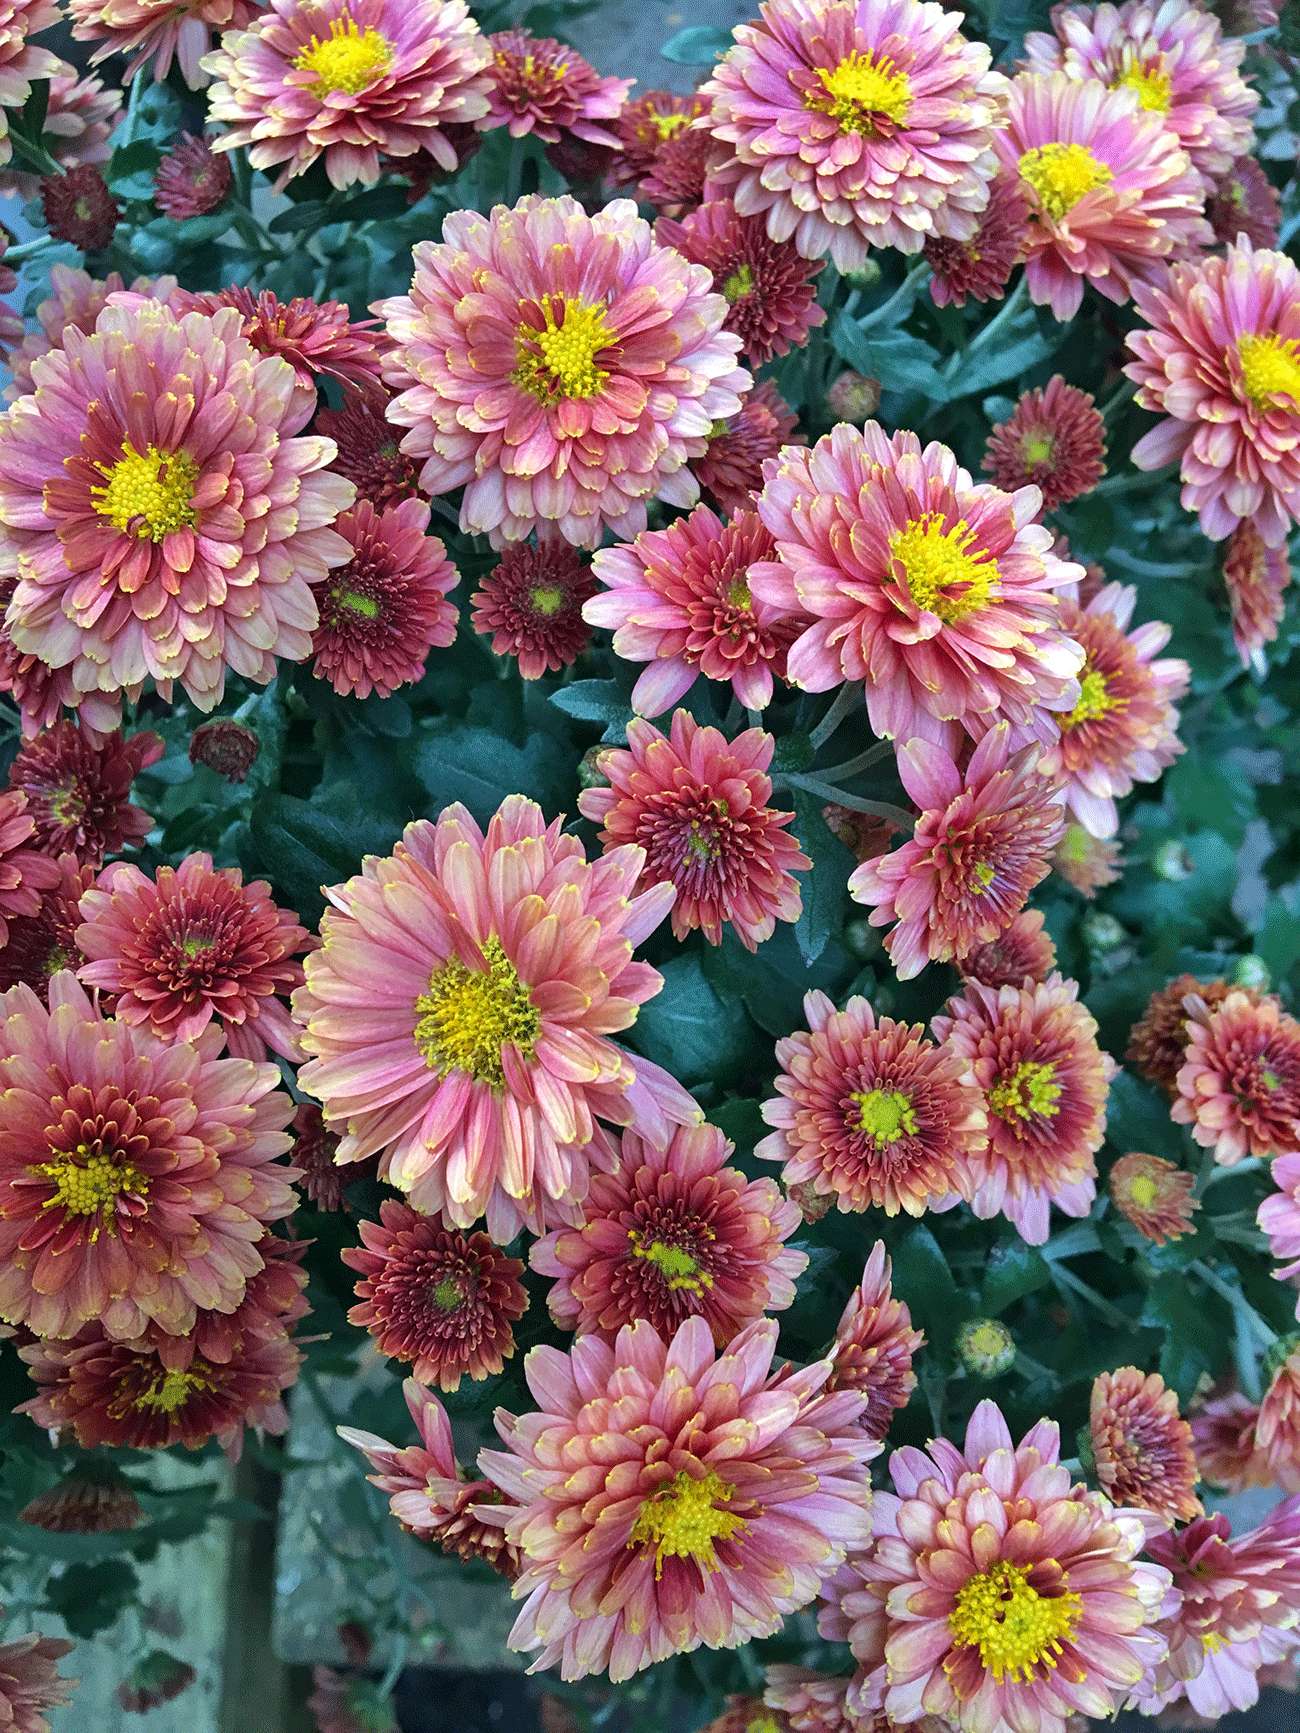
The other side of my front porch has an old rickety step ladder that I used to stagger my mums, and two straw bales from Michaels, too. And the cutest little scarecrow guy! Linden gets such a hoot out of this scarecrow. The step-side of my porch has a couple more mums (I LOVE FLOWERS!) and two more scarecrows ($6 each!), along with a darling old pickup truck Welcome sign. Two welcome signs aren't too many, right? I just want to be friendly here! haha It makes me so happy to come home and see the festive state of my porch, and it's even more enjoyable when I get to sit out there and drink my morning coffee while Linden rides his bike or jeep. There's just a sense of warmth and happiness that comes along with seasonal decorating, I think. Of course Toby is already begging to decorate for Halloween, so we'll see how long these little Autumn ditties last! 

Michaels Makers Autumn Porch Makeover
We don't do a lot of holiday decorating really, mainly because we had always moved every year, but now we've been in this house for almost 5 years (!!!) so I feel a little more comfortable acquiring seasonal pieces that need to be put away and stored for the remainder of the year. We've never decorated for Halloween before, so I think that will be a fun challenge for us all to tackle together. I might pick up a few more of these craft pumpkins from Michaels and then paint them for Halloween... Now I have about seventeen fun ideas running through my head. One at a time, KB!

Whether you want to jazz up a pumpkin with crystals and jewels, paint and glitter, scary faces or gilded foil, Michaels has pretty much any size and shape you might need. They even have teal pumpkins in case you want to showcase that you have non-food treats available - a great way to be inclusive to those children with special dietary restrictions. Halloween can be a tricky time for families managing food allergies, so if you hand out treats on October 31st, consider grabbing a bag of party favors, or whipping up some awesome slime cups, to give out! Check out more about The Teal Pumpkin Project if you haven't heard of it! And be sure to swing by Michaels - online or in store - to check out some of the other great projects.

xo KB

// Summer Sandal Makeover

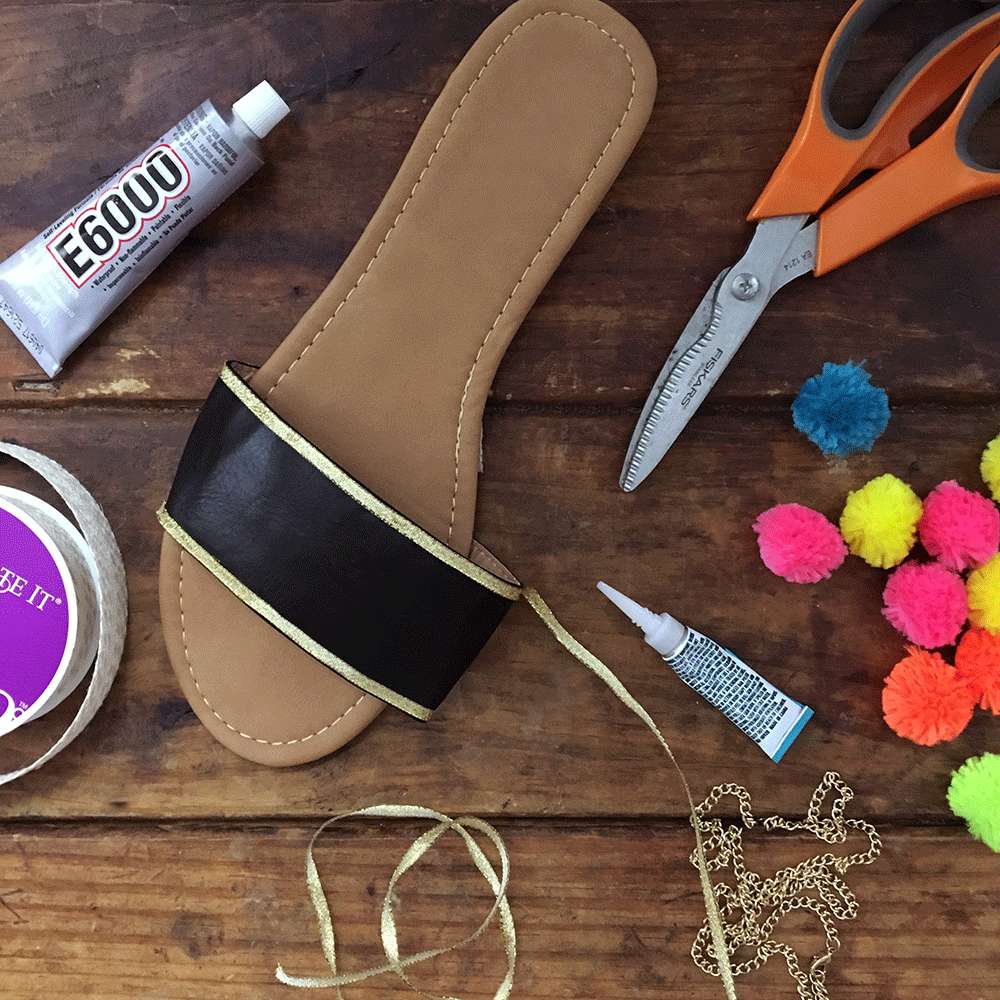
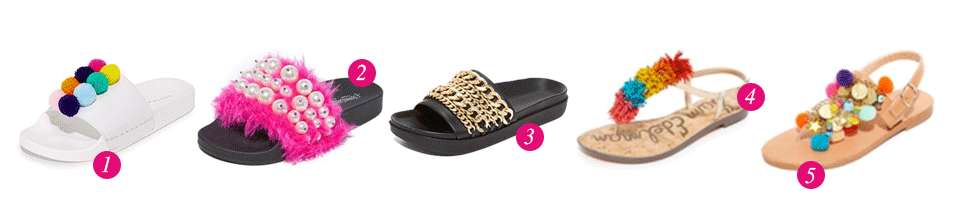
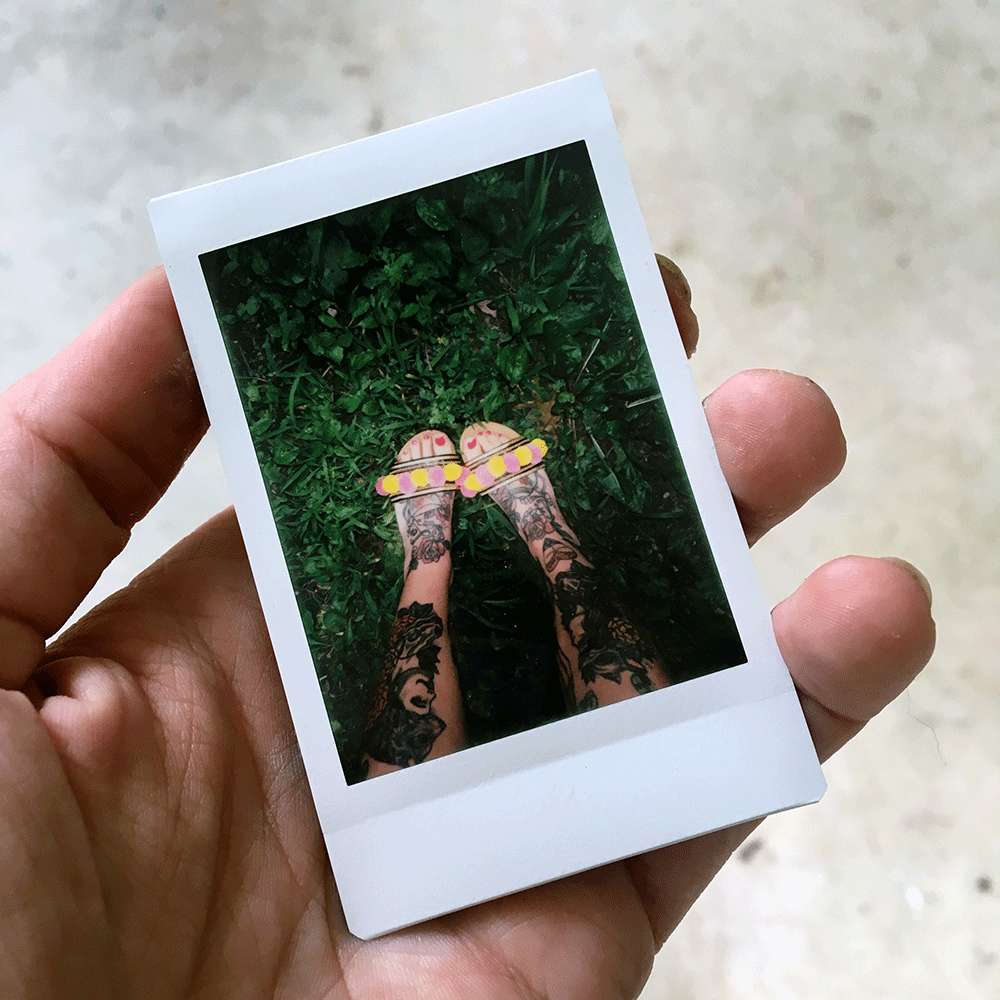
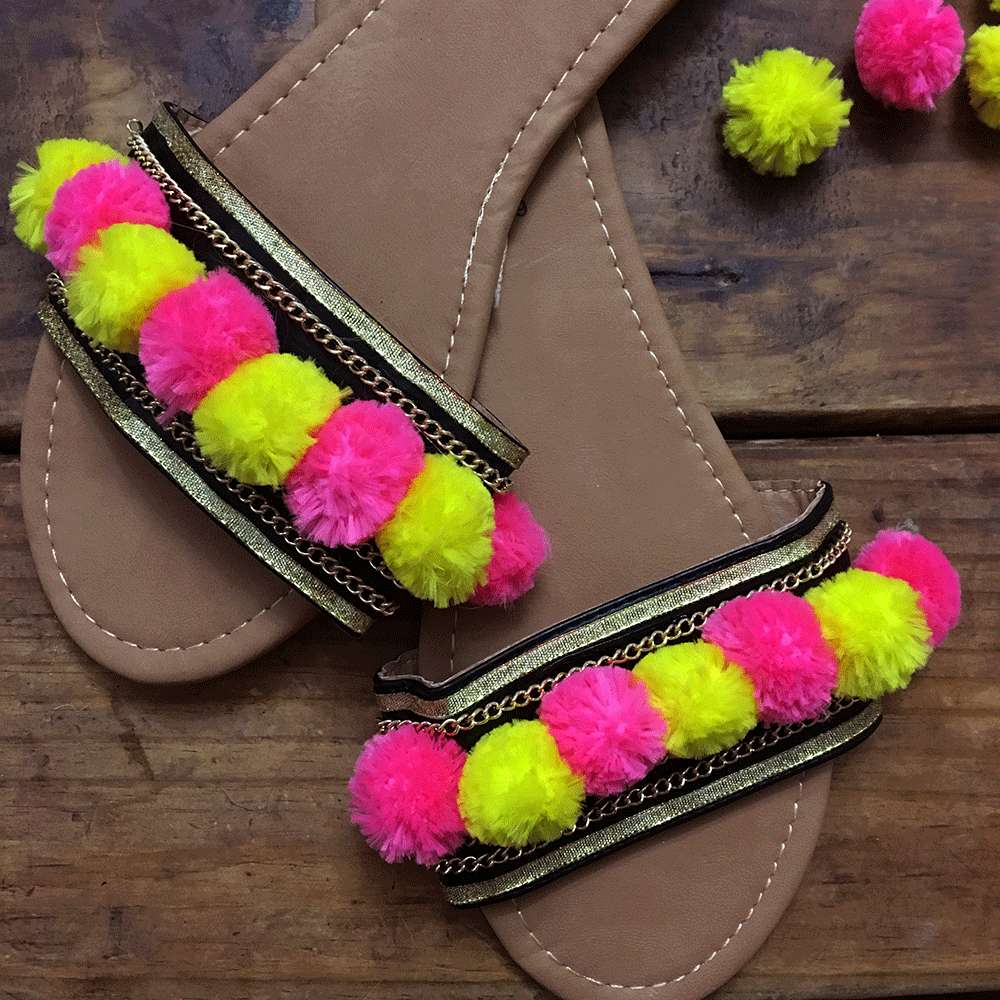
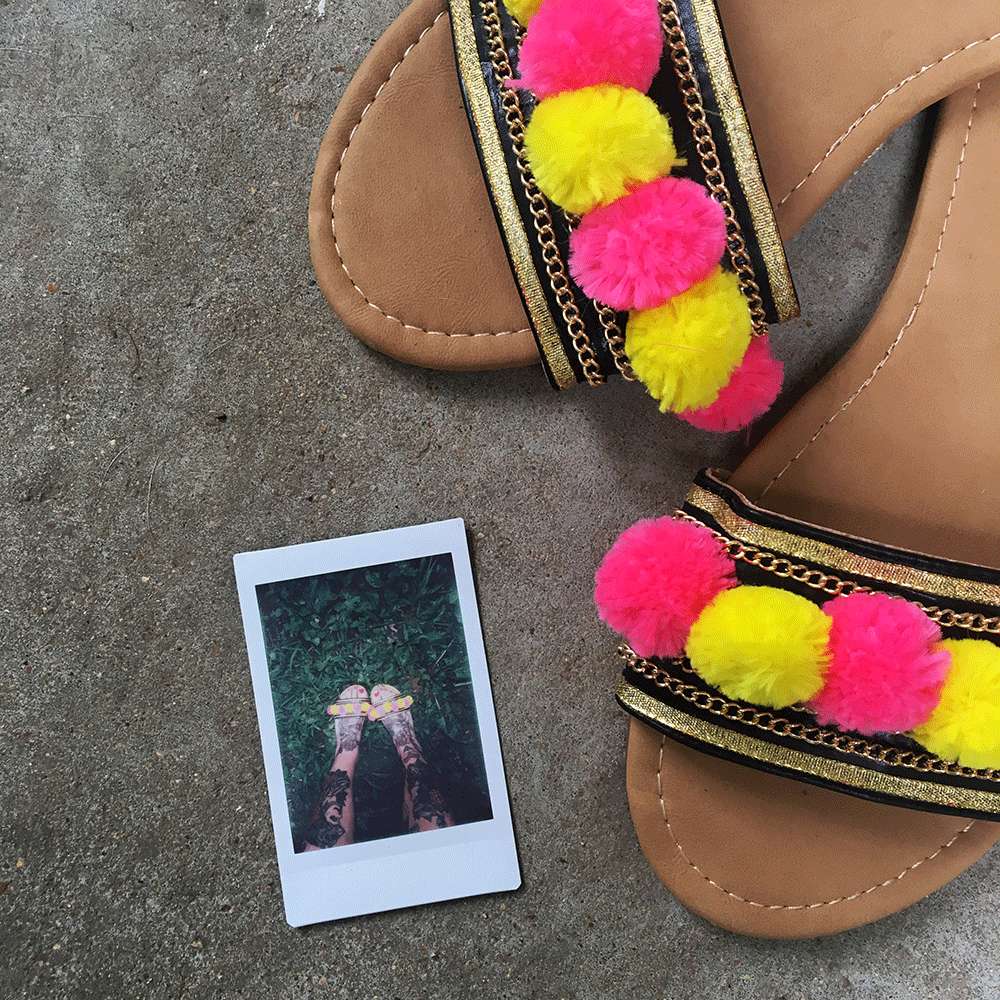
Y'all, school starts back here in Tennessee in less than a month! Ahhh! I'm just not ready for Summer to be over yet! I love the colors, the weather, and the carefree attitude that comes along with the season. It's a little hard (and intimidating) to think about getting back in the rhythm of the school year. One of my favorite trends for the past few months has been pom poms and tassels on any and everything.I first saw a round up of cute, embellished sandals on Shopbop and I've wanted a pair of my own ever since.  Since it's such a fun Summer look, I decided to upcycle a pair of black slides I had so my feet can feel like Summertime all the time ;) This whole thing took less than 15 minutes, so if you've got some fun embellishments laying around, get to work!

INSPIRATION


one // two // three // four // five


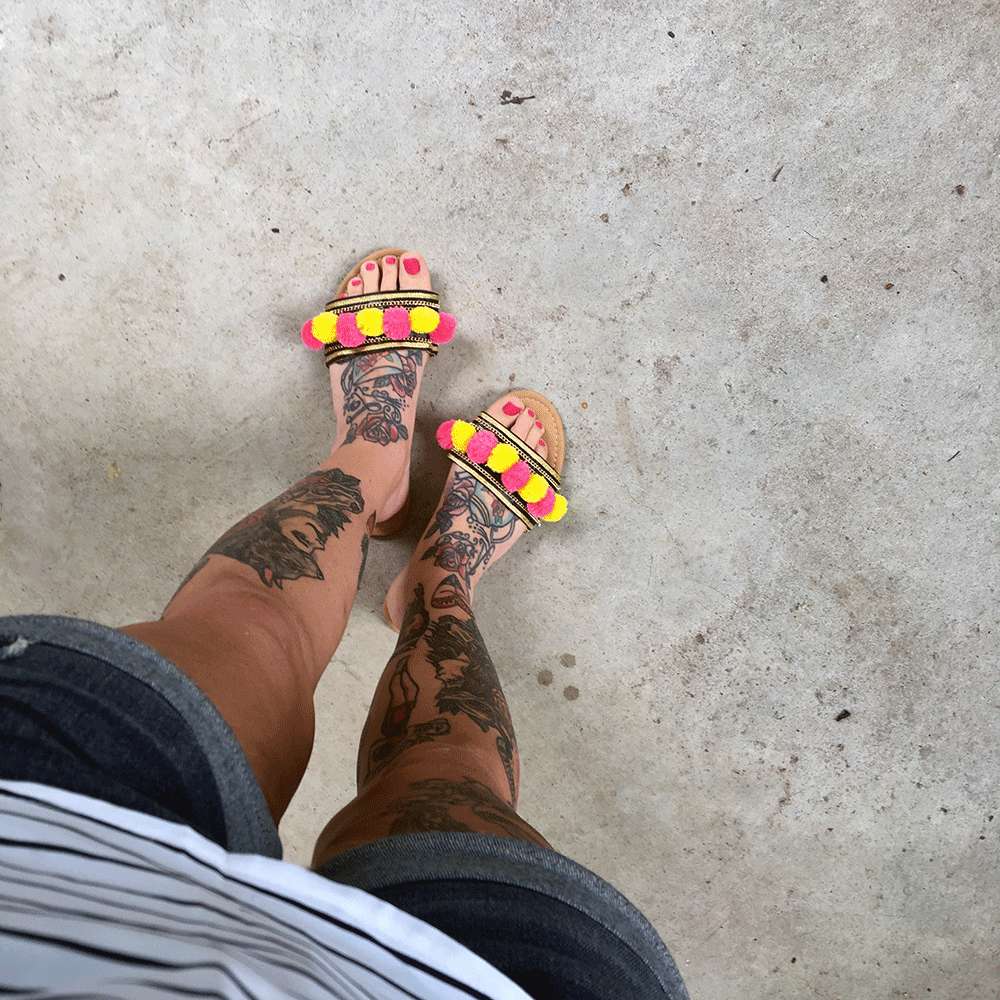
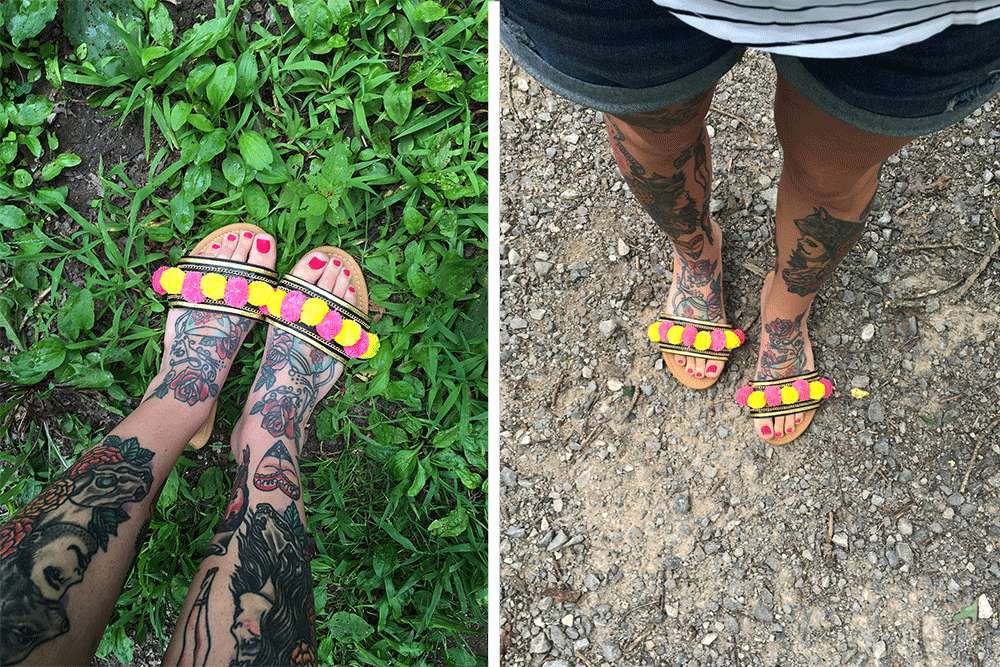
I took these $1 slides I had and outfitted them with metallic gold ribbon, gold chain, and the brightest pink and yellow pom poms I could find. There's seriously nothing to this... Just use your favorite type of glue and stick those babies on! I used super glue for the ribbon and chain, and used E-6000 industrial glue for the pom poms (and to secure the ends of the chain). I love how festive and fun they look. They're quite the attention grabber though. 

This month's Michaels Makers challenge (the final one! WAH!) was to give something some flair for the back to school season. I'm having a hard time not affixing these bright pom poms to literally everything, but the sandals are a good start. I have a couple sheer curtains and a raffia clutch begging to be pom pom'd out. We'll see what I end up with!


From crystals to pom poms to tassels and patches, Michaels has pretty much everything you could ever need to bling out your Back To School goodies. You can check out how some of the other Makers opted to embellish! Now I'm thinking I need another pair of slides so I can just do some really fun gold chain work! That'd be pretty rad, right?

Check out the rest of my Michaels Makers posts from the past 3 years (!!!) by clicking HERE!

xo KB


// FREE DIY Summer Party Printables!

Free DIY Summer Fruit Party Printables // KaelahBee.com
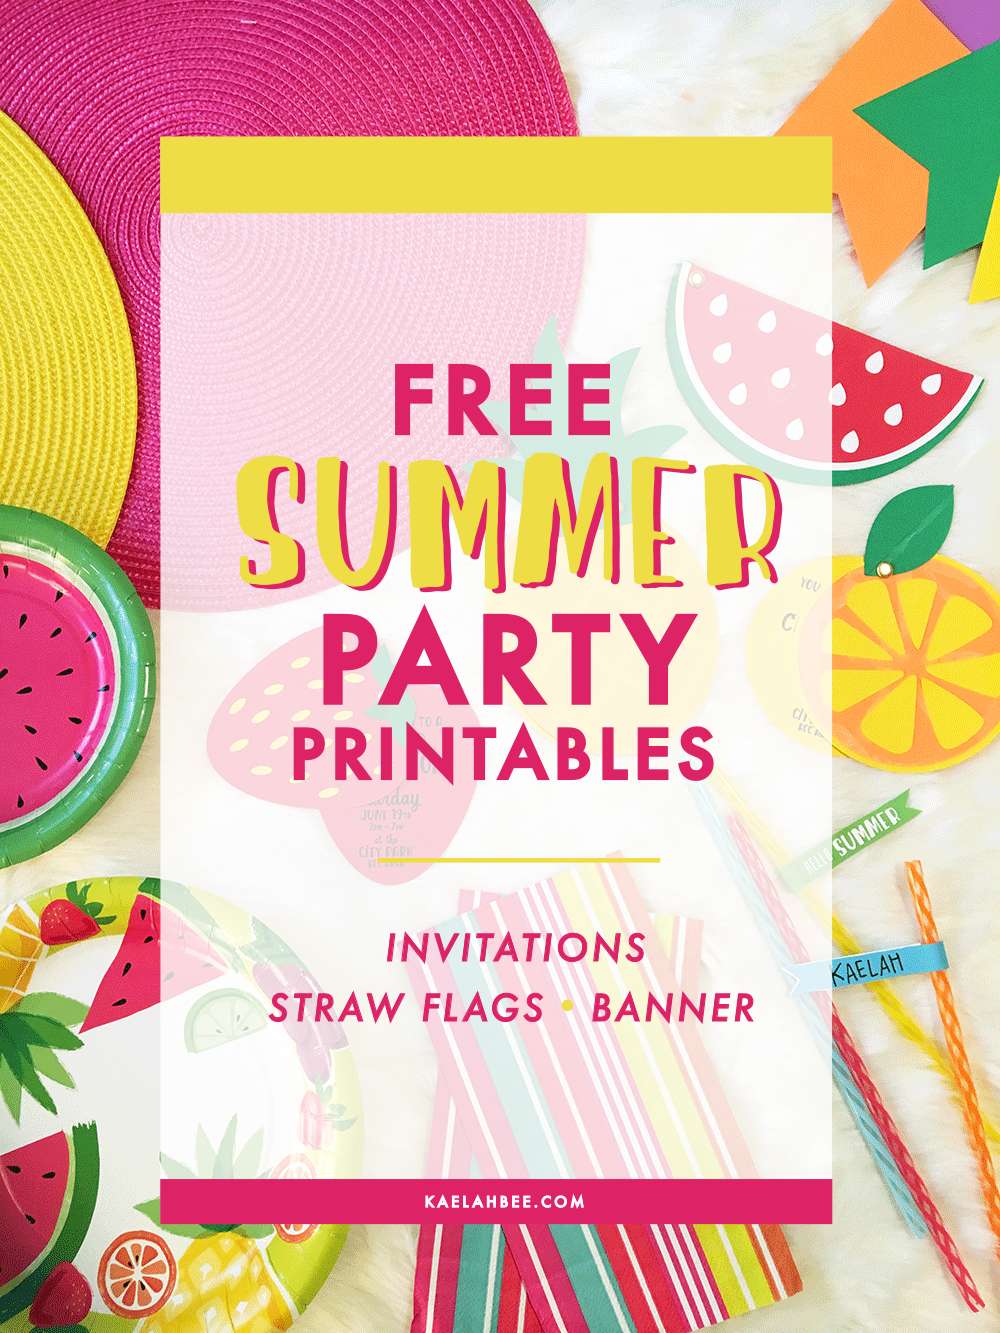
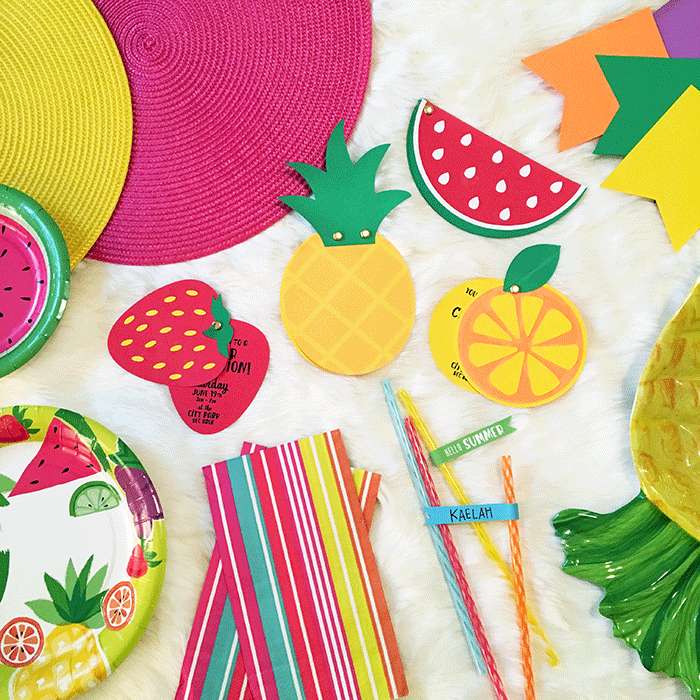
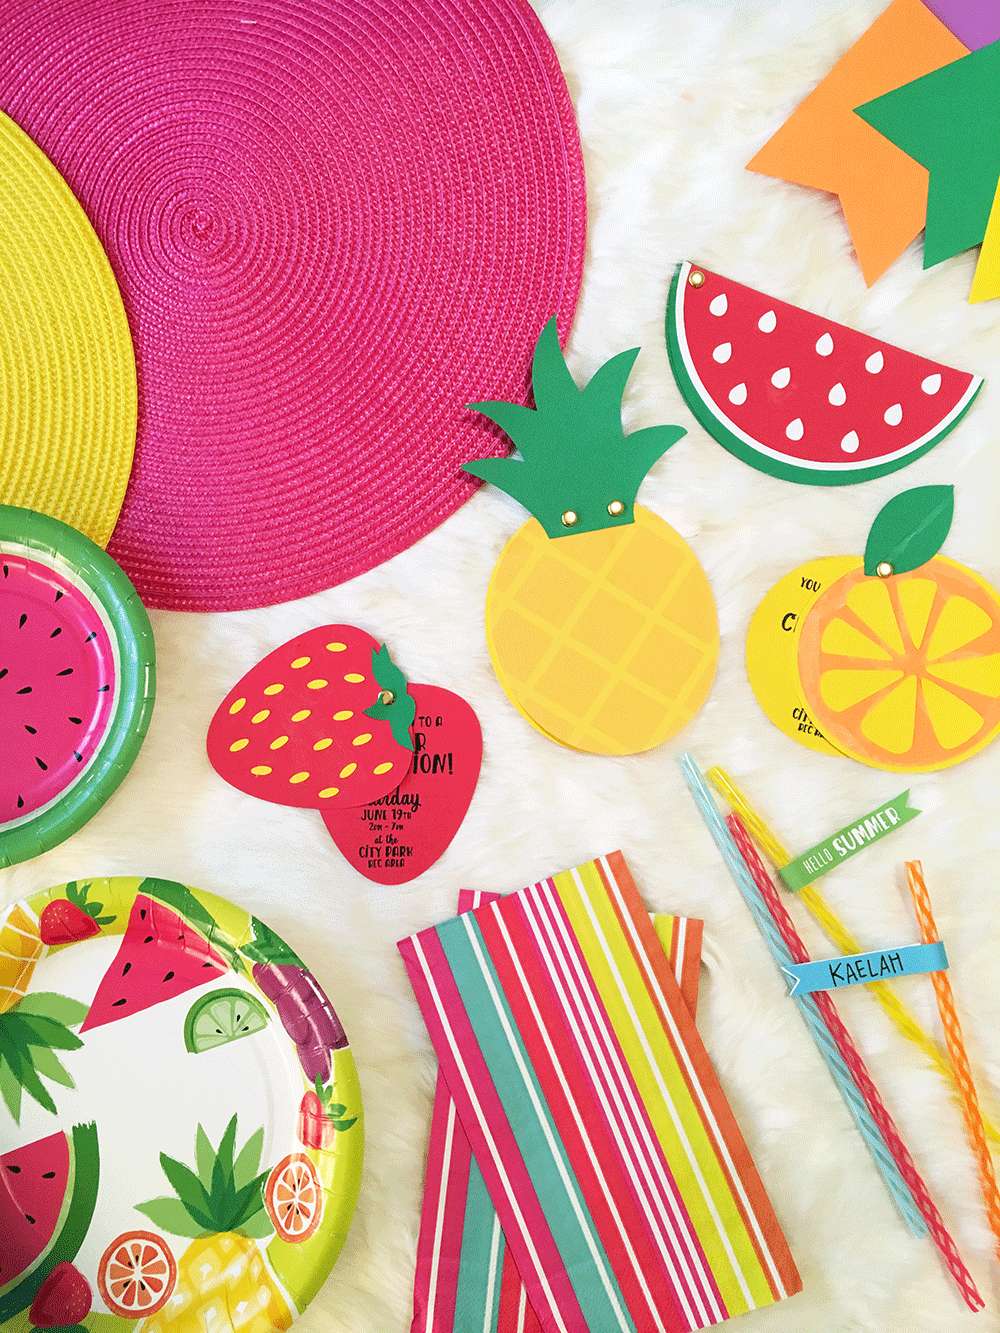
I LOVE SUMMER! I love summer SO MUCH! I know it's hot and humid and the mosquitos are the literal worst, but I love the beach and the pool and creeks and basically any body of water, along with popsicles, parties, and a lot of fruit! Today I'm sharing a few free* (!!!) party printables that you can use all summer long! These pieces were all inspired by the fun and festive party decor at Michaels right now, so if you're curious where everything (like that cuuuute pineapple serving dish) is from, now you know.

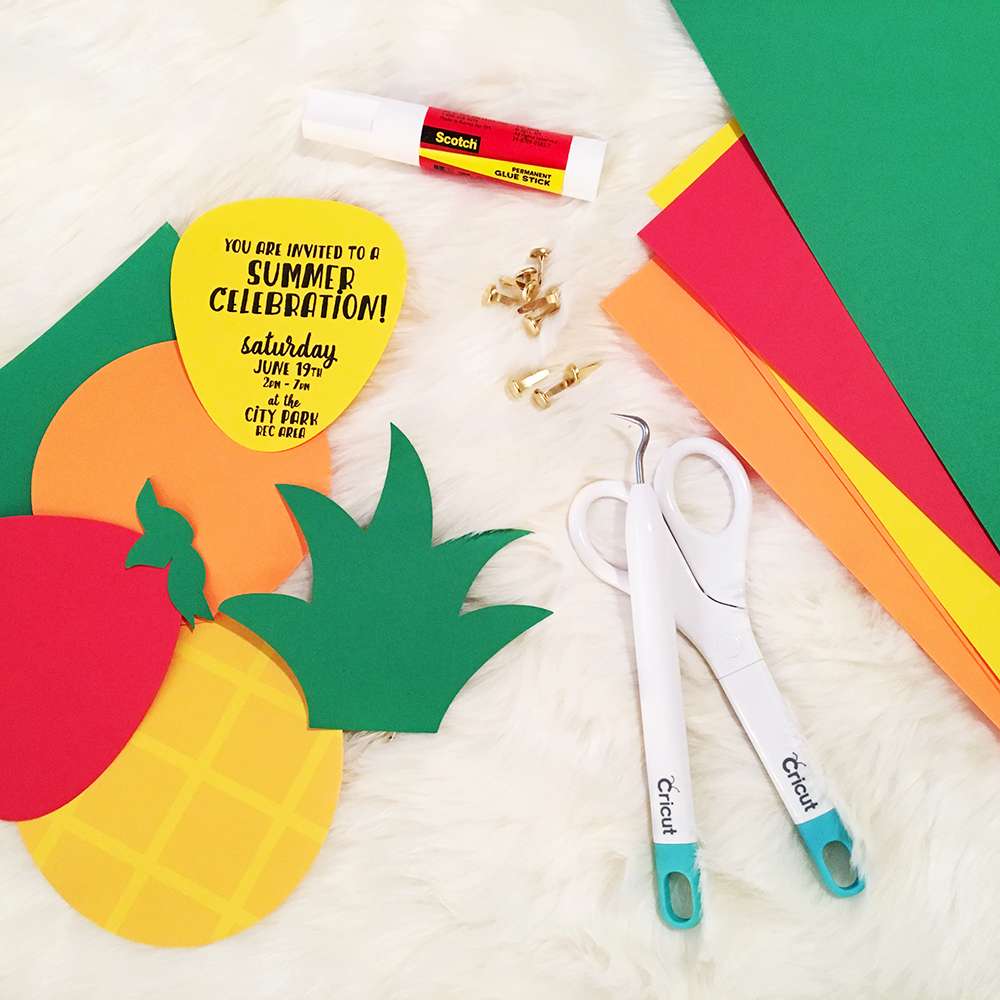
I used my Cricut Explore Air 2 machine to cut out the fruit pieces, but you can (almost) just as easily cut them out with regular ol' scissors. I've included downloads for both the .svg files and the (flattened) .jpg versions. You can print them on white cardstock rather than put them in layers if you hate manual cutting haha. I love making 3-D/multi-layer cards like this so these invitations were fun, albeit frustrating for a while. I'm still learning the ins and outs of my machine so I could have probably made it even easier on myself, but it's kind of a tinker-and-try sort of thing. If you have any handy Cricut tips or resources, I'm all ears!
Free DIY Summer Fruit Party Printables

supplies:

cardstock
die-cutting machine 
(or good ol' scissors!)
printer
glue
stationery brads


The .svg files I have included are each layered in their own file. This means your Cricut will automatically break them into their own layers based on color so you can cut with just one mat. Just a heads up in case you get in there and are all "Wut?" haha

The way I've set up my invitations is to have 2 sides attached with a stationery brad so it can swivel (or bend, in the pineapple's case), revealing the party info. Additionally you can also print the party info on translucent vellum to add a third (middle) layer. Con to living in a small town: probably not going to find vellum in your stores... haha I didn't include the party info in the files because you'll obviously have your own stuff. You can print directly onto the cardstock, like I did, or go the vellum route, or whatever else you come up with. Just get the info in the invite, right? ha

the files:


Whether you're looking for fun décor, bright blooms, or cute party supplies, Michaels has everything you need to MAKE summer bright and fun! Now I'll probably spend the remainder of spring/summer obsessed with fruit prints and that gorgeous fuchsia color! If you're on the prowl for more inspiration, pop over to the Michaels’ blog, The Glue String, to see the rest of the Michaels Makers’ summer fun project ideas.

xo KB


* Free for personal use only.

Free DIY Summer Fruit Party Printables // KaelahBee.com

// Do It Yo'self: Personalized Peg Doll Instax Mini Displays

DIY Personalized Peg Doll Instax Mini Displays
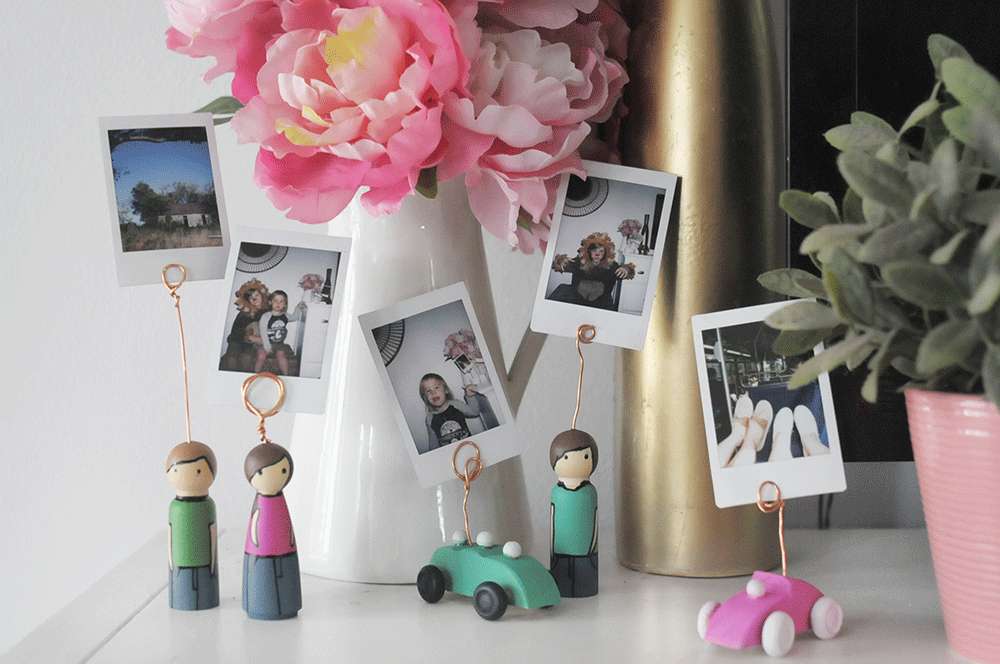
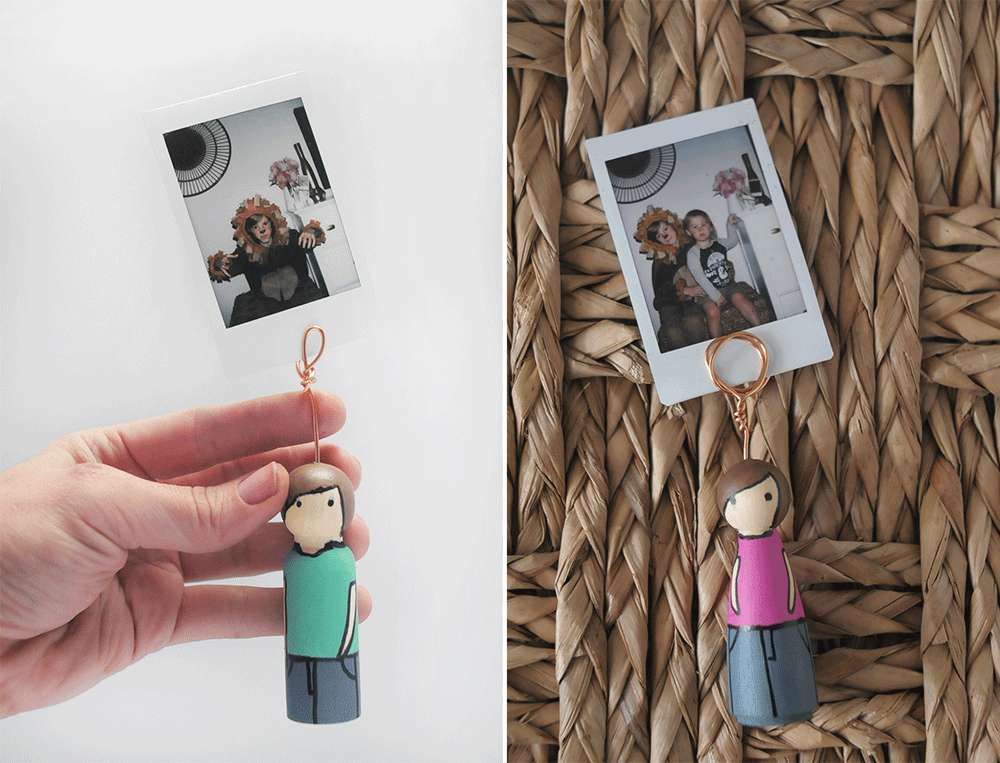
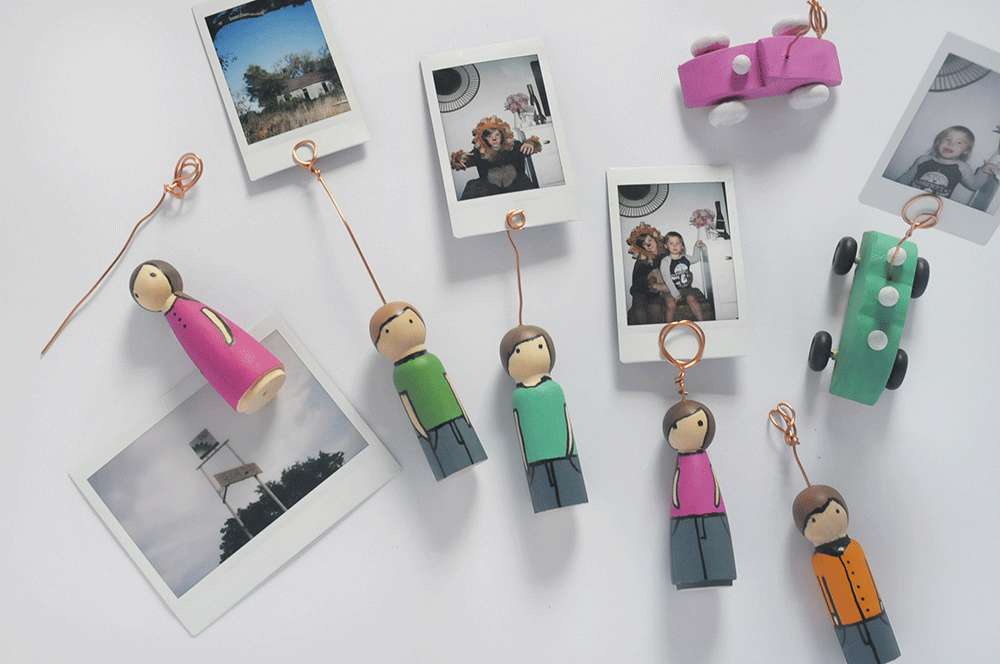
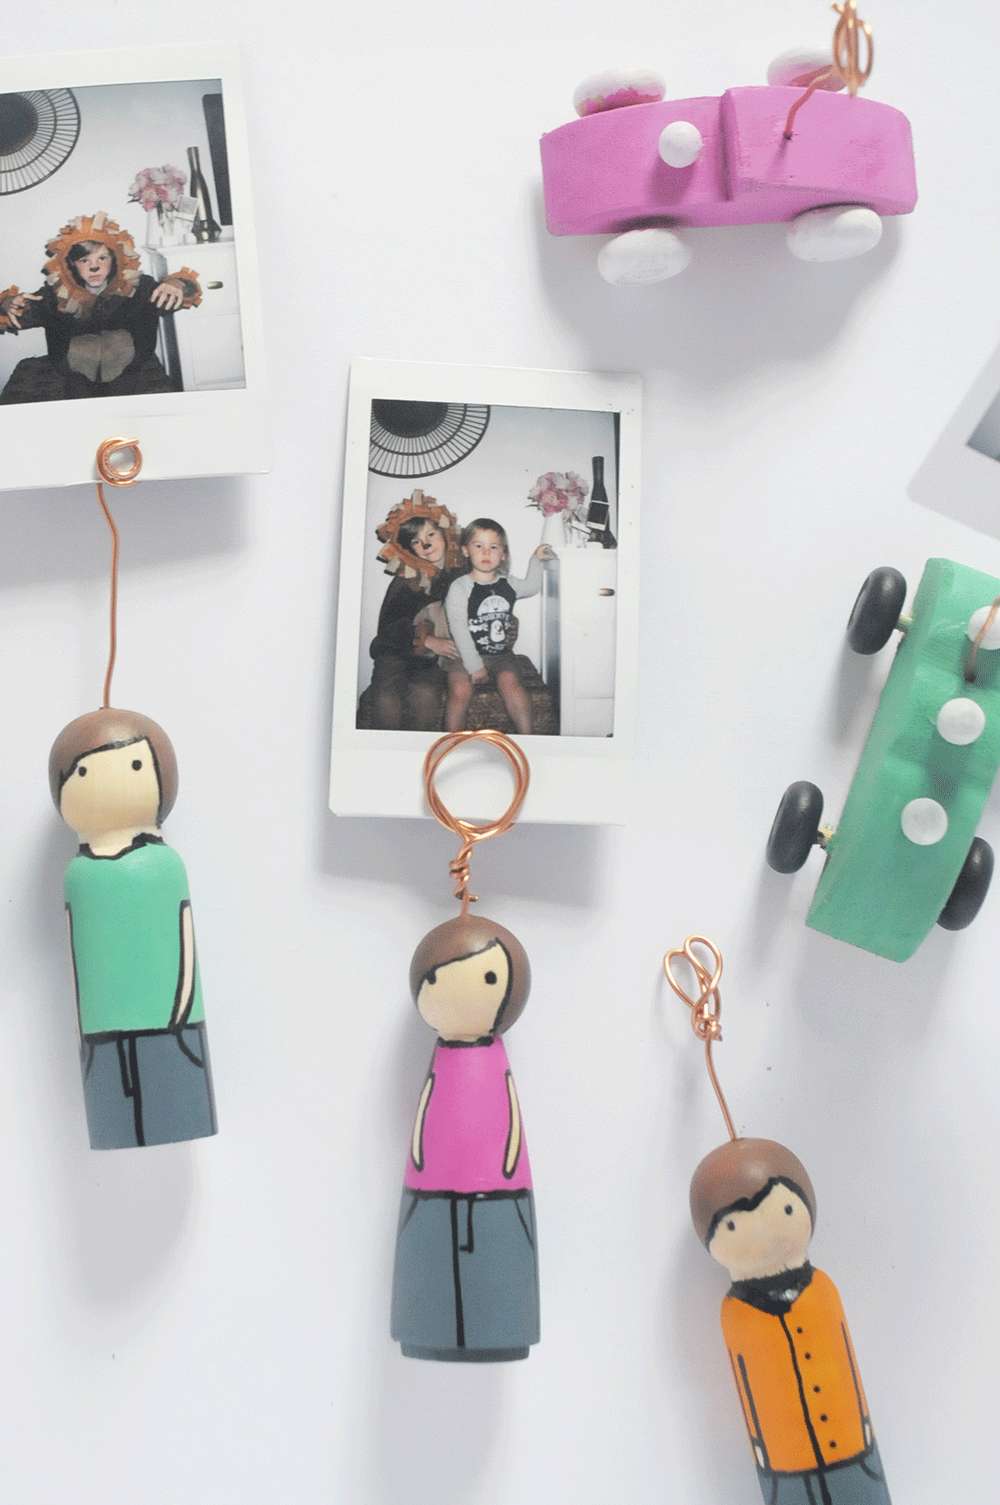
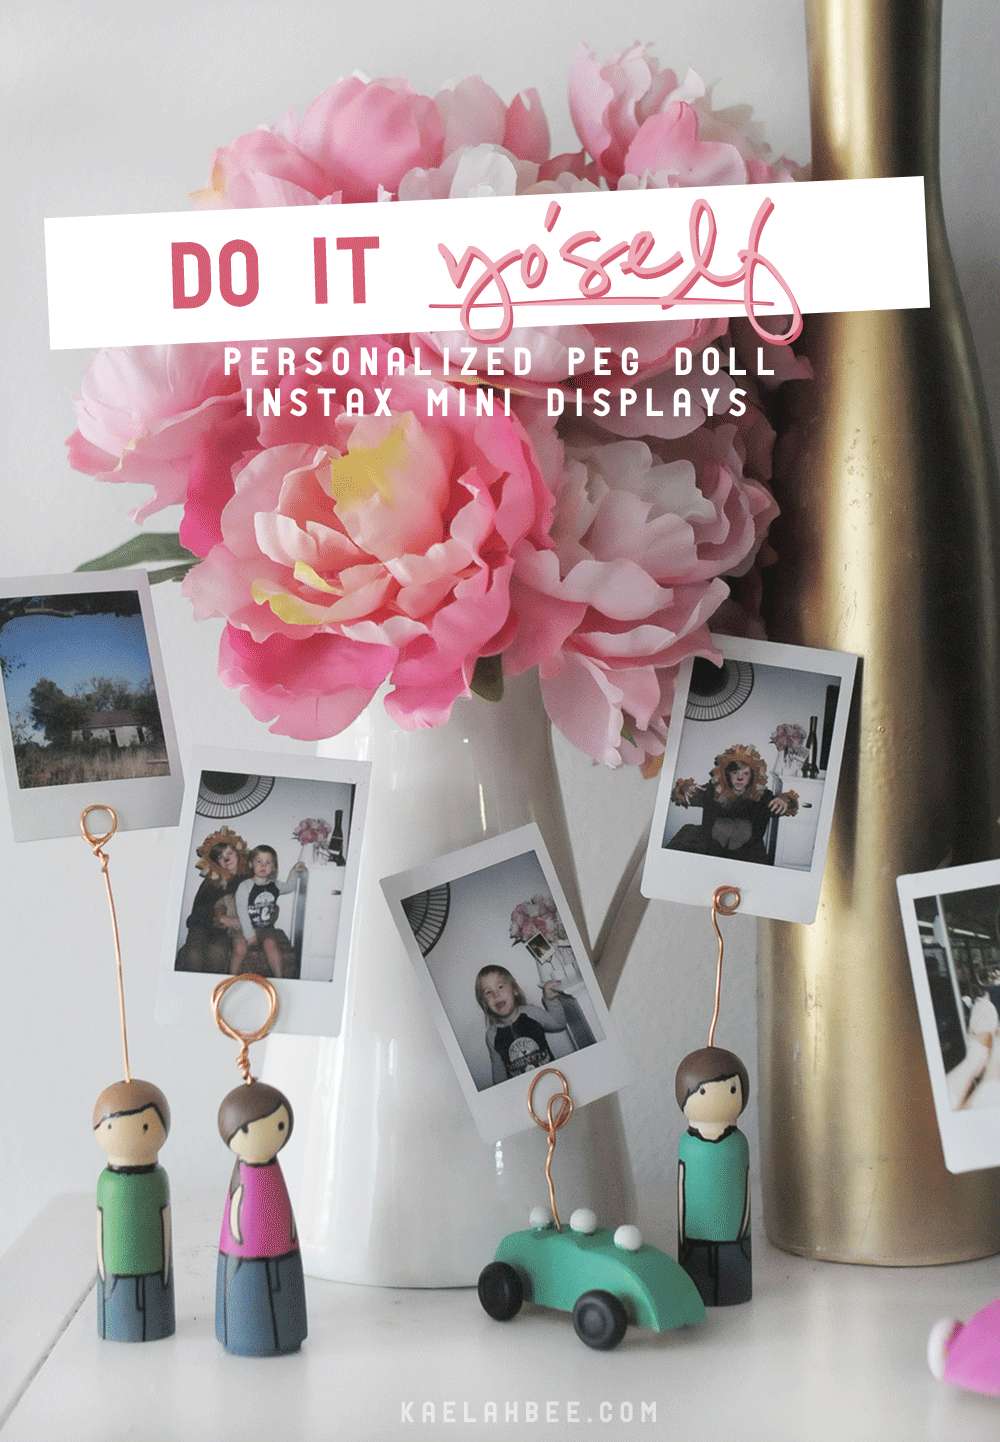
This blog has seen its fair share of novelty cameras and photo gear over the past (almost!) 8 years, but one that has always stuck around is the Instax Mini. Back in the day I had a little brown Instax Mini 7s (which still works like a charm!) but now I mostly tote around my "Dubarry" Instax Mini 8. Despite the change in models everything functions just the same as it always has - why fix what isn't broken, right? It's always just been a neat camera to have on hand, and I am a sucker for the pocket-sized photos that instantly begin to develop. Instax cameras are kind of like the best of both worlds when it comes to film vs. digital. They have that old school film feel to them but they deliver that instant gratification we all love with digital. I have shoe boxes full of Instax photos and I get so sentimental looking at them. I knew I needed a fun way to showcase some of them, and since I'm participating in the Michaels Make-A-Thon (14 days of amazing deals, ideas, and hands-on making!) I thought it'd be the perfect little DIY project. SO! I decided to paint some wooden peg dolls (which are supposed to resemble us - ha!) and crafted my own little displays using copper wire and pliers. This is such an easy peasy DIY! Even your little ones can get involved during the painting stage if you don't mind a little clean up!

DIY Personalized Peg Doll Instax Mini Displays

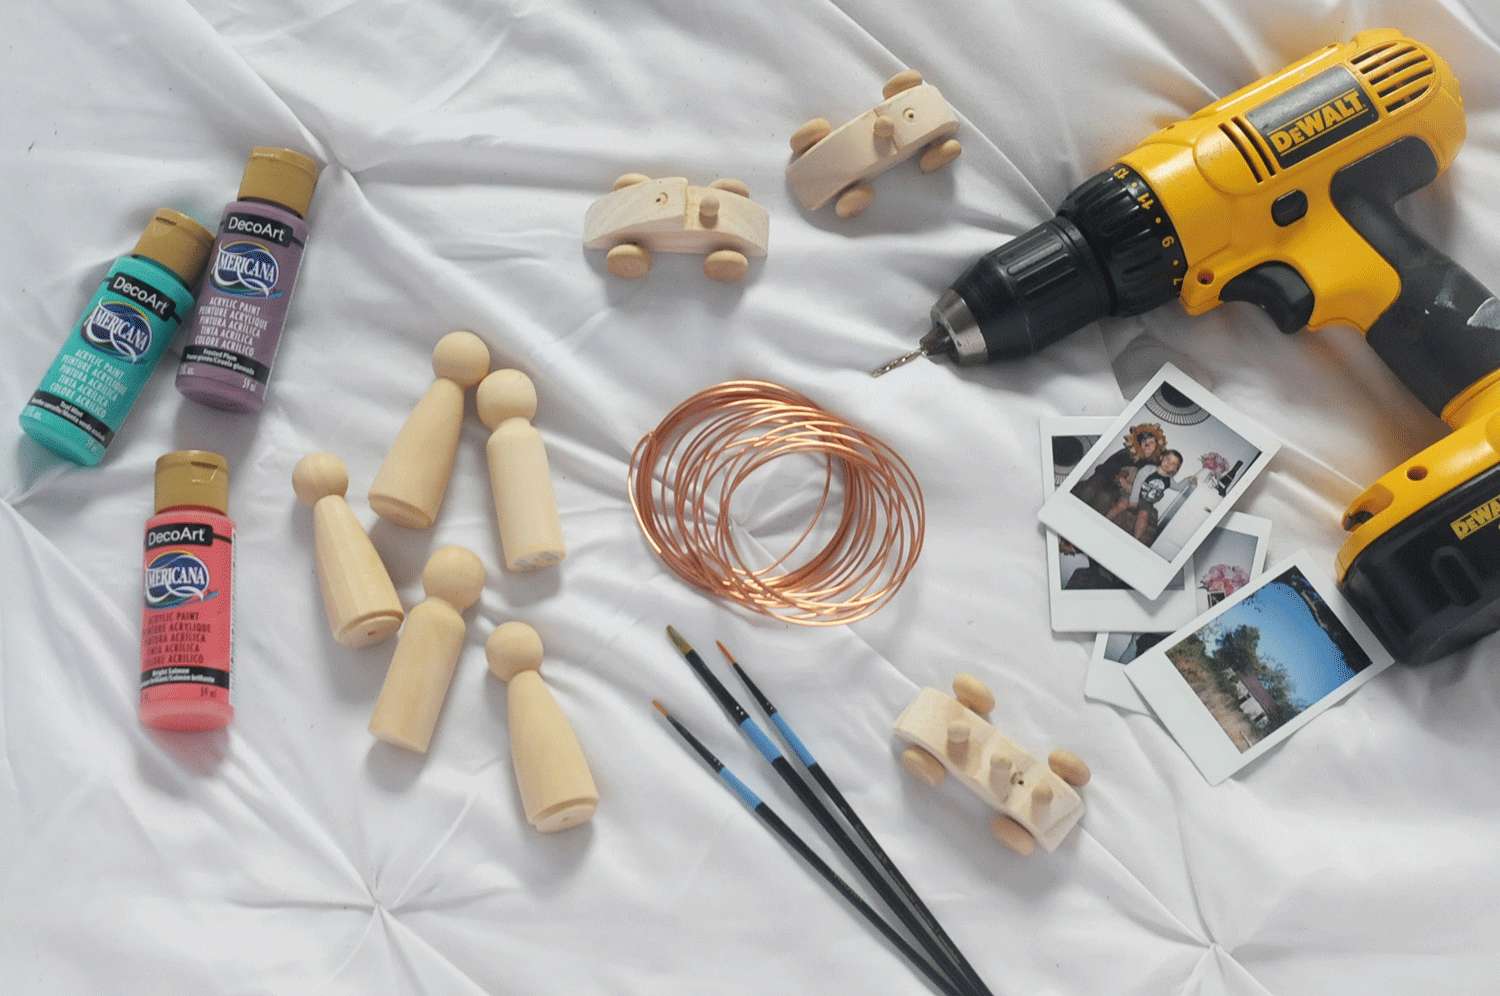
Supplies

Copper Wire (I used 16g)
Drill + 3/32" Drill Bit 
(or almost anything with a small diameter)

DIY Personalized Peg Doll Instax Mini Displays

INSTRUCTIONS

// ONE. Grab your peg dolls and use a pencil to mark the top center of each head. Use your drill with that tiny lil' drill bit and hollow out an area as deep as you can. 

// TWO. After this you'll sketch out your "character" on the wood with your pencil. These are great to keep simple or to jazz up - it's hard to go wrong so don't stress yourself over it. 

// THREE. Once you've nailed down how you want it to look, break out the paint and brushes! You can go back over the edges of areas with a black paint pen if you don't dig the super tiny tip brushes but want the contrasting color. 

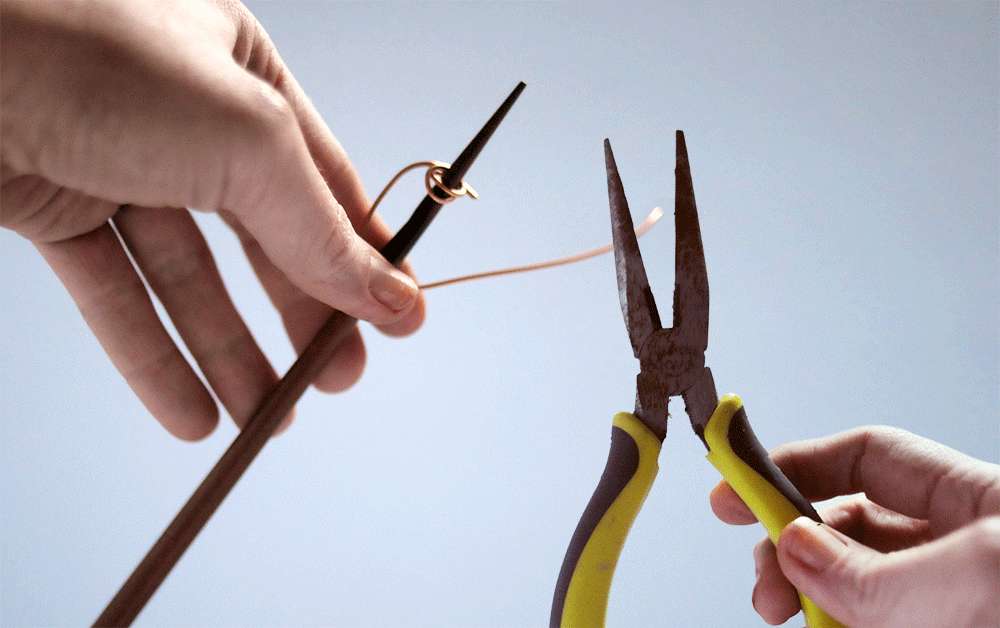
// FOUR. While the paint is drying on your peg dolls, grab your wire and pliers. Cut off varying lengths of wire and use your pliers to help mold the coil shape on one end. (Pro tip: Use something like a pencil or chopstick to wrap the wire around. It'll save your fingers a bit of trouble) Leave the other end of the wire straight and then pop it down into the top of the peg dolls. If your drill bit was larger than your wire you can always dab a smidge of industrial glue (like E-6000) onto the end of your wire before inserting it into the peg doll. This will help ensure it doesn't spin around when handled. Just be sure to clean up around the top of the doll so the glue doesn't accumulate and dry)

DIY Personalized Peg Doll Instax Mini Displays
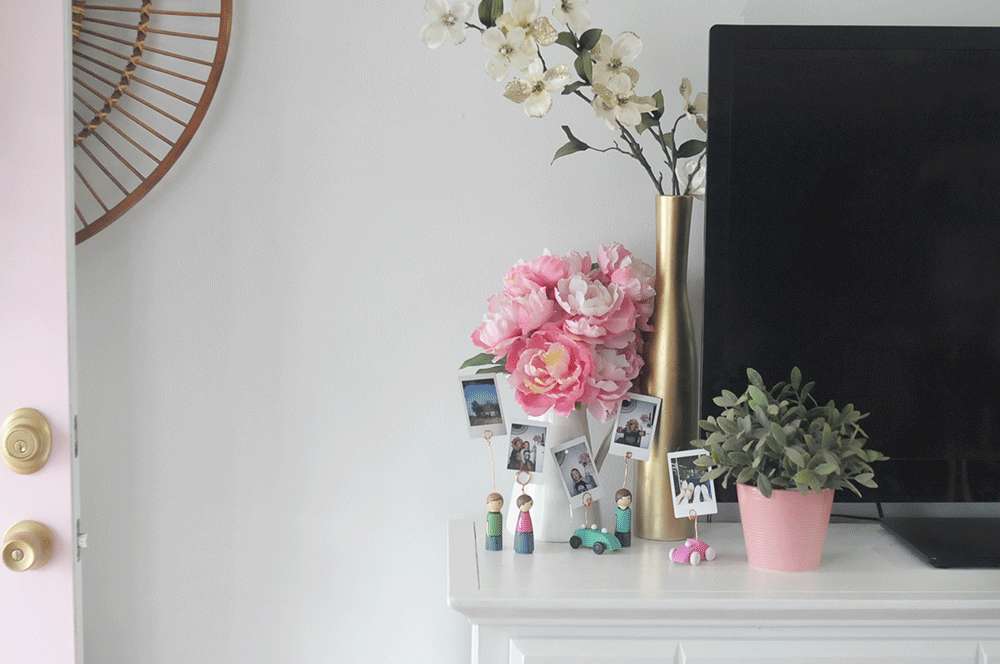
I didn't glue my wire into the peg dolls so both Linden and Toby popped the wire out of the dolls to play with them after dinner. Once they went to bed I put them back together and returned them to the TV stand. I kind of dig that they're dual-purpose and they can be fun toys to play with, too. So many fun possibilities! Definitely let me know if you decide to give 'em a whirl!

Check out the 13 other amazing projects and allllll the deals happening now through March 18th!

Happy Crafting!

xo KB


DIY Personalized Peg Doll Instax Mini Displays


// Spring Decor Refresh: My Living Room

Spring Home Decor with Michaels Maker, Kaelah - kaelahbee.com
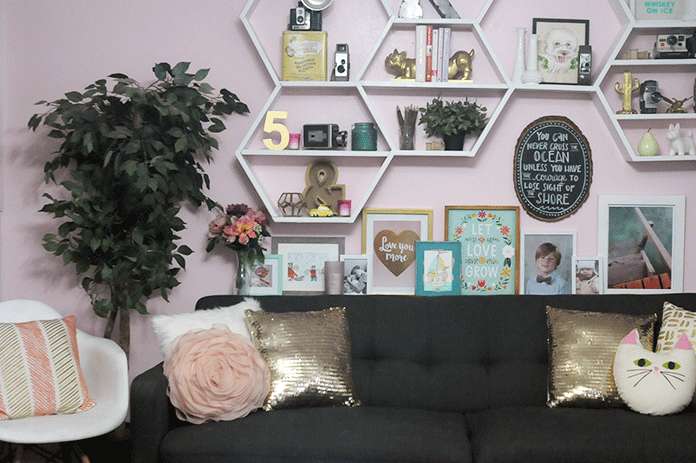
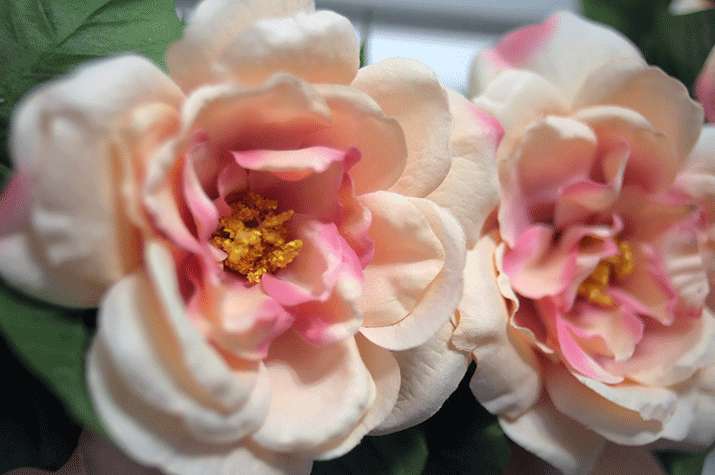
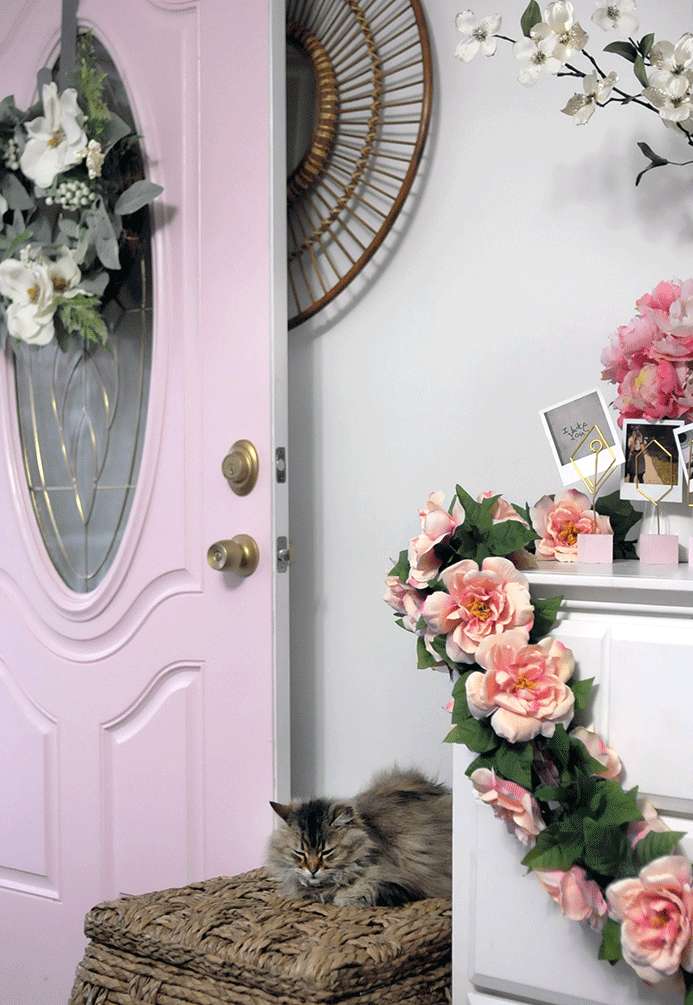
Spring is my favorite because I can't help but get so motivated and so stoked when the weather breaks and the temps rise. There's something about Spring that just feels so refreshing and good! If you've seen any snaps of my home you'll know I really love florals. Real or faux, I'm not picky. I usually buy myself a bouquet of (real) flowers about once a week. Since that can be a pretty expensive habit and you never know how long they'll last I supplement with pretty silk flowers from Michaels. This month's challenge was to share how we refresh our home for the new season so I was all over it. I'm always changing things and painting things, so who knows how long it'll look this way haha! But until I do get around to it, here you go...
Spring Home Decor with Michaels Maker, Kaelah - kaelahbee.com
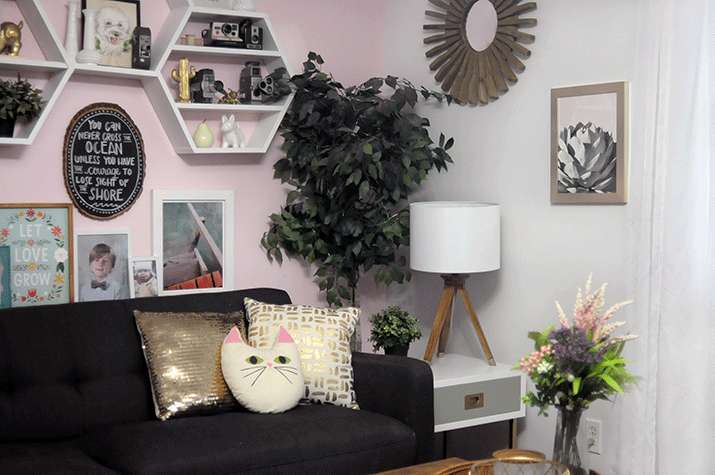
pillows: target (pink/gold) + michaels (furry/gold sequin) + handmade (cat) // couch: at home // frames: all from michaels (except let love grow)
Spring Home Decor with Michaels Maker, Kaelah - kaelahbee.com
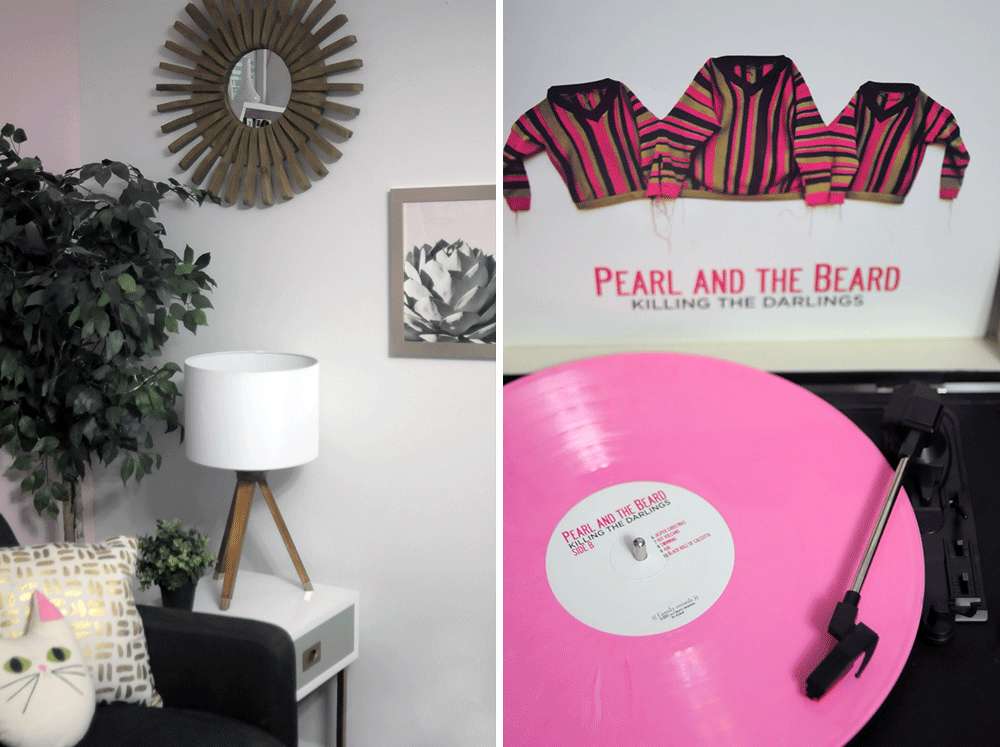
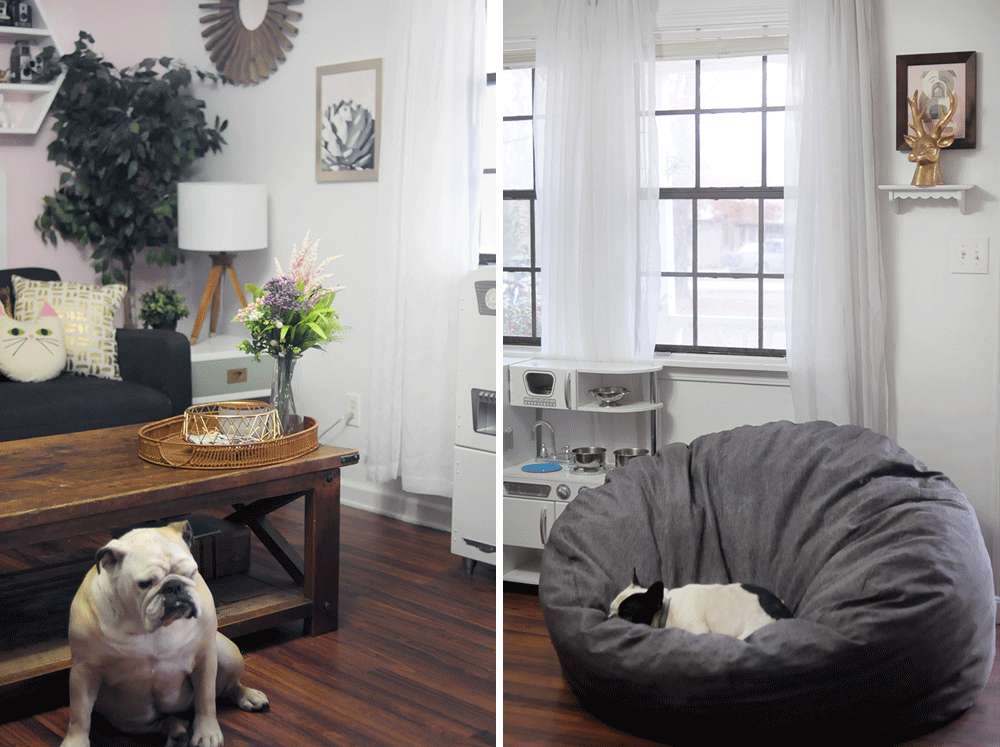
mirror: michaels // lamp: nate berkus x target // succulent print: minted // gold frame: michaels // side table: oh joy x target // record player: michaels
Spring Home Decor with Michaels Maker, Kaelah - kaelahbee.com
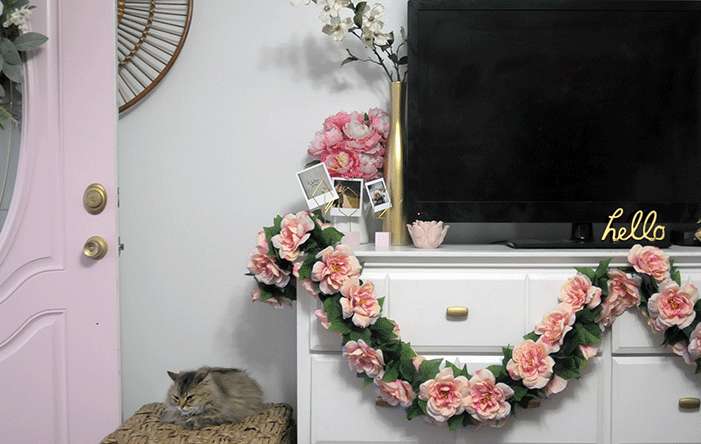
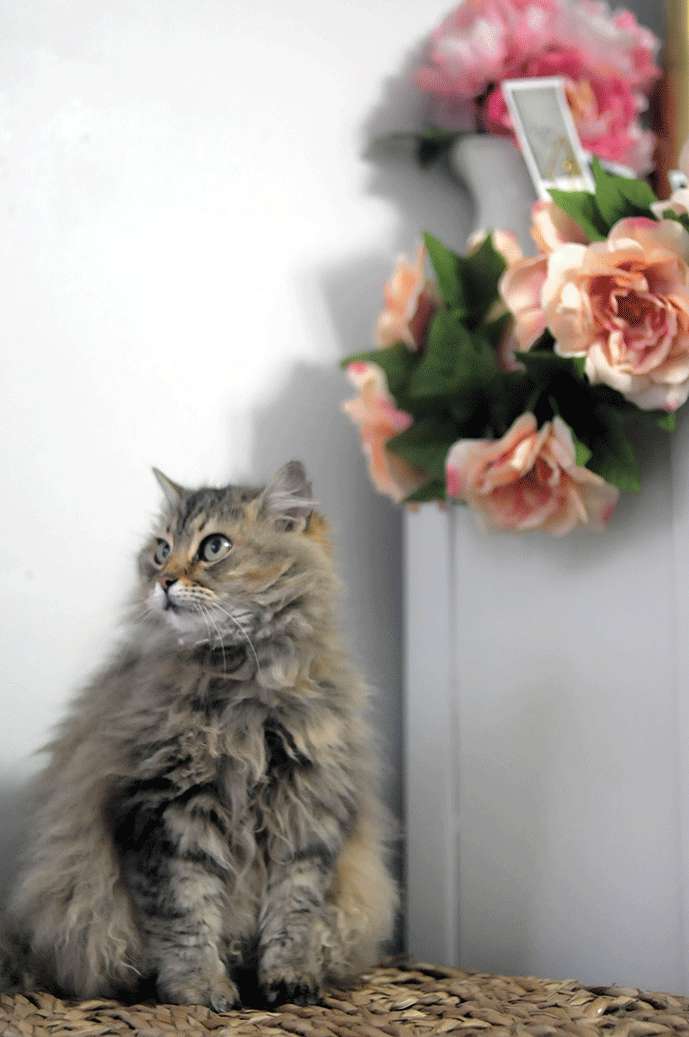
mirror: target // woven trunk: michaels (love these! i seriously own 3!) // floral garland: michaels // faux florals: michaels // photo holders: michaels // 'hello': michaels
Spring Home Decor with Michaels Maker, Kaelah - kaelahbee.com
wicker tray: target // gold basket: michaels // deer head: michaels // bulldog print: local artist (lmk if you want the name, i'll go check!) // amazing giant "bean bag": lux by big joe (!!! we love this thing... pipkin included haha! this one is the 'king fuf')
Spring Home Decor with Michaels Maker, Kaelah - kaelahbee.com
I get so giddy every time Michaels releases a new home decor collection. Right now they have 3 (and they're all 50% off right now): Vintage Romance (the hello, bud vase, and furry stool that's in my room - maybe you've seen it on IG or Snapchat), Coastal Prep (the wooden mirror), and Global Chic (bold and retro designs). I love the way my living room feels when the windows and doors are open, and there's a warm breeze flowing through the house. Having a tidy and decorated space is a great way for me to jump start my Spring cleaning (purging). Of course all of that is a bit easier said than done when you have two rowdy munchkins tearing through the house, but it's a give and take kind of thing. I'm digging the way everything looks and clearly all the animals are pleased, too. At least until I change it all up again...

Want to see how some of the other Makers refreshed their homes for Spring? Pop over to the Michaels blog, The Glue String, or click any of the thumbnails below! Happy decorating!

xo KB

instagram // pinterest // tumblr // twitter // facebook // snapchat