Showing posts with label how to. Show all posts

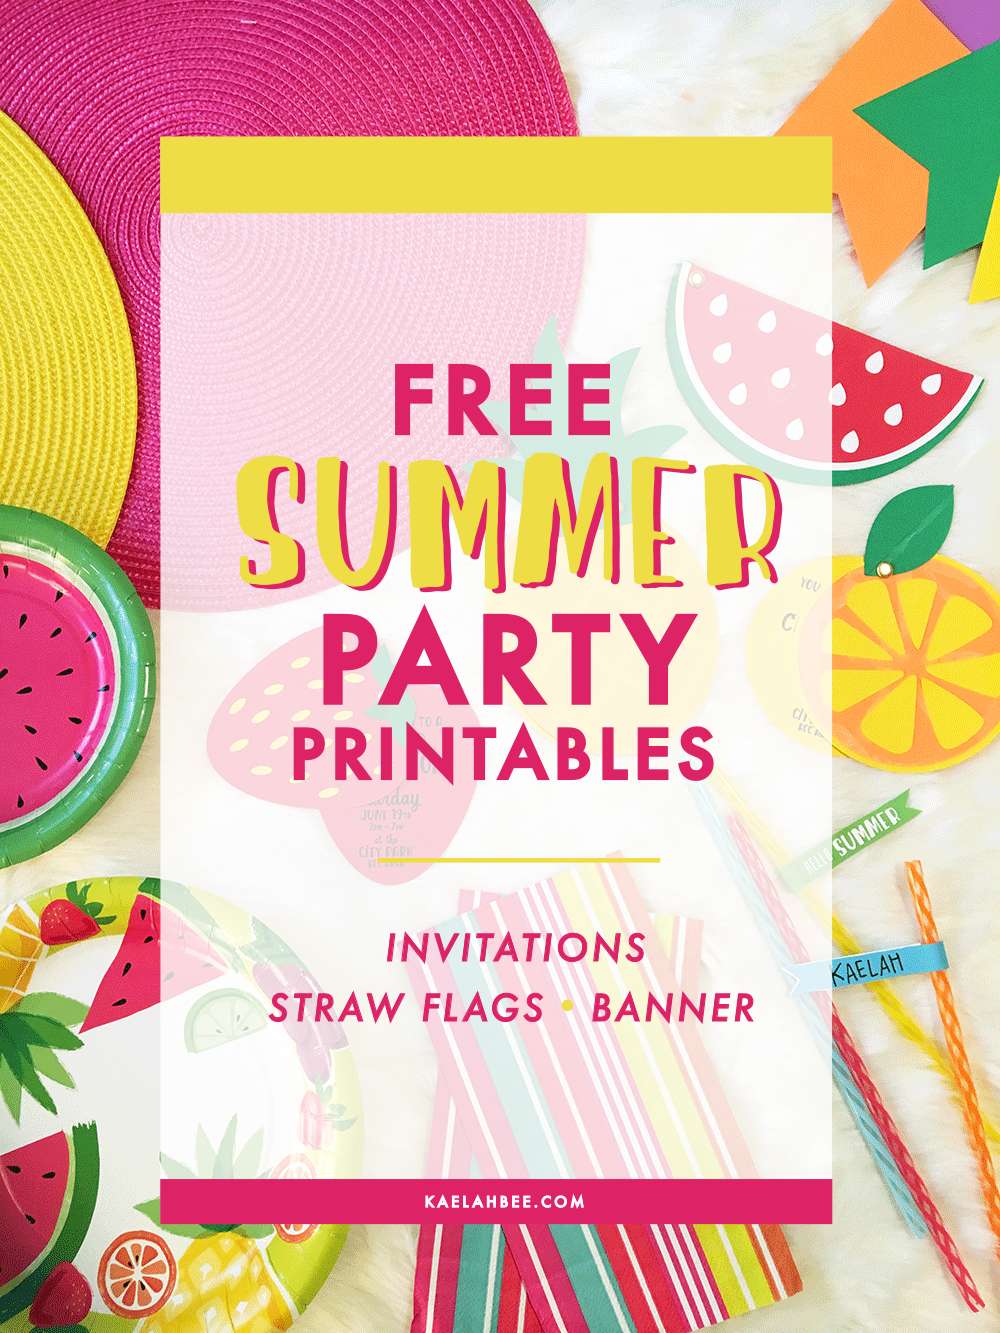
// FREE DIY Summer Party Printables!

Free DIY Summer Fruit Party Printables // KaelahBee.com
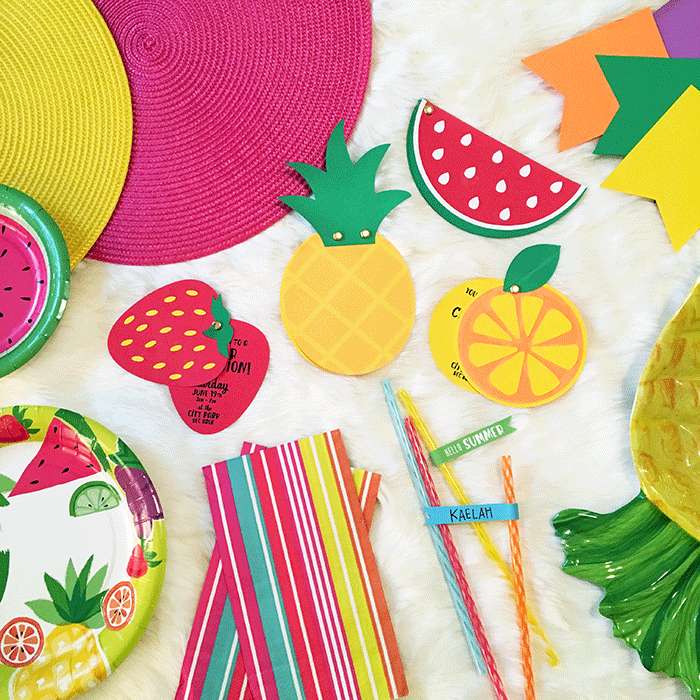
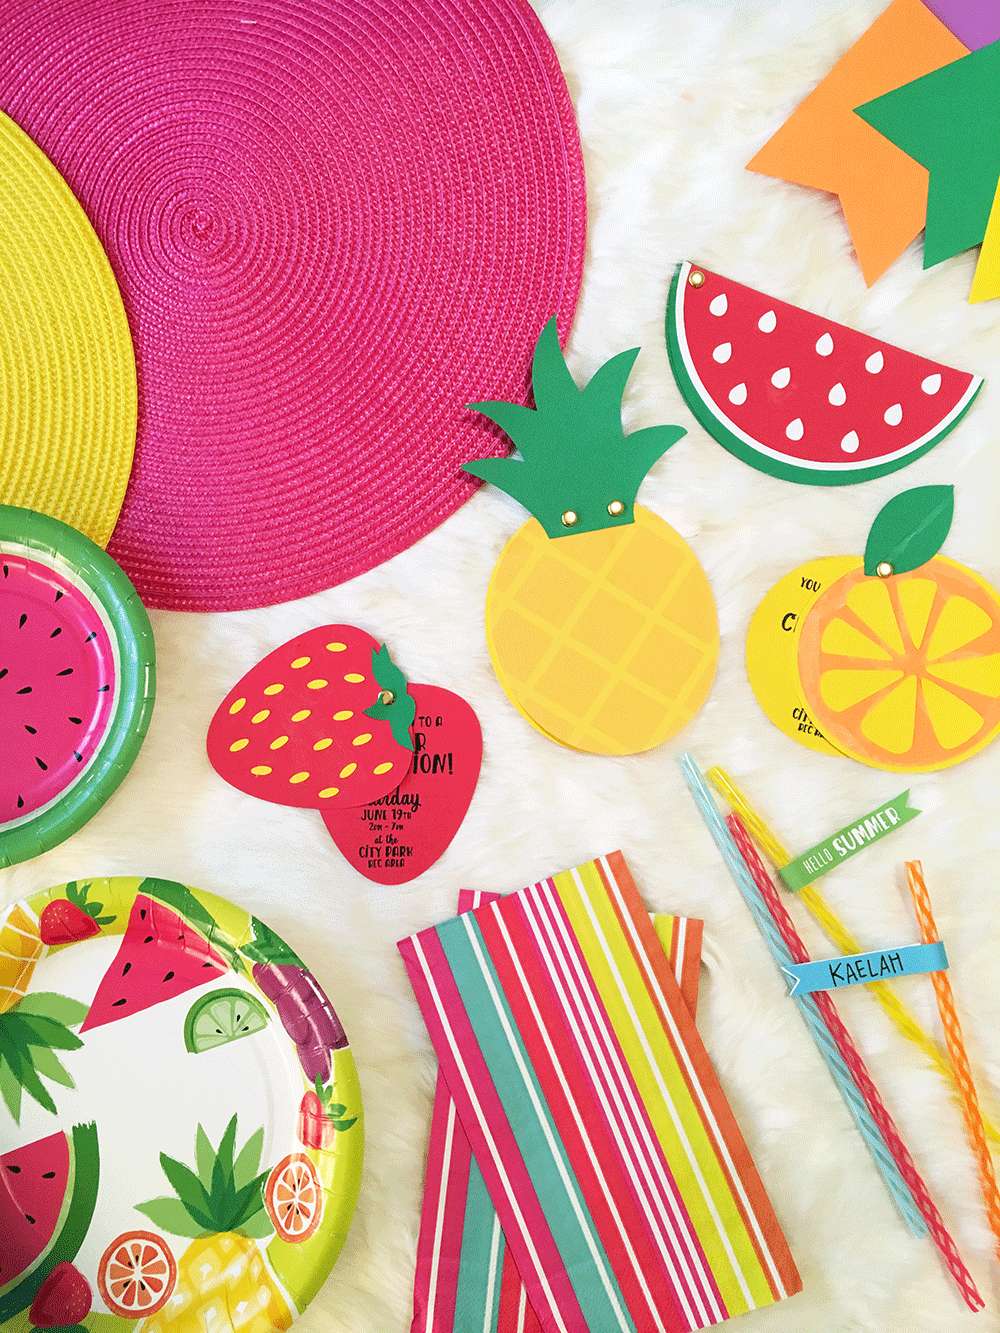
I LOVE SUMMER! I love summer SO MUCH! I know it's hot and humid and the mosquitos are the literal worst, but I love the beach and the pool and creeks and basically any body of water, along with popsicles, parties, and a lot of fruit! Today I'm sharing a few free* (!!!) party printables that you can use all summer long! These pieces were all inspired by the fun and festive party decor at Michaels right now, so if you're curious where everything (like that cuuuute pineapple serving dish) is from, now you know.

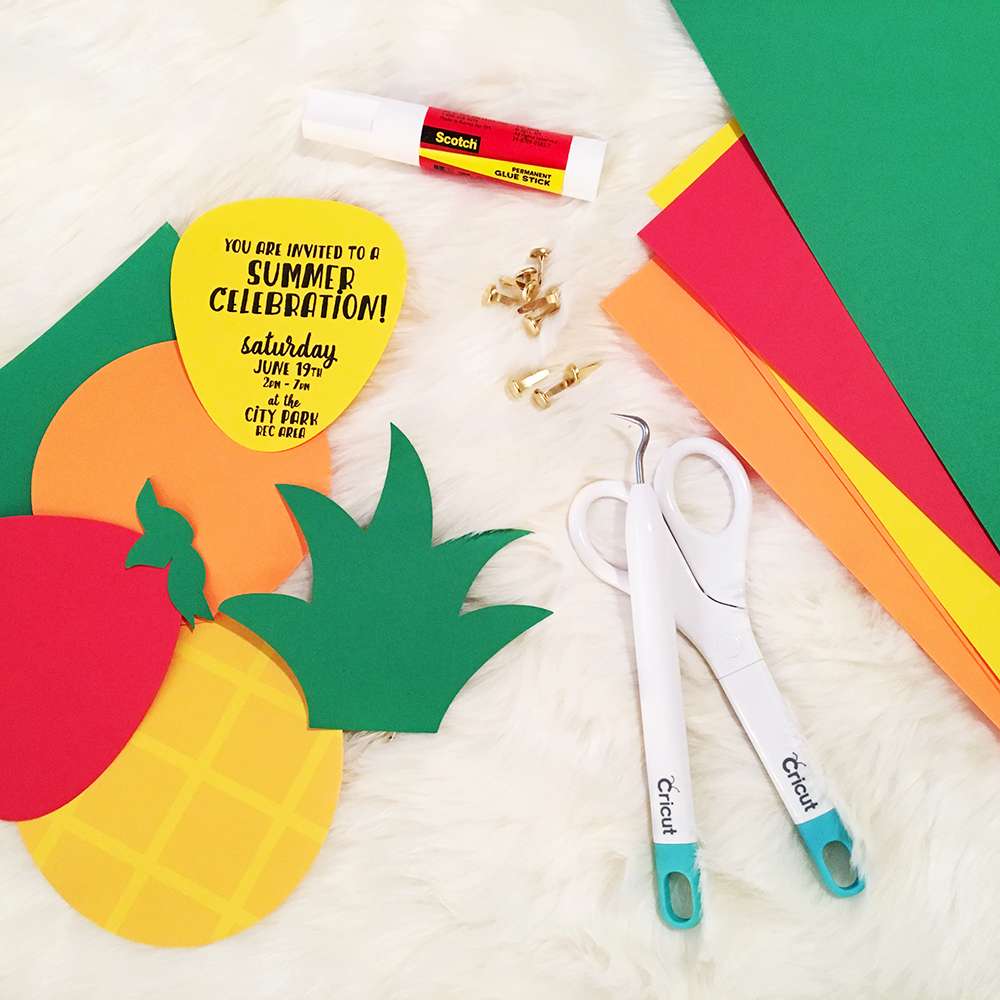
I used my Cricut Explore Air 2 machine to cut out the fruit pieces, but you can (almost) just as easily cut them out with regular ol' scissors. I've included downloads for both the .svg files and the (flattened) .jpg versions. You can print them on white cardstock rather than put them in layers if you hate manual cutting haha. I love making 3-D/multi-layer cards like this so these invitations were fun, albeit frustrating for a while. I'm still learning the ins and outs of my machine so I could have probably made it even easier on myself, but it's kind of a tinker-and-try sort of thing. If you have any handy Cricut tips or resources, I'm all ears!
Free DIY Summer Fruit Party Printables

supplies:

cardstock
die-cutting machine 
(or good ol' scissors!)
printer
glue
stationery brads


The .svg files I have included are each layered in their own file. This means your Cricut will automatically break them into their own layers based on color so you can cut with just one mat. Just a heads up in case you get in there and are all "Wut?" haha

The way I've set up my invitations is to have 2 sides attached with a stationery brad so it can swivel (or bend, in the pineapple's case), revealing the party info. Additionally you can also print the party info on translucent vellum to add a third (middle) layer. Con to living in a small town: probably not going to find vellum in your stores... haha I didn't include the party info in the files because you'll obviously have your own stuff. You can print directly onto the cardstock, like I did, or go the vellum route, or whatever else you come up with. Just get the info in the invite, right? ha

the files:


Whether you're looking for fun décor, bright blooms, or cute party supplies, Michaels has everything you need to MAKE summer bright and fun! Now I'll probably spend the remainder of spring/summer obsessed with fruit prints and that gorgeous fuchsia color! If you're on the prowl for more inspiration, pop over to the Michaels’ blog, The Glue String, to see the rest of the Michaels Makers’ summer fun project ideas.

xo KB


* Free for personal use only.

Free DIY Summer Fruit Party Printables // KaelahBee.com

// How To Get Festival Ready!

How To Get Festival Ready! // This Charming Life
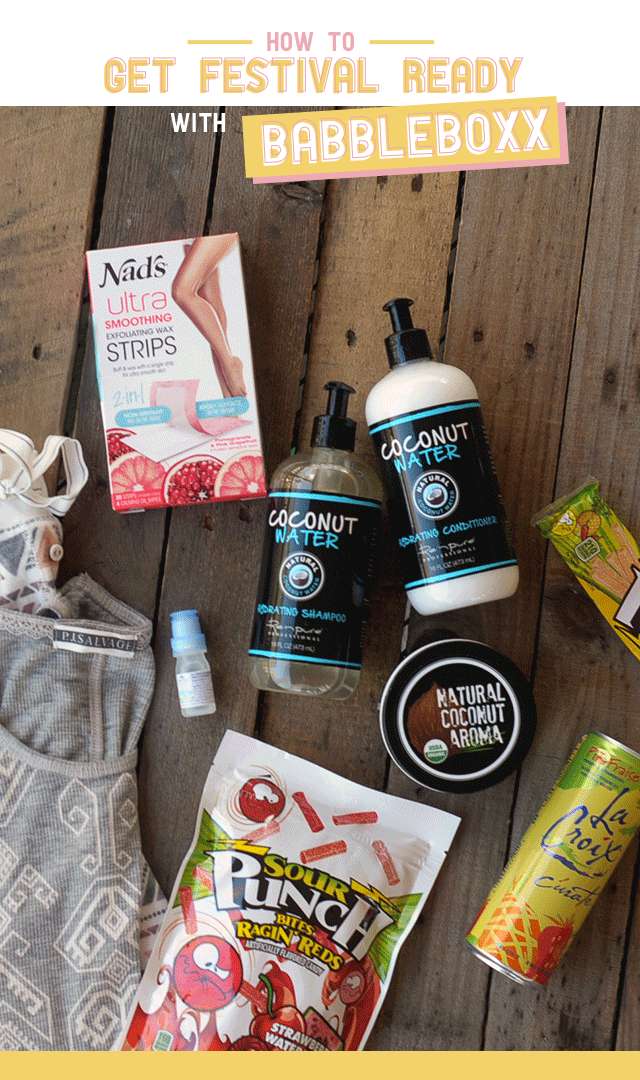
It's festival season, y'all! There's just something about seeing some of your favorite bands with tons of other people. Going to a concert or show is one thing, but going to a festival is a whole other ballgame. There are so many people, so many bands, so much going on! My favorite thing about festivals is the energy. Festival goers, in my experience, tend to be more laid back about things when they're floating from one stage to another. Plus there's just something so enjoyable about bringing blankets, chairs, tents, whatever. In an effort to get you ready for your next favorite festival, I'm sharing a few products you might enjoy!
How To Get Festival Ready! // This Charming Life

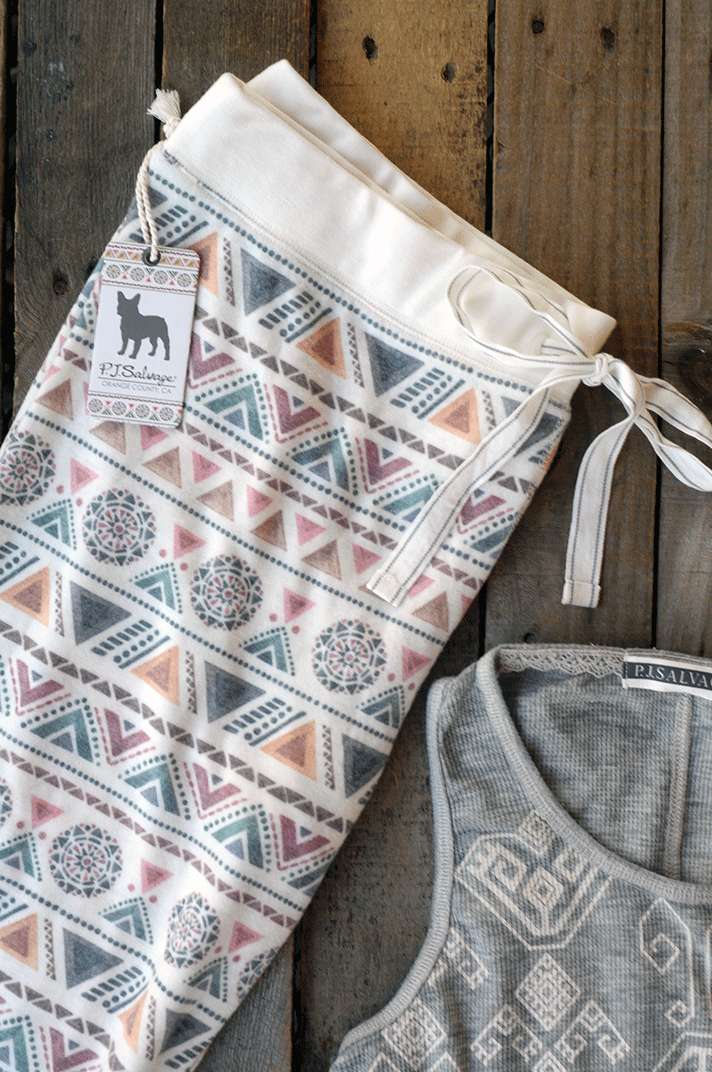
P.J. SALVAGE LOUNGEWEAR

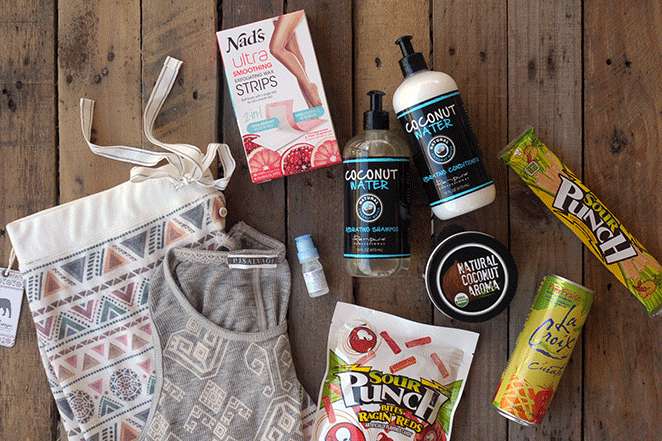
P.J. Salvage has always made super cute pajamas - I had a couple pairs myself! - but now they have a range of apparel that can take you from day to night, while never sacrificing comfort. This loungewear is perfect for any and every lifestyle. The bottoms I have above are some of the softest pants I've ever put on my body. The fabric is super lightweight and breathable, which is a must for festivals in the warmer months. Both my tank and my pants are from the Hello Sunshine collection - if you get a chance to see me in them, come pet my pants. For real. It's wild how soft and cozy they are.
How To Get Festival Ready! // This Charming Life

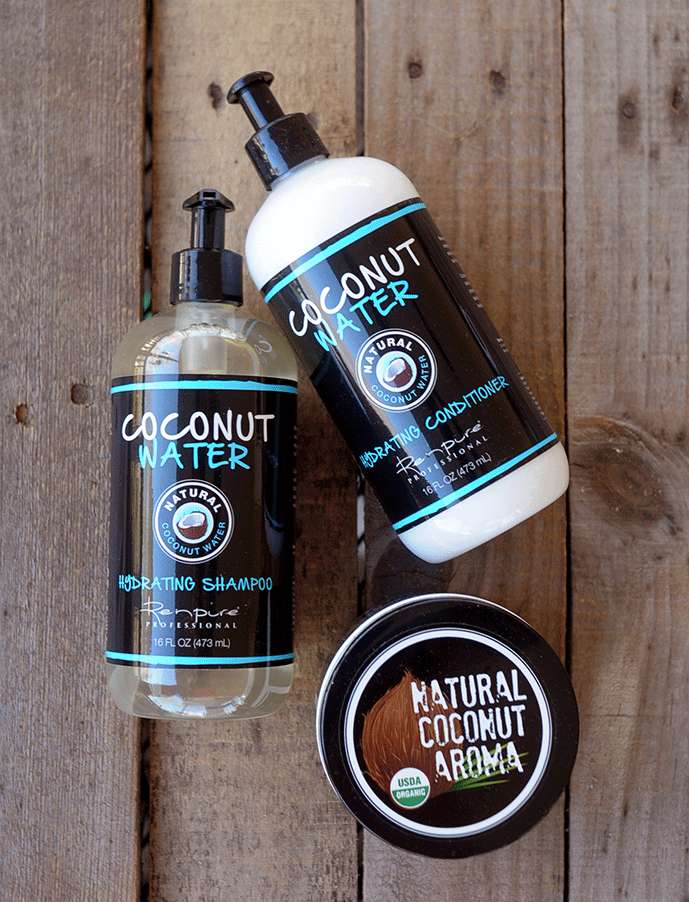
RENPURE BLACK LABEL COLLECTION

Coconut oil! Coconut oil! I can hear the collective internet chanting the powerful properties of coconut oil! If coconut oil can't fix it, nothing can, right? I have a love-hate relationship with coconut anything. I love the smell, but I am not a fan of the taste. At all. So I guess it's a good thing I'm not eating this shampoo... haha Hair care products are my favorite type of product to test out. There are so many great options out there, and these products from Renpure are top notch. They're super hydrating (obviously, because that's in the name haha) and they leave you smelling like summer. Summer smells good, y'all. The Black Label collection from Renpure combines the hydrating properties of coconut and the smoothing properties of bamboo fibers to leave you with silky, smooth hair. Since we're petting pants I'll go ahead and say sure, you can smell my hair :P
How To Get Festival Ready! // This Charming Life

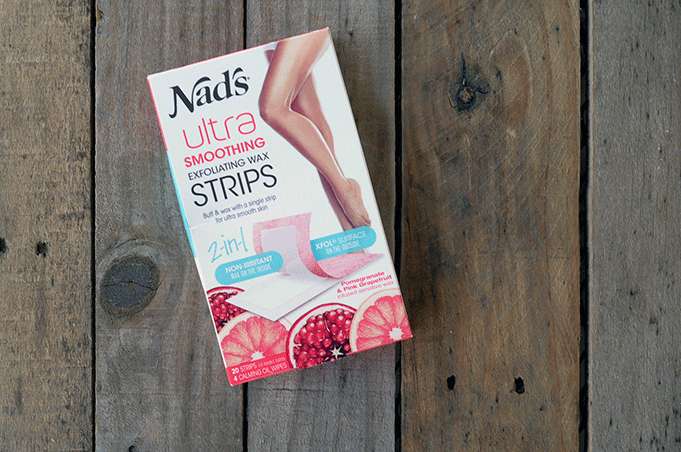
NAD'S ULTRA SMOOTHING EXFOLIATING WAX STRIPS

In my first Babbleboxx post I shared a personal IPL hair removal device that has totally changed the game when it comes to being smooth all over - except my tattoos. And I have a few of them... but these right here! These Nad's wax strips are like the missing piece to my regimine! While I still totally plan on sharing an additional review of the IPL device, I'll go ahead and say that these are the perfect partner-product in my quest to be smooth and silky! The strips themselves are salon-quality and they're infused with both pomegranate and grapefruit extracts which make them ideal for sensitive skin. They're also super handy for those of us who want to cut down on our prep time for heading out the door - they exfoliate while they wax. I've been using these on the larger tattooed areas of my legs and hot dang! Y'all might want to rub on my legs after you pet my pants and smell my hair hahaha! This is getting weird, isn't it?
How To Get Festival Ready! // This Charming Life

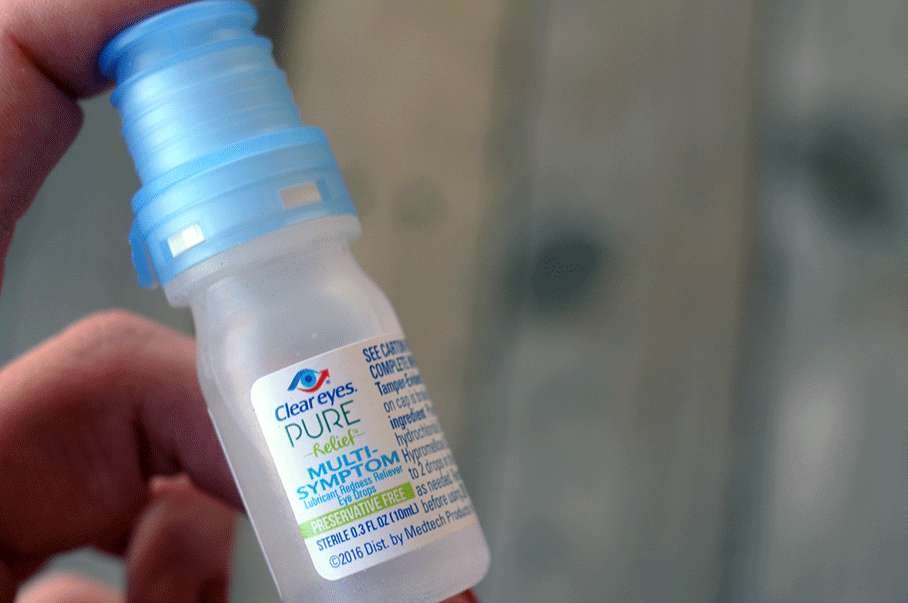
CLEAR EYES PURE RELIEF EYE DROPS

Like in my original Babbleboxx, Clear Eyes Pure Relief Multi-Symptom eye drops are here to save the day! Nothing ruins a selfie like red, irritated eyes. While dust and wind whirl around you and your sweet dance moves, this little bottle is sure to come in handy. This Clear Eyes product is the first preservative-free multi-dose bottle at retail in the US, so if you're conscious about what goes in your peepers, this might be the ticket. This unique formula was designed to relieve red, burning, itchy, dry, irritated, gritty, and/or watery eyes... for up to 12 hours. Grab a bottle or three and toss them in your purse/car/bathroom. -- There's a $3 coupon available here if you want to try them out!

How To Get Festival Ready! // This Charming Life

SOUR PUNCH CANDY

High on the list of things I love: sour candy, gummy candy. Now we're talking sour, gummy candy! The Ragin' Reds bites from Sour Punch were going to be absolutely delicious, I already knew it (and they were!). But the Pineapple-Mango-Chili straws... I wasn't sure. Rarely do I meet a pineapple-flavored edible that I don't like, but this combination just sounded odd. DUDE. Consider me a convert. The mango and pineapple were both very apparent, but the chili was a bit more subtle. It was definitely there and I could almost feel a bit of "warmth" from the candy, but it was never over the top or anything. Just the perfect amount of spice. The balance of flavors in the straws is pretty impressive, not gonna lie. The Ragin' Reds included the new raspberry flavor and it was definitely my favorite from the mixture. Swing by Target and grab a bag for yourself! They make for the perfect purse/backpack treat.
How To Get Festival Ready! // This Charming Life

LACROIX SPARKLING WATER

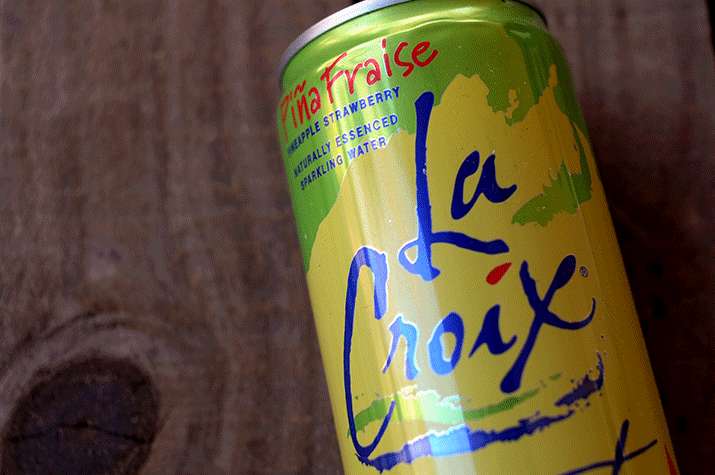
LaCroix! Luh-croy...Luh-cwah... How do you say it? It's not uncommon for me to have 3 cases of LaCroix in my fridge at any given moment. And lucky for me, the Pina Fraise (Pineapple Strawberry) flavor is my absolute favorite! The flavor is bolder than many of the others, which is really nice since we're talking about 100% sparkling water here. The best part? Absolutely no caffeine, calories, fat, sweeteners, or sodium... just pure, innocent flavor! Holla! Simple, refreshing, bubbly goodness. 
How To Get Festival Ready! // This Charming Life

So there you have it! 6 easy and quick ways to be festival ready this season! Have you gone to any festivals lately or have any planned? Do you have any tips or tricks you'd like to share?

xo KB

instagram // pinterest // tumblr // twitter // facebook // snapchat

This post was sponsored by Babbleboxx and Single Edition Media. 
All words, photos, and opinions are my own - promise!

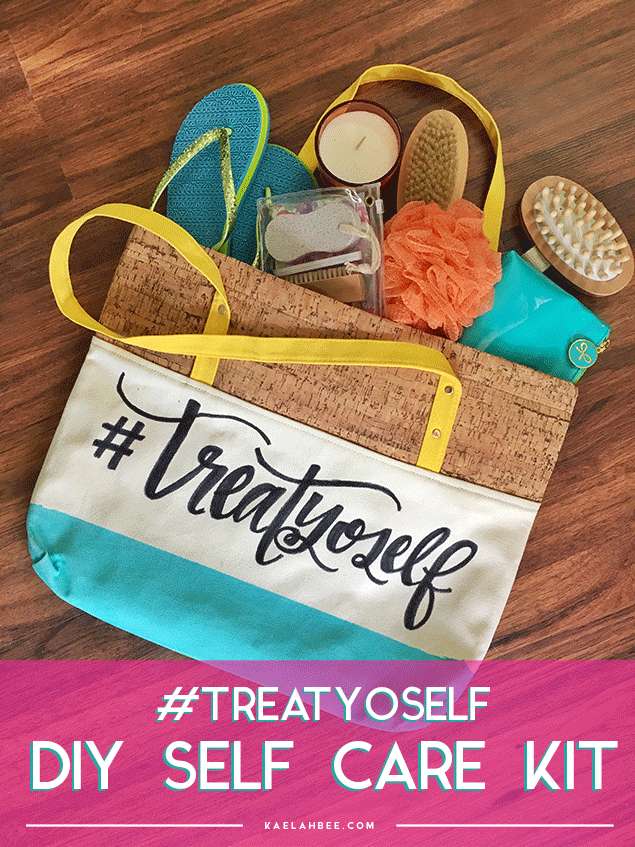
// #treatyoself Tote Bag - DIY Self Care Kit

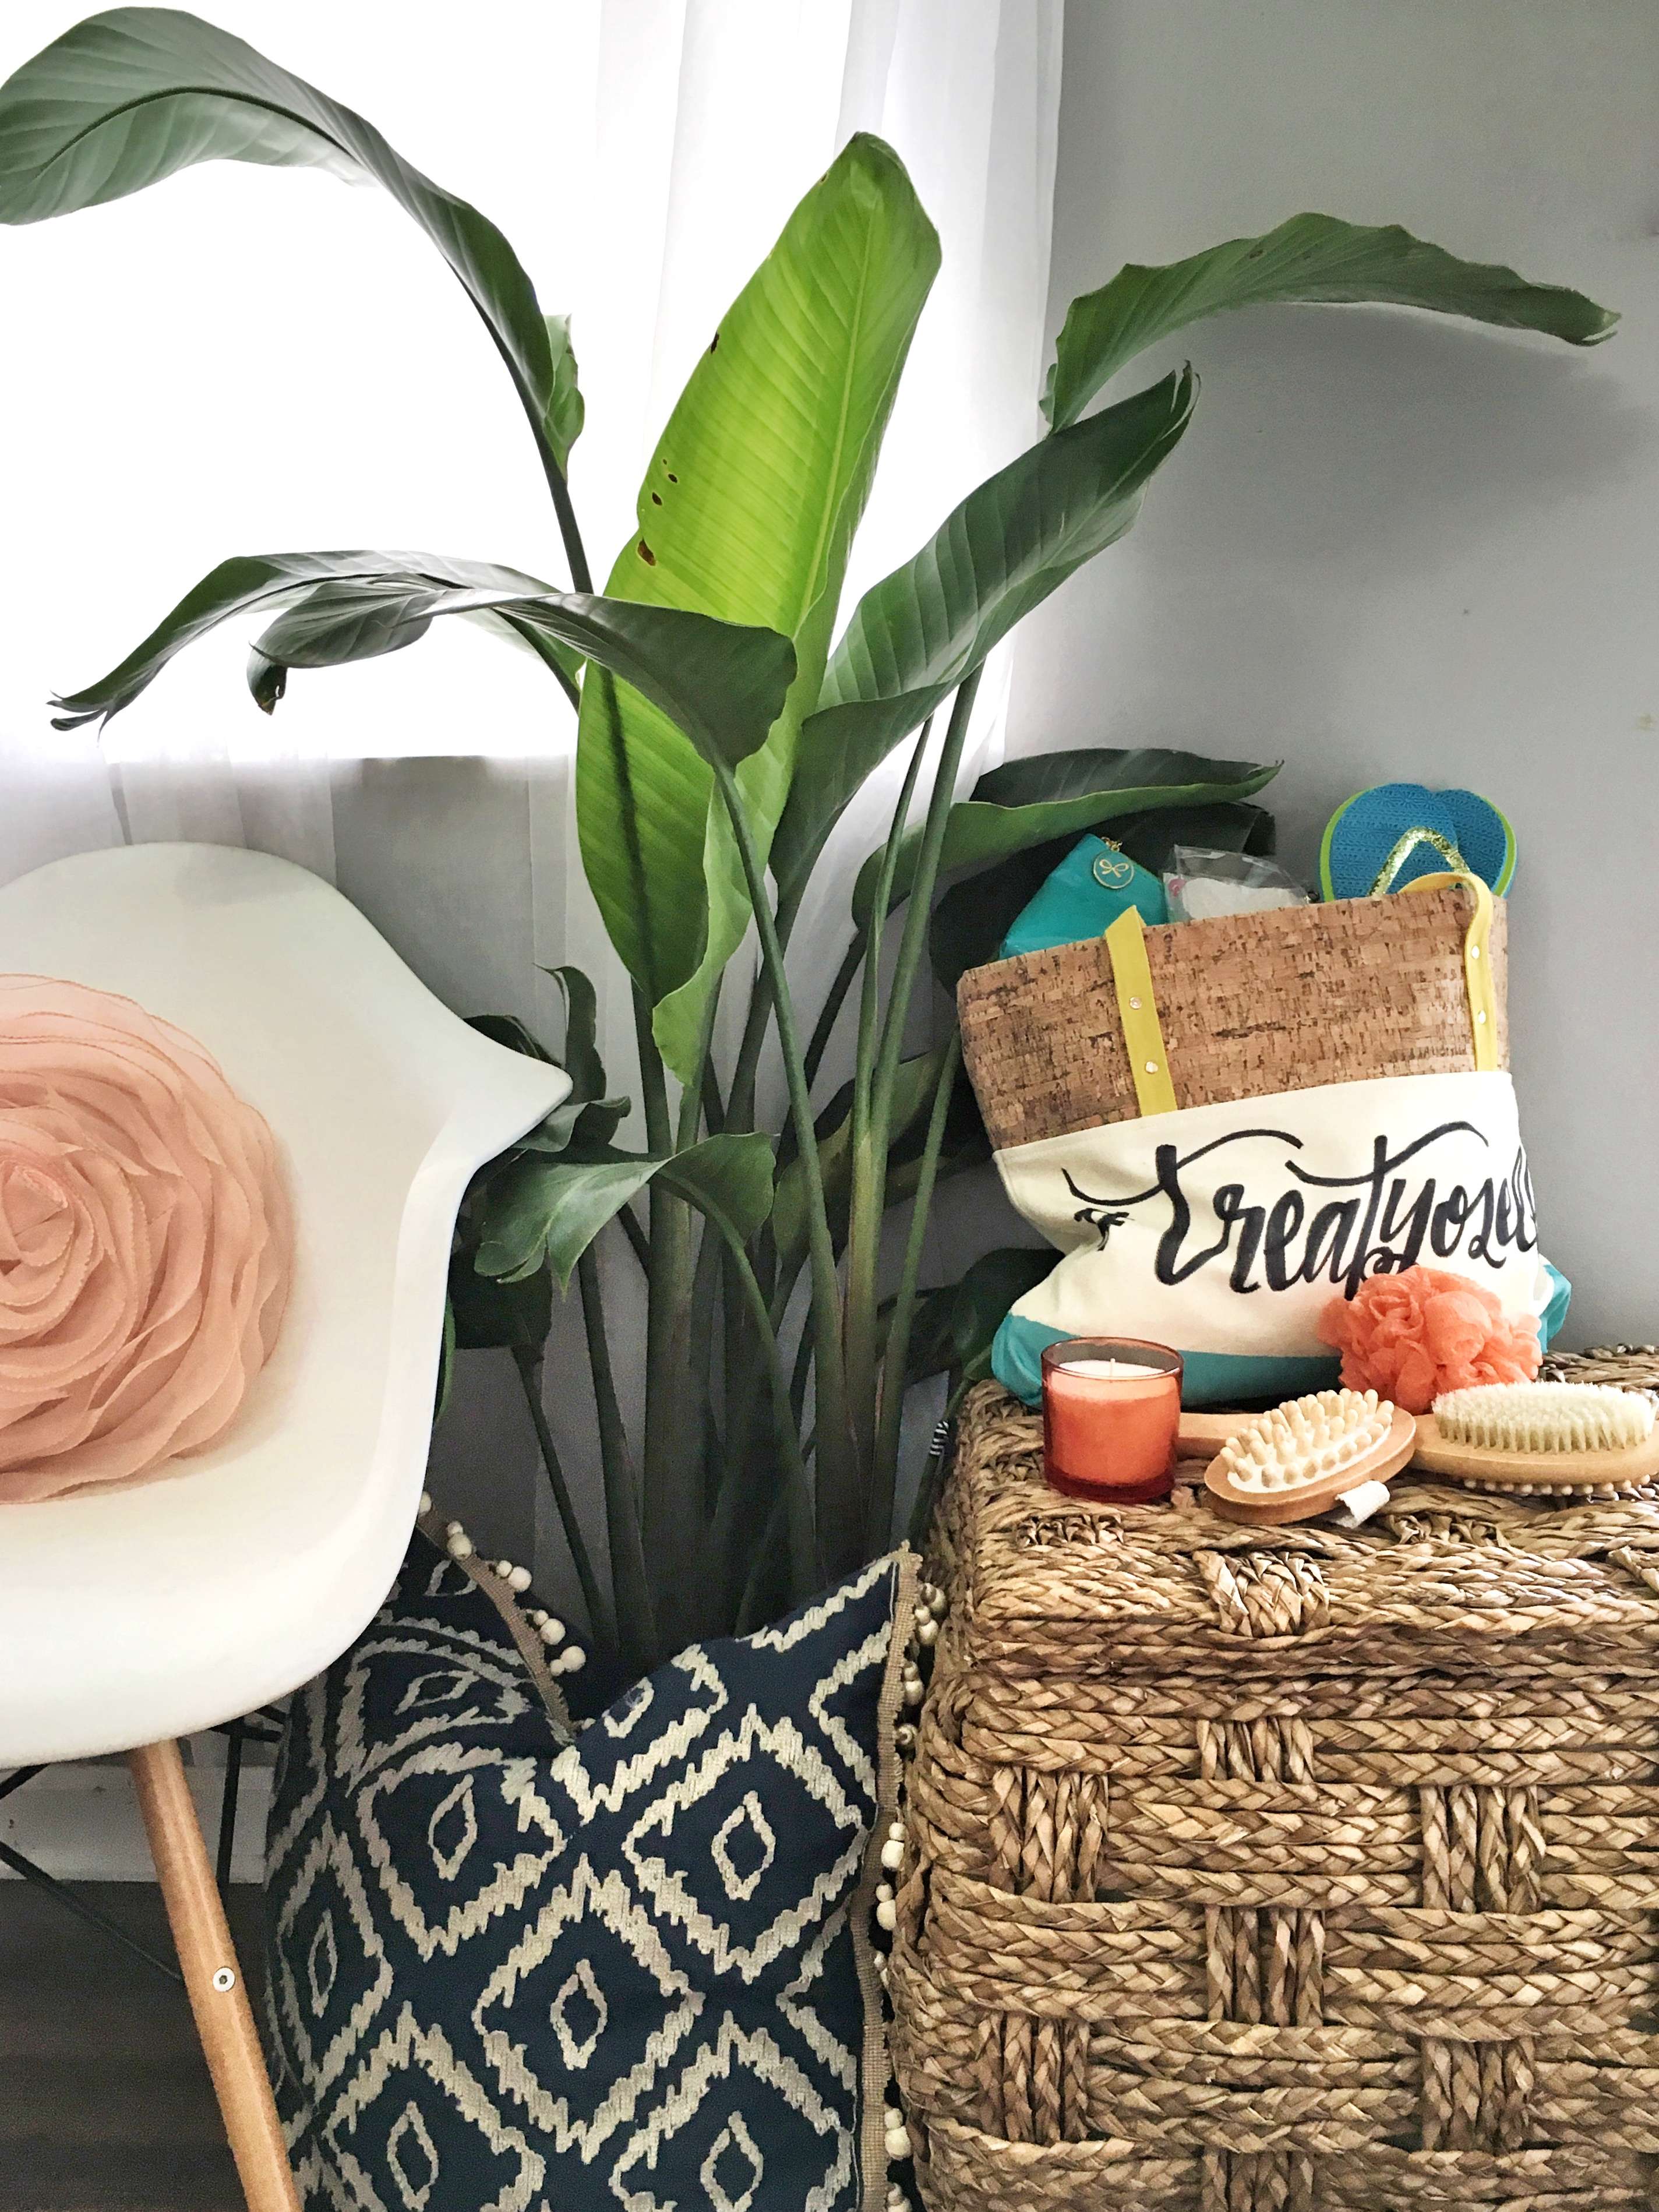
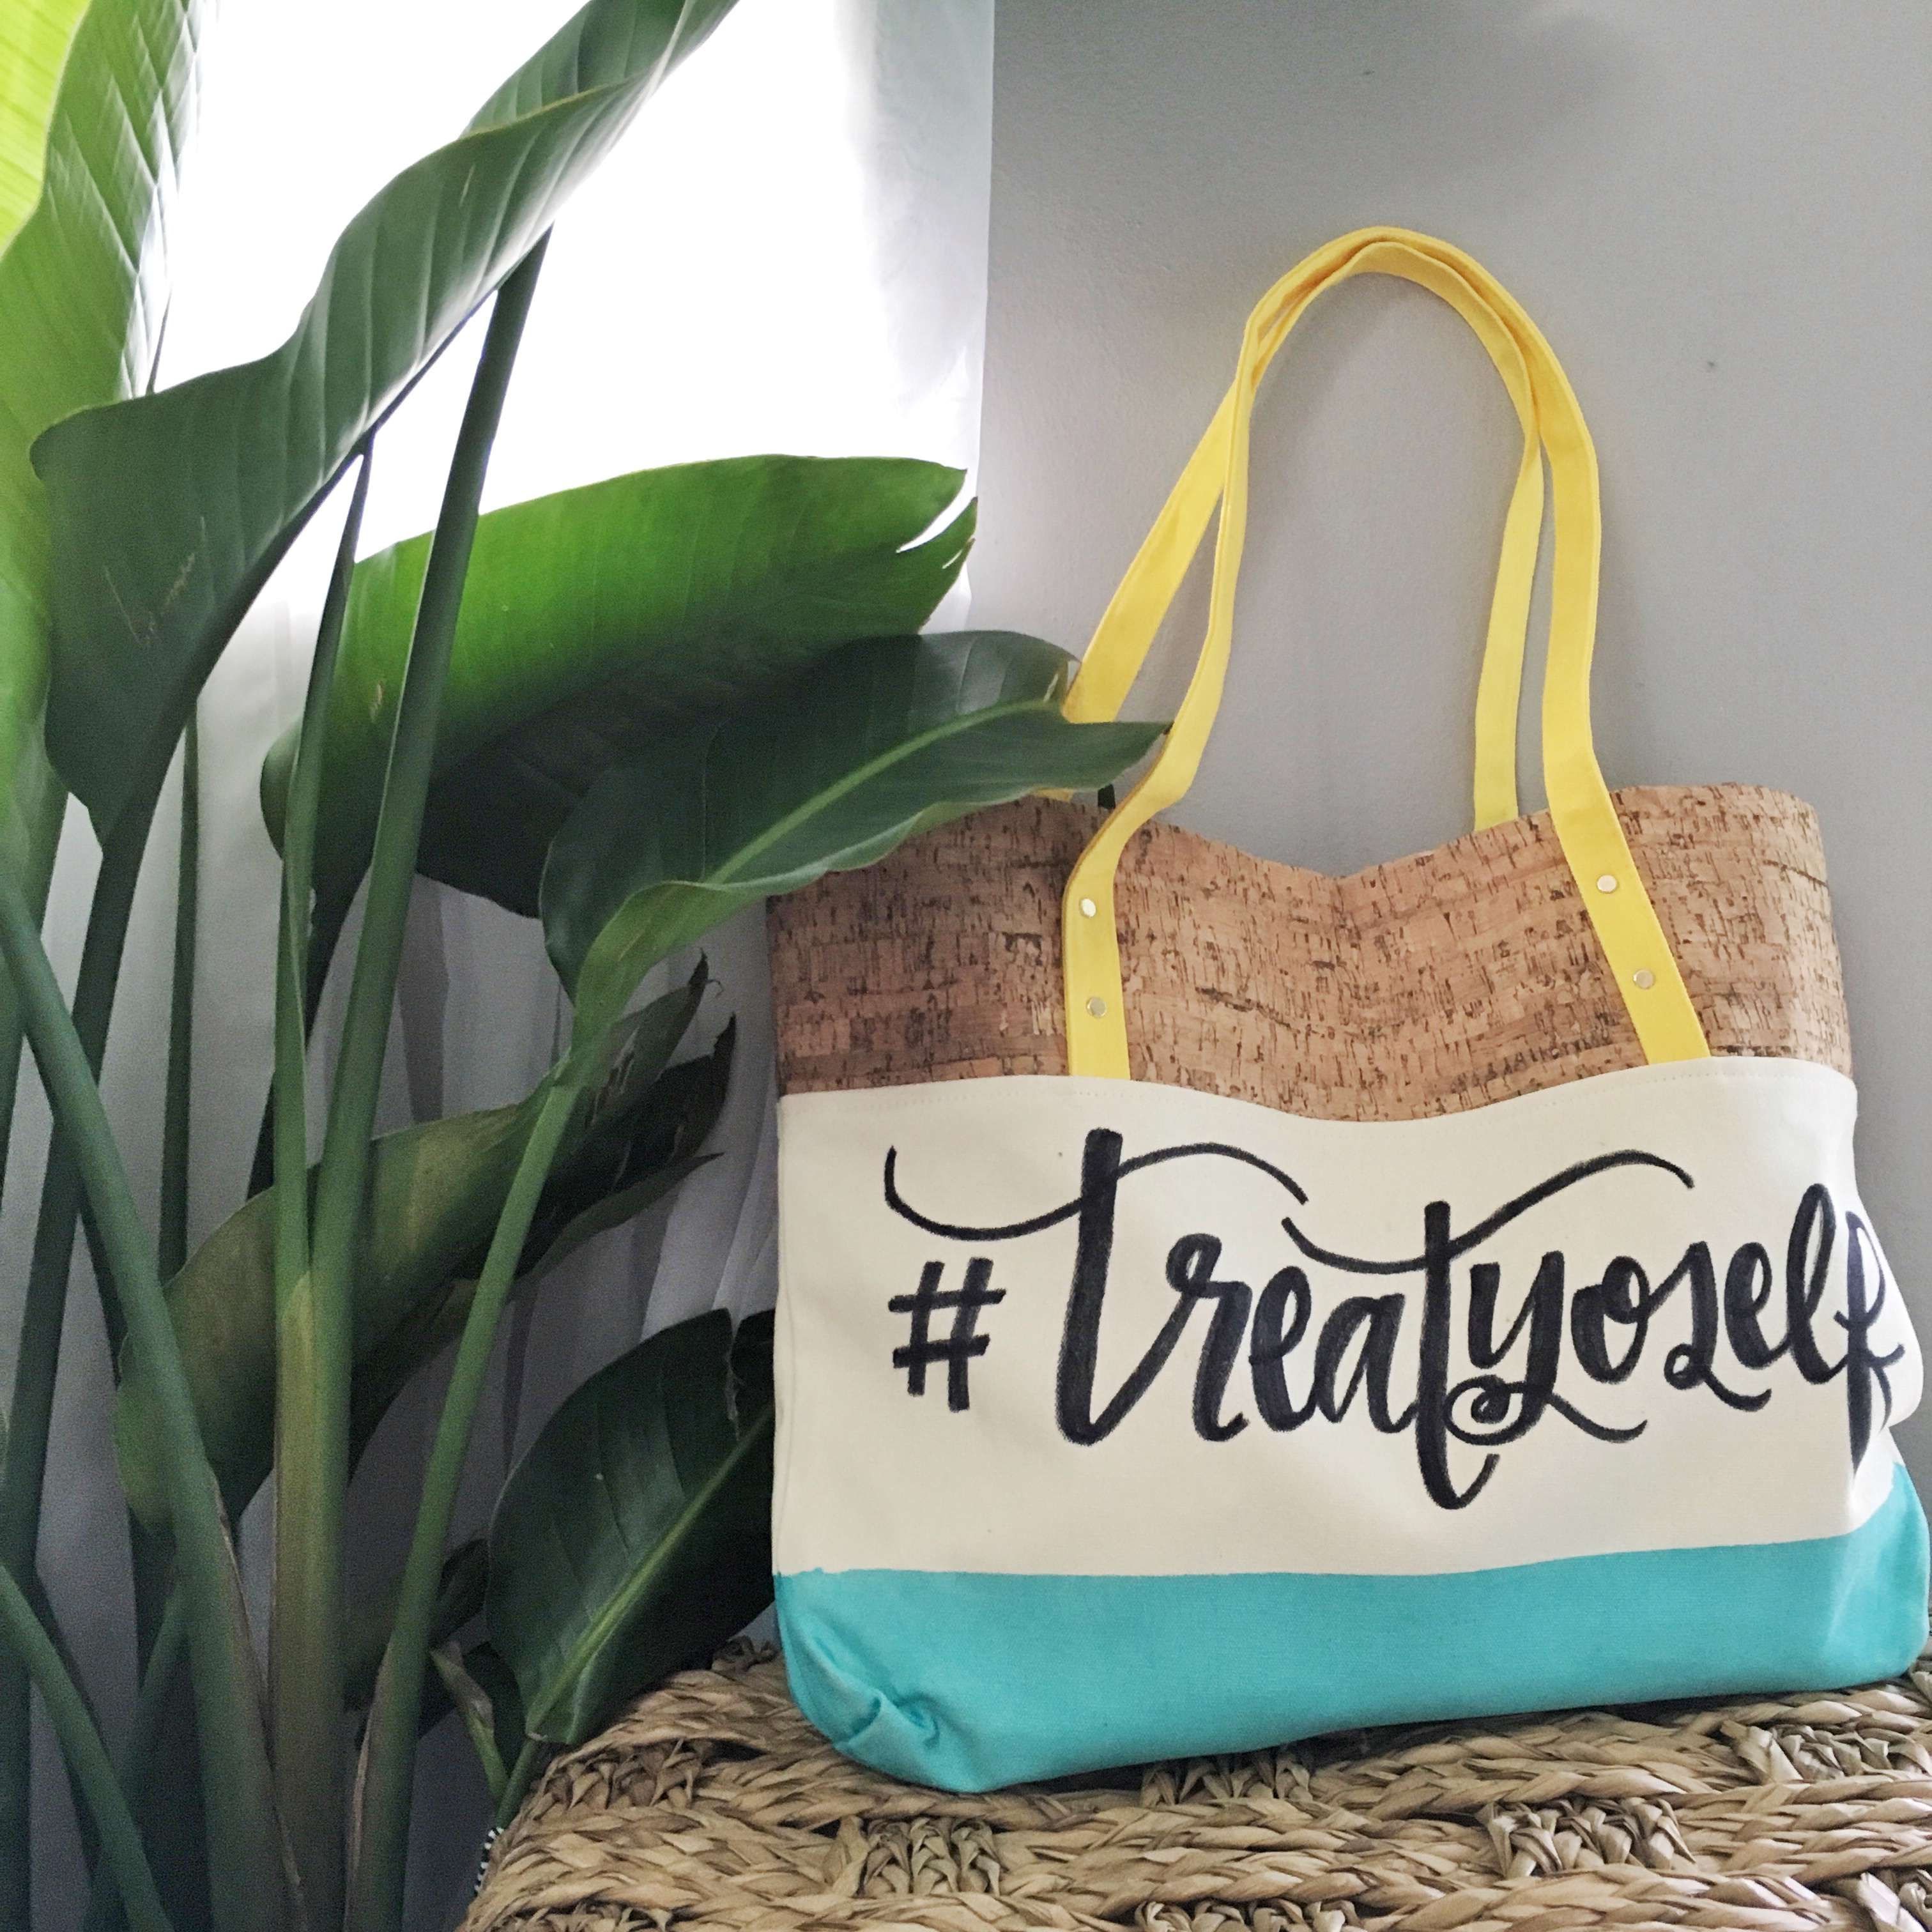
Treat Yoself Tote Bag
Self care is a major priority in my life. After years of putting myself on the back burner and trying to take care of everyone else, I was really feeling the effects. If you asked me what I did to "treat myself" I would likely look at you with a blank stare. The truth was that I just didn't know how to treat myself. I didn't know how to give myself those little bits of self care. I'm not even talking grand gestures here. Heck, forget a spa day or a solo shopping trip... I couldn't even really paint my nails without feeling like I needed to be more productive, or do something for someone else. The past few years have been incredibly busy, and along the way I just forgot how to look out for me. Of course this post isn't really about me, but it's inspired by the women in our life who just DO. IT. ALL. The women who need a gentle reminder to take time for themselves. The women who always make sure we have what we need in life. The women we call "Mom." (Or any woman in your life who fits that description! Grandma, aunt, family friend, big sister... You get what I'm saying!) Let's celebrate those ladies who truly deserve that spa day!
Treat Yoself Tote Bag Gift Basket DIY
My mom is without a doubt my biggest hero. She raised me on her own, she never missed a softball /  volleyball / or basketball/football (cheerleading) game. She worked crazy long hours, provided for me all on her own, and was always by my side when I basically grew up in the hospital. Even to this day she still hovers (in the sweetest, most appreciated way!) to make sure that I and my family are "okay." I love her so much, and if anyone in this world deserves a "treat yo'self" gift bag, it's her. If only I could stuff a couple plane tickets and spa itineraries in there, too! (One day, mom! I promise!) My mom was totally the inspiration for this DIY and I think any lady in your life would be so incredibly stoked to be on the receiving end of such a sweet gift! Mother's Day, birthdays, vacations, bachelorette getaways, etc. Or maybe you should practice some serious self care and make this baby for yourself! 
Treat Yoself Tote Bag Gift Basket DIY
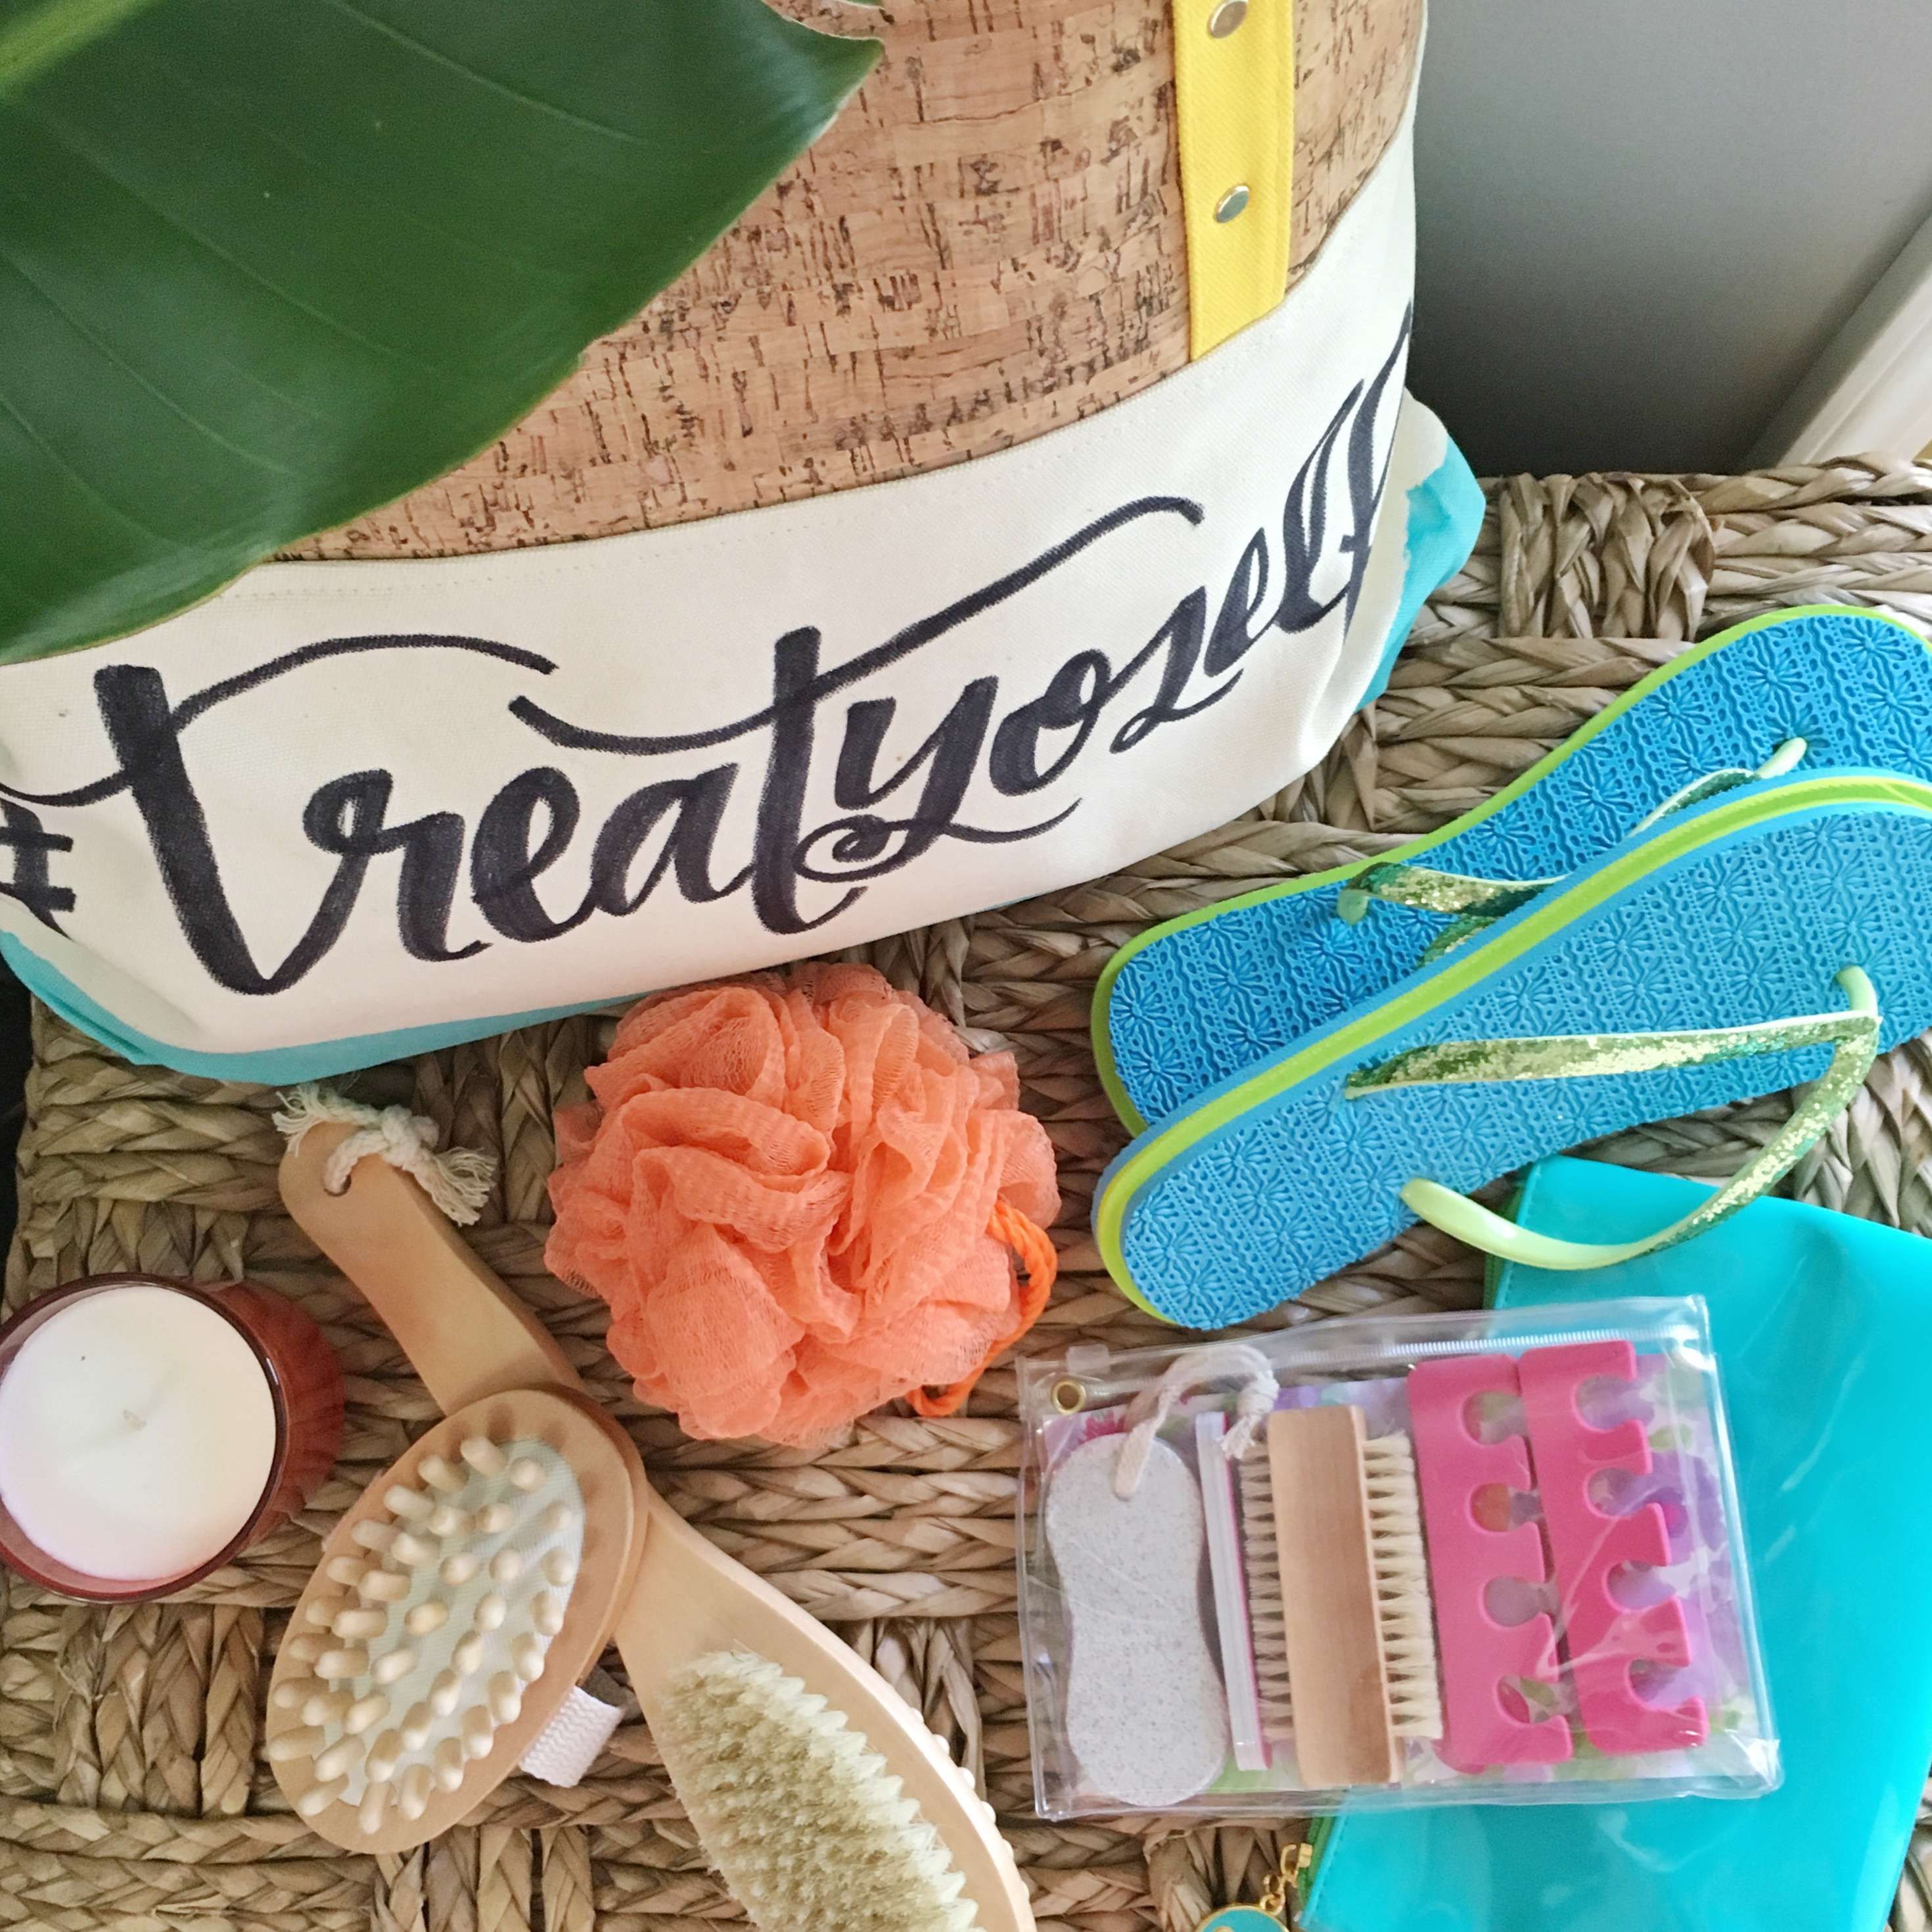
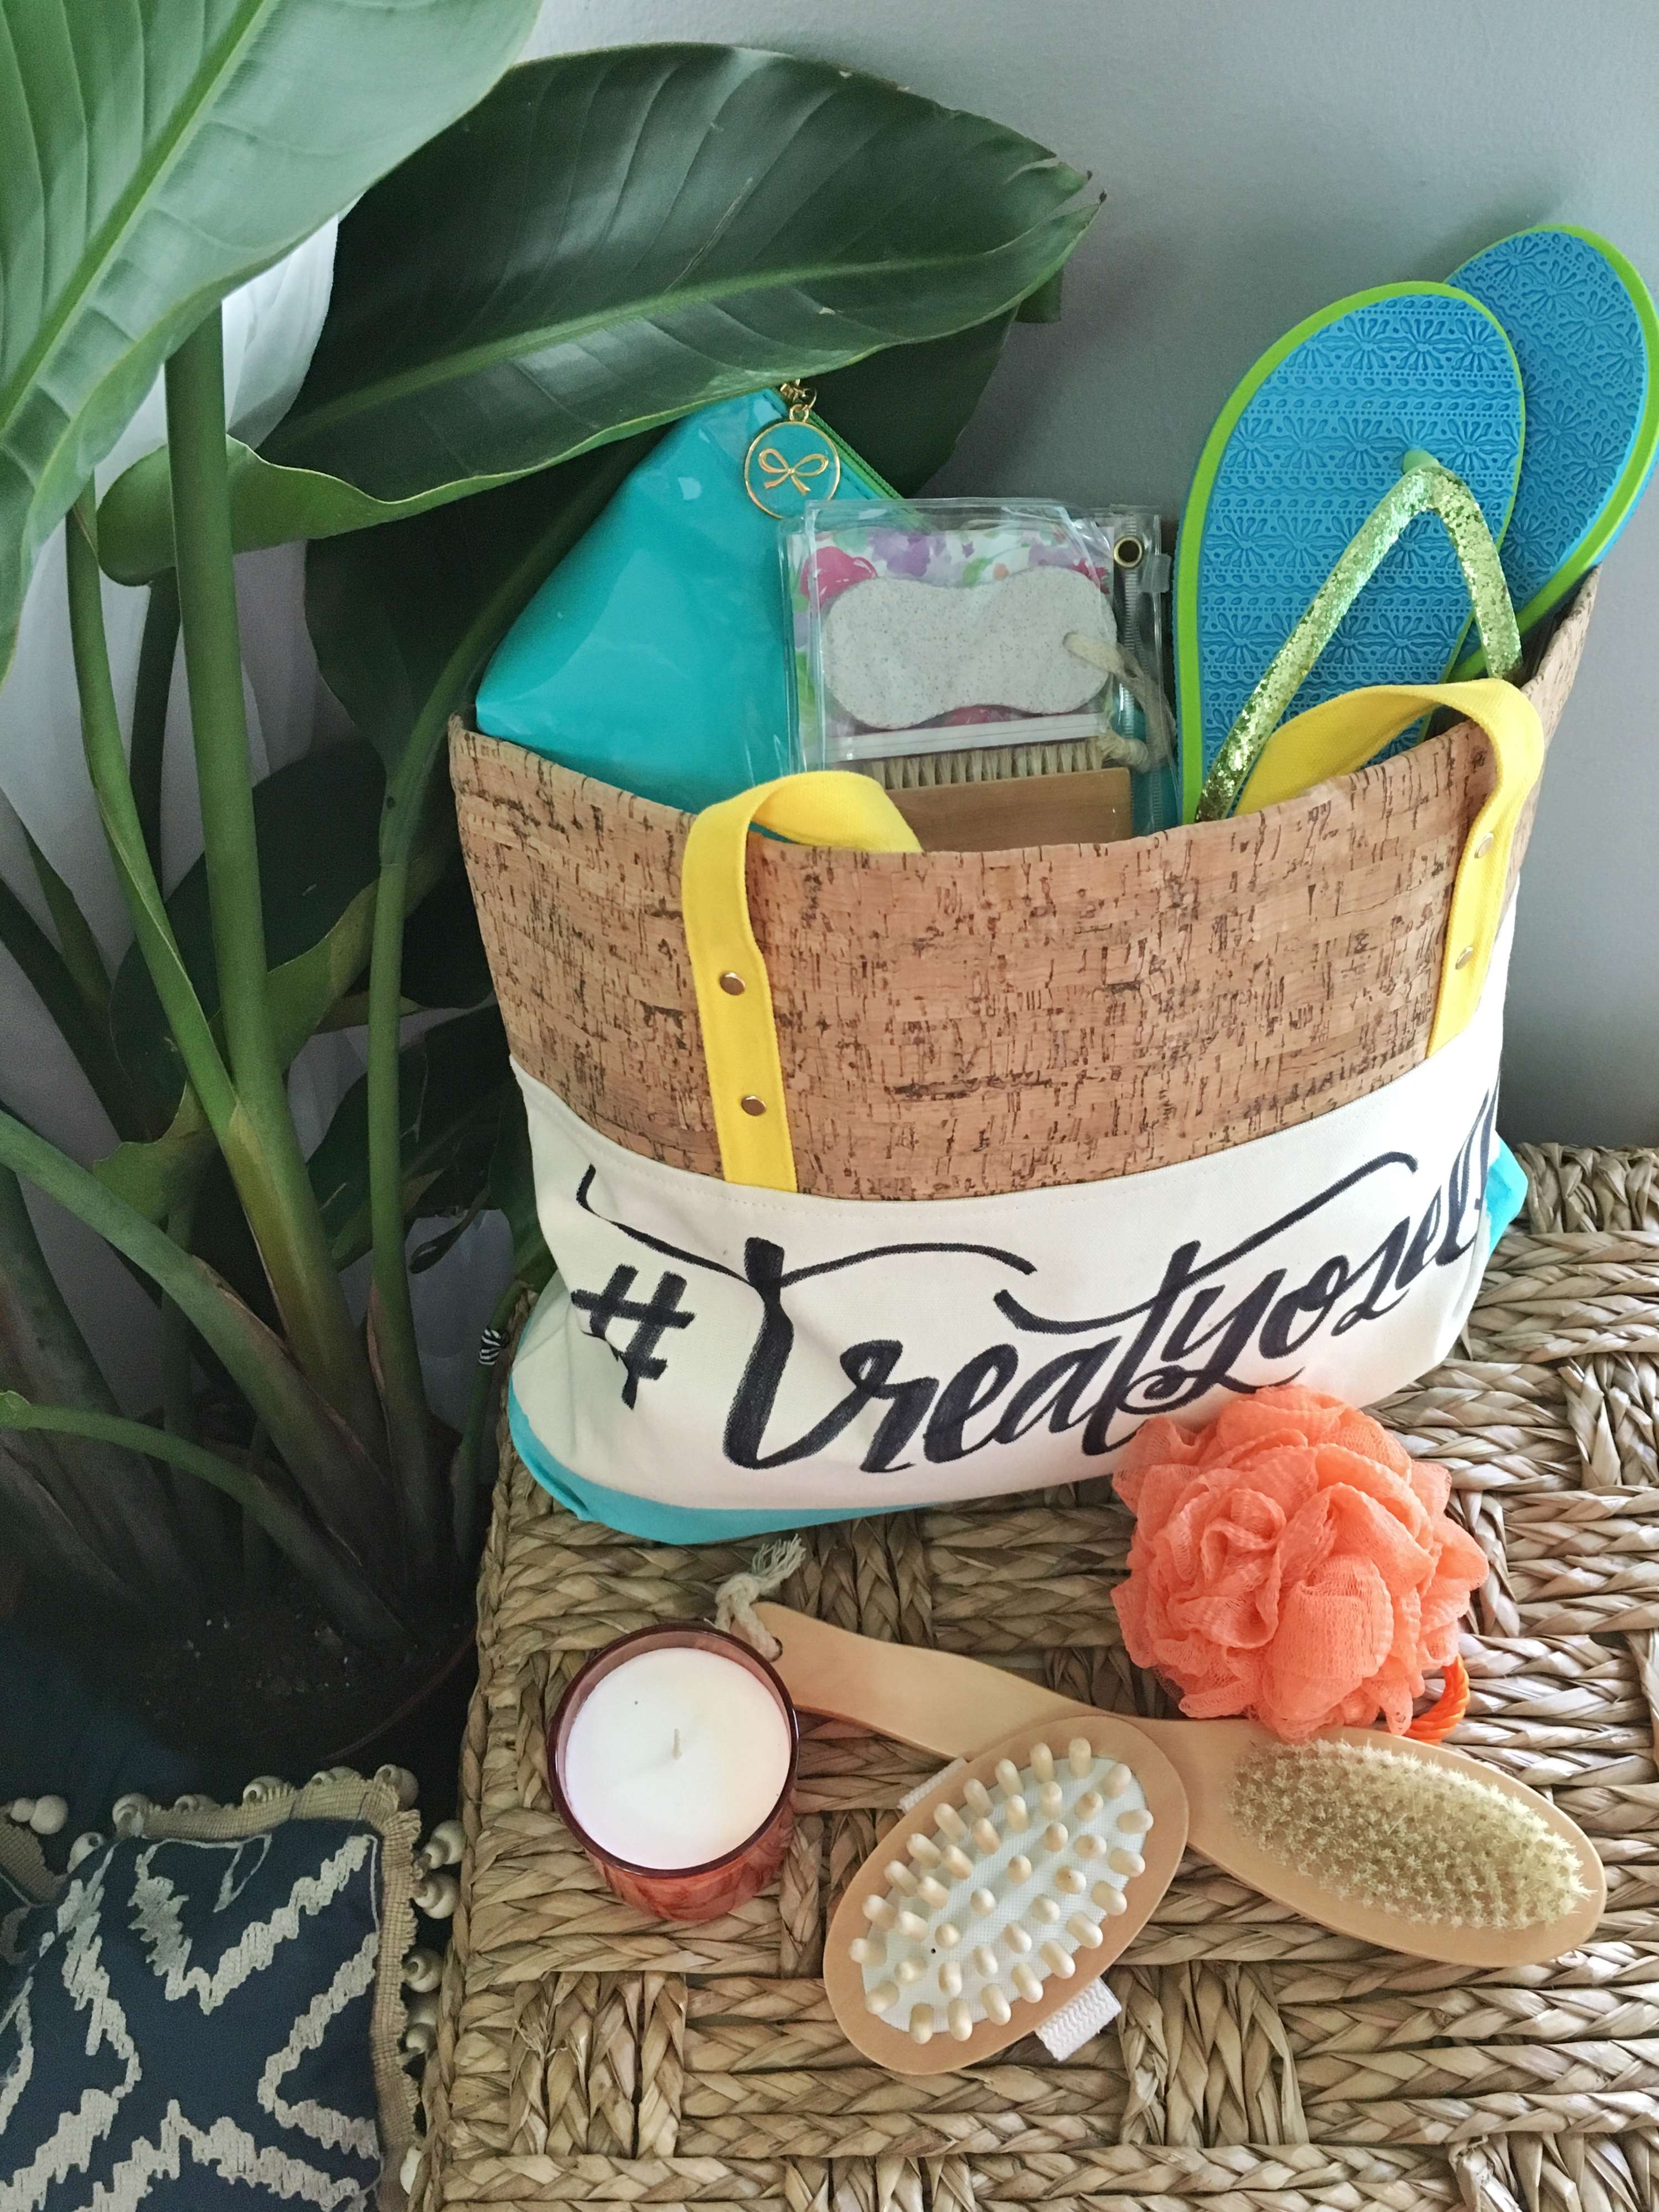
This DIY gift basket is so simple! Everything you see pictured is from Michaels (!!! Jackpot!) and you can customize your bag any way you'd like! I started with this tote bag and some bright blue soft fabric paint. (LOVE this paint! It doesn't feel the least bit crunchy or stiff!) I had intended on using my Cricut to create a stencil to sort of mimic the Kate Spade Call To Action collection of bags, but I had a little snafu when I couldn't track down the power cord! haha I entertained the idea of using iron on letters, but at the end of the day I opted to do some hand lettering to make it a little more special. I used a simple black fabric marker - nothing fancy! (Though if y'all would like an SVG file of this lettering, let me know and I'll try to get that up for you!) Michaels always has these little aisle displays full of little trinkets and goodies like the ones I put in the bag. I swear I always go to Michaels first when it comes to a holiday or celebration needing small goodies. Stocking stuffers, Easter baskets, care packages, you name it. I love that! Since I chose a yellow-handled tote and a contrasting blue paint, I decided to choose colorful accents to go along with it. (Ugh, I'm just now realizing I left out a super cute Happy Jackson tumbler from the photos!) Anyway, I thought the final selections were so appropriate! Sparkly flip flops, a pedicure set, a travel cosmetic bag, a loofah ball, a back brush, hand massager, and candle (and that darn tumbler!) Everything felt so fitting. Overall I am tickled pink with how this gift basket turned out. I think my mom is going to love it! (Actually I know she loves it because I already showed it to her... Nevermind the fact that it's April 1st haha! Oops!)
Treat Yoself Tote Bag Gift Basket DIY
The best part? All of the stuff you can put in this huge tote! Not only is it a great gift bag, but it's perfect for shopping trips (Oreos are totally a self care treat, riiiiight?!), beach days, vacations or even a Summer pool bag. Even after the candle is all burned up and the flip flops are worn thin, that bag will still be a great reminder to take time for yourself! And DON'T feel guilty about it!

Here's to the amazing women in our lives! Let's celebrate them! (That includes yourself!)


Who's the lady (ladies?) in your life who might need a "Treat Yo'self" reminder?

xo KB
♥ INSTAGRAM // FACEBOOK // PINTEREST // TUMBLR // TWITTER ♥


PS; Check out the other Michaels Makers and their lovely Mother's Day inspired projects on The Glue String!


// How To Refresh Your Space with Faux Florals


Y'all, I love flowers. Like, love love them. When Spring/Summer rolls around I usually add a $5 or $10 bouquet to my buggy when grocery shopping each week. Something about seeing those blooms on a table or shelf in my house just makes me feel at home. I have vases and arrangements scattered all over our house. And I even have about a dozen IKEA faux succulents, too. While $5 or $10 here or there isn't all that bad for fresh flowers, sometimes I want the look and feel of real, but I want it in the middle of winter or in about 75 places in my house. Um, my wallet can't keep up with that! haha Instead, I've started utilizing faux arrangements that I've made from the flower section of Michaels. They are everywhere! All over my house! And they make me so happy! The best part? If I'm hankerin' for something new or even real, I can just pop my faux flowers into storage and bring them back out later. Or use pieces of one arrangement to fill out another. It's really great to have so much variety and option when it comes to decorating your house for Spring. I can't get enough of it! Now I'm going to tell you how to ensure you get the best look for your faux flowers! 


A few general "rules of thumb" and tips to keep in mind when you're shopping for your faux florals:

  • The more you mix and match your florals, the more likely they are to look natural. (Of course I went against this and have that small farmhouse pitcher overflowing with faux peonies, but...)
  • If you do choose to do an arrangement of only one type of flower, create interest with the size or scale. For example, my peony vase: I ended up folding the gathered end of the plastic in half, and popping them down in the vase to hold it tight. I then manually stacked each peony around and on top of each other to create the cluster that looks so full)
  • Don't be afraid to clash colors or textures. The more variety, the better!
  • Avoid super glossy greenery or florals whose leaves look really really fake. This doesn't mean you have to go for the crazy expensive stems. Just look for things with a matte texture and go from there. They may not look "real" in the store, but if you arrange them properly, they'll look wonderful!
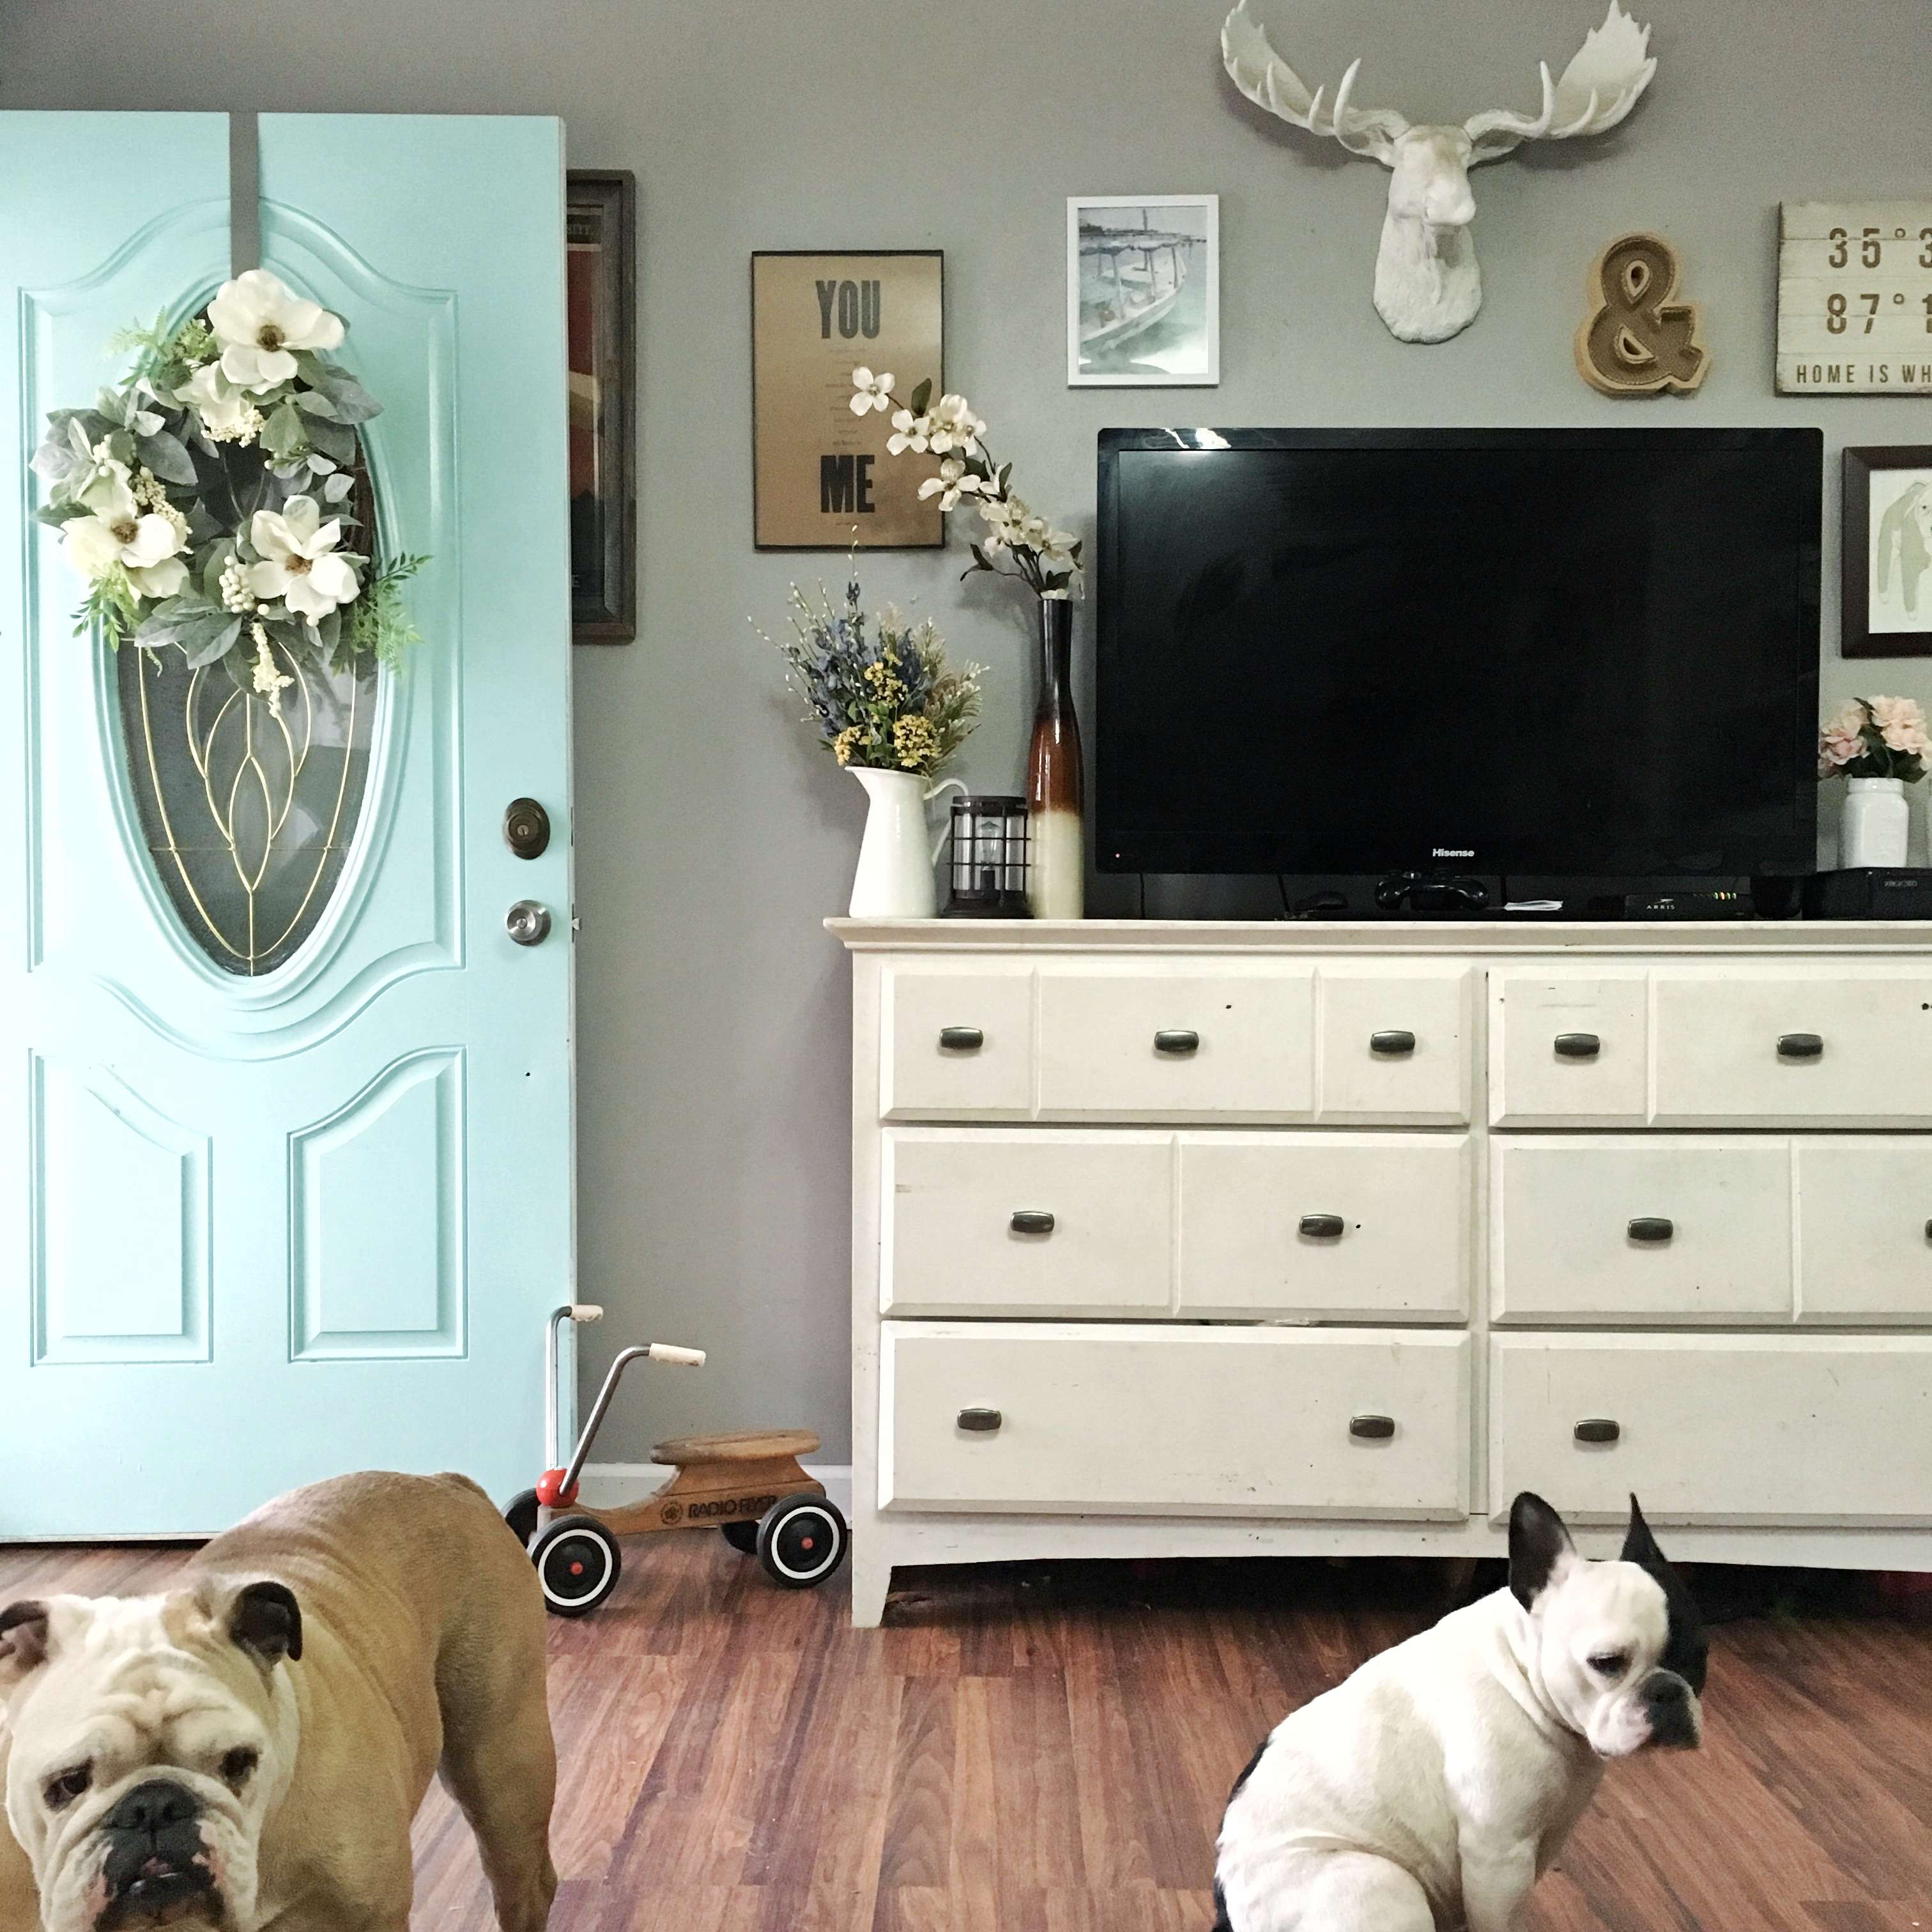
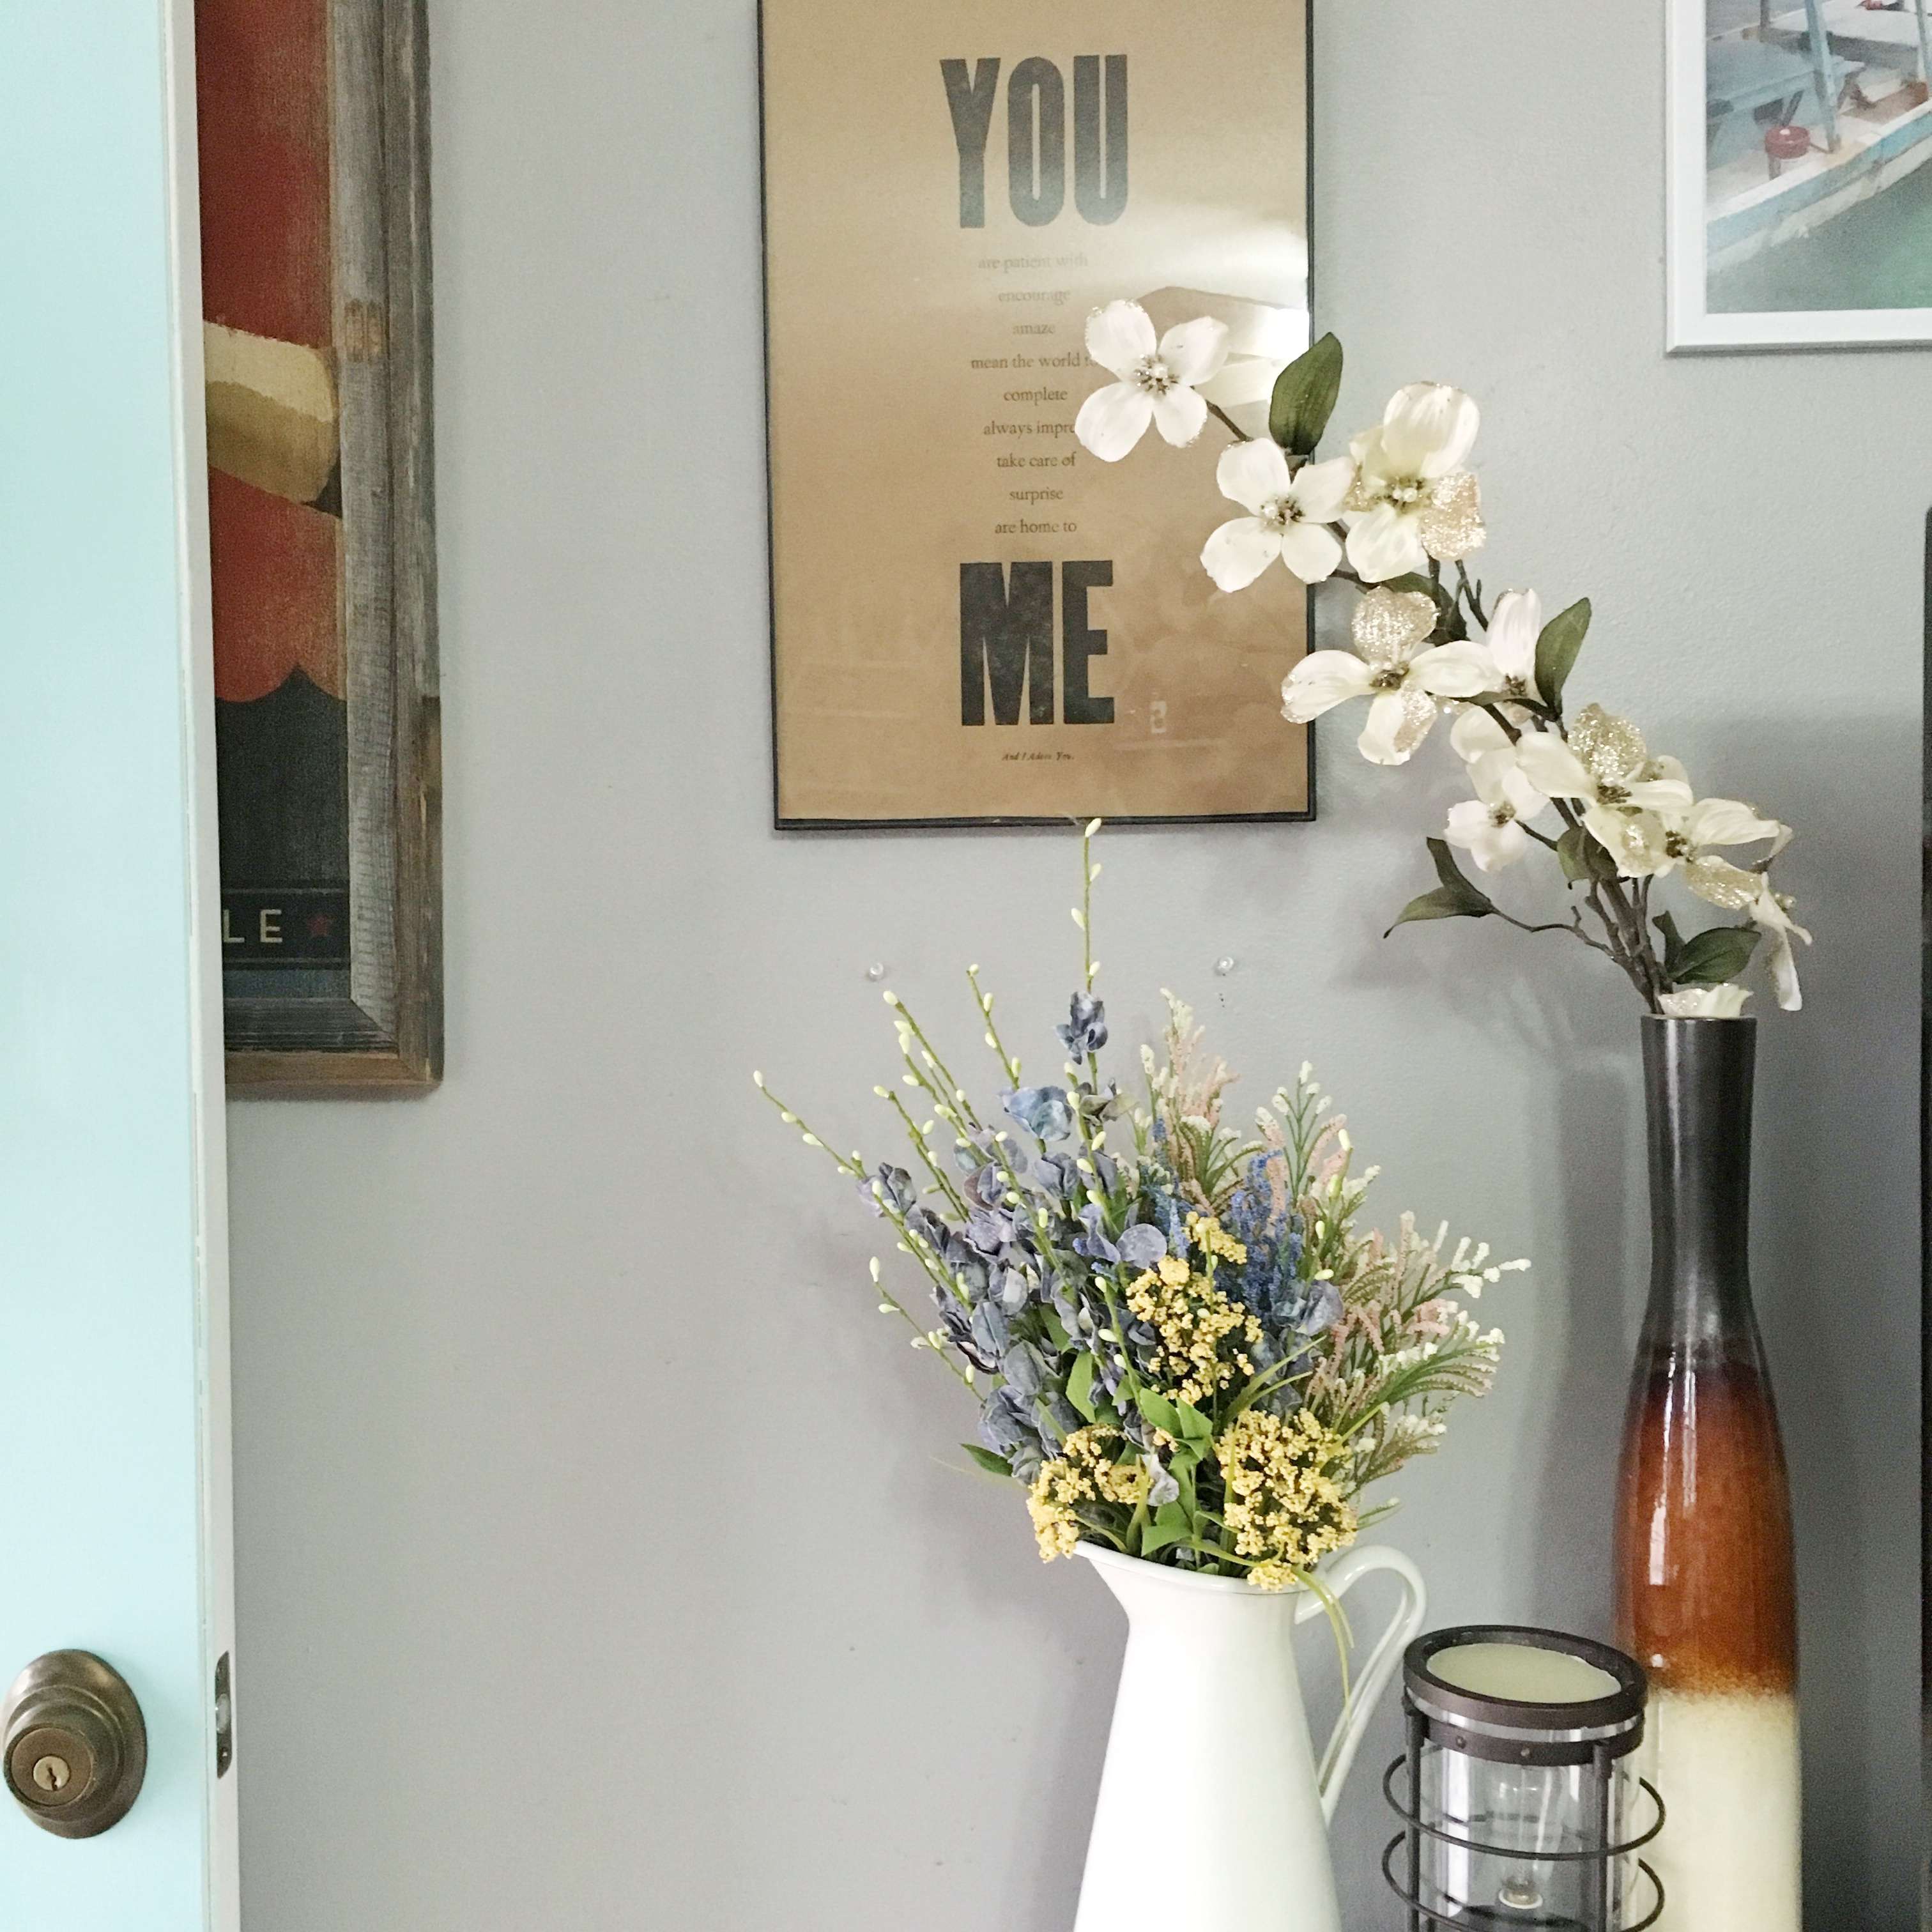
  • Consider unusual objects and vases to hold your stems. For example the tall and skinny vase next to our TV: I used a long magnolia branch to add height and interest to a piece you might otherwise miss. I love how it thrusts out at a diagonal, across the art that hangs behind it.
  • Don't be afraid to take your vases or containers with you to the store to try out a couple arrangements on the spot. I just willy nilly grabbed blooms that I liked the look of and then put them all together once I got home, but I have a few vases in mind that I'd like something specific. I'll likely take it to Michaels with me to test some ideas.
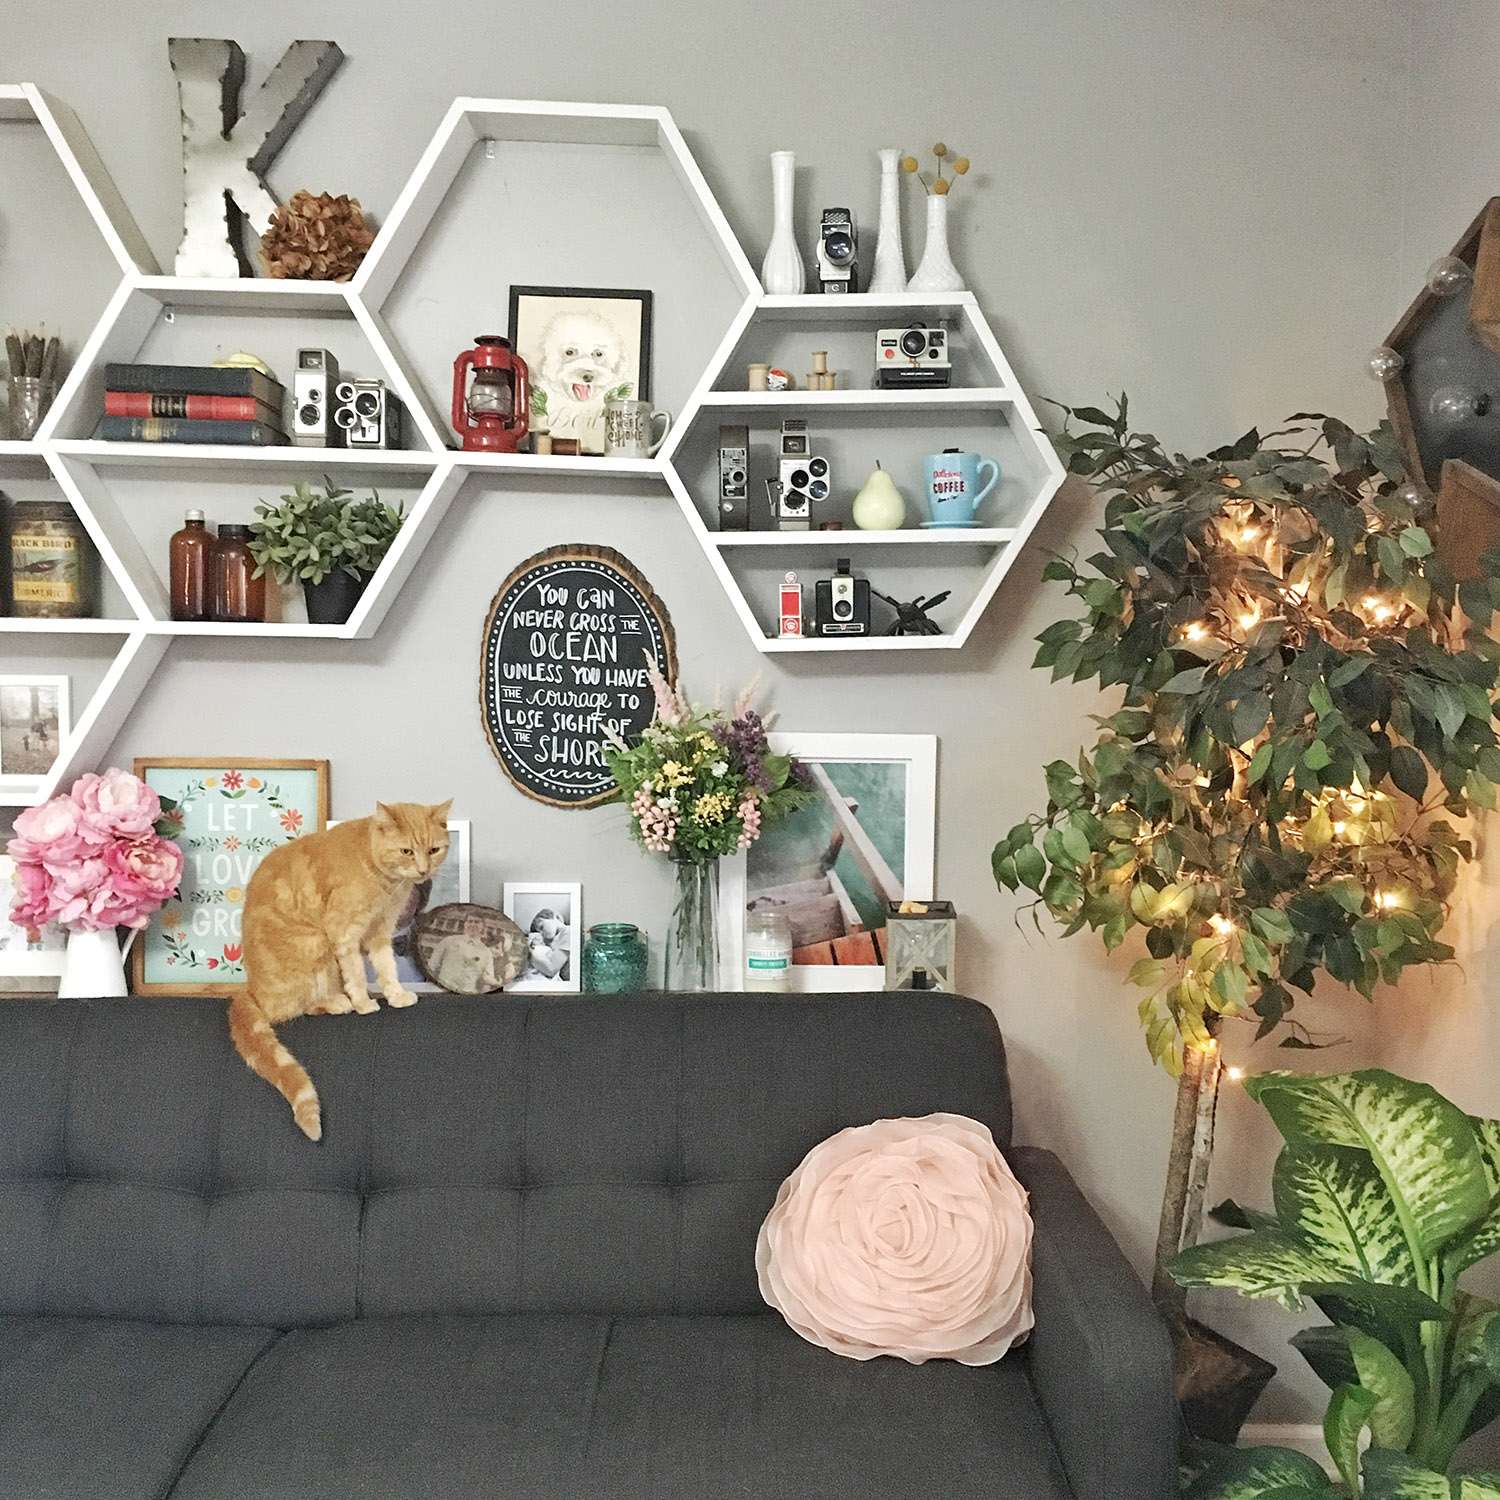
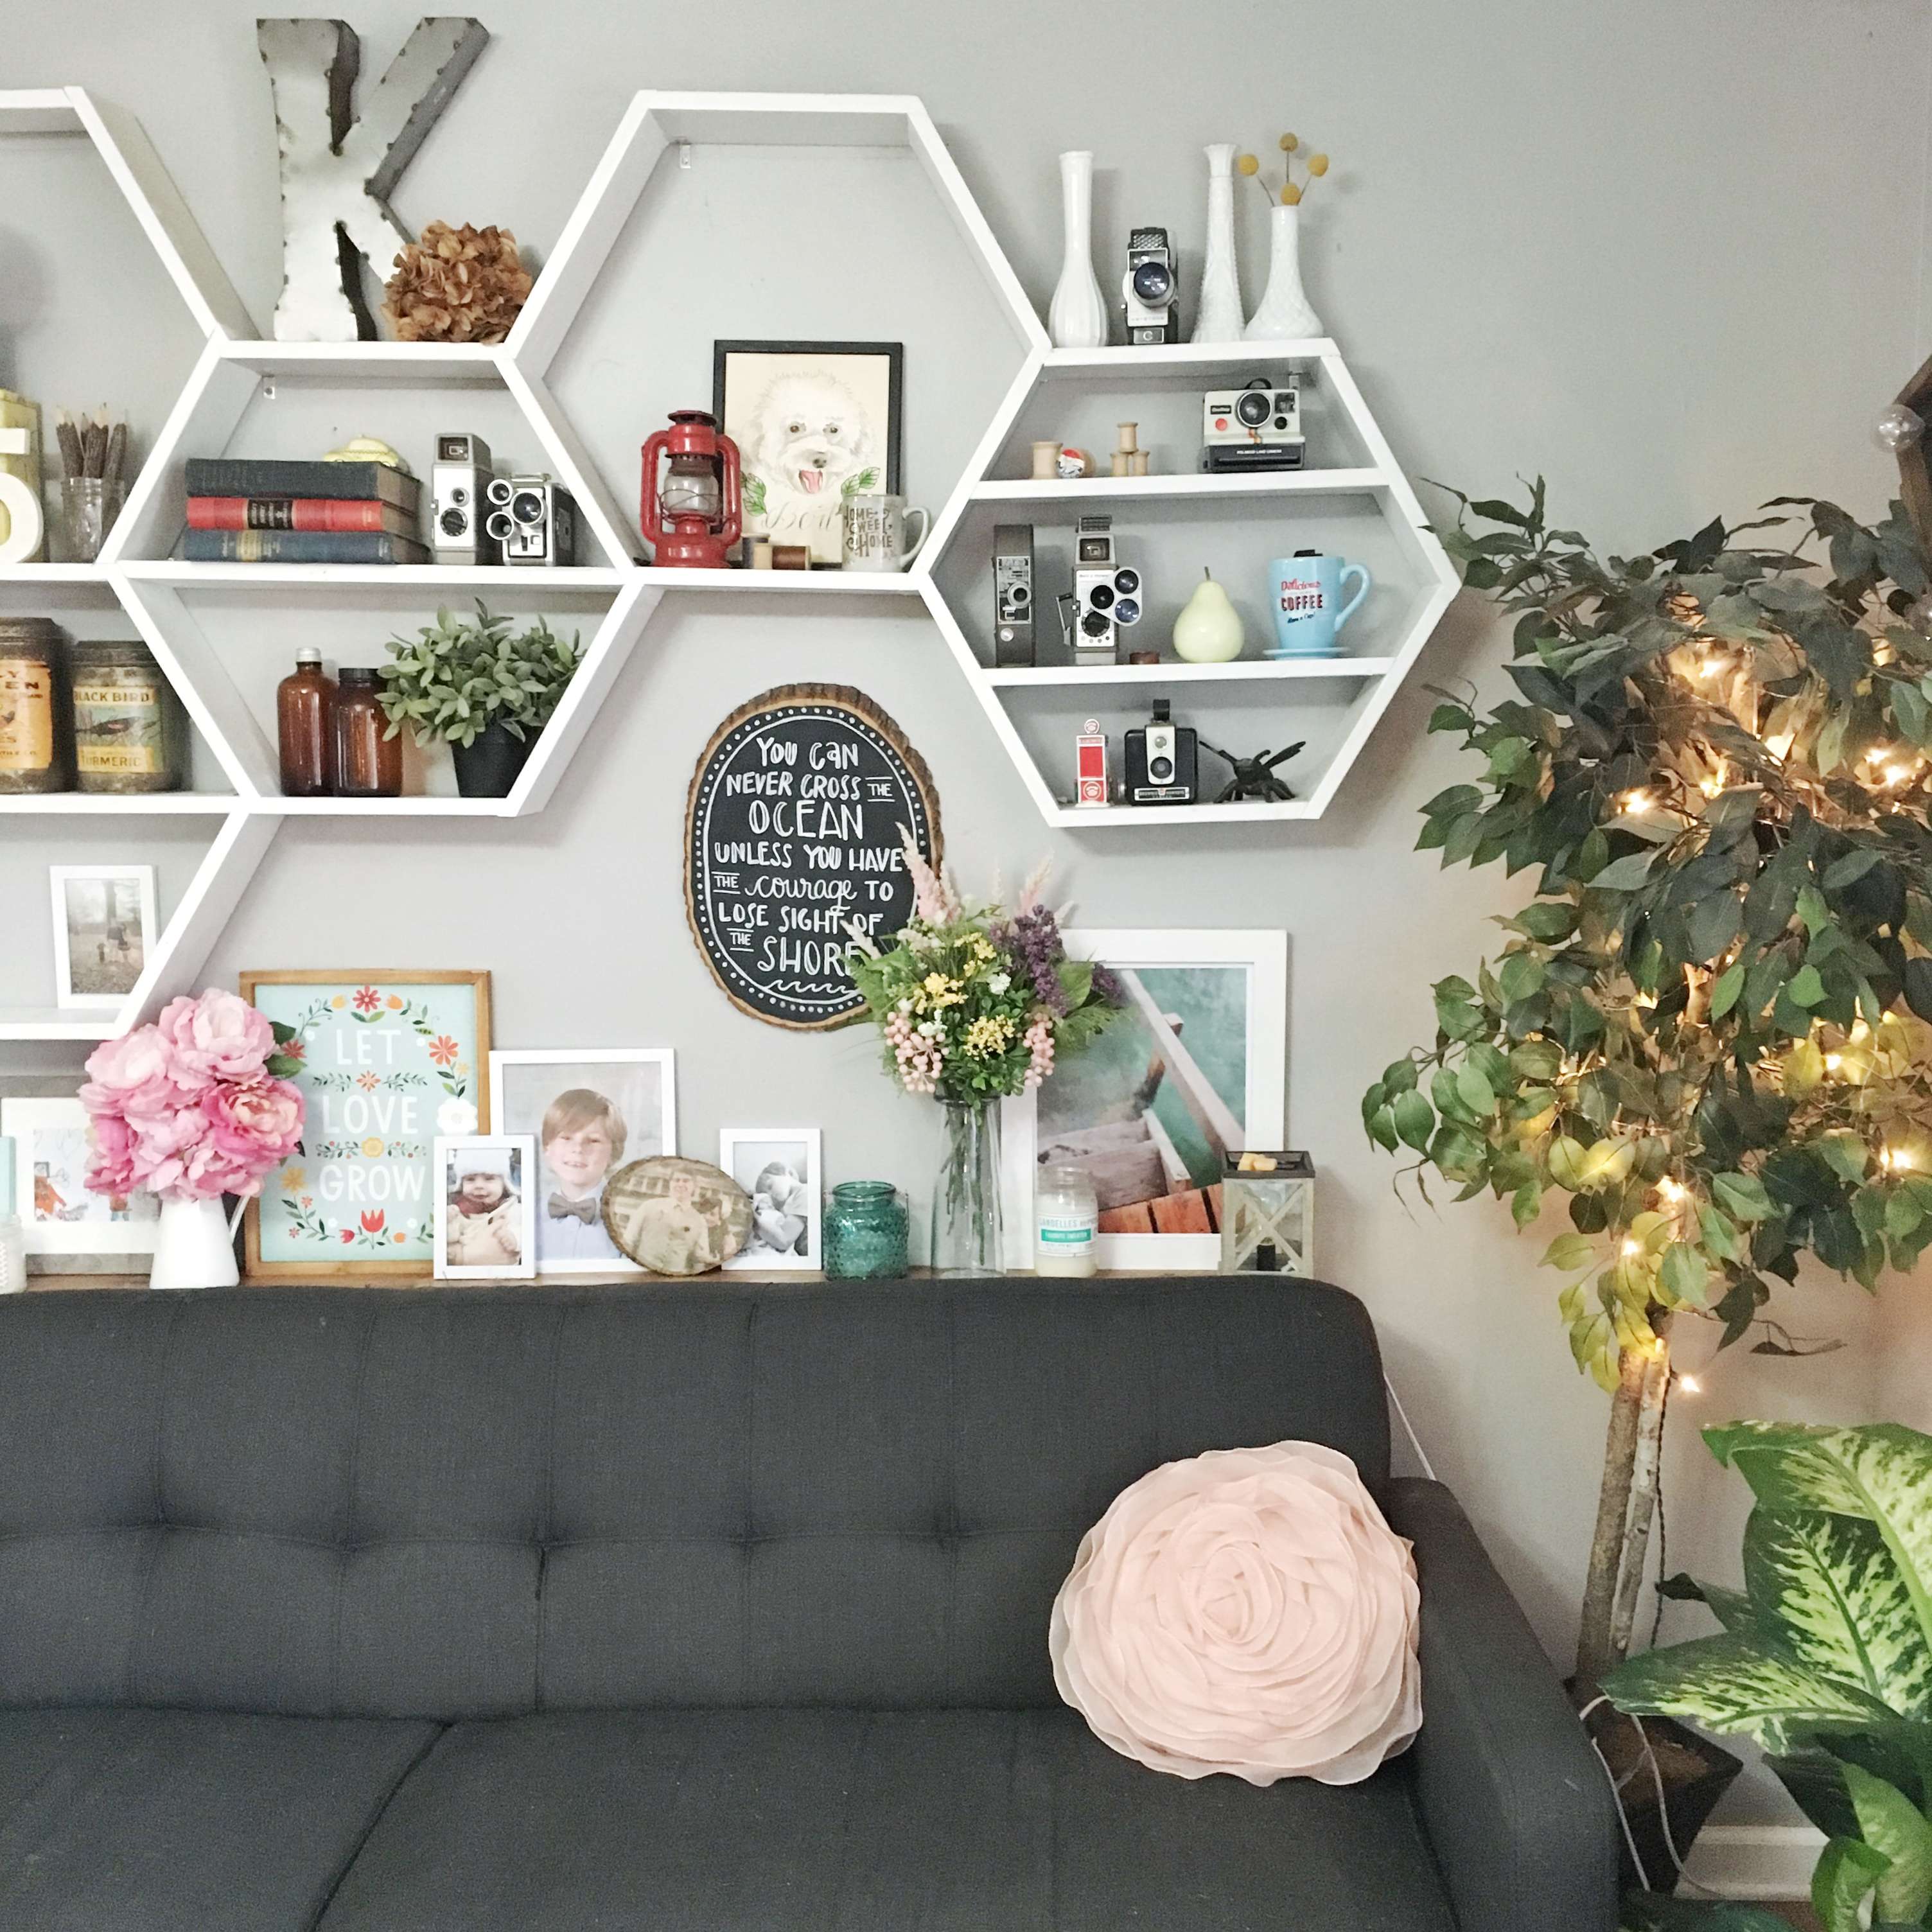
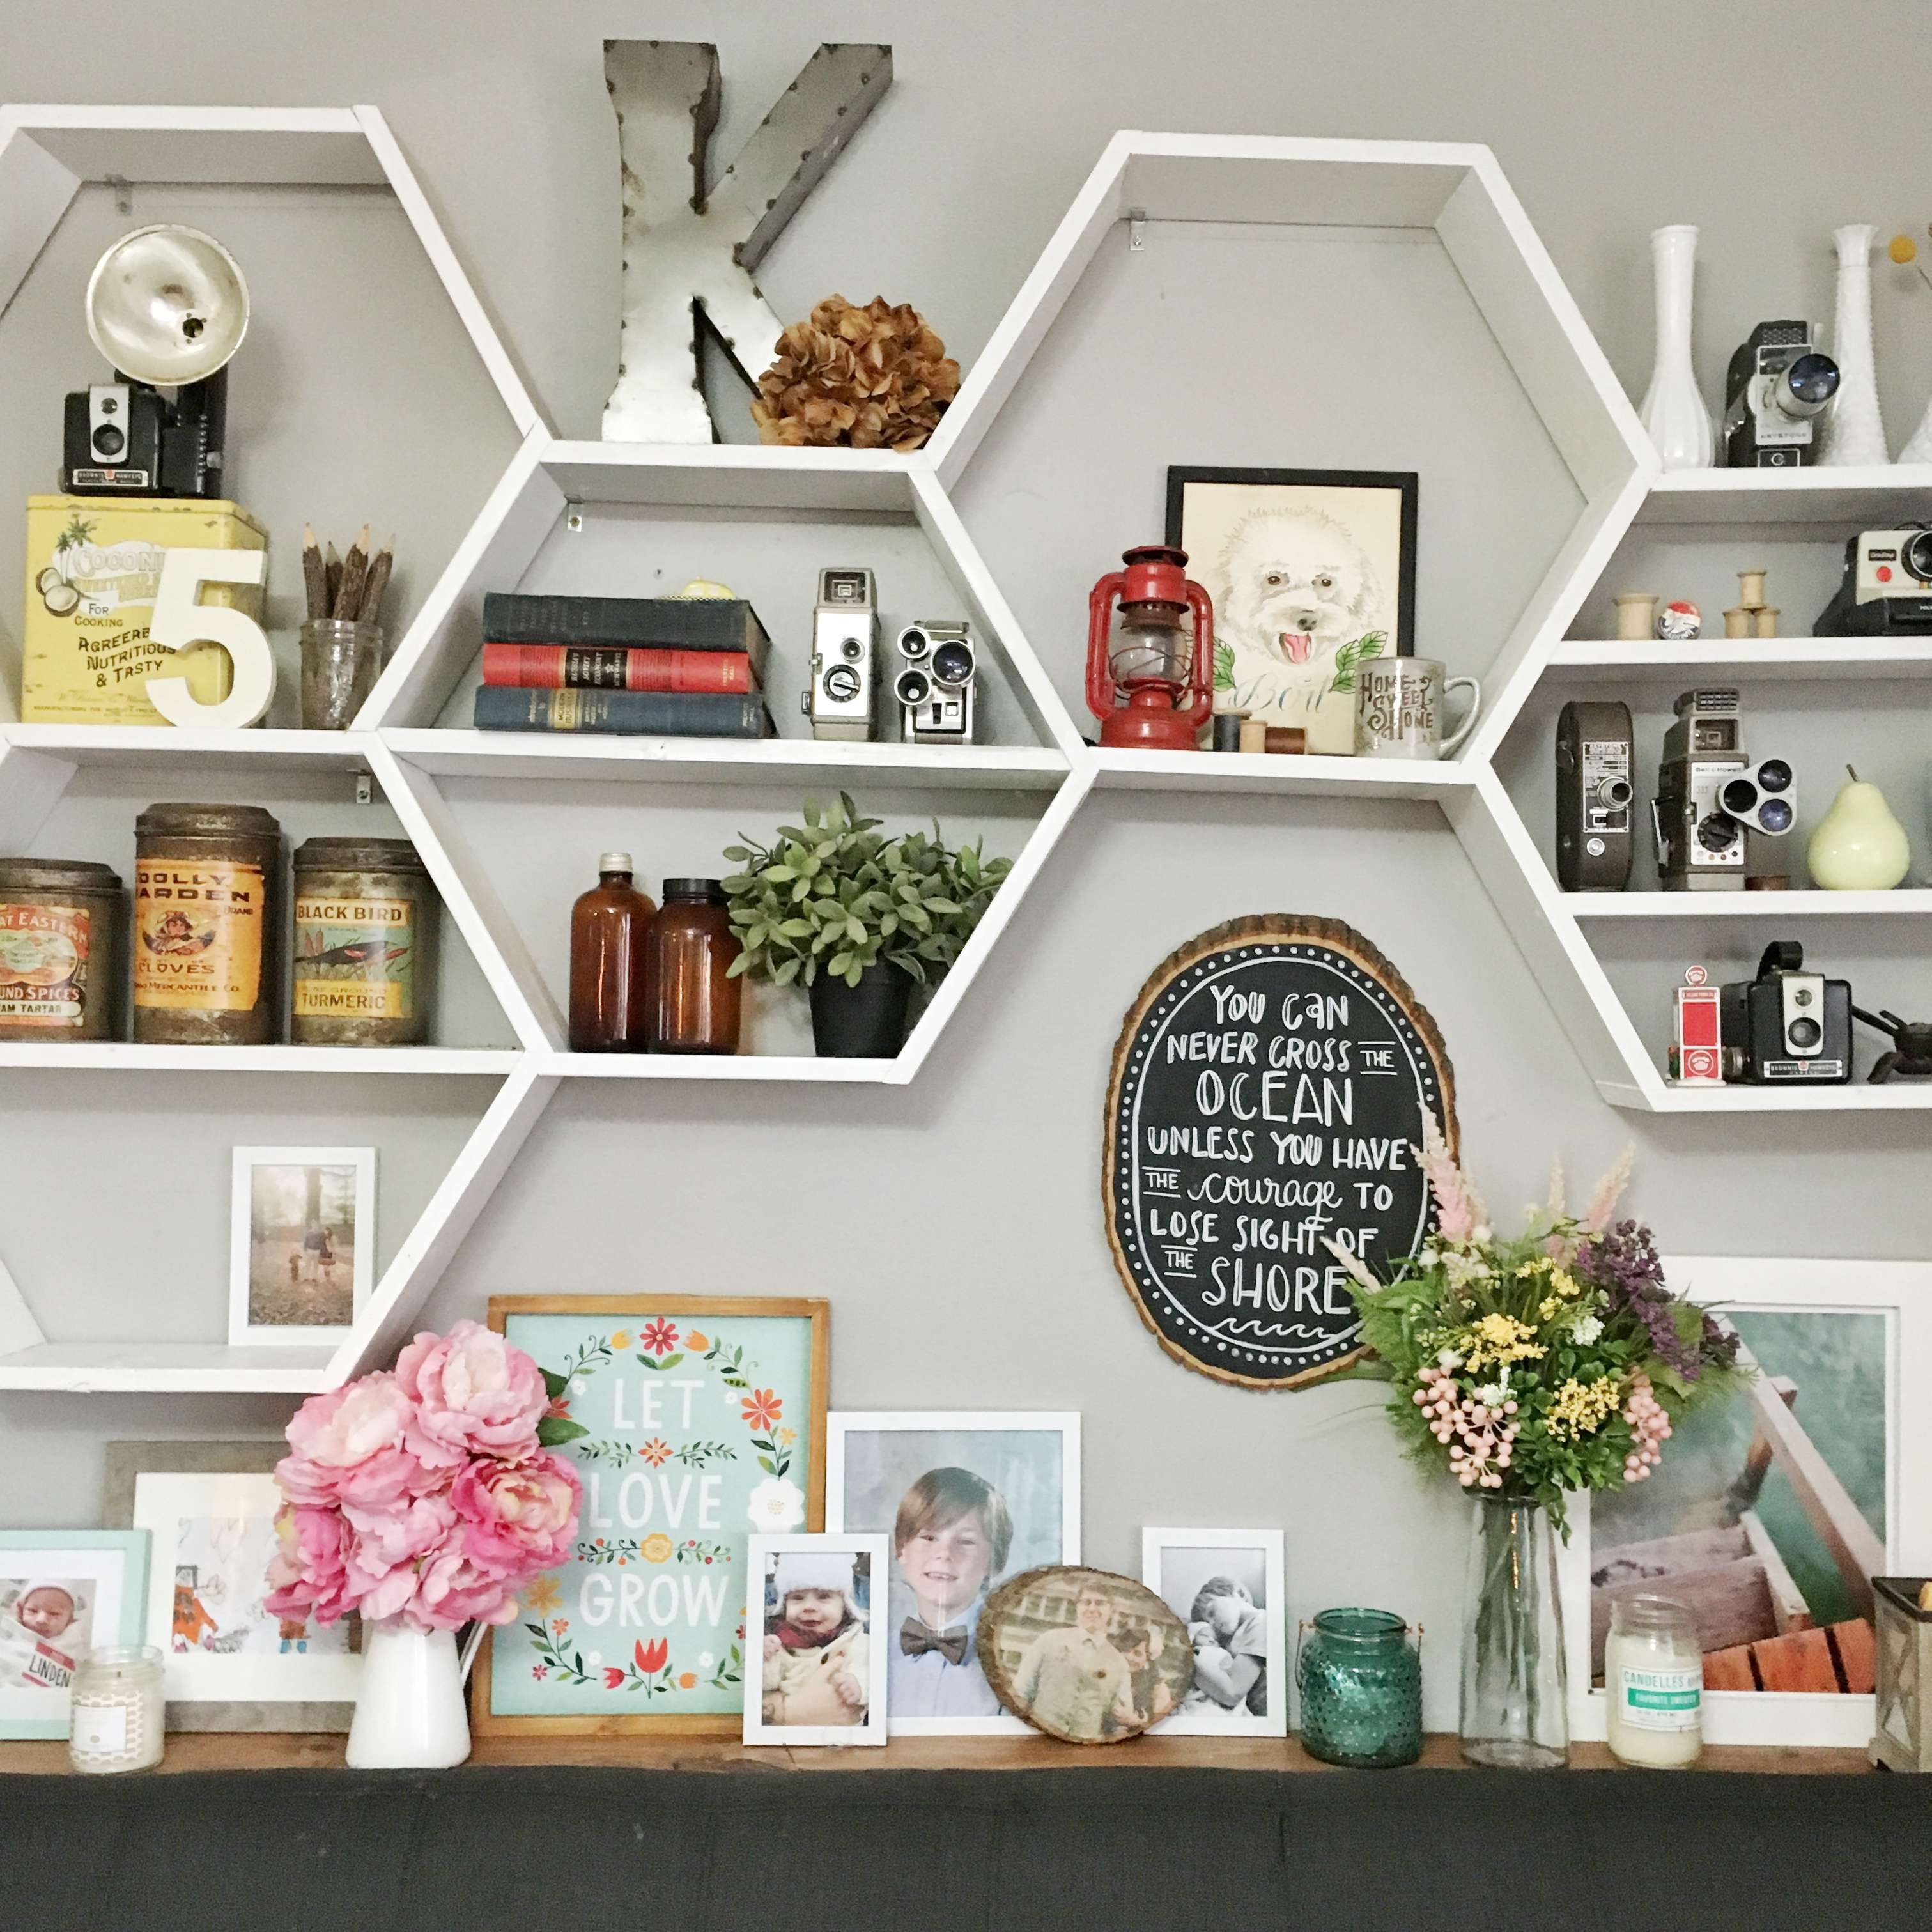
  • Take off individual blooms or cut individual stems to add to bud vases or decorative accents. I took a caramel colored hydrangea off of the bouquet and placed it on top of our hexagon shelves for added color and interest.
  • WREATHS! I love me some wreaths! This magnolia wreath on our front door is the ultimate! I love the way it looks so much.
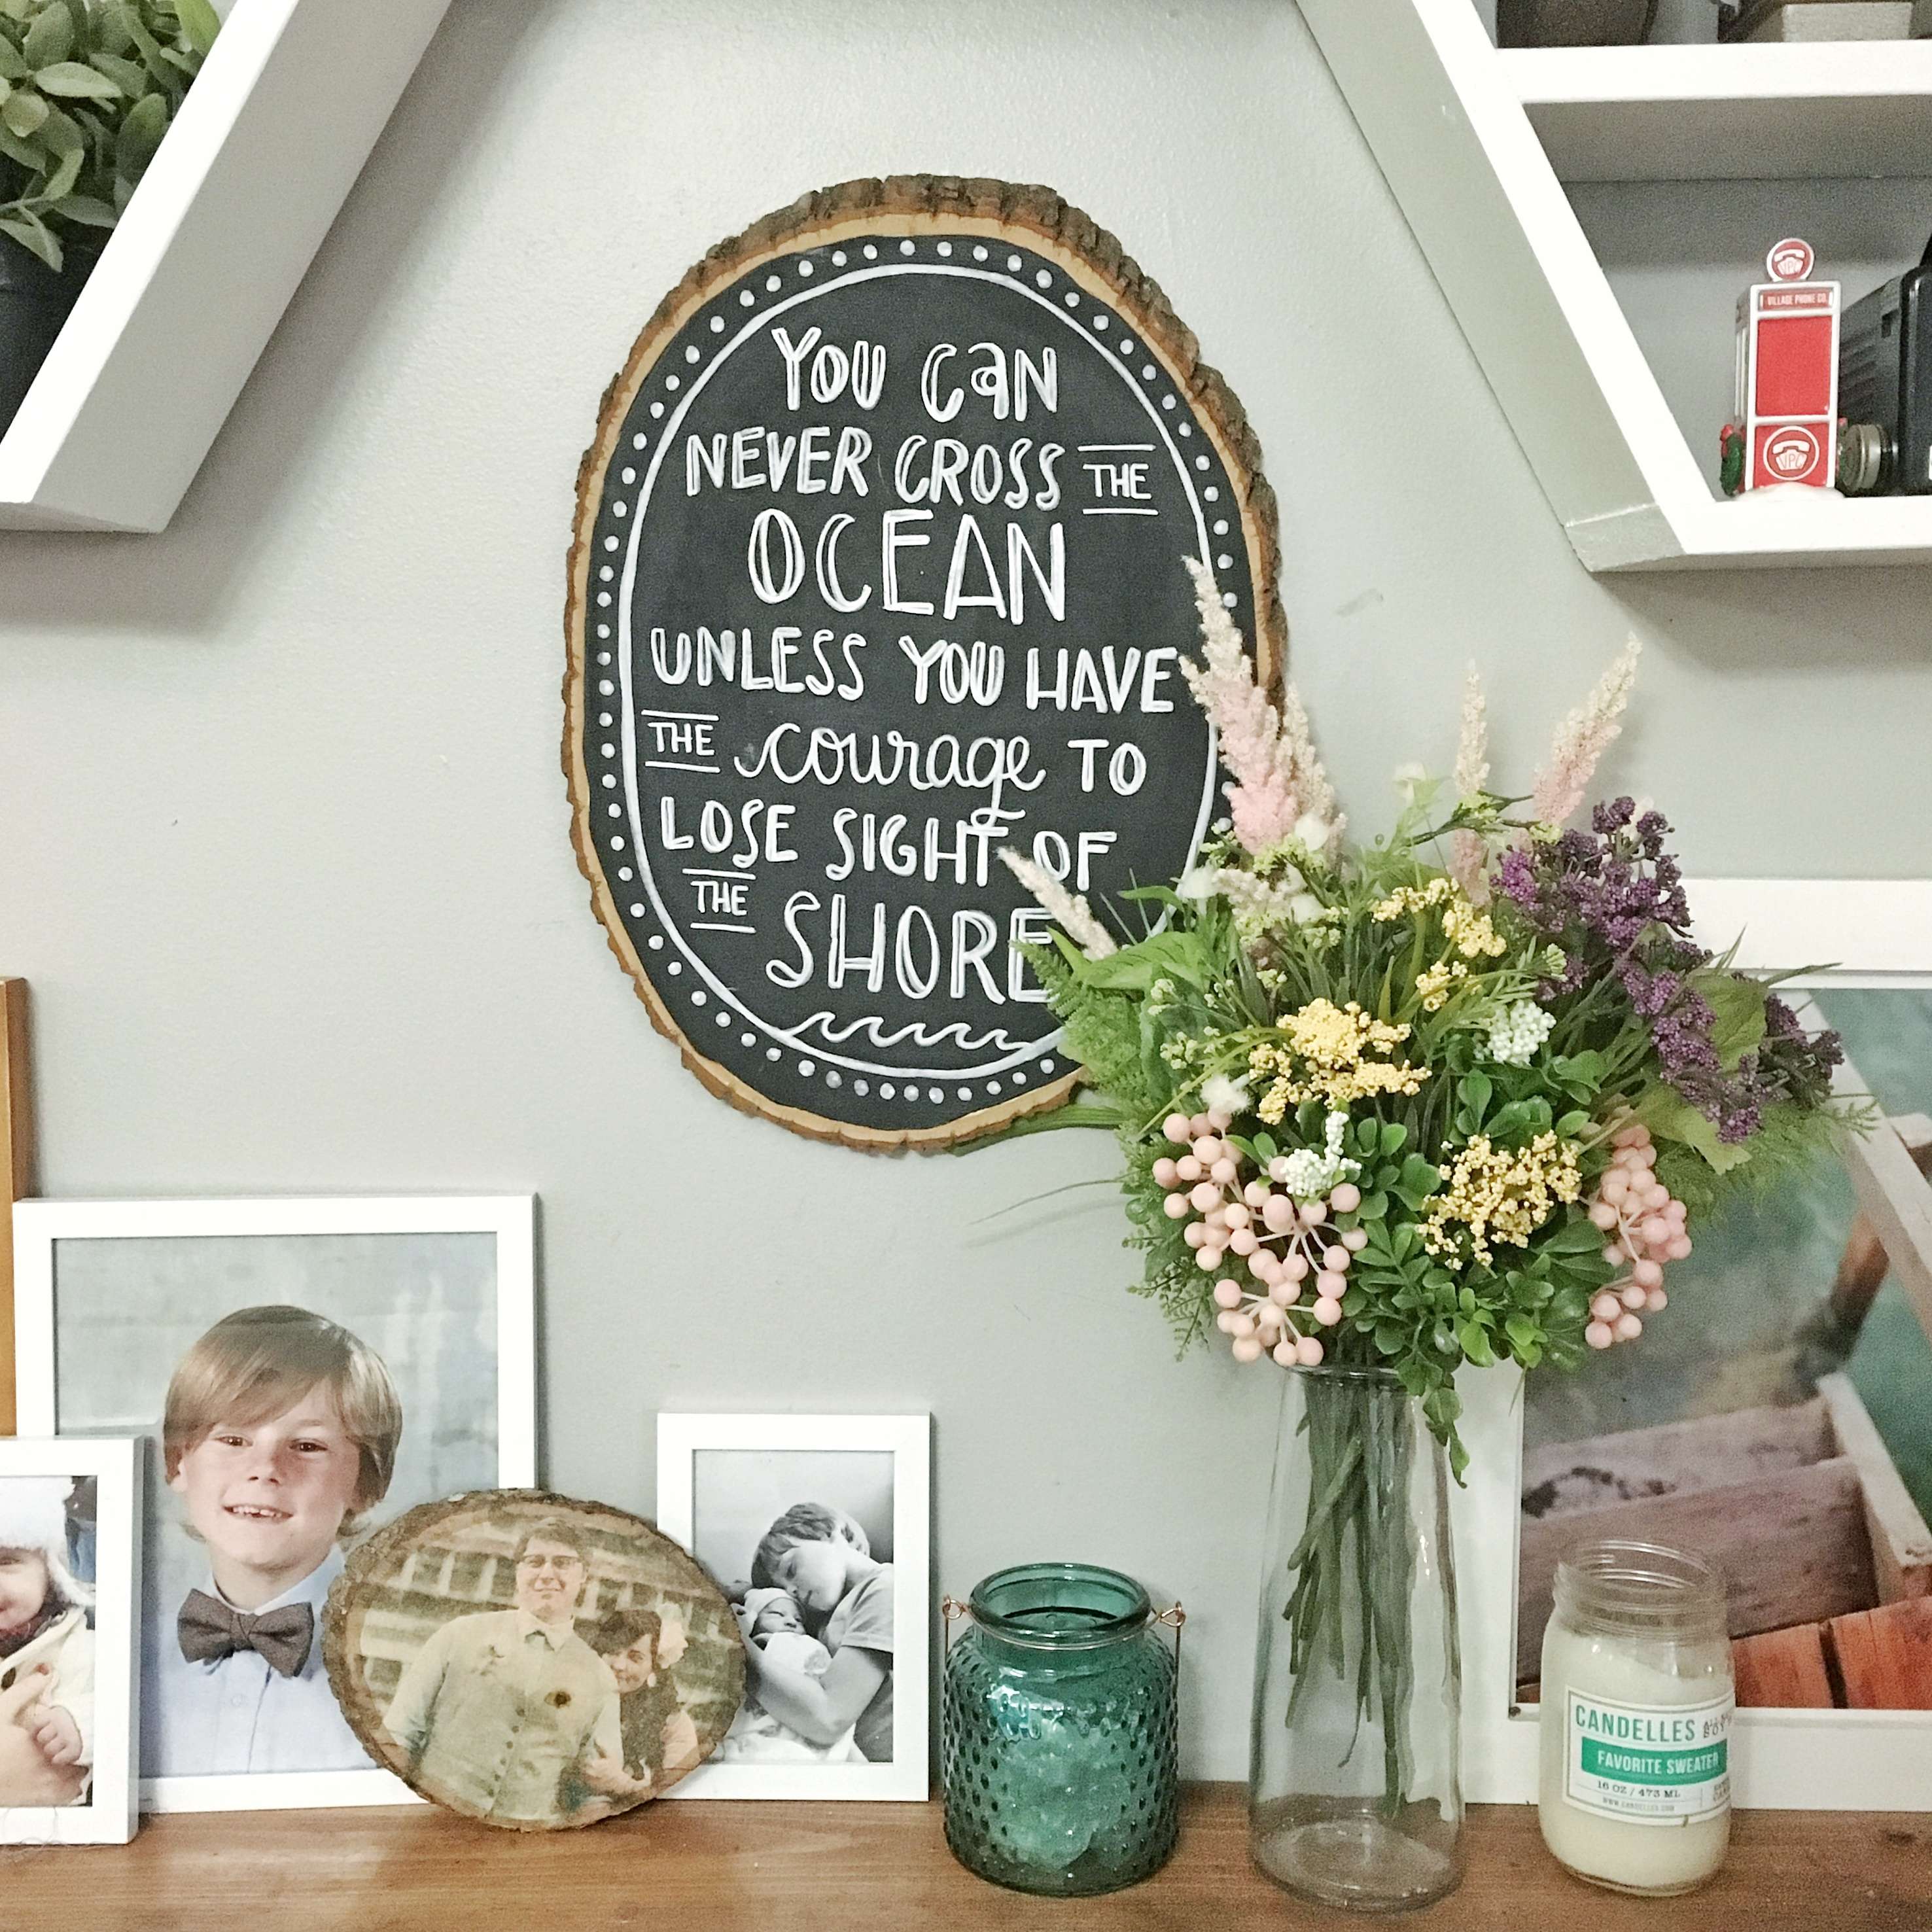
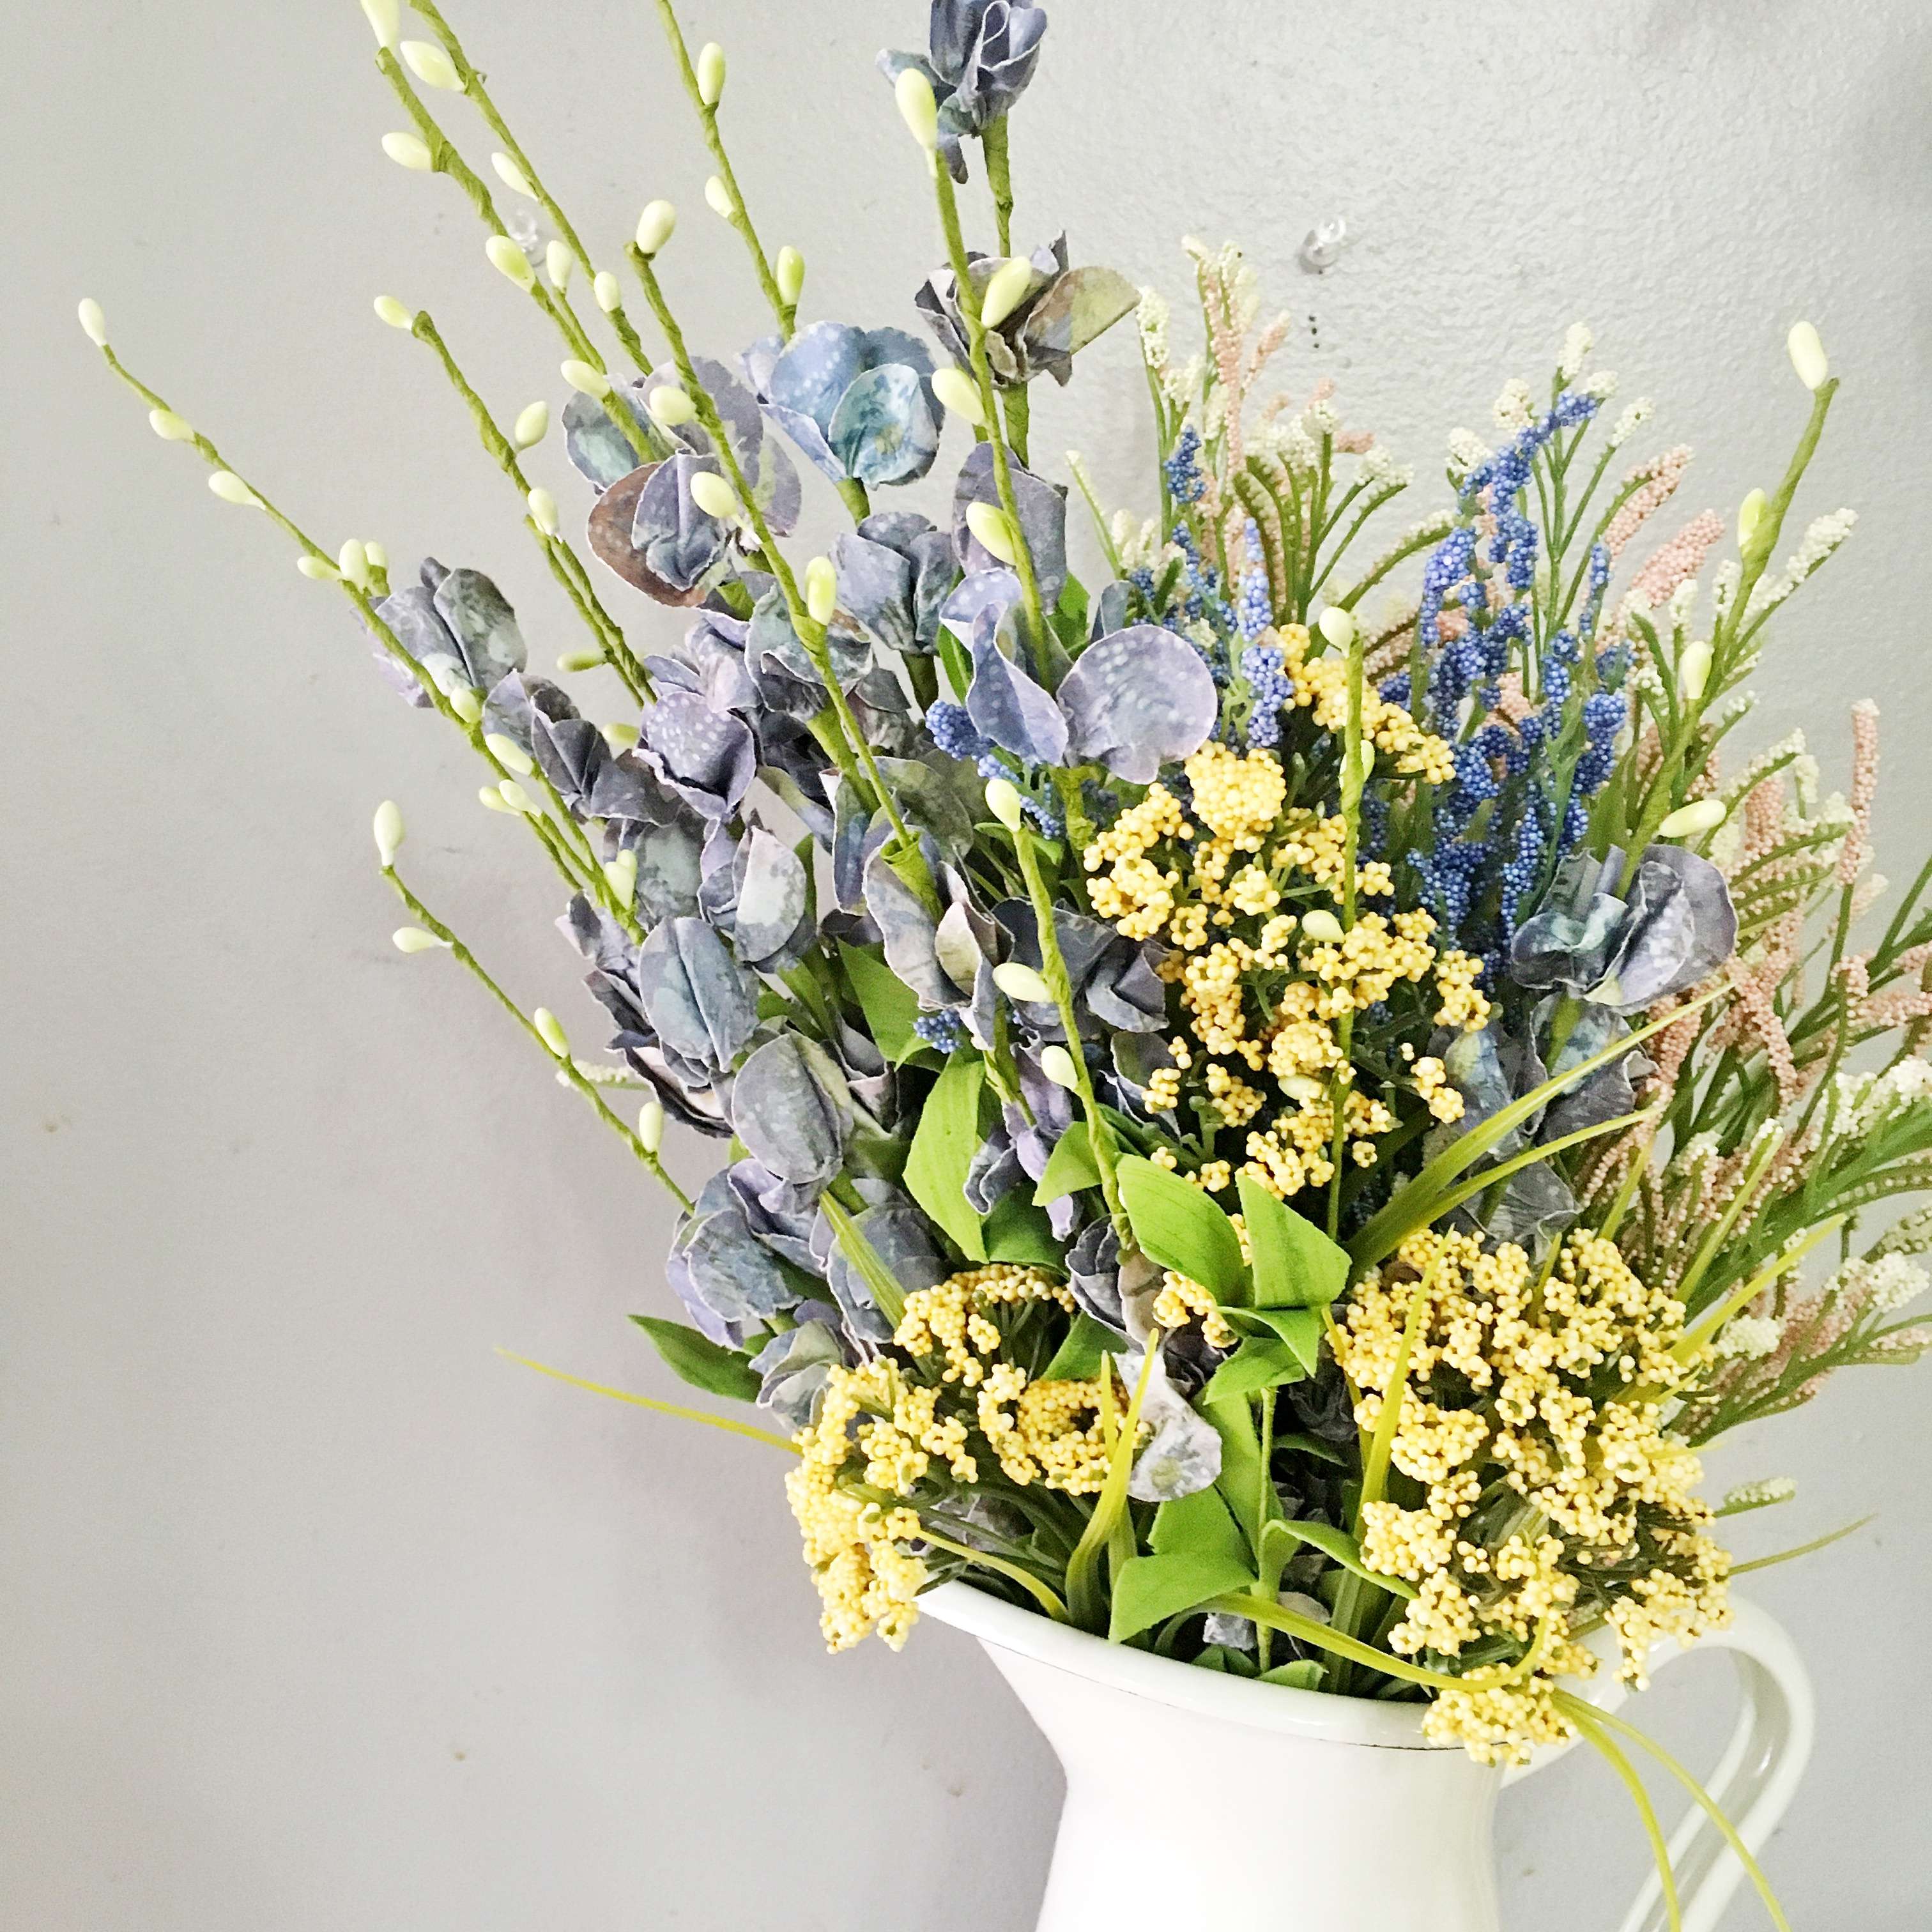
  • When in doubt: create a wildflower arrangement! Grab stems of berries, mustard grass, and lavender, and add a bunch of greenery. Wildflower arrangements don't have to make any sense... but they're guaranteed to look beautiful!
  • Lastly, find interesting places to place your arrangements: While I don't have these photographed, I have a peony arrangement on our bathroom vanity, a couple faux succulents on a shelf in the hall, a faux orchid or two in the kitchen, two arrangements on my computer desk, and a few more small faux florals scattered on various bookshelves through the house. While that might sound like a ton of florals, it doesn't look overwhelming to the eye and they're like little pockets of happy scattered through the house!


I love how inviting and colorful our home feels with these arrangements throughout. I really love the 2 wildflower pairings in the living room. They're definitely getting me in the mood for Spring! Of course these 65 degree days don't hurt either haha What do you think? Would you deck your halls with faux florals? Which execution is your favorite?

Michaels has over 500 new blooms in their Floral Market so check them out! You can see loads of other faux flower projects and inspiration on The Glue String, too!

xo KB

P freaking S! Michaels is bringing FIFTY of you (YOU!!!!) to the second annual Michaels Makers Summit this year in September! In addition to the 50 Makers who will be attending again (yay!), 50 blog readers will be chosen to join us! Y'ALL! I AM SO STOKED ON THIS! Get your last minute entries in! THIS IS GOING TO BE SO FUN! Here's a video so you can see what last year's was all about!


// Customized Magnetic Wooden Blocks


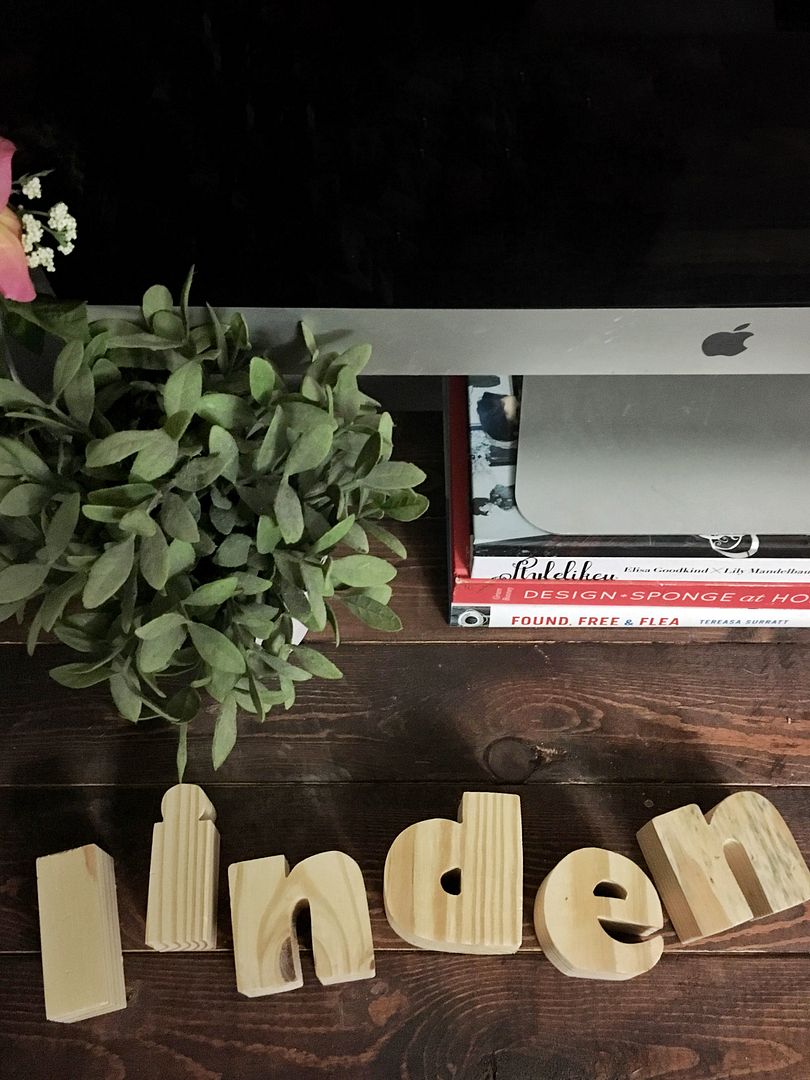
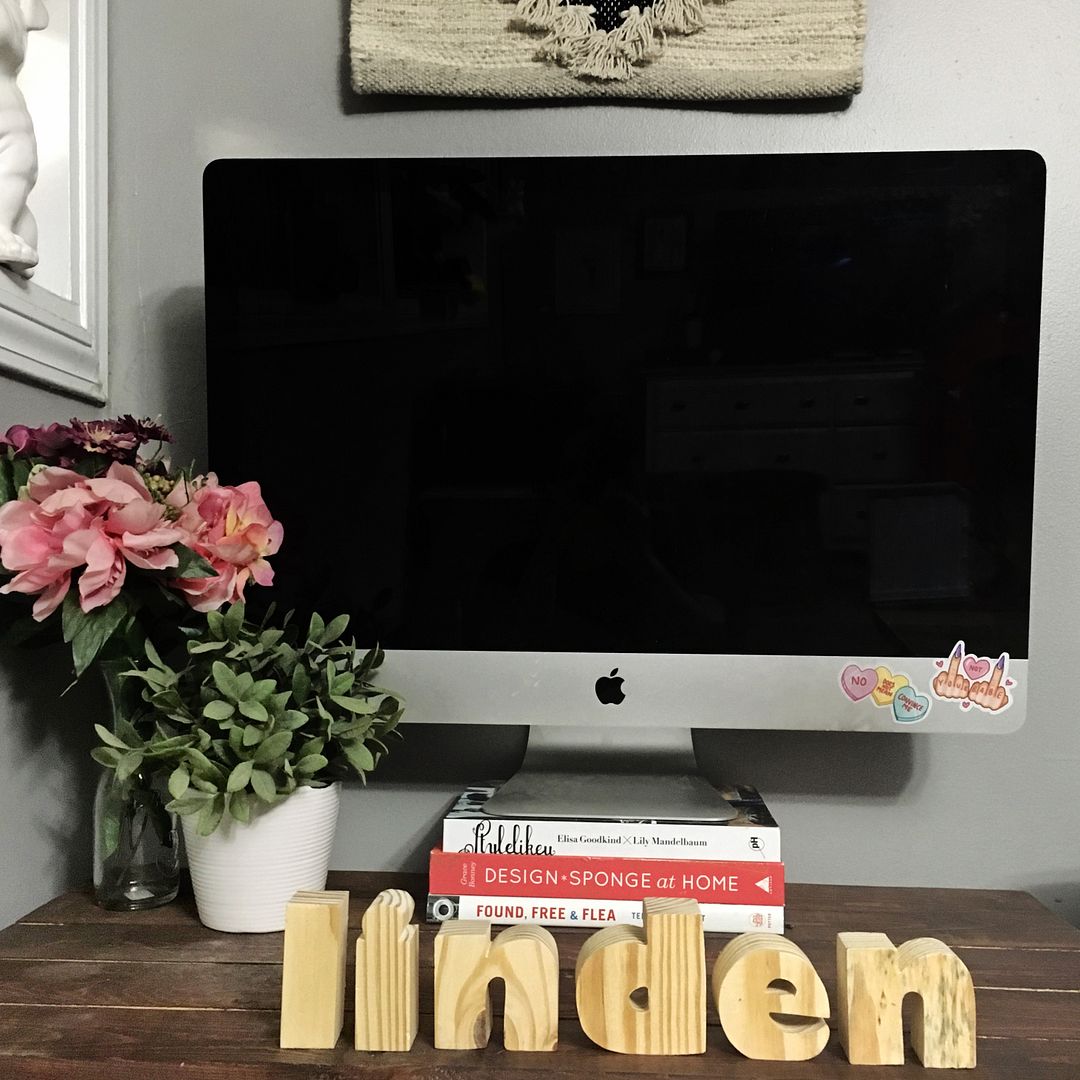
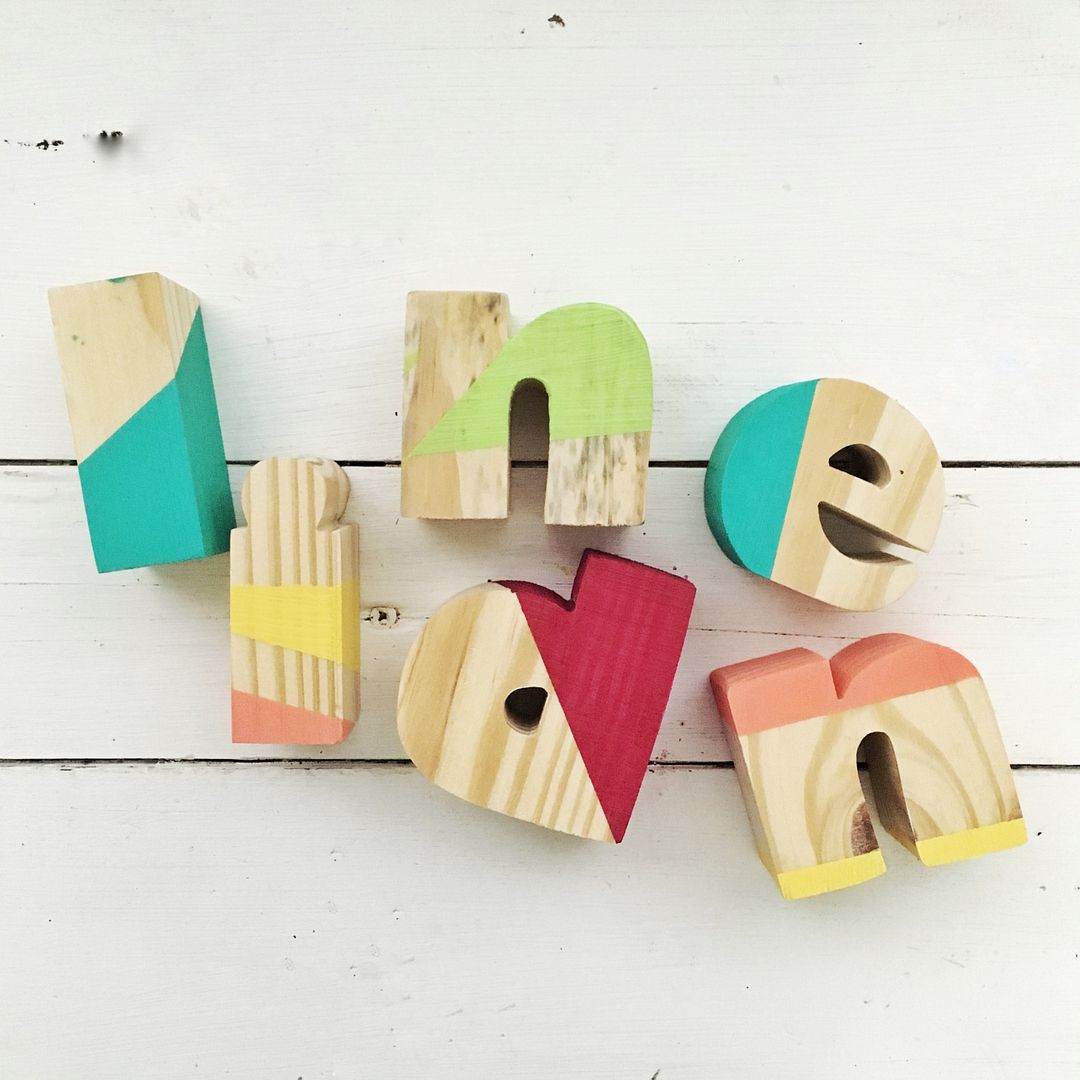
I am so smitten with these alphabet letter blocks. They're magnetic, too! I picked these up the other day at Michaels and Linden and I have been playing with them ever since. Originally when I bought them I was pretty sure I didn't want to alter them in any way. I loved the unfinished wood look and color. But of course the whole point of Michaels Makers is to, well, make stuff... so once Linden was done playing with them long enough I scooped them up, threw down some washi tape, and added some color! Once I started thinking of colors I really got into the idea of adding some fun patterns, but after I took off the tape I just loved how they looked so much. The colors totally have be desperate for spring. Anyone else?

I feel like a set of these would be so perfect for a baby shower, birthday gift, or just a random "happy" (as my mother in law Terri calls it!) Michaels just came out with a HUGE assortment of monogram letters in literally every material you can imagine. This line is called Make Market, and it is awesome! I bought Toby some large letters for his room, and we're working on finishing up his space to share soon! I bought a few things for myself and for friends, too. Like some darling monogram jewelry dishes! And (faux) moss letters! I just want to MAKE ALL THE THINGS! The best part about these wooden magnetic letters is that they were under $2.50 each! It's a really inexpensive way to do something fun. I didn't really realize Linden would enjoy playing with them as much as he has. I planned on just putting them up on one of his shelves as decoration. Guess I better plan something else!

All you need for this is letters, washi tape, and paint! Well, and a paintbrush. (My foam paintbrushes gave me the best and most even coverage. Just FYI!)

PS; The Make Market stuff is currently on major sale on the Michaels website! I'm going to nab a few more pieces for a couple of upcoming projects!

If you want to check out some other fun, personalization projects, see the other 49 Makers' ideas on The Glue String, and check out the projects listed on Michaels.com!


// Springtime in Paris: DIY Decorative Pots


Spring is my favorite! Oh man, when things start turning green again, I get such a rush of motivation, inspiration, and excitement. I truly feel like I'm hitting refresh once the weather starts to break. Forget New Years! Give me Spring!

Since it's still incredibly gloomy and wet around Tennessee, I thought I should start infusing a little greenery around our house to get me pumped for the upcoming season. The challenge for the Michaels Makers this month was "Springtime in Paris" so it was the perfect opportunity to take a few of my favorite colors and add ALL THE PLANTS! I actually did about four different projects for this challenge, but in the end simplicity won out. The little pops of green around my workspace bring me too much joy to ignore.
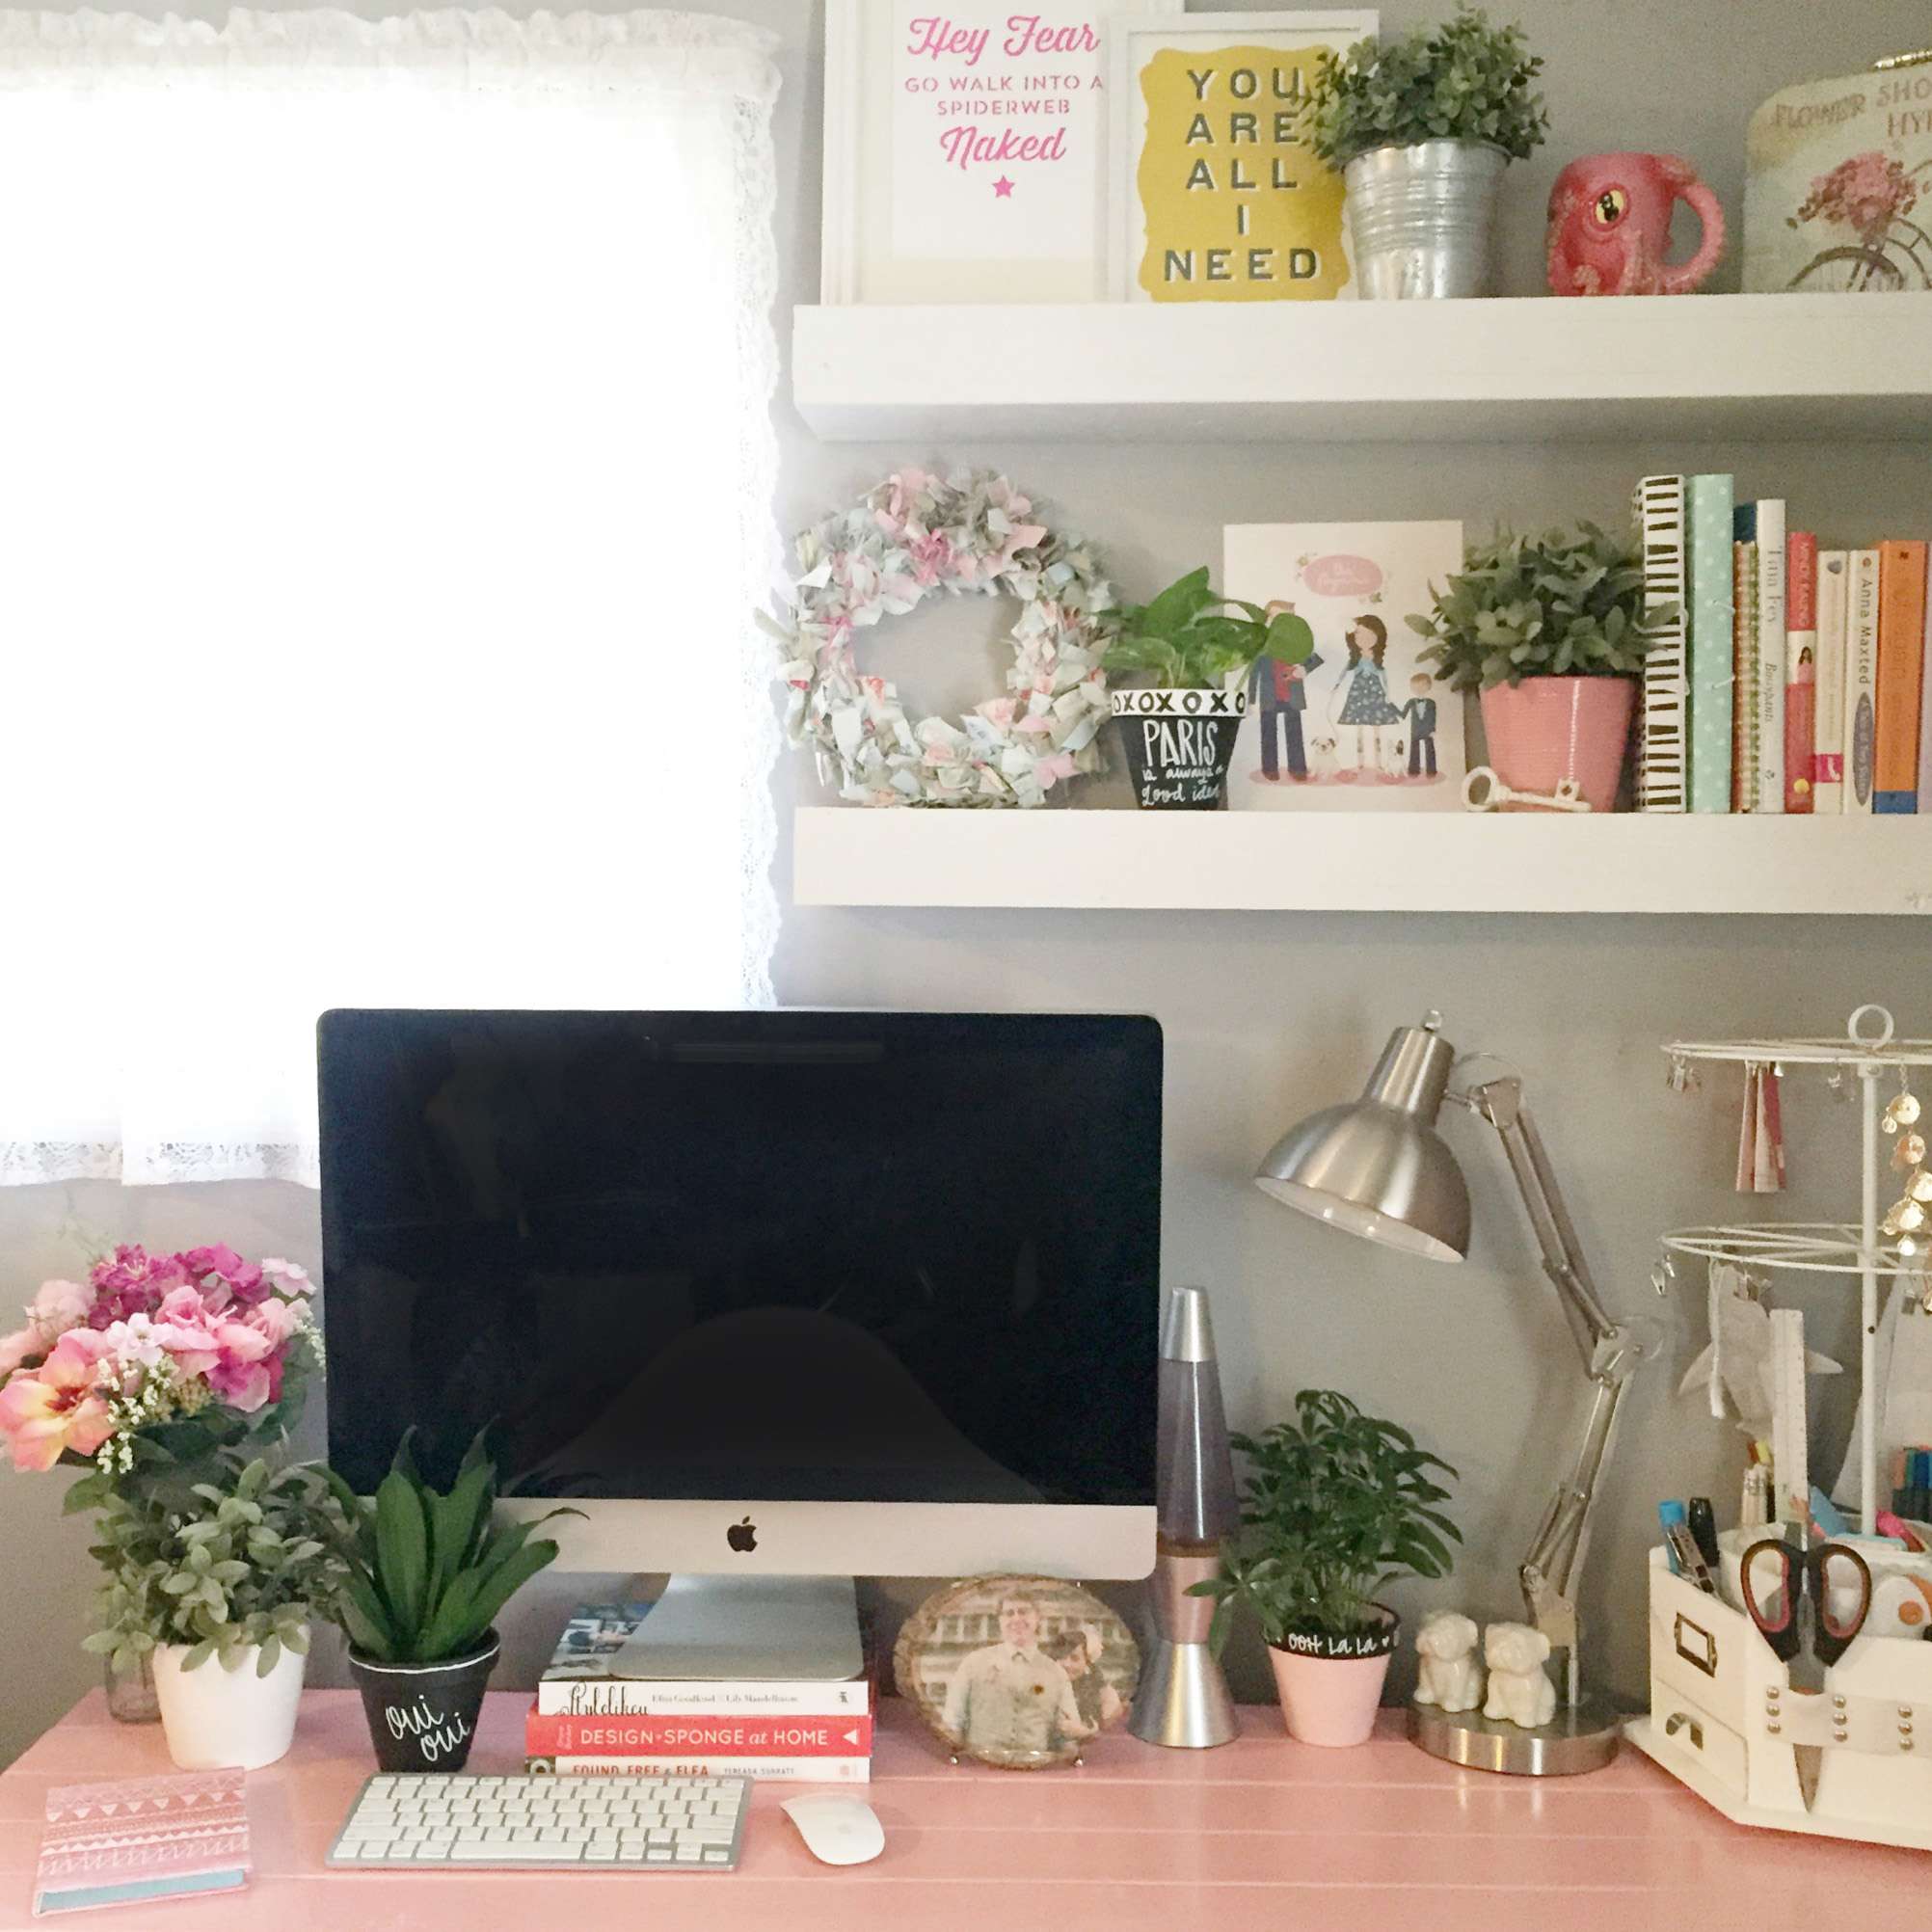
What I did was incredibly easy and relatively quick. I just spray painted a few terra cotta pots that I picked up at Michaels and then I painted on some French phrases and doodles. The black chalkboard is a stark contrast to the white and pastel pink, but I feel like Parisian women are always so chic and decked out in black, so I went with it. Plus I love how matte it is next to the lighter two. If pink isn't your cup of tea, or you share your space with a less than pastel-compliant partner, you could totally do white, black, and red! These hues fit my workspace so perfectly though, so pink it (always) is! It reminds me of the cherry blossoms and floral stands on every corner. So dreamy!

Now for the more exciting (!!!) portion of this post: a super fun contest announcement! Michaels is giving one lucky winner (plus a guest) a trip of a lifetime! I'm talking a four-night trip for two to Paris, 1,000 euros, a VIP tour of the Louvre (!), and private classes including sketching, floral arranging, baking, and more! (Please don't enter... Like, none of you. Just forget I mentioned it. Because I'm entering and I really want to win! HA! Just kidding, but not really!) Okay, well, if you insist on tossing your hat into the ring, here's what you gotta do: Create your own Parisian-inspired art, floral, baking, or paper crafting project and upload a photo of it to Paris.Michaels.com now through March 31st. You can also share your project on social media using the hashtag #SpringtimeInParis. If you need a little inspiration to get the wheels turning in your head, check out a few of these project on the Springtime in Paris page at Michaels.com, or click through to any of the Michaels Makers posts below! (But really, no need to enter... ;P)

// Four Tips To Maximize Productivity + Creativity


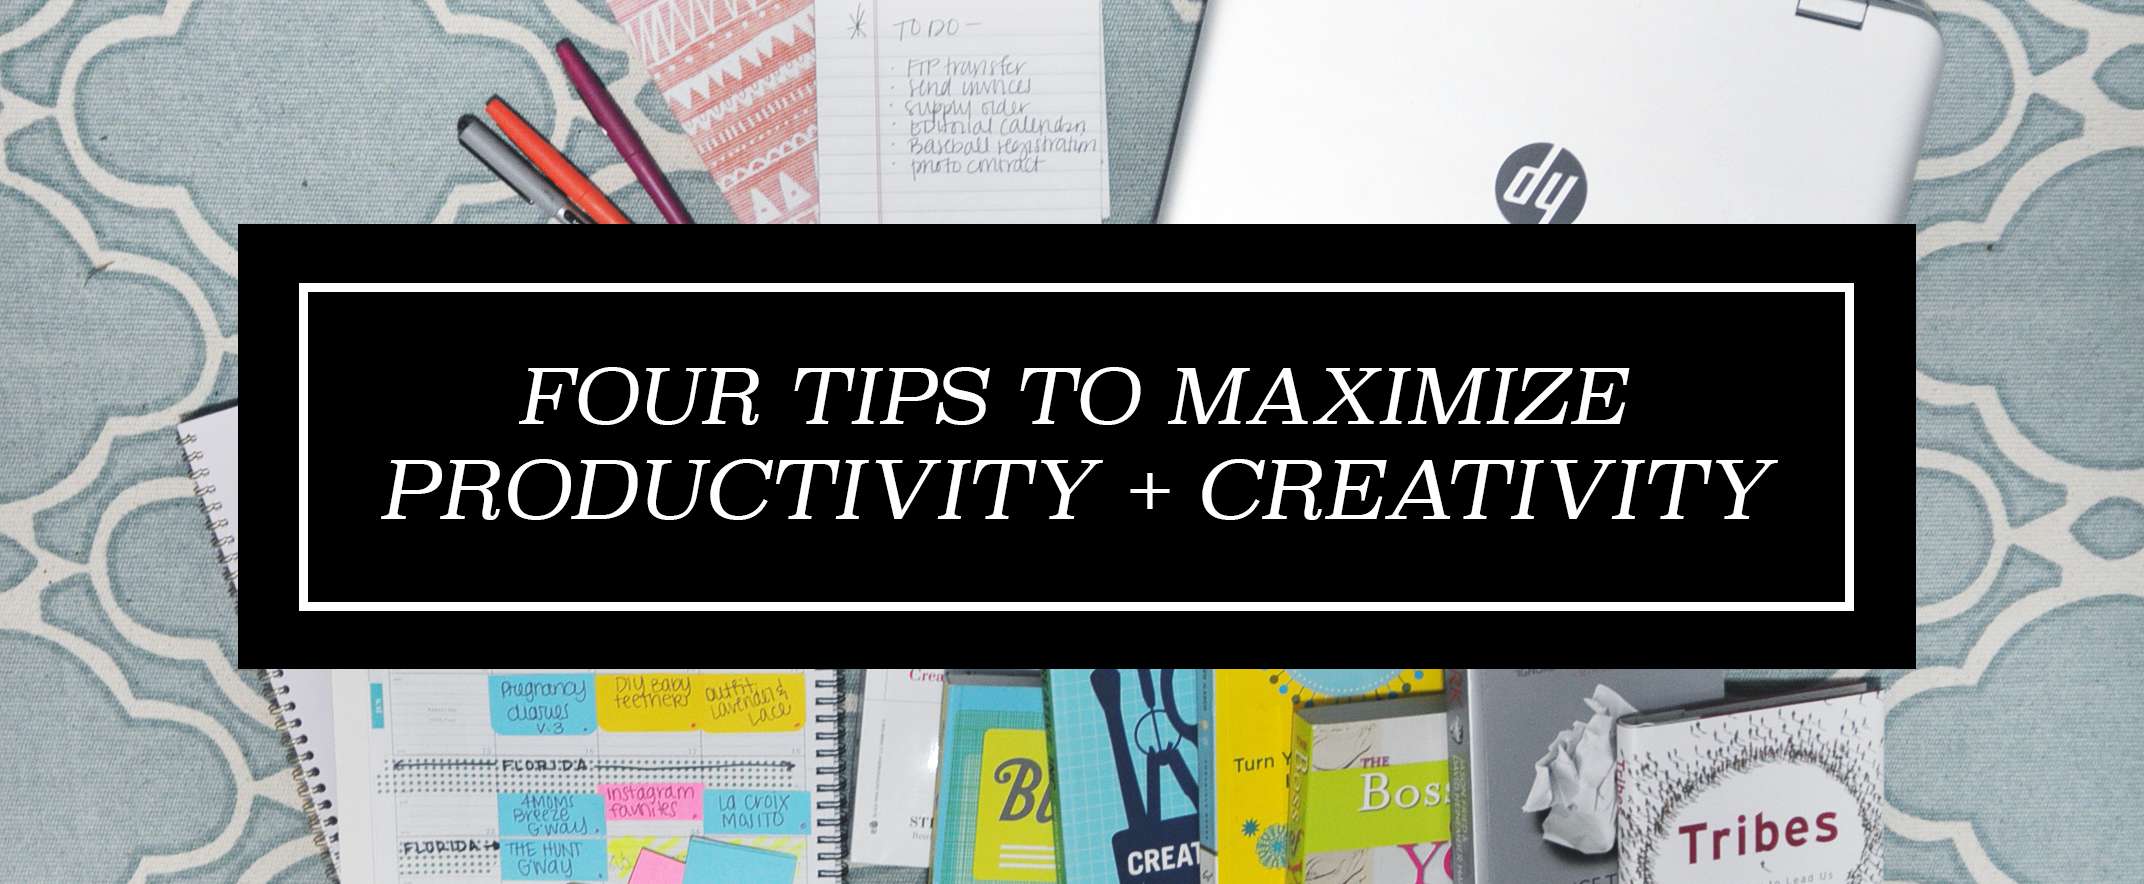
I love being productive. Who doesn't, right? But with two kids, it can sometimes be hard. Nevermind trying to be creative. Half of the time I'm just too zonked to feel creative, and the other half of the time I'm just too busy to execute the ideas I come up with. Things have gotten a lot better since I started implementing a handful of these tactics, and I thought I'd share them with you today! This post is in partnership with HP's new x360 tablet and computer system, and their upcoming "That Bass" tour with Meghan Trainor (!!!). Peep the details below!

CREATE AN EDITORIAL CALENDAR

If you're a blogger or utilize social media for your business, an editorial calendar is key! I started using one in 2011 or 2012, and I spend a good portion of time carving out my blog's plan one month at a time. I blogged about my system once before, and it's relatively the same still, but I've found new ways to make it work for me. There's really no skill required. Just plan out your blog or social media posts in advance to ensure that you have quality coverage throughout the month. I really love my method because it allows me to move things around (even to another month!) and go with the flow. You can create an editorial calendar on your computer, Google Calendar, or in a planner like I have. I love being able to write things out and see them in a three dimensional form, so the planner really works for me. If you'd like to see more about how I plan my editorial calendar, let me know and I'll whip up a post!

READ, READ, and READ SOME MORE!

There are endless resources out there for maximizing productivity and creativity. From books to blogs to podcasts (Okay, I guess you listen to that one...), there are so many tips and tricks just waiting to be discovered. I am a huge fan of business books. I can devour half a dozen of them in a month because I get so pumped when I read them. Whether they talk about being a work at home mom, a creative, or just discuss ways to find likeminded people, I am all about it. I feel like we should never stop learning, and thankfully these books and blogs make that so easy. A few of my favorite business-minded books include: The Boss of You, Turning Pro, Craft Inc., Creative, Inc., Blog Inc., Mom Inc., Tribes, and ReWork.

CREATE A "LITTLE BOOK OF IDEAS"

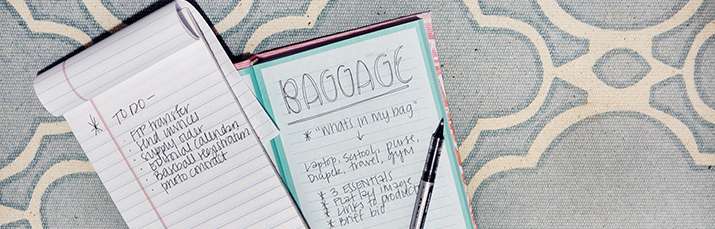
I've written about my "Little Book of Ideas" hundreds of times on this blog. If you've read for any length of time, you've probably seen me reference it before. Just like my editorial calendar, it's nothing special. Just a notebook that I keep in my purse and use to jot down any ideas that I have. I doodle thumbnails for designs, hash out blog features, and keep a running list of topics I'd like to write about. If I'm feeling especially stuck and can't come up with something for the blog, I can pull out my book and see pull out a topic just like that! I also write a lot of lists! I love having an app for that (more on that next), but when it comes to a general "to do" list for the day, a handwritten list is the way to go for me. I love the act of marking them out once finished. There's something so gratifying about that. I usually keep my to do list on a little legal pad and then toss them into my book of ideas if they're on-going. 

Utilize Apps to help keep you on track

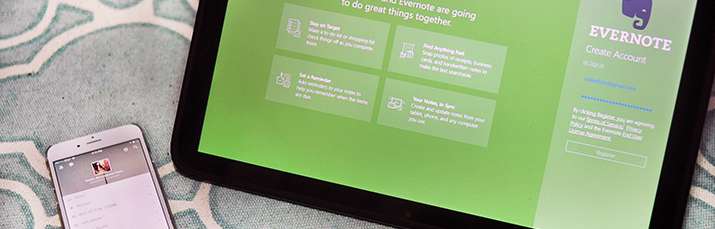
If you're more of a digital maven, maybe apps are more your speed. While I love me some handwritten lists, sometimes apps just can't be beat. Mike and I share several "list boards" on Wunderlist together and they make grocery shopping a breeze! Sure, grocery shopping may not be "creative" but it sure is productive. If either one of us notice that we're running low on something, we just pop it on the list and it updates across both of our phones and any other device Wunderlist is installed on. Same goes for Evernote. I love that I can "snip" pieces of webpages to save into Wunderlist, and then I can access them from any device.

♥ ♥ ♥ ♥ ♥ ♥ ♥ ♥ ♥ ♥ ♥ ♥ ♥ ♥ ♥ ♥ ♥ ♥ ♥ ♥ ♥ 

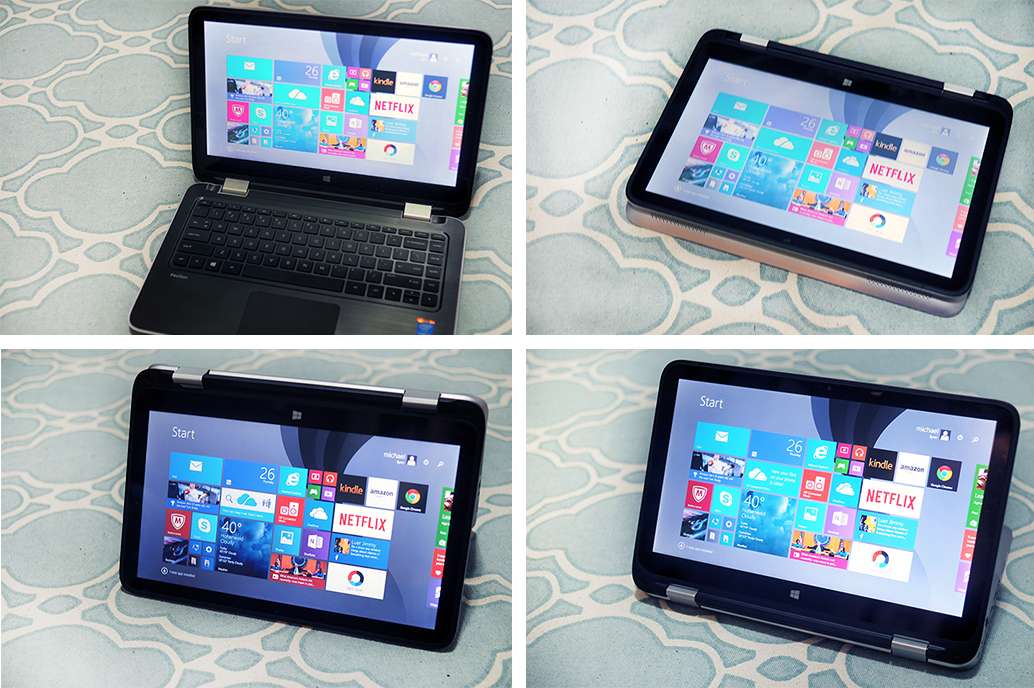
These four tips were inspired by the 4 modes of the new HP x360 tablet and their new #BendTheRules campaign. They include laptop, tablet, tent and stand modes (clockwise from top left)! Mike sort of took over the tablet as soon as it arrived and he (unofficially) made it his own. He's been glued to the Kindle and NPR apps, so stealing it away from him is easier said than done haha It's been super handy (when he's out of the house) though, because I've used it in tent mode to stream YouTube instructional videos on so many things lately! Namely how to set up my new serger that I got for Christmas haha! 

I'm also supposed to tell y'all about the new Meghan Trainor tour that's taking place right now (!!!) across the country. HP is sponsoring her "That Bass" tour and it's sure to be a fun time for all. Linden loves her song "Dear Future Husband" and it's our post-afternoon-nap tradition to dance around in the kitchen to that song and he just laughs and laughs and laughs. 


Do you have any tips you'd like to share on how to maximize productivity? I'm all ears! I need it now more than ever! haha Hopefully some of these tips will help you make the most of your time and talent! xoxo

// DIY (No Sew!) Burlap + Denim Throw Pillows


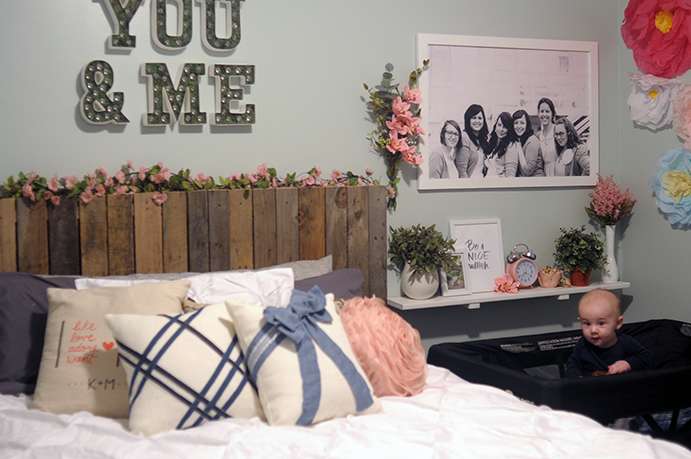
You know how in movies there is always that couple with the insane amount of throw pillows on their bed? They spent an insane amount of time taking them off, putting them away, and then arranging them back in place the next morning... and it all seems so ridiculous and unnecessary. We are that couple. Or I should say I am that "couple" haha! Mike couldn't care one way or the other if we had throw pillows, but me? I'm a little bit into them. I used to think throw pillows were so stupid and such a waste of space and money... now I like to change them out every season. February's Michaels Makers challenge was simply "denim," but I was surprisingly stumped. I had no idea how to incorporate denim into my home or crafts because it's typically not my go-to fabric. After Mike and I strolled around Michaels for a good bit of time, I found these burlap pillows. I thought about the denim ribbon I had seen and then lightbulb! I could make my own fun throw pillows!


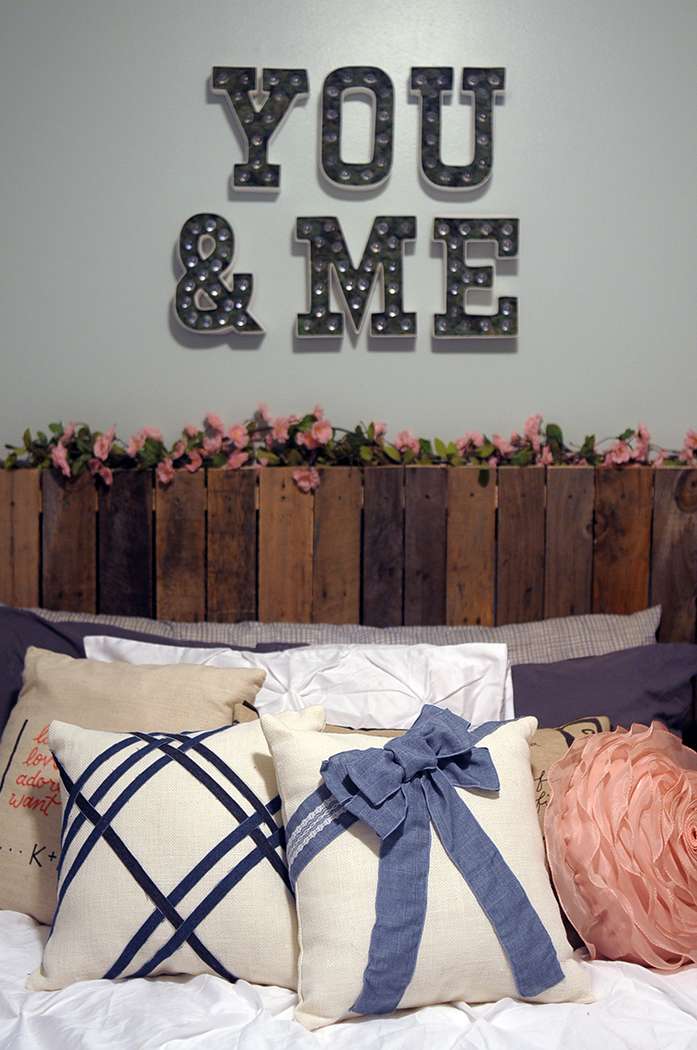
Our bedroom is already a hodgepodge of textures and neutral colors, so I thought adding in a couple more pillows couldn't hurt. I realize we now have a lot of throw pillows so we'll probably put a couple away, but for this post they're all up there (with the exception of the one Mike made me for our 2nd wedding anniversary). 

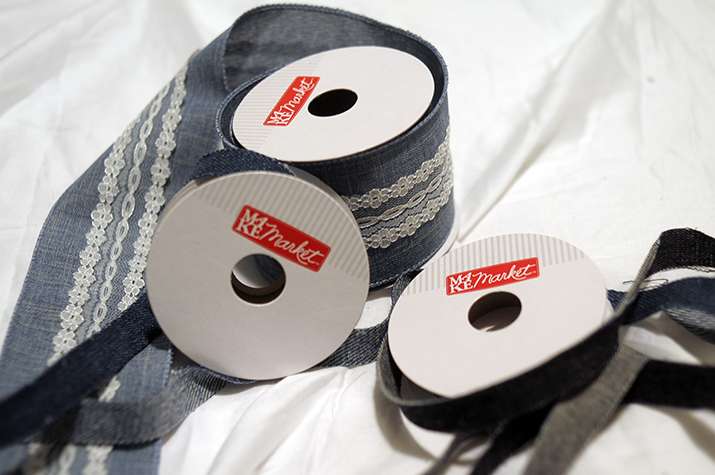
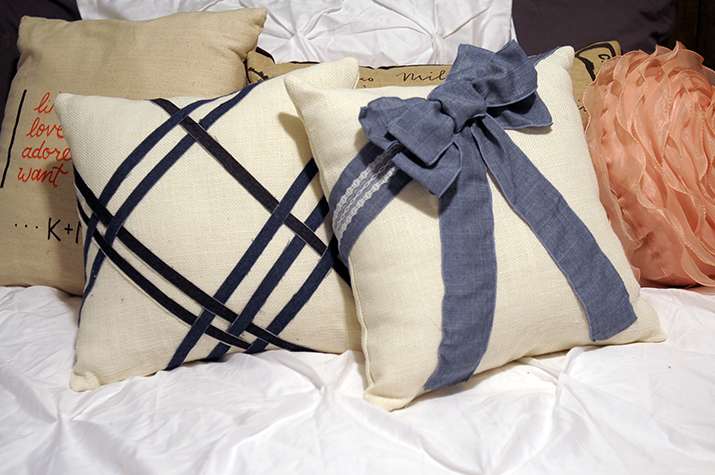
When I decided to do the pillows, I thought I'd do one more "masculine" and one more "feminine," that way there was a bit of balance on the bed. (Ha! Balance! Because all of the pink and florals and ruffles can be balanced...) When I found the big denim bow in the Make Market section, I immediately threw it in my buggy and was determined to find a way to use it. Even if I didn't use it for this project, I wanted to use it somewhere. It was too cute to deny. I also found the thicker denim ribbon with the lace overlay and that's when I put the two together to create a pillow. I picked up two different colors of thinner denim ribbon and thought a waffle weave pattern would be cute to try. Mike ended up deciding on the asymmetrical look of it and I like how they contrast each other but are both made on the diagonal. (Word to the wise: If you decide to use the thinner ribbon like this, grab some fray check! I didn't have any on hand and boy oh boy, it shed like crazy!)


You can use a variety of supplies to adhere the denim to the pillows. A couple of options include hot glue (I did this as a test, and it worked well enough, but obviously wouldn't hold up to washing. To be honest I'm not sure if anything would?) and hem tape (my preferred choice). Of course you could also go the traditional route by sewing the pieces down. The burlap covers have a small zipper on the bottom so you can slide the pillow form out, but I couldn't manage to navigate the covers on my sewing machine without having to cut up the sides. If you wanted to hand sew a line or just tack them down in various places, that could really make it last. Now that I have them both done, I'll likely go back and tack down the edges here and there because I really do love how they look. I could've just done that from the beginning, but I guess I like to take the scenic route haha

Despite struggling with the theme of the challenge in the beginning, I'm really happy with the end result. I had no intention on creating pillows from the start, but I'm glad it lead me in that direction! If you pop into your local Michaels you'll see the new Make Market line which is full of denim, chalkboard, burlap, cork, and galvanized items and I seriously want all of it! I'm going to drop in Saturday to pick up a few more pieces and I'm definitely planning on stocking up on some goodies.

Happy Monday! xo

// DIY "Get Cozy" Gift Basket


Gift baskets are one of my absolute favorite things to give people as gifts. You can make a gift basket out of anything and with any theme. I love that! It's a great way to squeeze in a lot of special little treats for a variety of people, too. For the Michaels Makers December challenge, we were tasked with coming up with a DIY gift and showing how we'd wrap it. Well, my basket isn't really "wrapped" but I like to think that it's more about the presentation than actual wrapping.

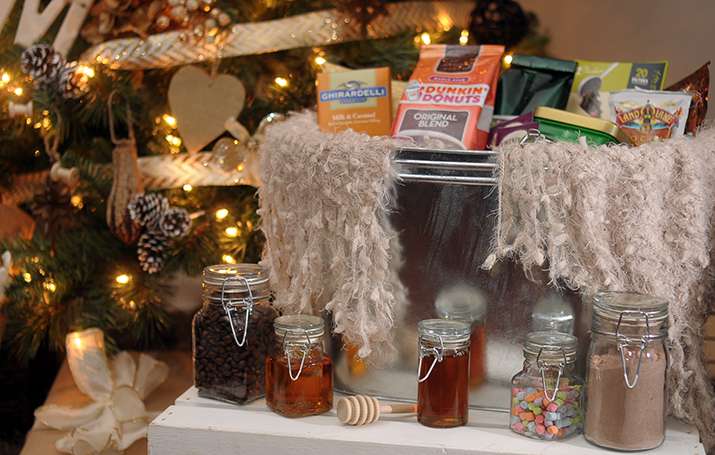
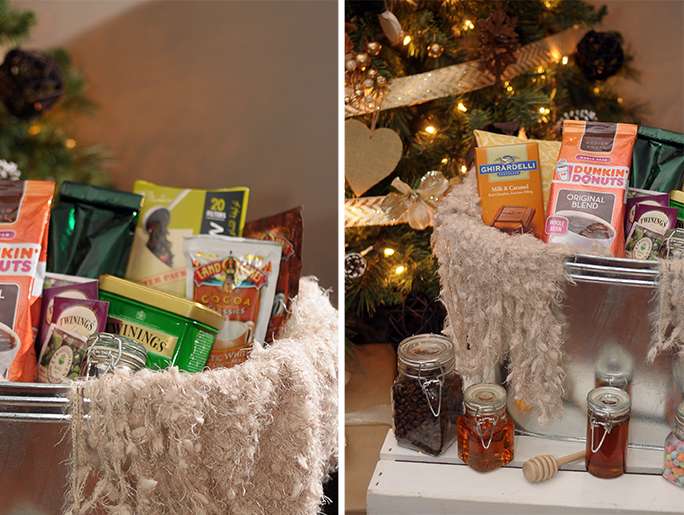
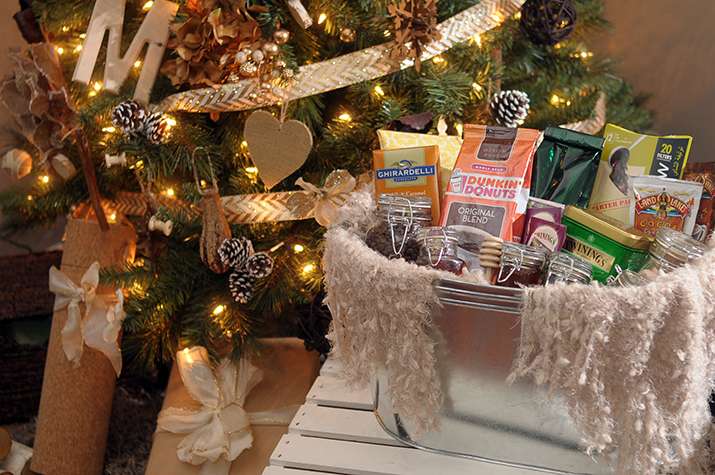
This is my "Get Cozy" Christmas basket! It's overflowing with hot beverages to suit any taste. Coffees, teas, and cocoas, too! Since there are a lot of family "clusters" at our Christmases, this is the perfect solution for gifting something for everyone, without spending a fortune and without needing to get too specific. 

I included a bevy of goodies in this basket. Everything from whole bean coffee, chocolate covered espresso beans, tea (loose leaf, sachets, bags), a few different hot cocoa mixes, some fun neon cocoa marshmallows, local honey, and DIY coffee syrup (caramel!) The coffee syrup is great becasue you can get so many servings out of one little batch. I tossed in a fun tea towel, box of caramel chocolates, and some tea bags for the loose leaf tea, also. The basket itself is a galvanized tin from Michaels and I just added some floral foam to fill it out a bit before adding a cozy blanket. I used a variety of glass jars from Michaels to hold some of the goodies in the box. (These remained water-tight for me since they were standing up - If you decide to spend a basket like this in the mail, you might want to try a different type of jar just to ensure they don't leak in transit!)


You can get super creative and add chalkboard labels, or even add a bit of chalkboard paint to the front of the jars to highlight what each item is. I had planned on adding some pie boxes filled with some ooey gooey pie we made for Thanksgiving, but uh... we sort of ate it all haha! 

I definitely plan on giving a bunch of gift baskets again this year. Filled with treats like this, homemade banana bread, DIY/handmade trinkets, etc. There's just something so fun about gift baskets! Giving and receiving them is so awesome. It's like a gift that just keeps on giving, ya know?

-----------------------------------------------

If you're still mulling over what to give your loved ones this year, check out the holiday gift guide from Michaels. If you didn't catch our dream tree reveal or tree decorating tips, be sure to check those out, too! And finally, if you're in the crafty mood and want to give the gift of a homemade trinket, check out the DIY gift projects on the Michaels Pinterest page! My fellow Michaels Makers are sharing their own DIY gifts and wrappings below, too. Inspiration overload!

Are you a gift basket type of person? What type/theme basket would be your ultimate favorite to receive? I might need to share a few more of the ones I end up making! xo