Showing posts with label howto. Show all posts

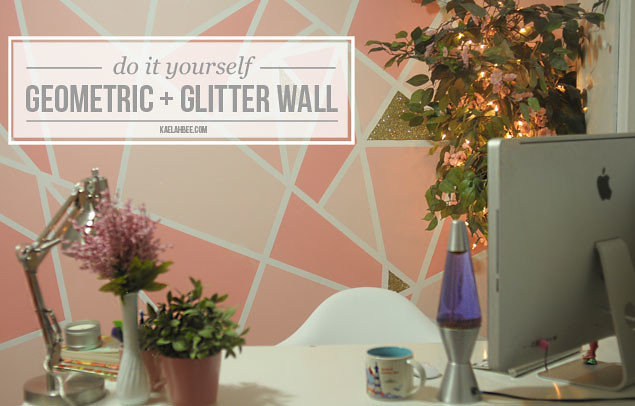
// DIY Geometric Paint + Glitter Wall

Kaelah Bee : Office Makeover - Geometric Glitter Wall DIY
Okay! I'm so stoked on how excited y'all were about our geometric glitter wall! Seriously I've been dying to share this project since we did it and it's so easy! I think everyone should have a glitter wall in their house but I'm obviously super biased so whatever. Let's talk about a few things first, yeah?

Before you dive head first into adhering glitter to your walls, ask yourself these questions:
  1. Are you the type of person who will go bonkers if you have glitter stuck to you after 3 days/showers?
  2. Does the thought of finding more glitter in your bra than on the wall freak you out?
  3. Does the room you want the glitter wall in have carpet?

If you answered yes to any of those questions, you might be best just sticking to the geometric flat paint or opting for a glitter paint (Martha Stewart has one!). You can get around #3 by laying down a slick dropcloth (don't do a canvas/fabric one!) but seriously, don't blame me if you're stuck with glitter in your carpet forever! That's my disclaimer! Real glitter ends up looking so much better than a glitter paint in my opinion.

But really, you will find glitter everywhere. In your bra. In your hair. On your eyelids. And quite possibly your underwear. I don't know how it got there either. Maybe wear a turtleneck if it gives you the heebie jeebies. Picking tiny pieces of glitter off of yourself for a week is so worth it! I promise.

Okay... now the part you've been waiting for! Let's get geometric!
Office Makeover DIY Geometric Glitter Wall - KaelahBee.com
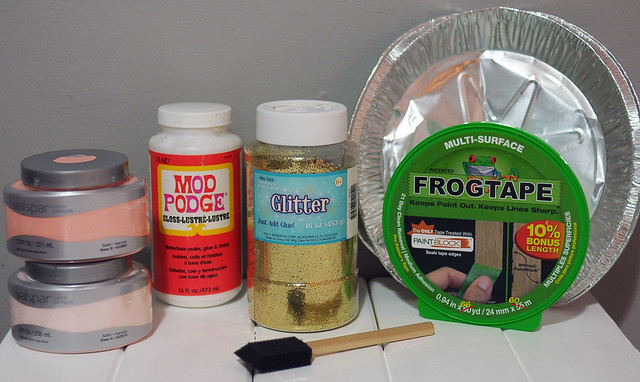
I was totally serious when I said this wall cost us around $15. Granted we had the glitter and ModPodge already, but it doesn't take much at all. We painted an 8x11' wall and had plenty of paint leftover afterward. We picked a Valspar paint swatch with 3 colors on it and just had the lady at Lowes mix up a sample size ($3!) of each color. We knew these shades would work well together since they came from the same swatch card. (Our colors are: Baby Blush, Peach Whisper, and Peach Punch)

SUPPLIES:
Satin finish paint in the colors of your choosing (we used 3 colors + a metallic spray paint)
ModPodge (Gloss)
Glitter
Foam brush
Aluminum pie plate (or paper plate)
Frogtape (we used .94")

INSTRUCTIONS:
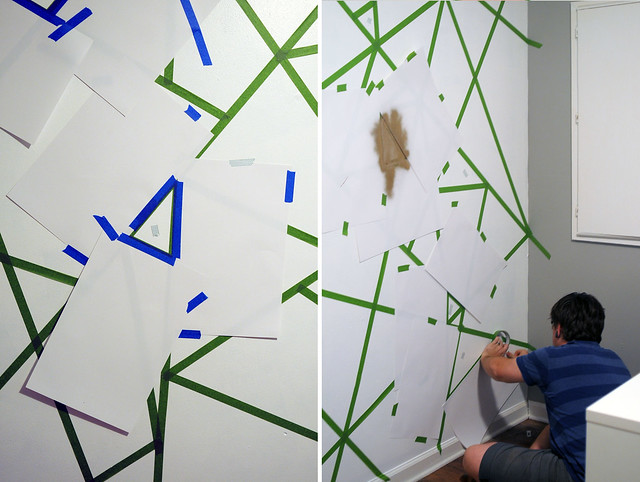
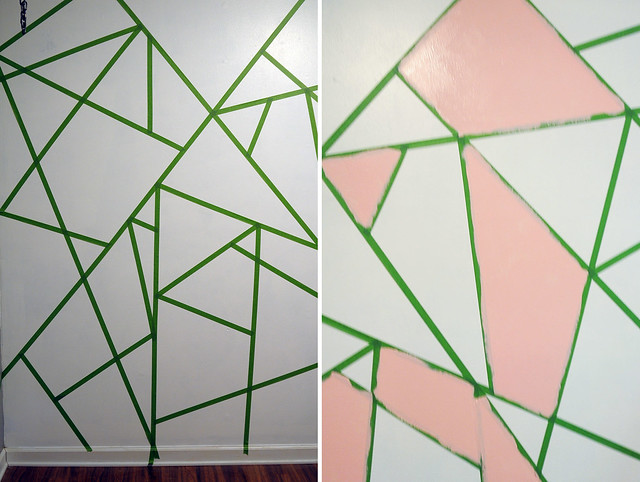
Get crazy with your Frogtape! Whatever shapes and lines you want, slap that sticky stuff on! We had no rhyme or reason to our design, but we started with larger diagonal lines and then just built off of them. To be honest it's sort of a blind project where you have no idea how it'll turn out until it's done. We were skeptical, too, but now we are believers!

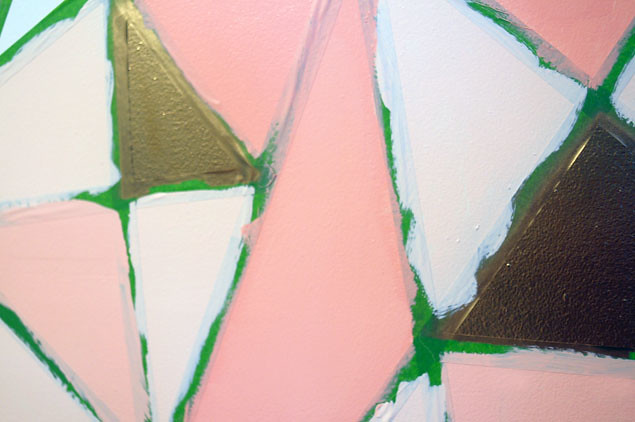
Once you've laid your Frogtape down, decide what color will be your "median" color and paint those first. We painted our medium pink to start, then we painted the lighter and darker shade at the same time. We just eyeballed what we thought would look good and went for it. You can always fill "holes" with the median color, too. You'll start to see how it all works together once you get 2/3 of your wall painted.

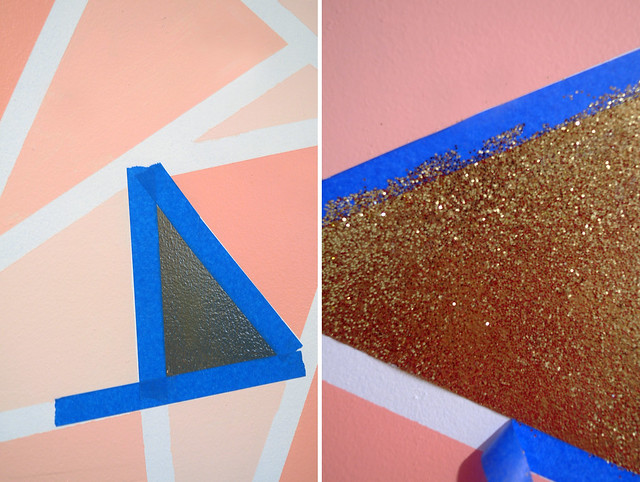
Our photos are a little out of order considering we opted to do gold spray paint on a few shapes first. The metallic paint fell a little flat for us so that's where the glitter came in. If you want to do the spray paint, just be sure to cover up the shapes around it with paper first. The smell of spray paint in your home should be enough to make you not want to do it, but hey, it's a lesson learned! All ideas can't be good ideas, right?

Be sure to pull off the Frogtape about 10-15 minutes after you finish the last color. This way the paint is still a little pliable if you need to fix it a bit. The Frogtape did a good job for us but there were a few small spots we needed to touch up afterward.

Let your paint dry for several hours before attempting the glitter portion. It gets messy and you don't want the glitter falling into the other colors.

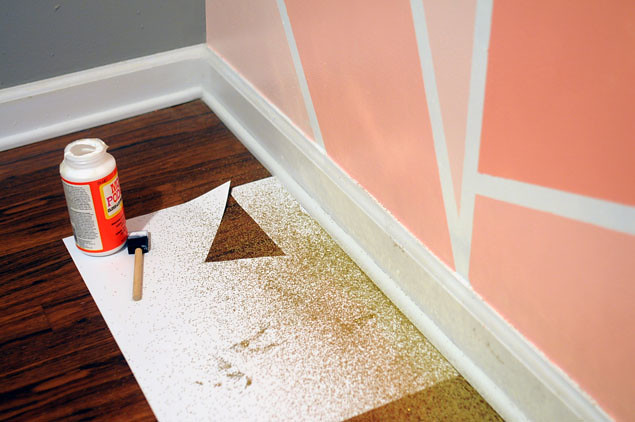
NOW! THE GLITTER! (Sweep your floor if you have hardwood! This way you can just sweep up the glitter and reuse it if needed) Grab some more Frogtape and tape around the shapes you want glittered. It worked out well for us because our base was also gold so it didn't matter if the coverage wasn't even. If you can, I recommend matching the base paint and glitter, but it's not the end of the world if you don't! Now, dip your foam brush in the ModPodge and give your wall shape a good coating of it. Not super thin, but also not so thick that it's runny. As soon as you do the ModPodge on one shape, dump some glitter in your pie plate and fold it up a little bit. (You don't have to fold it like I did, but I noticed it made a huge difference in the coverage on the wall!) Start at the bottom of your shape and blow the glitter onto the wall, moving side to side and upwards. You'll have to do it a couple of times for each shape, but don't worry, it's amazing how much it'll cover! Repeat as necessary on the amount of shapes you want and voila! Remove the Frogtape and you have you a fancy, sparkly, glittered wall!
Office Makeover DIY Geometric Glitter Wall - Kaelah Bee
Kaelah Bee : Office Makeover - Geometric Glitter Wall DIY
Hopefully that was easy enough to follow! I know many of you expressed your excitement at making a geometric glitter wall of your own. I've read so many awesome color palette ideas! I think the mint ombre + silver might be my favorite! (Well, second to my own of course haha!) Mike and I said that if we ever have a little boy we're totally going to do this with a grey wall. (And if we have a girl then voila! We've already got part of the nursery done! Dreaming way ahead there...!) Let me know if you end up giving it a go. I'd love to see some shots of your own walls! Good luck! xo

// DIY Wooden Multi-Purpose Box (Picnics! Tools! Crafts!)

DIY Wooden Tool Box (Full + Mini) - Kaelah Bee
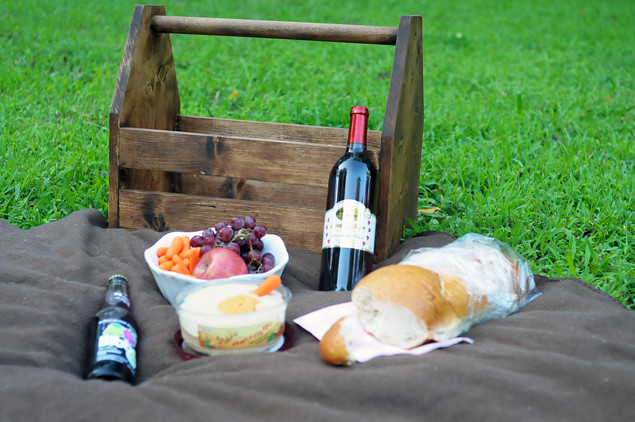
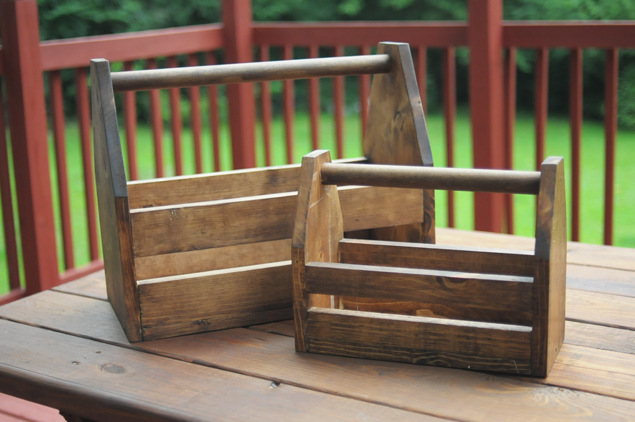
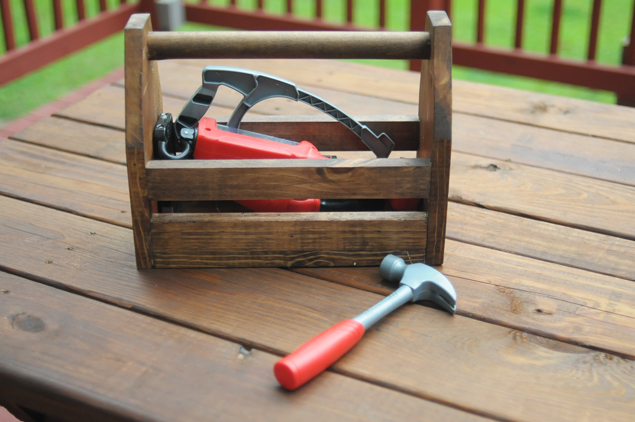
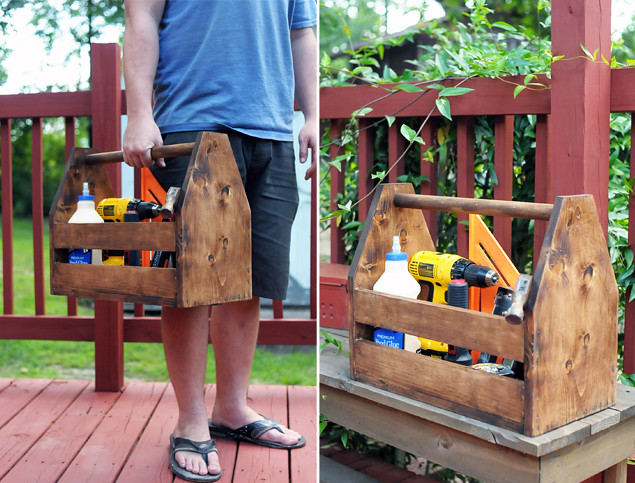
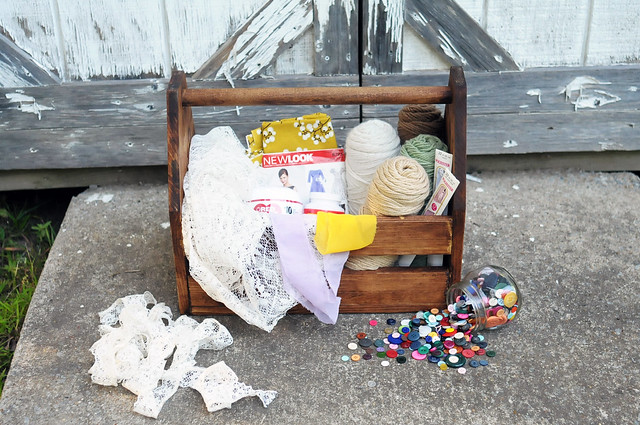
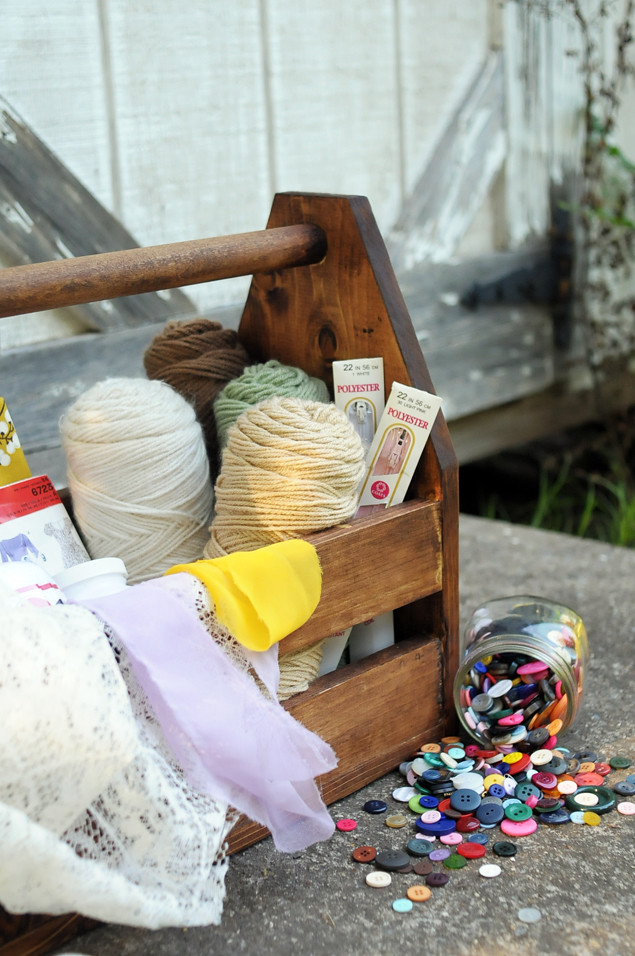
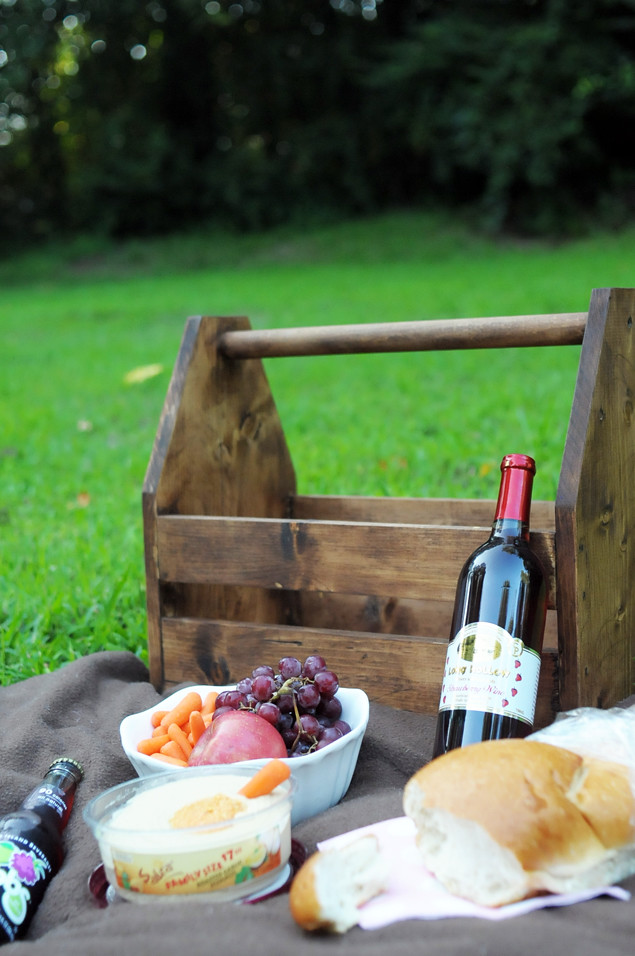
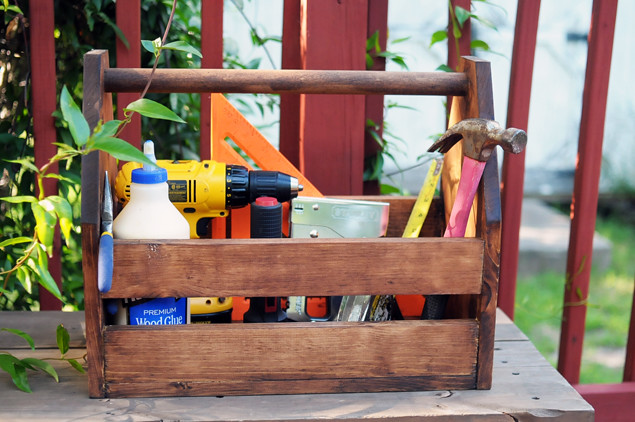
Mike has been wanting to build himself a handy little wooden toolbox for some time now, but we finally got around to it a few weeks ago. The best part? The only thing we had to buy for this project was the dowel rod! We had a lot of scrap wood as usual, so we were able to cut all of the pieces out of our overstock. When we realized how easy it was to make one of these little guys, Mike popped outside for about 5 minutes and then came back in with one for Toby, too! Aren't they so cute when placed side by side? If a toolbox isn't your cup of tea, don't worry! You can also use this wooden box for: craft storage and transport, picnics, craft shows, book or vinyl storage, etc. There are so many options for what this little box can do. Aside from the staining the finished piece, construction should average about 15 or 20 minutes! It's a super fast DIY and you don't need any fancy equipment either.
DIY Wooden Tool Box (Full + Mini) - Kaelah Bee
Material List:
One six foot 1x10
One six foot 1x3
One 48 inch 1 1/8" dowel rod
1 1/4" (1.25") nails
Two 2 1/2" screws
Wood Glue

Cut List:
Two 15" 1x10s
One 17" 1x10
Four 17" 1x3s
One 17" dowel rod
DIY Wooden Tool Box (Full + Mini) - Kaelah Bee
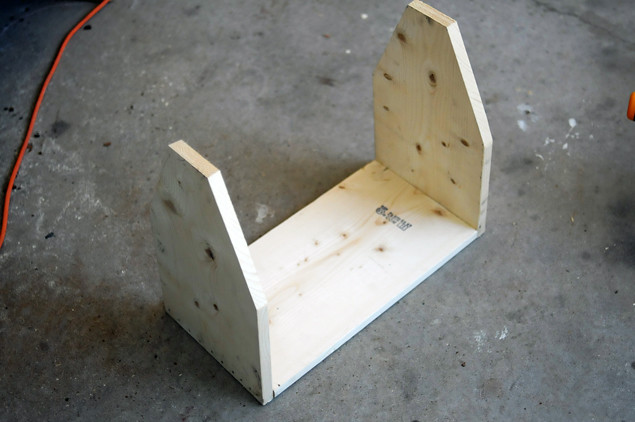
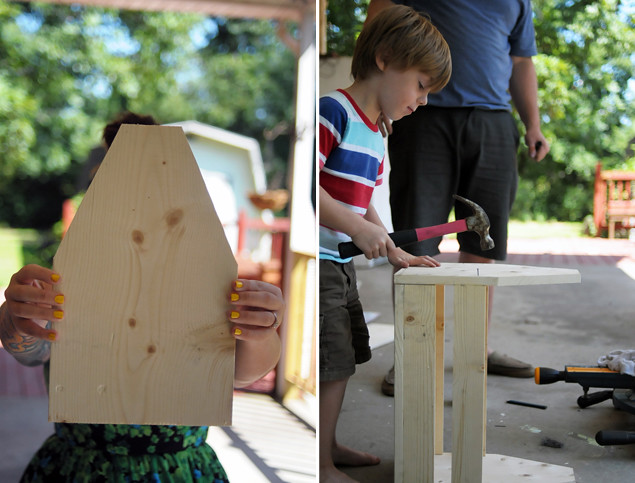
ONE: After you have all of the pieces cut, the first thing you need to do is shape your two end pieces. Take one of your 15" 1x10s and start marking off for your cuts. For our design we decided we wanted a 3" top. We also decided, based on how we wanted our side slats to be spaced, that the cut would start 8" from the bottom. 

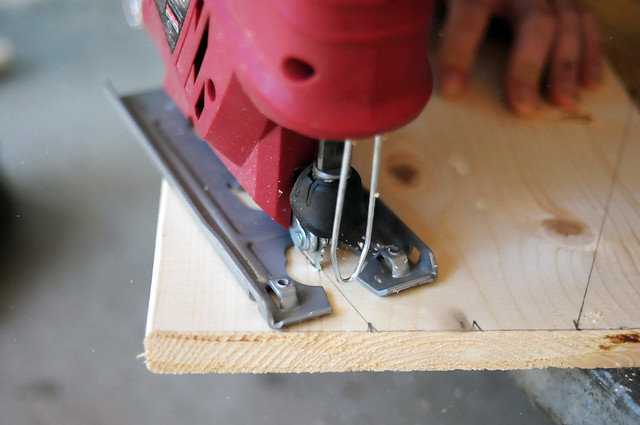
For the top you will find the center of your board and put a mark 1 1/2" (1.5") out on each side. Now you should have a mark on each side 8" from the bottom and two marks for your 3" top. Take a straight edge and draw a line between those marks on each side. Now cut both sides. I used a jig saw, but you could just as easily use a circular saw or even a hand saw if thats all you have. 
DIY Wooden Tool Box (Full + Mini) - Kaelah Bee
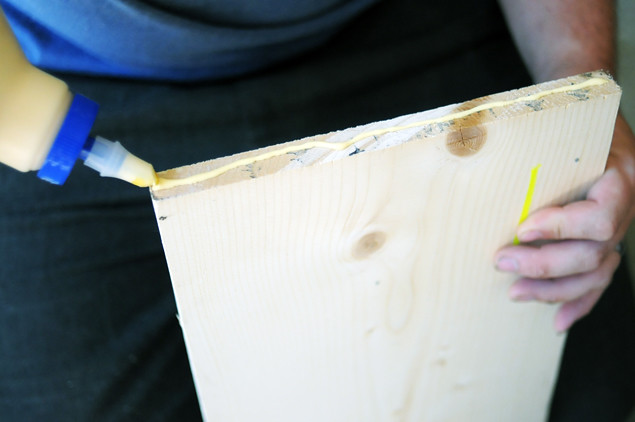
TWO: For each of your joints you'll want to use a little wood glue, so just run a small bead like this before you nail it in place. Make sure to wipe off excess glue that seeps out because it will not accept stain later on. (A good rule of thumb for this project is to put wood glue on every board that touches another board. You'll then nail those meetings in place.)

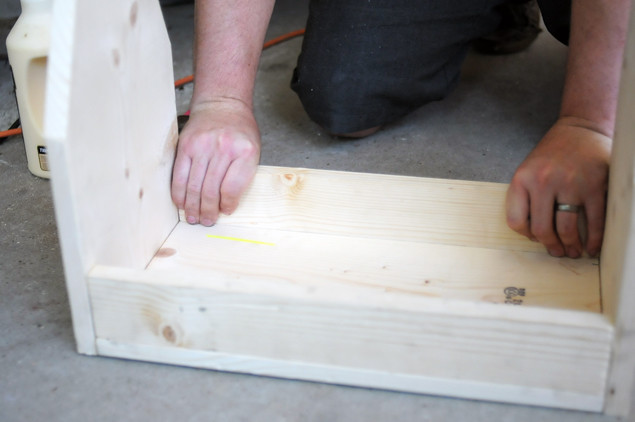
THREE: Start by nailing your two side pieces to your bottom piece (17" 1x10)
DIY Wooden Tool Box - Kaelah Bee
FOUR: Next put in your first row of side slats (17" 1x3). Nail them in from both the sides and the bottom. 

FIVE: For the next row of slats we decided we wanted the bottom of the top slat to be placed 1 1/2" (1.5") above the top of the bottom slat. So place a mark on each side, line up your board and nail it in place. It helps to get your nail started then line up your board and drive it the rest of the way in. 
DIY Wooden Tool Box (Full + Mini) - Kaelah Bee
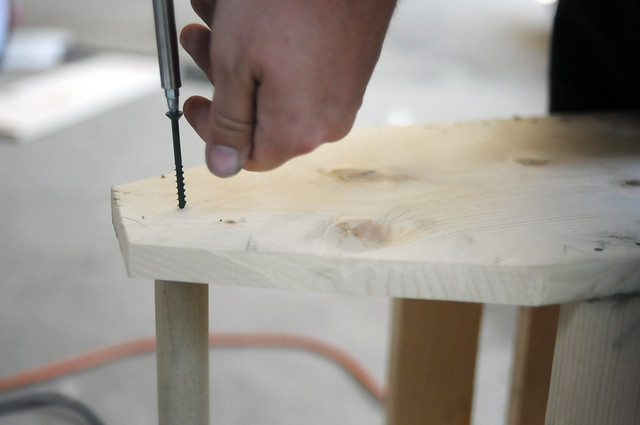
SIX: Now it's time to attach the handle. We wanted to use a couple of screws on the handle since thats what will be holding up all the weight. We put the top of the handle 1" down from the top. Just make a mark 1" down centered from the top of each side so that you can line up your handle while you screw it in place.
DIY Wooden Tool Box (Full + Mini) - Kaelah Bee
Now you have a (basically) finished tool box. 

Wait for your glue to dry and then you can sand everything down to get it ready for stain or paint. We used Minwax stain in Red Oak for ours, but any paint or stain would be fine. 

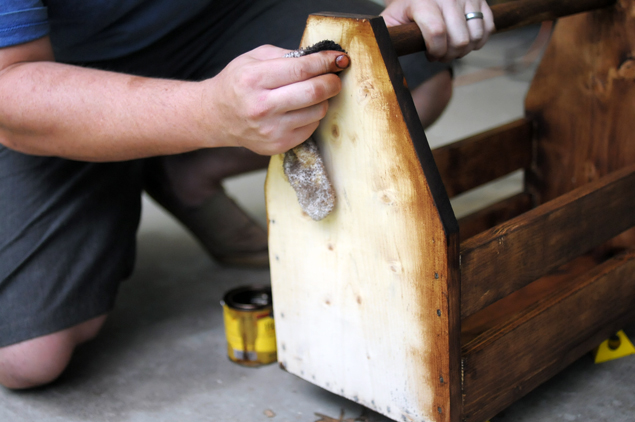
SEVEN: We applied our stain by just wiping it on with an old rag, then we added a finishing wax to shine it up a bit. This is totally optional, but we liked the final result. Now your tool box is ready for any and every occasion! Load it up with your favorite tools, pack it up for a craft night with your girlfriends, or fill it full of yummy bites for a family picnic. You'll be amazed at how handy this little toolbox can be! (You can even finagle it to be a planter or use it for a craft show set up!)
DIY Wooden Tool Box (Full + Mini) - Kaelah Bee
There are so many ways to use this handy little toolbox! I even loaded it up full of pears from our tree in the backyard and took them to some friends I was meeting for dinner. It was a much more stylish way of carrying 10+ pounds of fruit, ya know? I didn't to fiddle with plastic bags or anything like that. Plus I can't get over how adorable Toby's little toolbox is! You can make the sides any size or shape you want as long as the edges where the side slats meet are flat/straight. I'm already dreaming up a few different designs! Maybe I'll make one or two of them and share the finished product on the blog :)

Let me know if you end up making one! I promise you won't be disappointed. xo
// DIY Roadside Lemonade Stand (for only $3!)

Lemonade_Stand_DIY_7
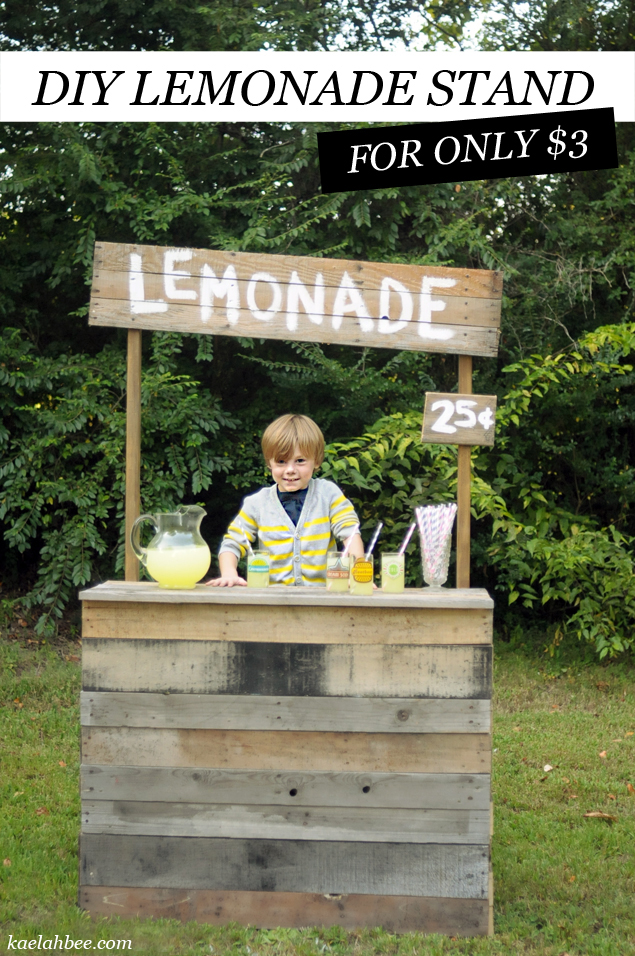
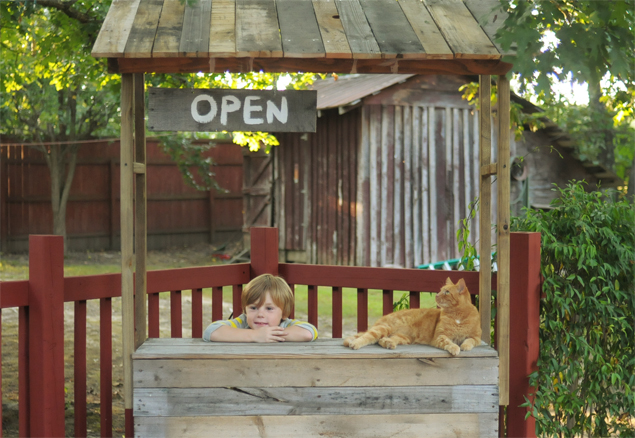
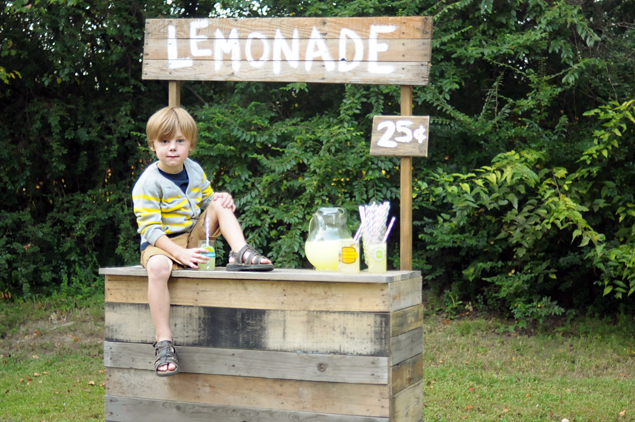
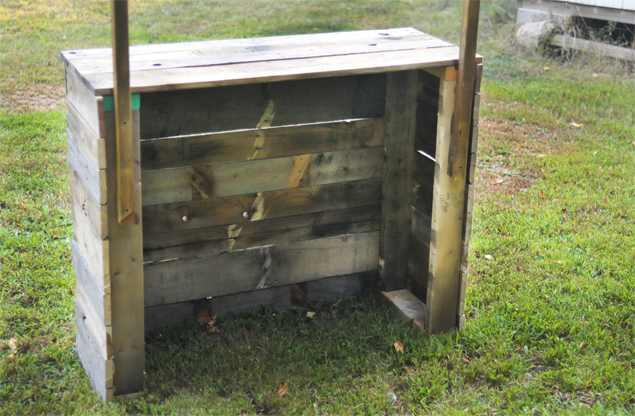
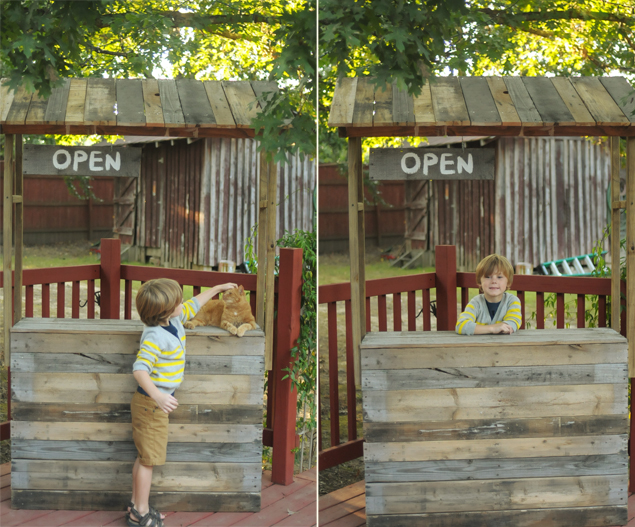
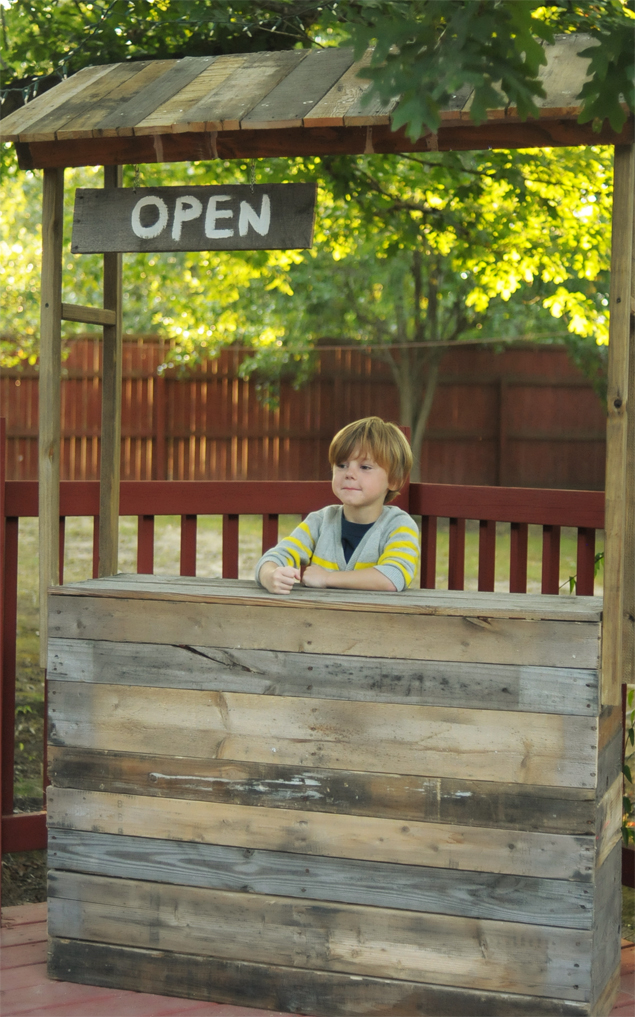
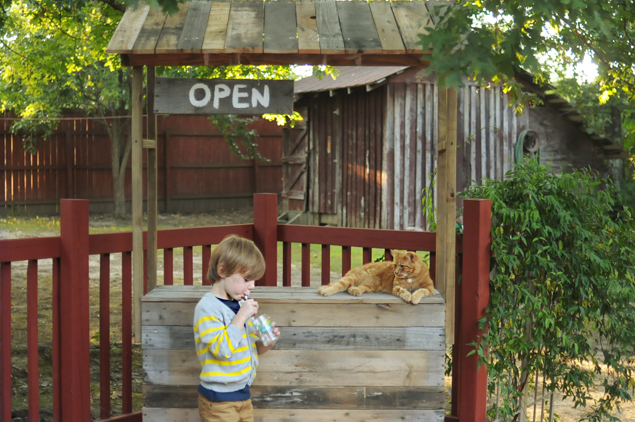
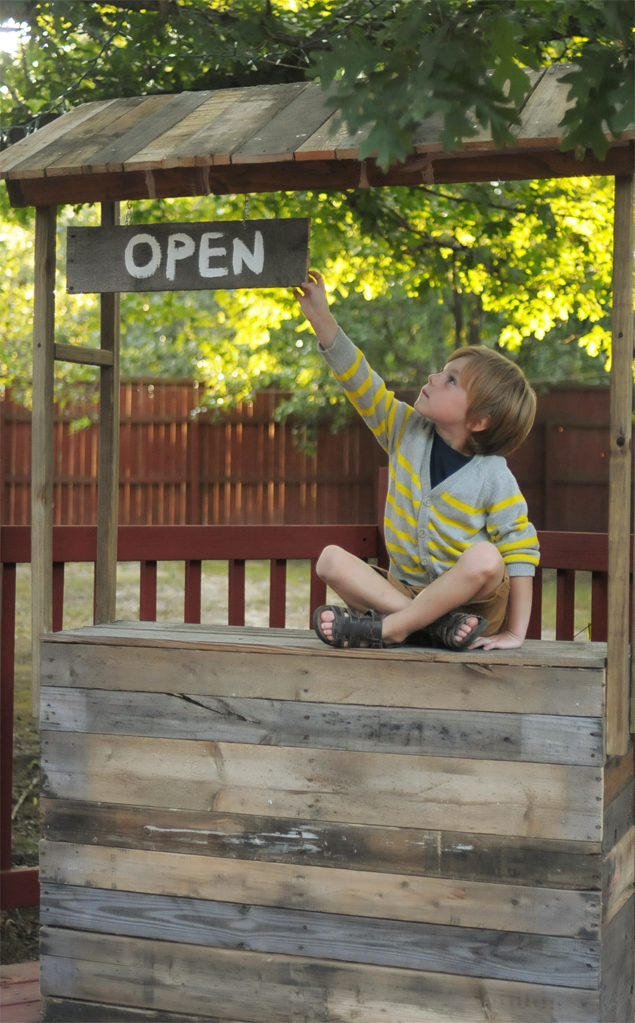
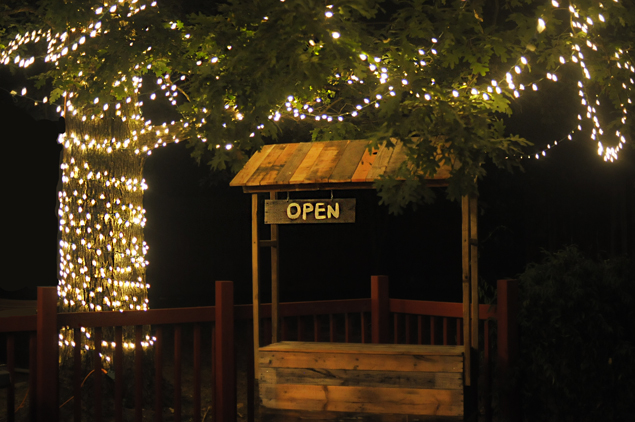
Mike and I have been wanting to build some props for H+H shoots for a while now, but we've simply never gotten around to it. We have access to an insane amount of weathered pallets for free and we finally wanted to build something with them. We spent a couple of hours one day this week putting these together and we're insanely overjoyed with how they turned out. The best part? We only spent $3! We used 100% salvaged lumber and we only spent pennies on screws and nails. Each stand only cost us a little over $1 (and some time/sweat!) That's pretty incredible right? We snapped a few photos to show you what they look like, but they're not all stylized yet. We're planning on using them for some upcoming Him + Honey shoots (including mini sessions!) so you'll have to wait until we really style them up! I shared a sneak peek on Instagram the other day and several people requested a DIY, so here you go! It's such a simple build I'm sure you'll get the hang of it from the photos alone. (The tutorial is for the lemonade stand. The roadside stand with the roof is the same basic foundation, just with an extra rectangular frame up top!)
Lemonade_Stand_DIY_11
Lemonade_Stand_DIY_3
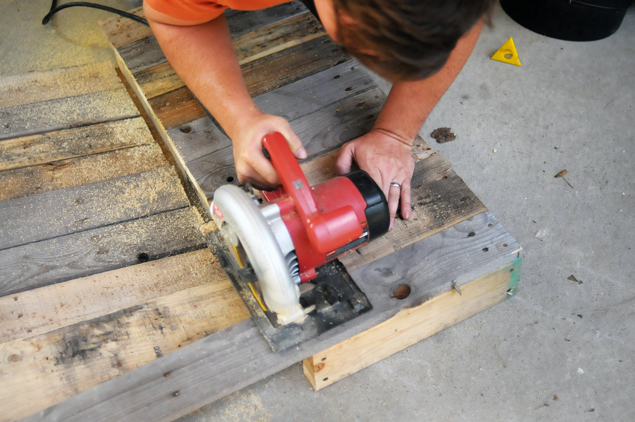
To build these you will need to find some pallets (roughly 2-3 pallets per stand) and break them apart. You can typically find them for free somewhere around town (Craigslist is usually overrun with them) Most pallets are made up of some 1x4's nailed to two or three 2x4's. The best way to pull them apart is by using a sawzall, but you can use a trusty hammer and some elbow grease if that's all you have access to. If you're going the sawzall route, slide the blade between the plank on top and the 2x4 underneath and cut the nails. It's not fun but it's effective and fairly quick.
Lemonade_Stand_DIY_25
Lemonade_Stand_DIY_26
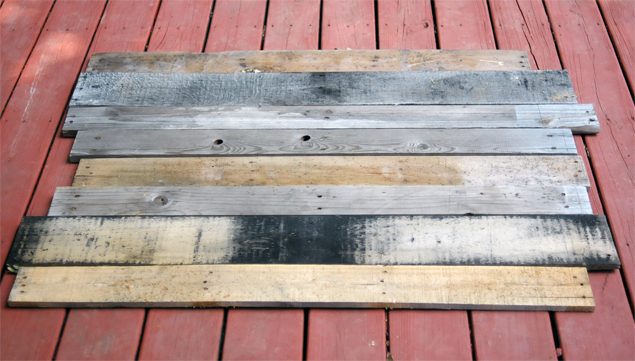
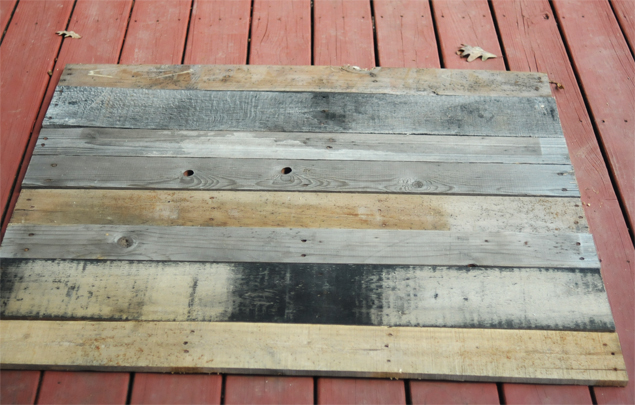
Once you have all the pallets disassembled lay out several planks on the ground. These will be what make up the front of your stand. You can use however many you want based on how tall you want it. Find the shortest plank in the bunch and cut the rest to match. Then lay out a few planks for the top. Again, you can make it however deep you want. Cut those the same length as the boards for the front. Our top has a slight lip on the lemonade stand because we liked the look.
Lemonade_Stand_DIY_23
Lemonade_Stand_DIY_21
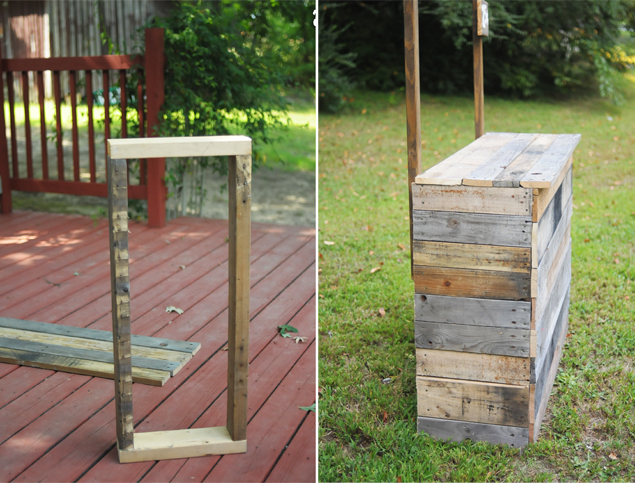
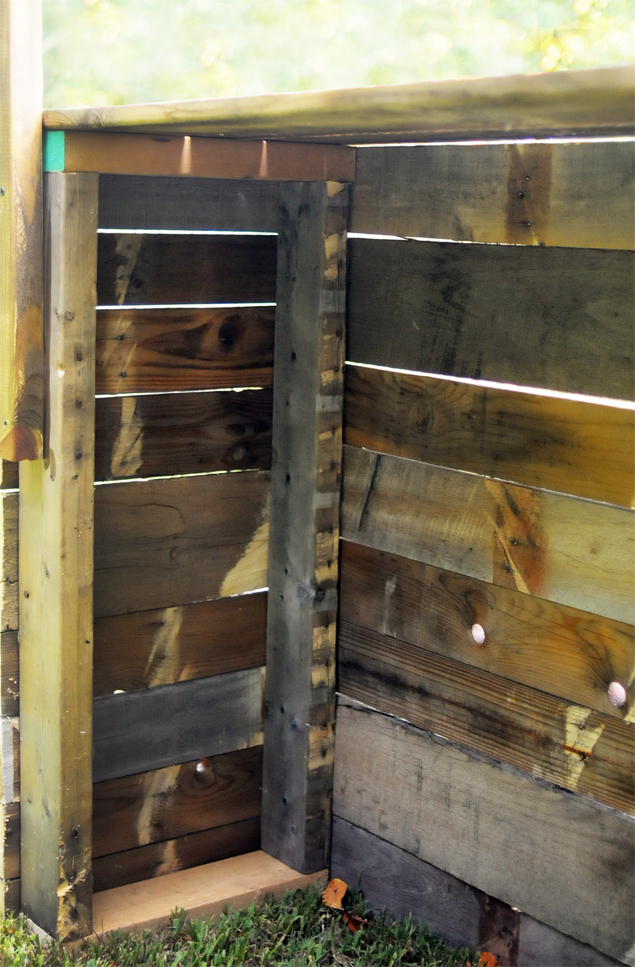
Next you'll need to build a couple of rectangular shaped frames. You can use the 2x4's from the pallets for this. You want to lay out the planks for the front and measure them. Subtract 3 inches (3 inches is the width of two 2x4's. If you're using something else change the measurement accordingly) from that measurement and cut four 2x4's to that length. Then lay out the planks for your top and measure them as well. Subtract an inch from that measurement and cut four 2x4's to that length. Now assemble your frames with the short pieces on the outside of the rectangle. 

Now you need to nail the planks on the side. Take full length boards and line them all up with one side flush with the outside of the frame. Once they are all nailed down you'll want to cut the excess off the other end. Now you can take the remainder of those boards and do the same thing on the other side.

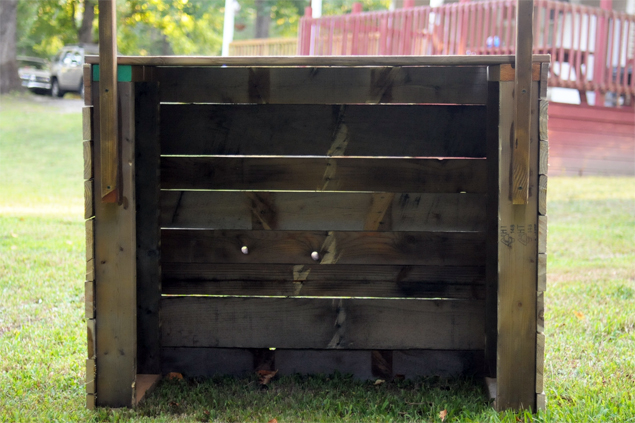
Since the boards for the front and top are all cut to length already you just need to square them up on the side panels and nail them in place. At this point you have a base with three sides and one top completely boarded up. You can stop here if you just want a countertop. 
Lemonade_Stand_DIY_19
Lemonade_Stand_DIY_17
Lemonade_Stand_DIY_16
Lemonade_Stand_DIY_15
If you want to add a sign it's pretty easy. Take a couple pieces of lumber (We used a spare 2x2 we had laying around) and cut them to the desired height and screw them into the 2x4's on the back of the stand. Then just nail a few planks up on top. It's really that simple! We didn't bother to share the actual dimensions of ours because it'll be dependent on how tall/long you want it, and what lumber you have to work with. We chose to use weathered wood because we really liked the aesthetic. It's all pretty relative. Since it's meant to look pretty "shabby chic" in a way, you can get away with some wonkiness (we even made the sign a little caddywhompus to add to its charm).
Lemonade_Stand_DIY_14
Lemonade_Stand_DIY_9
Lemonade_Stand_DIY_6
Lemonade_Stand_DIY_8
At the end of the day you'll have a really cute little roadside stand to use as a photo prop, wedding bar, craft show display, or whatever else you may want/need. We're planning on toting these to some Honeybean events and using them in Him + Honey sessions. (We have a lemonade stand end-of-summer mini session coming up if you're interested! Couples, kids, families, etc! Email us for more info!) We've actually already been asked to build a few for some other people, too. If you're local to Nashville and would rather have someone else do the work, get in touch!

Cocktail party, anyone?!
Lemonade_Stand_DIY
Lemonade_Stand_DIY_5
PS; Sorry for the Toby spam... but seriously, how cute is our kid?!

// DIY Kids' Art Easel

easel7a
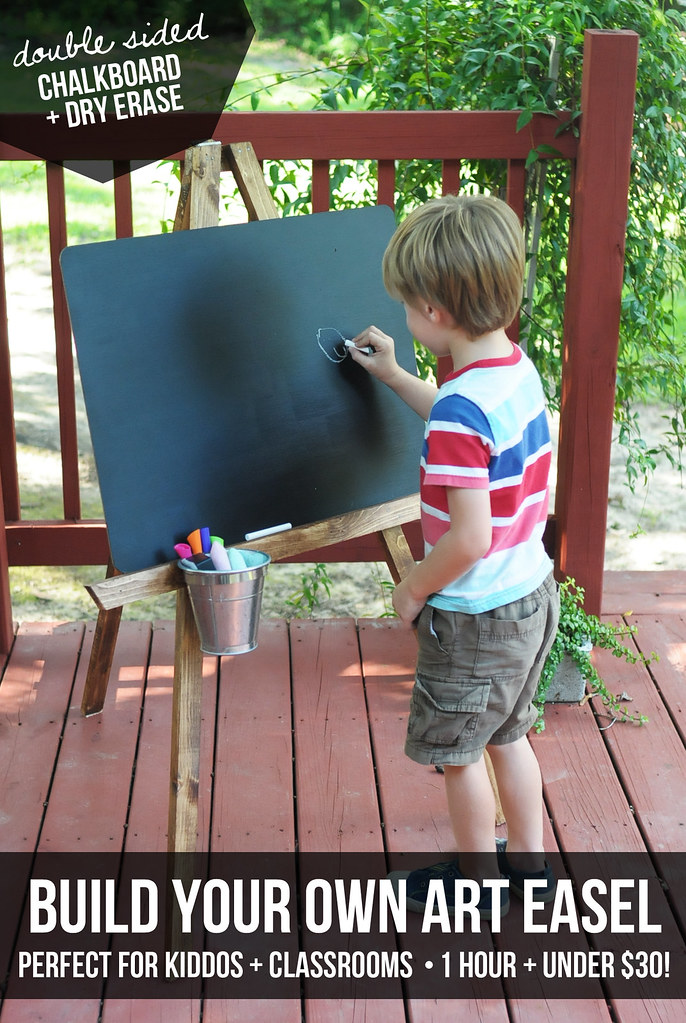
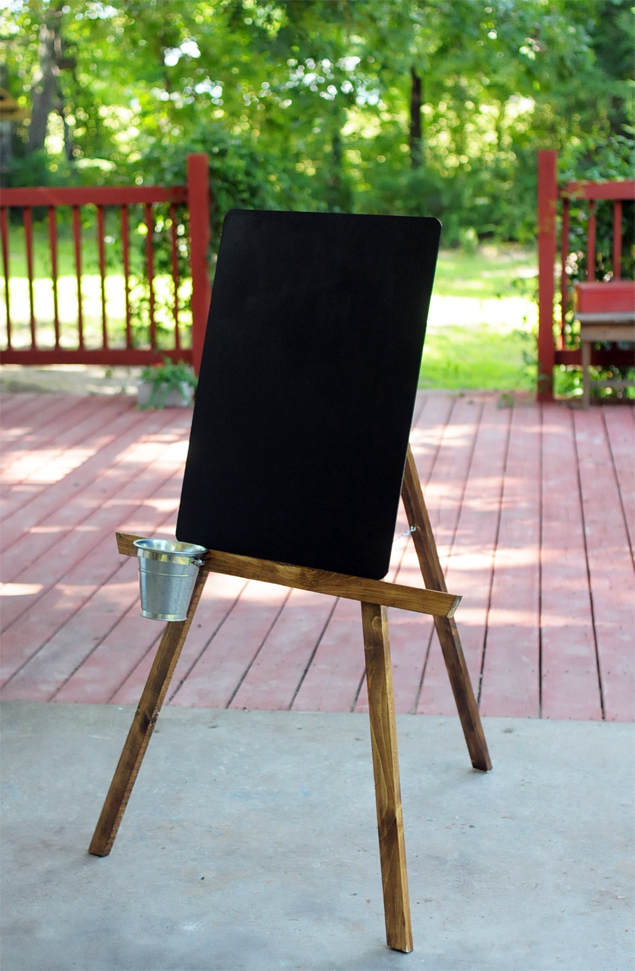
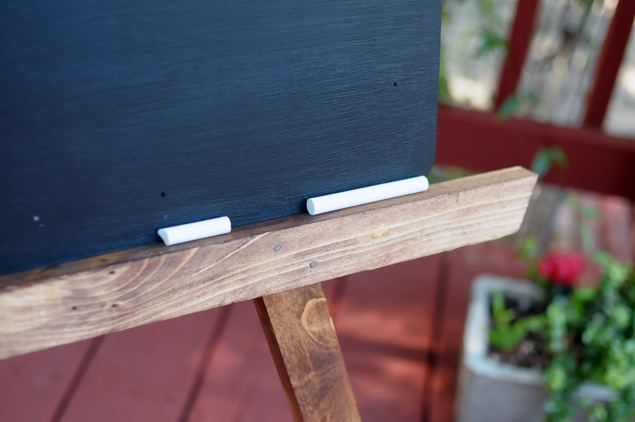
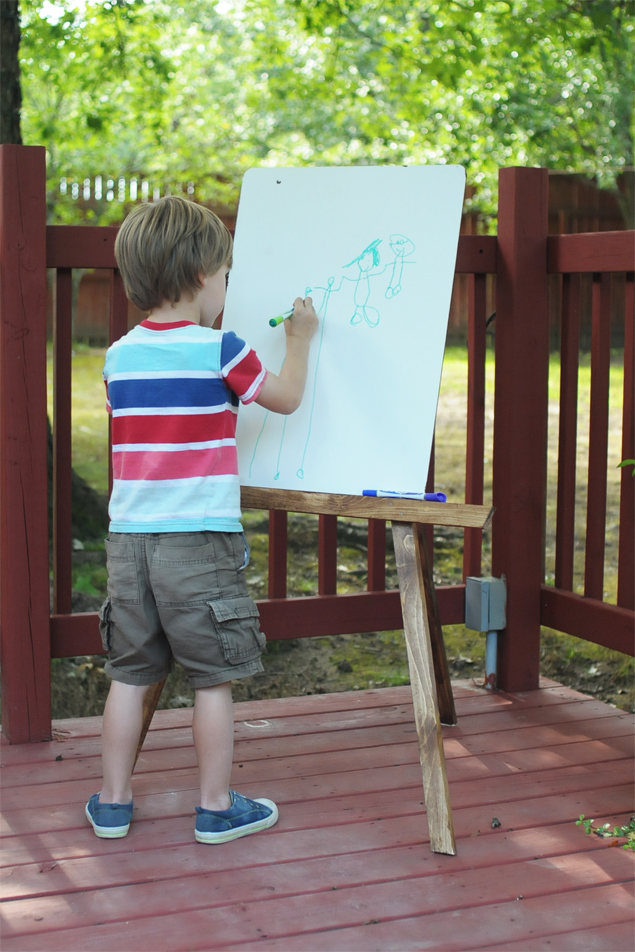
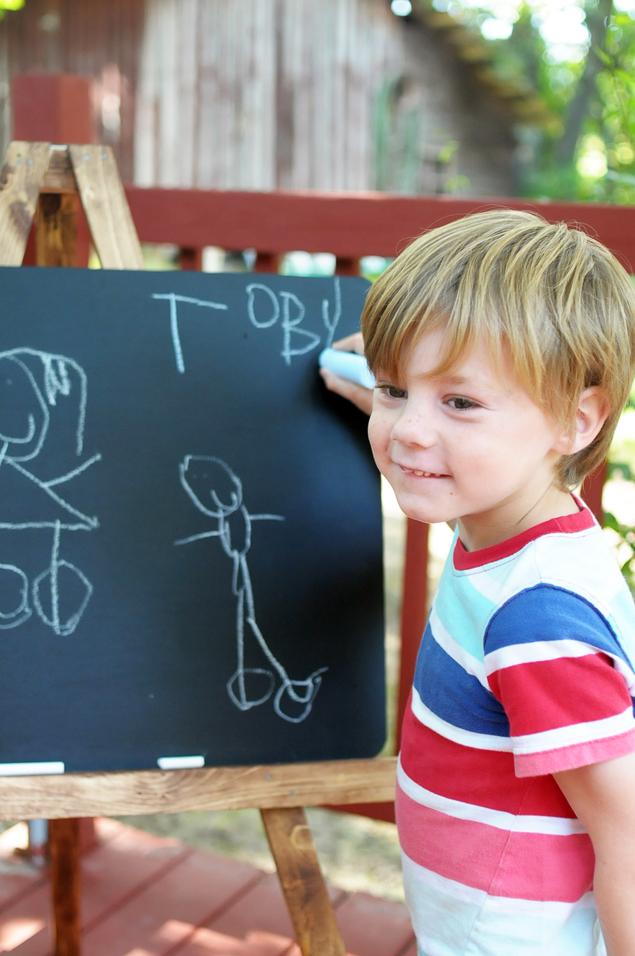
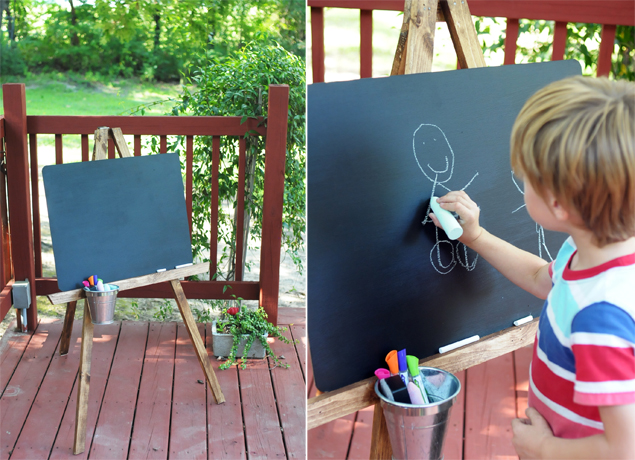
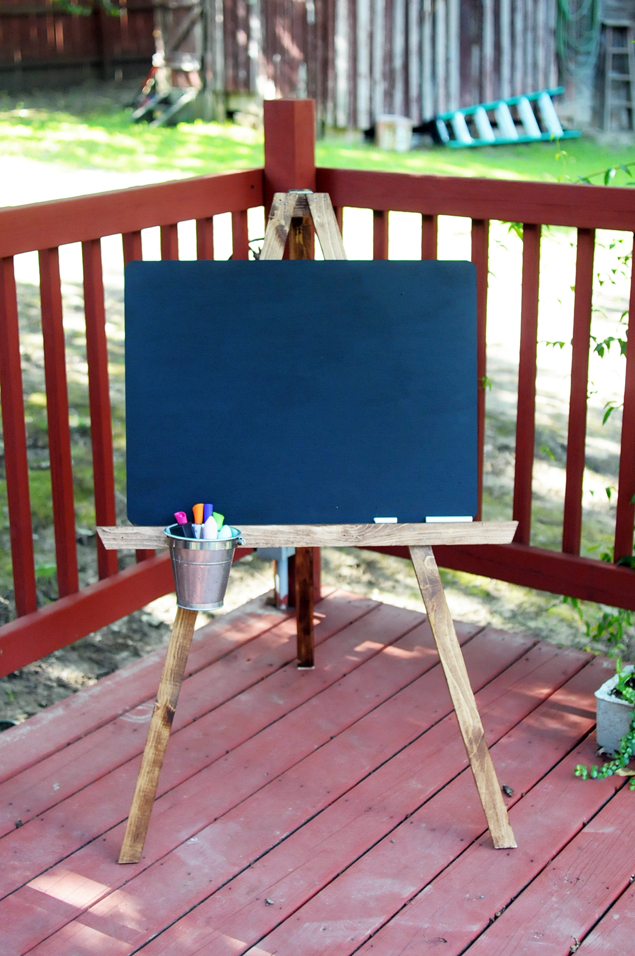
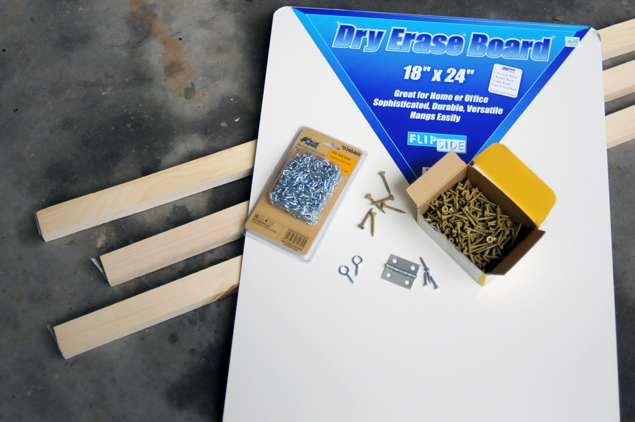
Toby loves writing on chalkboards and dry erase boards. He does his best learning when he's able to freely write and express himself. We had been toying with the idea of getting him an easel for his bedroom, but most of manufactured ones we saw were either too childish and plastic, or they were too big and bulky (not to mention expensive!) We decided we'd build him one ourselves in order to save money and space. We're tickled with how it turned out, and we're also amazed at how simple it was to put together. Toby absolutely adores it, and I think it might be a great addition to your kiddos' room or maybe to your classroom! We planned to use a thin plywood for the writing space, but we actually found an 18x24" dry erase board at Hobby Lobby for $8. We used a 40% off coupon (found on their site!) and got it for about $5. I had some chalkboard paint lying around so I just painted the back of the dry erase board. You'd never know I didn't buy it that way. You can't beat that! Here's what we did...

Supplies Needed:
Two 6' 1x2s
One 8' 1x2
1.25" screws
One small hinge
Two eye hooks
Chain
Dry erase and/or Chalk board

* The shape and size of this easel is based on an 18x24" chalk board and a Toby. If you have a different size board or user the height should easily be adjustable without changing any of the angles by adding (or removing) length to your legs, head piece and cross bar. 

Cut List:
Two 48" legs with 15 degree cuts 
One 48" leg with straight cuts
One 3.5" head pice with 15 degree cuts
One 28.5" cross bar

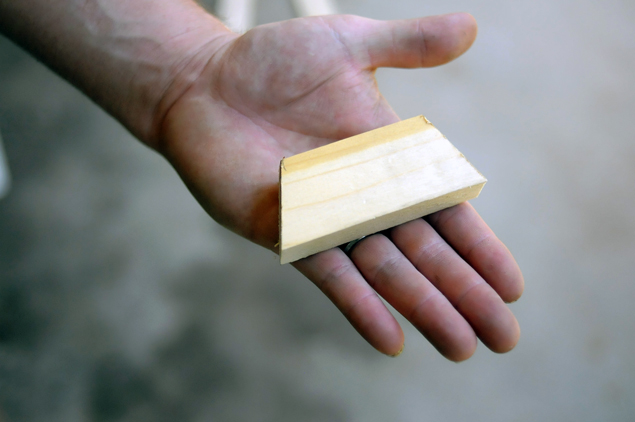
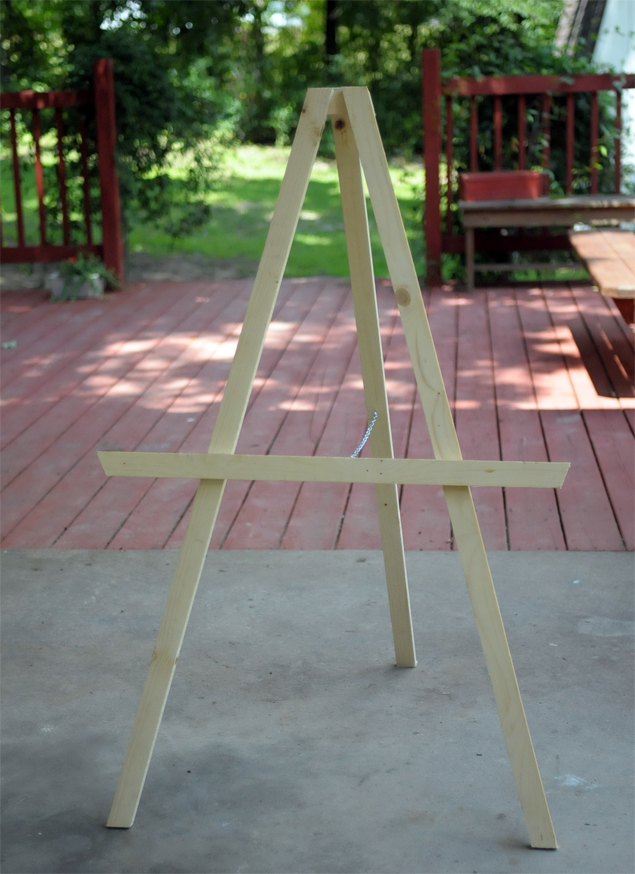
* Just a quick tip: the two front legs should end up being very long parallelograms. The cuts are made in the same direction each time, whereas the connecting "head" piece should be a trapezoid. The pictures should explain it well enough though!
DIY Kids' Art Easel - Kaelah Bee
First cut your head piece. This piece will join together your front two legs at the top. You want non-parallel 15 degree cuts (aka a trapezoid). The short side of the board should measure 3.5".


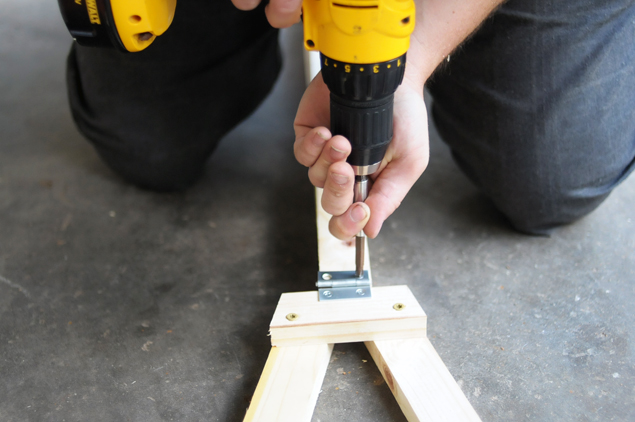
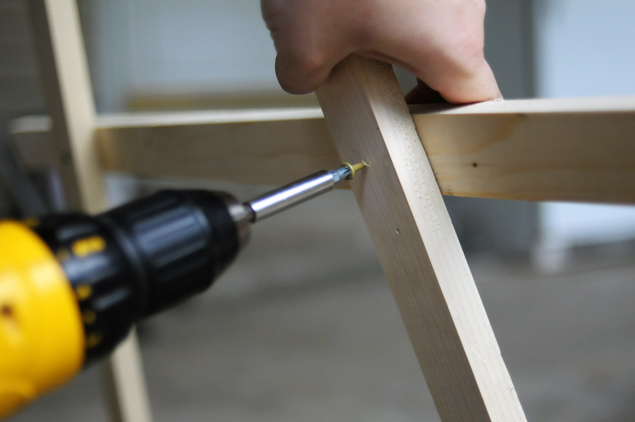
Next cut your two front legs. These should have parallel 15 degree cuts. They should measure 48". Line up the legs with the head piece and secure them in place with screws. 

Now attach the hinge to the top center of the head piece. Then attach your remaining leg to the other side of the hinge.
DIY Kids' Art Easel - Kaelah Bee
easel7
Stand your easel up and measure 22" up from the bottom of each front leg and make a mark. This mark will be the bottom of your cross bar. The cross bar should be attached to the front of the easel and on the opposite side of the head piece. Screw it together from the back of the legs. We cut our cross bar with 20 degree ends just for looks. Straight cuts would work just the same. 

Initially I secured each joint with one screw. It wasn't quite as solid as I wanted. Since there wasn't enough room for additional screws I put a couple of small nails in each joint. It really helped stiffen it up so I would recommend doing the same. 

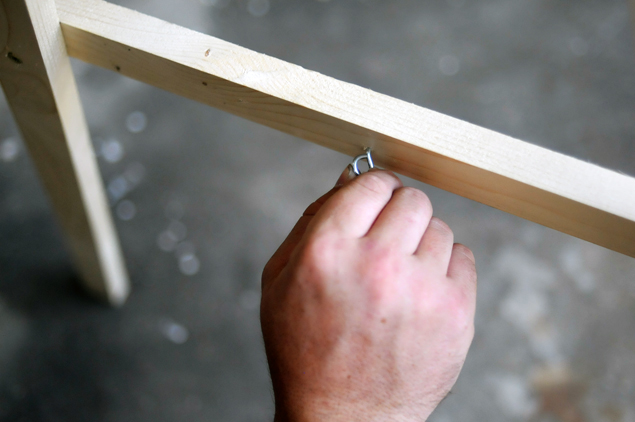
Now drill a hole in the back center of the cross bar and thread in your first eye hook. Do the same thing the back leg at about the same height as the first one. It doesn't have to be perfect, just close.

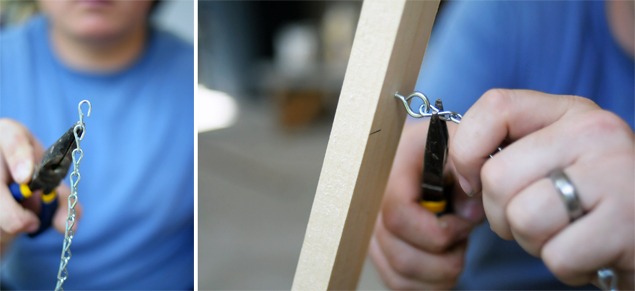
Now spread the legs of the easel out to where you want them to sit. You want them spread out enough so that it is good and stable. Hold your chain up and to see how long you need to make it. (note: when buying your chain make sure you will be able to easily open and close the links with pliers.) Using pliers open up the link a little and slip it on the eye hook. Now just crimp it shut. 


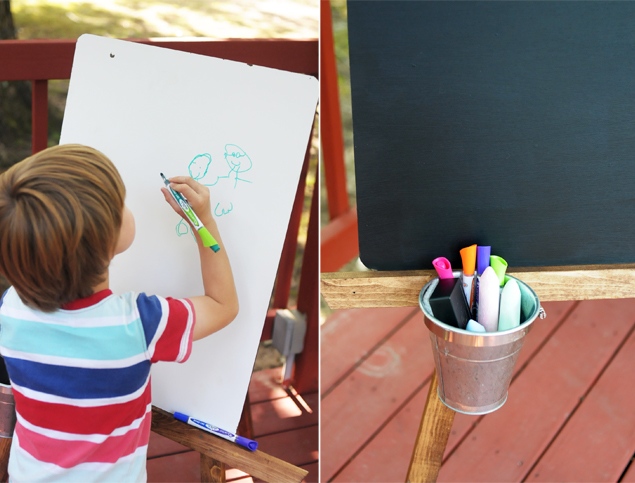
Your easel is now ready to use! Or if you'd like you could paint or stain it like we did. We also added a hose clamp to attach a little Ikea pail so Toby could store his chalk, markers and erasers right on the easel. You could just as easily use a can or jar from your pantry. 
DIY Kids' Art Easel - Kaelah Bee
easel8
DIY Kids' Art Easel - Kaelah Bee
At the end of the day we're really pleased with the outcome and Toby loves it more than anything. He wakes up in the morning and instantly starts doodling away before he gets ready for school. We spent about one hour or less whipping this up and we spent well under $30 (in fact I think we only paid $15 or so since we had a few pieces laying around the house). I know many of my readers are elementary teachers or moms, so hopefully you've found it as fun as we did! If you end up making one yourself, I'd love to see the outcome! Happy Tuesday!