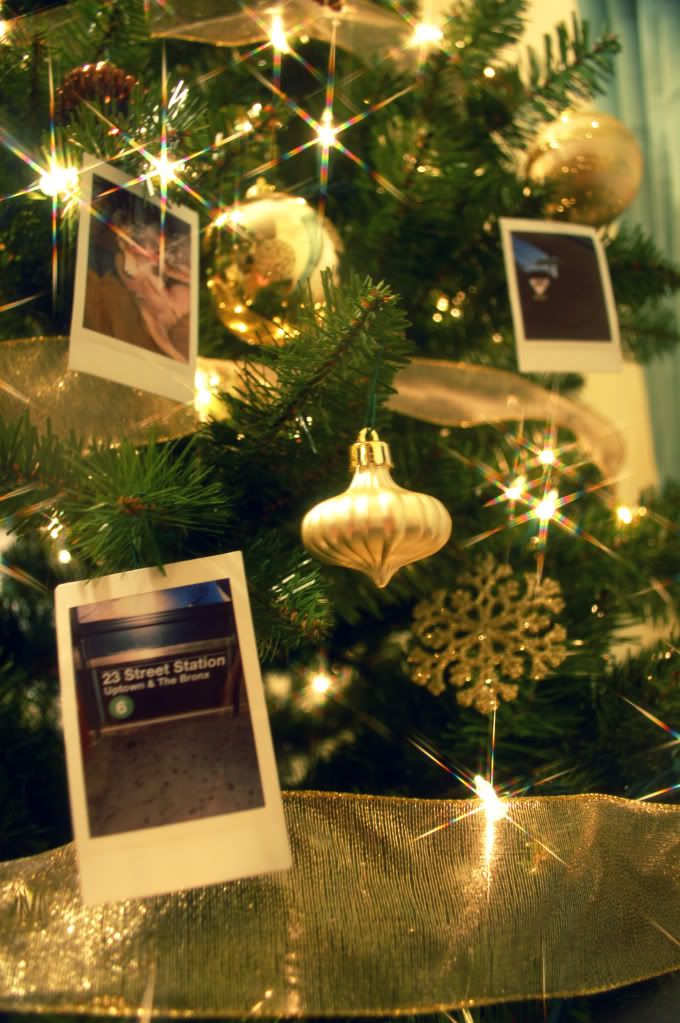
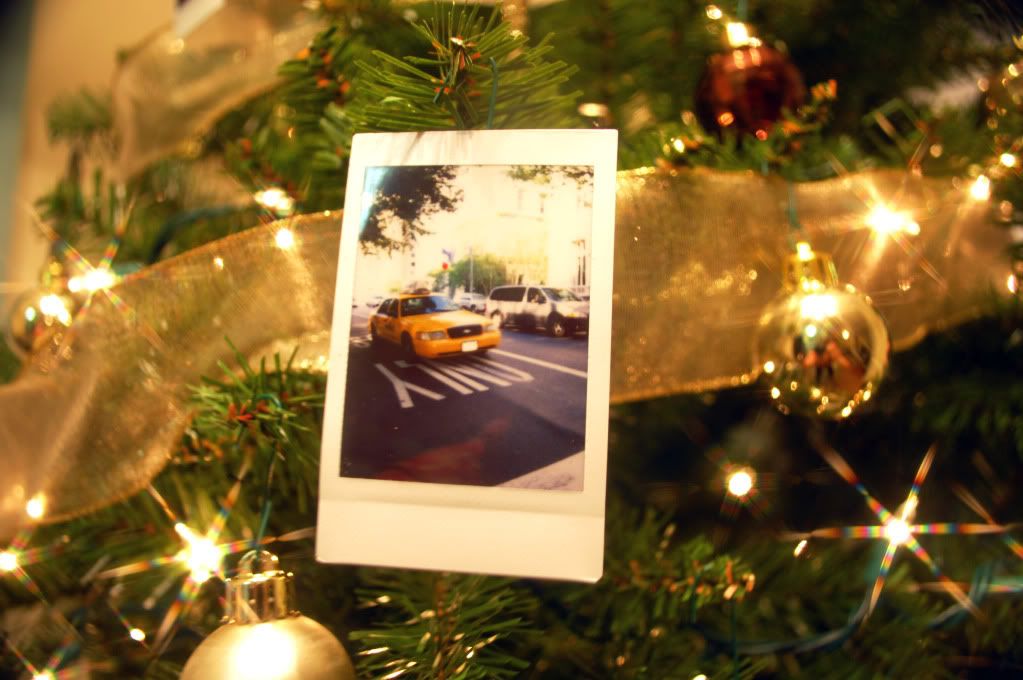
Showing posts with label diy week. Show all posts

Guest Post: Katrina's Quinoa Salad Recipe!


Hi everyone! I'm Katrina from The Demure Muse! Thanks so much for having me over here at Little Chief Honeybee.


I can usually be found blogging about my daily outfits or jewelry making but today I'm here to share with you one of my most recent kitchen experiments. I hope you try it out this holiday season because I think the colors are perfect for the winter festivities!

Quick disclaimer: This whole recipe was an experiment between myself, a meatetarian, and my friend who has newly converted to being a vegetarian. If you’re like me and have never heard of quinoa prior to this, it’s a pseudo-cereal that is extremely nutritious and is often considered a vegetable substitute due to its nutritional value instead of a grain.

Vegetarian Quinoa Salad - serves 4

What you’ll need:
1. 2 cups of quinoa
2. 4 cups of vegetable broth (or a mix of vegetable broth and water)
3. 1 ½ cups of cherry tomatoes
4. carton of fresh basil (add as desired)
5. small block of feta cheese (or as much/little as you’d like!)
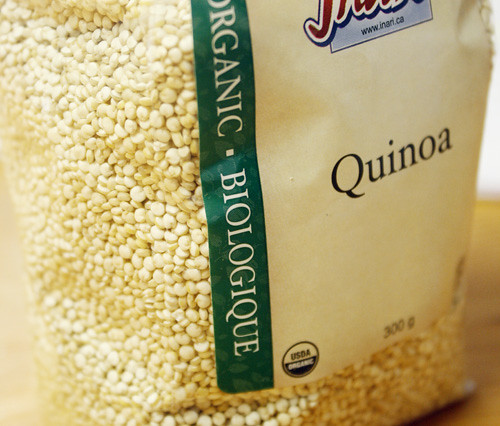

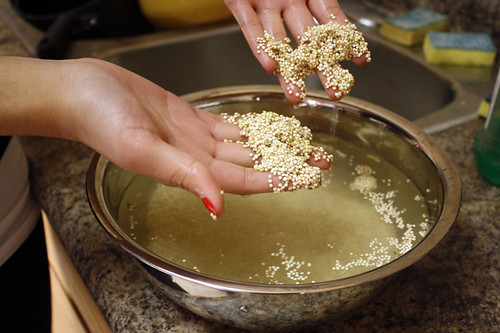
First, we need to wash the quinoa. You may notice that the water that the quinoa is being washed in will have a bit of a “soapy” feel. I did two rinses before cooking the quinoa.

Much like preparing rice, place a pot on the stove at medium to high heat with the vegetable broth in it. Once the broth comes to a boil, add the quinoa and put a lid on it. Remember to stir the quinoa every few minutes so that it doesn’t stick to the bottom of the pot. You’ll know when the quiona is ready because all of the broth gets boiled into the grains.

While the quinoa cooks, you can prep the rest of the ingredients for the salad. The great thing about making this salad is the fact that there is relatively little “‘cooking” involved! From here, halve the cherry tomatoes and chop the fresh basil. We want the basil to be in relatively big pieces.
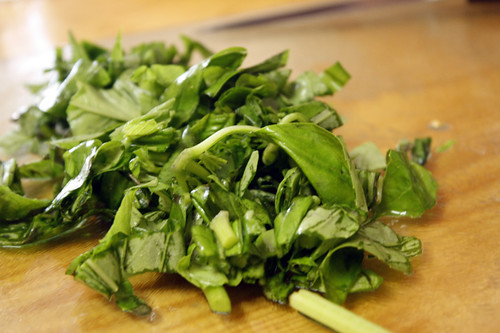

Cut the feta cheese into about ½ inch cubes and then mix all of the fresh ingredients together in a separate bowl.


By this time, your quinoa should be well on its way to being fully cooked. We were a little impatient when we made this first batch of salad and we mixed all the ingredients in with the quinoa while it was still extremely hot, which melted the feta cheese. Depending on how you like your salad, it might be better to let to let the quinoa cool down a bit before mixing everything together.

Due to my meatetarian needs, I added a side of chicken. (I know, I know. I’m not the most supportive friend in terms of helping a newly converted vegetarian. I have a habit of forcing myself to have a balanced meal in terms of carbohydrates, vegetables, and proteins) I couldn't bring myself to have only a salad for dinner which is why I added the meat. I also added a small bed of spinach to my quinoa salad.
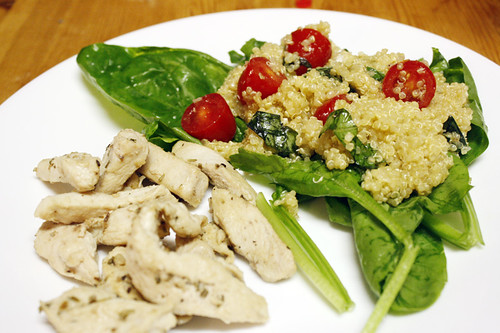


I hope you enjoyed the recipe! :)

--------------------------------------------------

Big thanks to Katrina for her awesome recipe! I can't wait to try it! You can stop by Katrina's blog or shop if you'd like to learn more about her!

Guest Post: SusannahBean DIY Retro Foil Wreath!

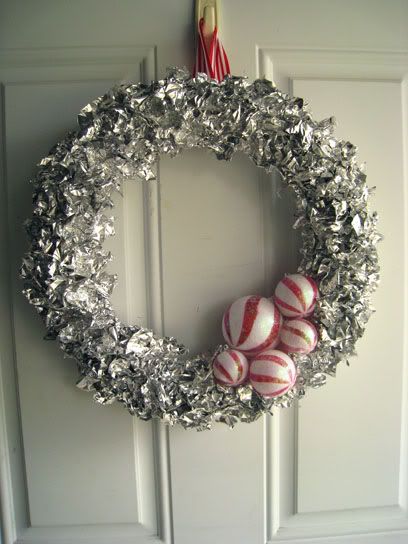
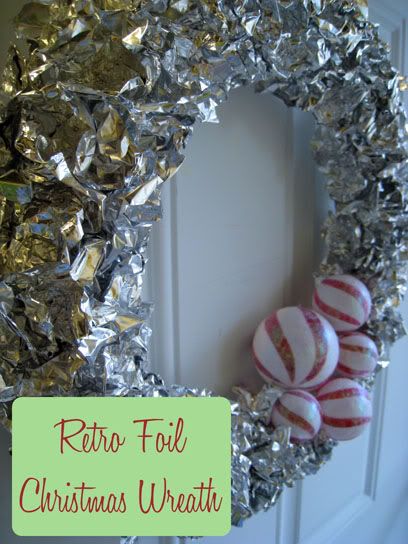
metallic diy wreath


I have a soft spot for cheesy Christmas decorations. I love tinsel and candy canes and elves, and if it looks like it came from the 1950s I’m all over it. That’s where the idea for this wreath came from. I wanted something with 50s style but a modern twist, and I wanted to reuse things I already had laying around my house. Thank you, Kaelah, for letting me share this with your readers!!


What you'll need:

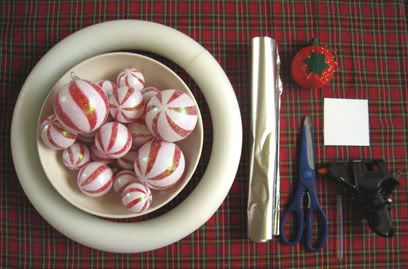
  • One large (14”) Styrofoam wreath
  • One pack of ornaments (feel free to use any assortment of ornaments you have. It looks best if you have
  • different sizes)
  • One roll heavy duty tinfoil
  • Pins
  • Kitchen shears (or scissors, but they’ll need to be strong)
  • 3”x 3” square of cardstock (for a template, use any thick paper or cardboard)
  • Hot glue gun and glue sticks
  • (Optional): One 5-6” length of coordinating ribbon to use as a hanger, OR an over the door wreath hanger


Instructions:

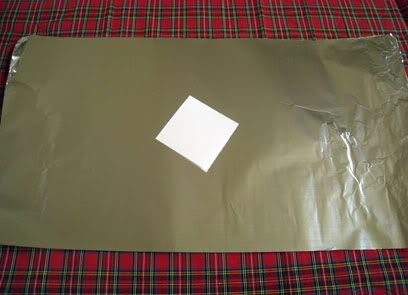
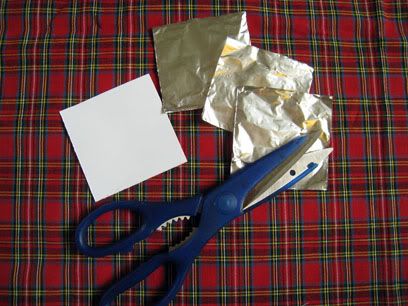
Tear off a length of foil and fold it in half as many times as needed until you get a square pretty close in size to your template. It’s much quicker to cut the foil like this, that way you end up with a lot of squares!


You’ll want to separate the individual squares. Don’t worry if they tear a little bit, or if they aren’t perfect
squares. You’re just going to crumple them up anyway!

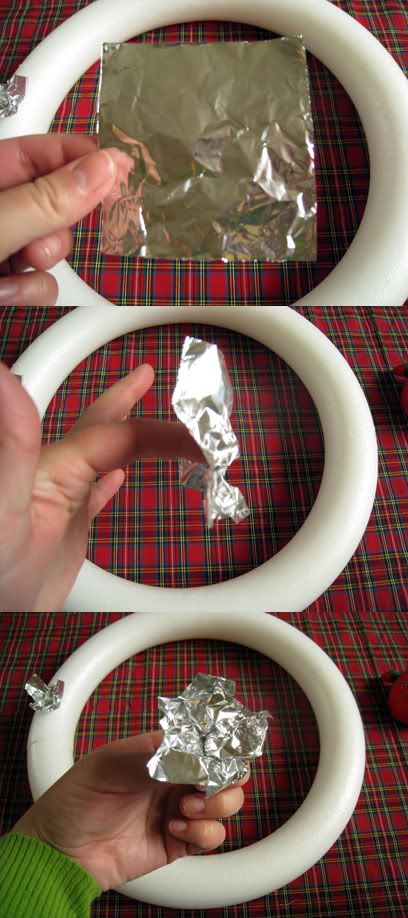
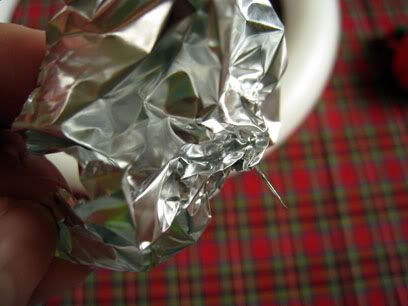
Take one square of tinfoil and wrap it loosely around the tip of your finger. Twist the center part of the square around and fold it back on itself. You need to make it thicker at the middle so it won’t rip when you pin it to your wreath, so as long as you can make a little thick spot you’re doing good!


Insert a pin through the thick spot on your foil square.


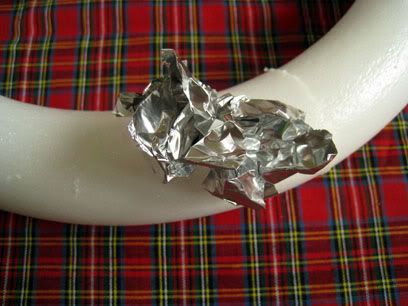
Then insert the pin into your wreath. Crumple the foil a little, but not too much. Once you get going this won’t matter as much. You want to have each piece standing up as opposed to flattened out. Continue to pin down more foil squares, making sure you’re covering the Styrofoam so that no white shows through.
You don’t need to do the back half of your wreath because you want it to lay flat against your door, so just pin the foil to the top half of your wreath.


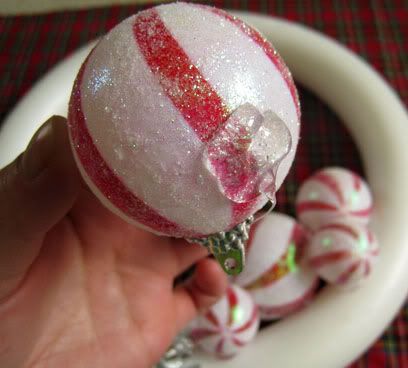
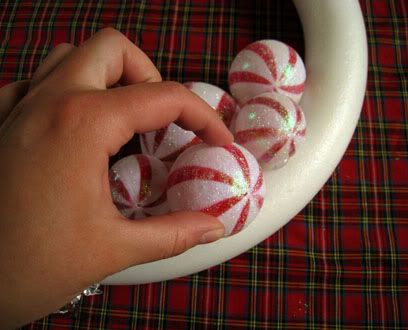
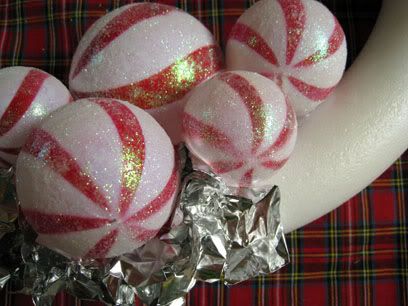
After you’ve done a little patch of foil leaves you’ll add your ornaments. Try out an arrangement before you glue it together. It helps to start with the biggest ornament and fill the little ones in around it. Once you’ve settled on an arrangement, glue them down with your hot glue gun. Use lots of glue, you want it to be secure!


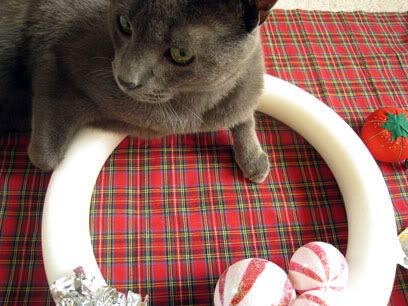
Get an assistant if you need to (my kitty Mr. Littlejeans tried to help, but it wasn’t working out, so I enlisted my boyfriend Chris!).


Keep cutting and folding the little squares and pinning them to your wreath. You’ll need quite a few to cover it, so just keep going until it’s completely covered!

Crumple the foil in a way that will cover the white around your ornaments. If you’ve glued your ornaments close enough together, you should not need to pin any foil in between them.


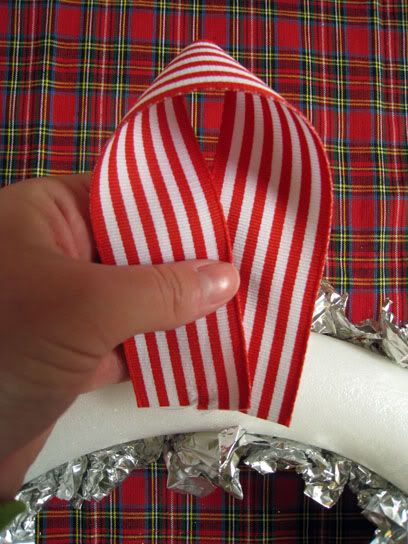
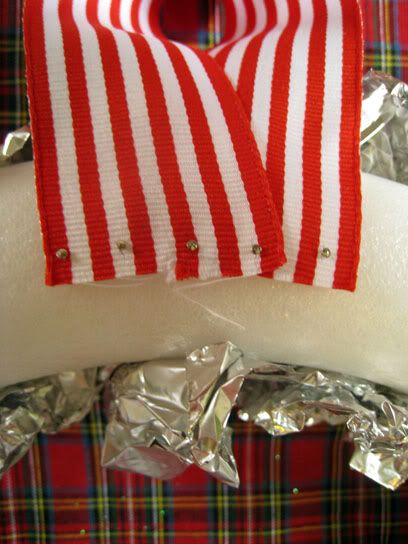
Once your wreath is covered in foil, you’re pretty much done! If you need to use a length of ribbon for your hanger, fold it as I’ve done in the picture below and pin it in place.


Hang your pretty retro wreath on your door and enjoy! All in all, I spent $9 on this little beauty, $5 for the wreath and $4 for the ornaments. It’s a cute way to add Christmas cheer to your house when you’re on a budget! If you make one of your own foil wreaths, I’d love to see it! Leave me a link to it on my blog at susannahbean.com so I can check it out! Happy Holidays!!

---------------------------------------------------

Be sure to drop by Susannah's blog and say hello! A huge thank you for the ultra rad and shiny holiday decor! I hope you're into DIY Week as much as I am! There's more where this is coming from! xo

Guest Post: LindsayHarmony DIY Felt Penguin Ornament!


Hello everyone! I just got my Christmas tree a couple of days ago, and I don’t know about you guys but I love handmade Christmas ornaments! They don’t have to be too complicated either, here’s a tutorial for an easy and fun penguin ornament made of felt and some fabric scraps.

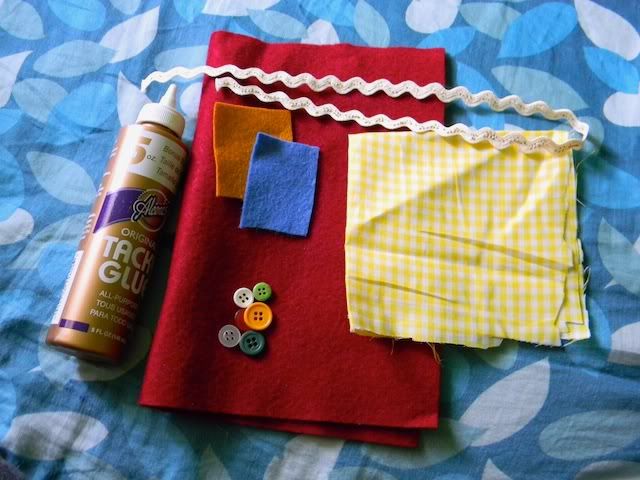
Here’s what you’ll need:

felt and fabric penguin christmas ornament diy

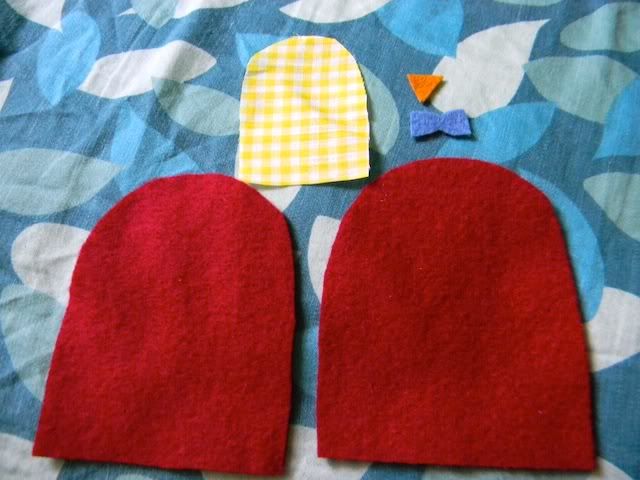
Some felt in a few different colors (one main color for the body plus a few scraps for the beak and bow tie), some fabric scraps, buttons, some ribbon or rick-rack, a needle and thread, some glue, and optional polyester fiber-fill (or other stuffing material).


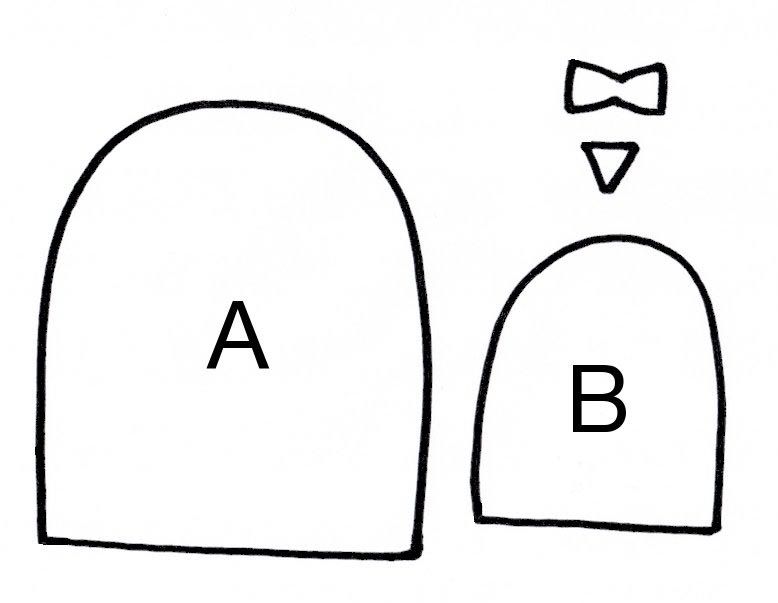
First, print and cut out the pattern pieces attached, then trace and cut out all your pieces. Part A will be cut from your main color of felt twice, this will be the front and back of the penguin. Part B will be cut from your fabric scraps, this will be the belly. And the bow tie and beak can be cut from other scraps of felt.


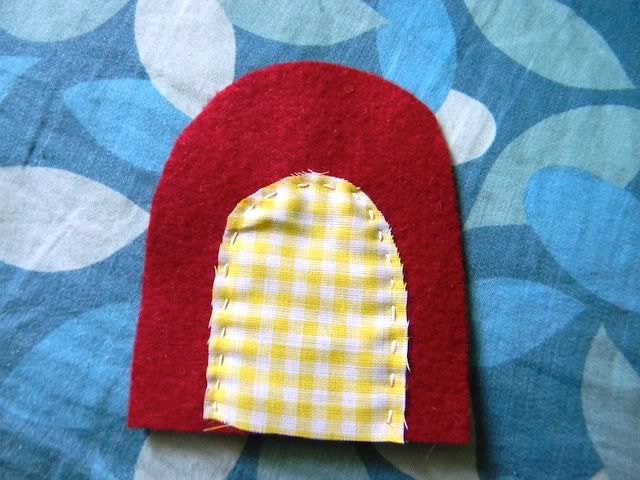
Next, you’re going to want to sew or glue the belly piece onto one of your pieces of felt. Line the bottoms of the pieces up. If you’re choosing to sew it on, you only need to sew the arch part, as the bottom will get sewed together later when you sew the back and front together.

felt and fabric penguin christmas ornament diy

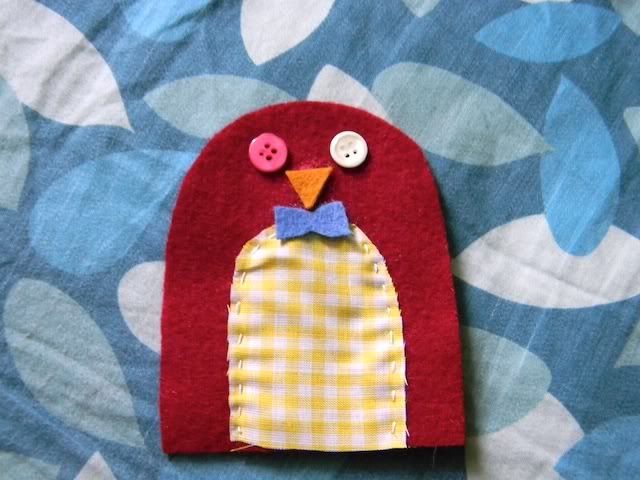
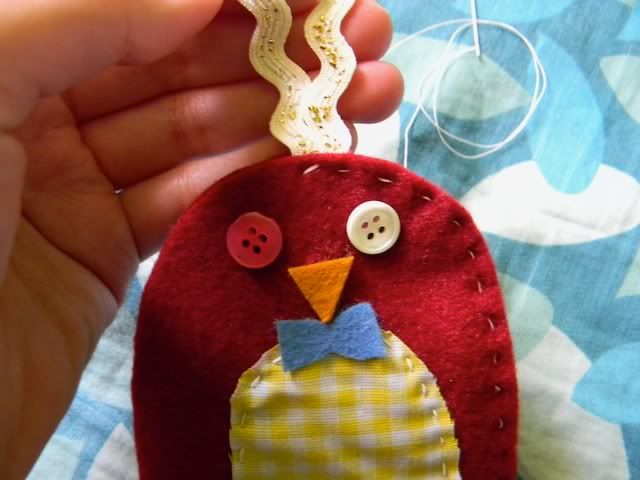
Next come the eyes, you can again either sew or glue on the buttons. Then glue on the beak and bow tie. I prefer to glue these rather than sew because they’re so tiny. If you’re using tacky glue, don’t worry about getting any on the felt, it will dry clear!

felt and fabric penguin christmas ornament diy

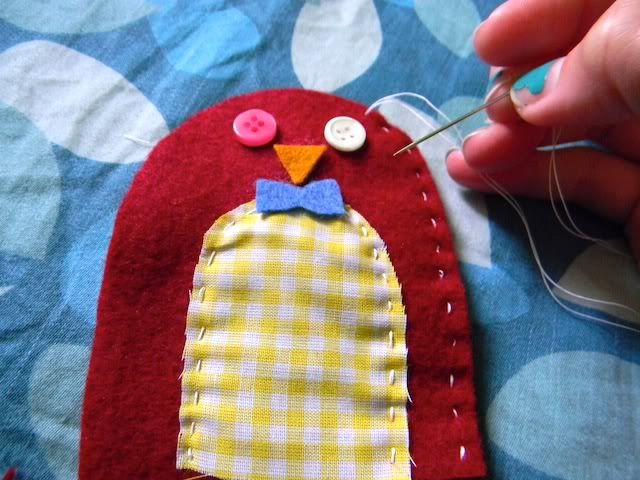
Now you have the front of the penguin done! If you wanted to make this a no-sew project, you could easily glue on some ribbon to the top of the penguin and he’d be all ready to hang. But if you’d like to stuff the penguin, it’s time to stitch him all together! We’re going to stitch this front piece to the other piece of felt you’ve cut out. Lay the front piece on top of the back, and start to sew a running stitch all around the edges.

felt and fabric penguin christmas ornament diy

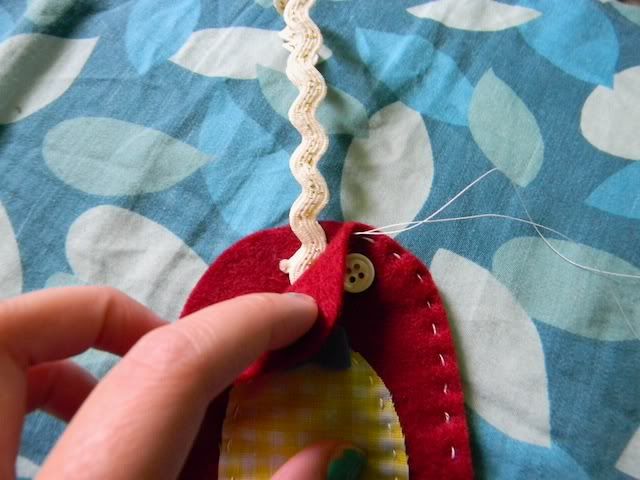
Once you get to the top, fold a piece of ribbon or rick-rack and lay it in between the front and back of the penguin. Sew over this to secure it.

felt and fabric penguin christmas ornament diy

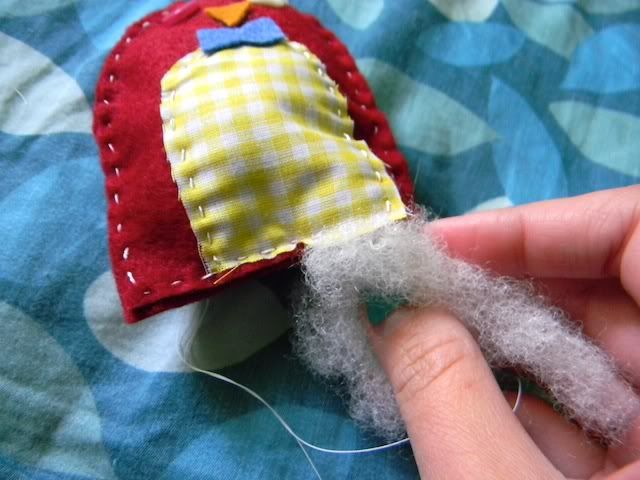
Continue sewing all the way around, until you have about 2 inches left to sew. Stuff the penguin as little or as much as you’d like. I personally like mine a little plump =]

felt and fabric penguin christmas ornament diy

Finish off the stitching with a knot and you’re all done!

felt and fabric penguin christmas ornament diy

I love to make these little penguins in all kinds of color + fabric combinations. They make great gifts and look perfect on any tree!

Happy crafting!

-Lindsay

-------------------------------------------------------------
Be sure to stop by Lindsay's etsy shop to see her cute little pieces of felty-goodness! (The shark is my favorite! Followed close behind by the Sweet Autumn headband!) Thanks Lindsay! Stay tuned for a magical metallic foil wreath by SusannahBean coming up later today!

DIY WEEK BEGINS! with Instax Ornaments!

instax ornaments

This is going to be the most simple and ridiculous DIY ever. In fact, it's simplicity barely warrants it to boast the title of a DIY. But it still does and it's a fabulous one at that. 

Basically, alll you need is: Instax Photos [or any instant photo], Ornament Hooks [purchased at Target for $2 per 100 count], and Scotch Tape!

Guess what you do now? Yep. You lay those bad boys [photos] face down, take a hook and tape that sucker right to the top center of the photo! Then you hang on your tree. and voila! The perfect use of Instax photos if you're like us [and by us I mean we have more than we know what to do with], and it's a great way to make your Christmas tree that much more special. We're in love with ours.


instax ornaments
instax ornaments
instax ornaments

Told you it was simple! 

Btw, this is our first Christmas tree together! We're starting a tradition where we buy one ornament every year which represents the year in review. Perfect considering our anniversary is at the beginning of December! I'm so very excited! [And I'll share it once we finally pick it out!]

Also- Show me your Christmas trees if you've got them up! Or any other awesome holiday decor regardless of your religion! I can't wait to see! [link me to a post in your blog below, or leave image links!]

Stay tuned this week for more fun and easy DIYs to add to your holiday cheer! xo