Showing posts with label crafting. Show all posts

// Christmas at the Cabin - Dream Tree Challenge

Christmas at the Cabin - TheCluelessGirl.com - The Clueless Girl's Guide - Dream Tree Challenge 2014 #MichaelsMakers #TagATree #DreamTreeChallenge
If you follow me on Instagram then you may have noticed that I have a fully decorated Christmas tree chilling in my living room already... yeah, it was up before Halloween! Do you think I'm totally loony?! Well, I promised you there was a reason for it! I participated in Michaels' 3rd Annual Dream Tree Challenge this year and it marked my very first project as part of the Michaels Makers team! I'm not a DIY/craft blogger by far, but I definitely consider myself a maker and I thought that by accepting this invitation I'd be able to push myself out of my creative "rut" and get back to making things post-baby. So far I'm really enjoying the creative push!

I love decorating our Christmas tree. Every year I get so excited to reimagine our tree and adorn it with personal ornaments and touches. Without fail, we always end up going the way of brown and gold for our tree. It's our "happy place" when it comes to festive holiday decoration. Since I was challenged to create my ultimate "dream tree," I knew exactly where to start.
Christmas at the Cabin - TheCluelessGirl.com - The Clueless Girl's Guide - Dream Tree Challenge 2014 #MichaelsMakers #TagATree #DreamTreeChallenge Christmas at the Cabin - TheCluelessGirl.com - The Clueless Girl's Guide - Dream Tree Challenge 2014 #MichaelsMakers #TagATree #DreamTreeChallenge Christmas at the Cabin - TheCluelessGirl.com - The Clueless Girl's Guide - Dream Tree Challenge 2014 #MichaelsMakers #TagATree #DreamTreeChallenge
Christmas at the Cabin - TheCluelessGirl.com - The Clueless Girl's Guide - Dream Tree Challenge 2014 #MichaelsMakers #TagATree #DreamTreeChallenge
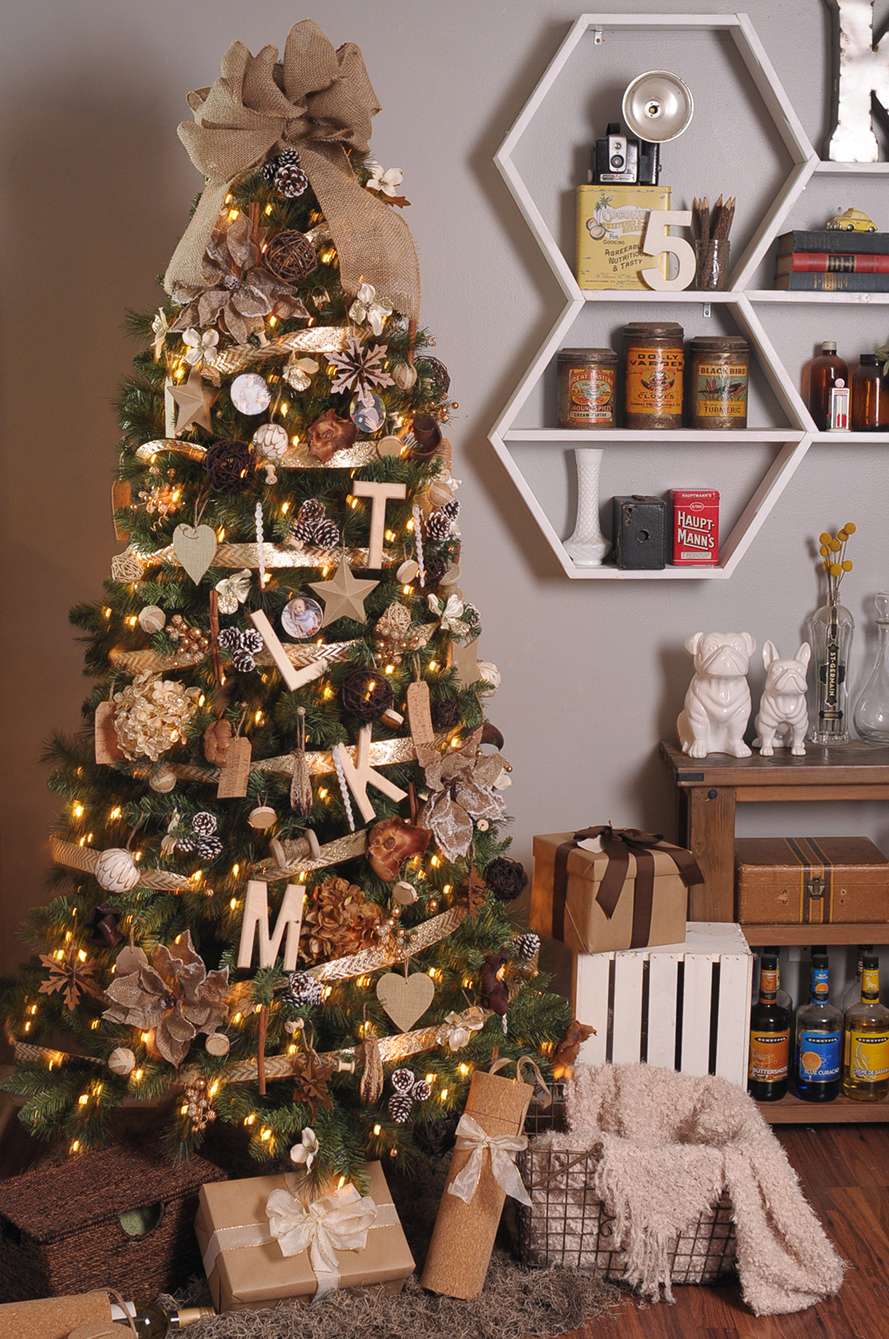
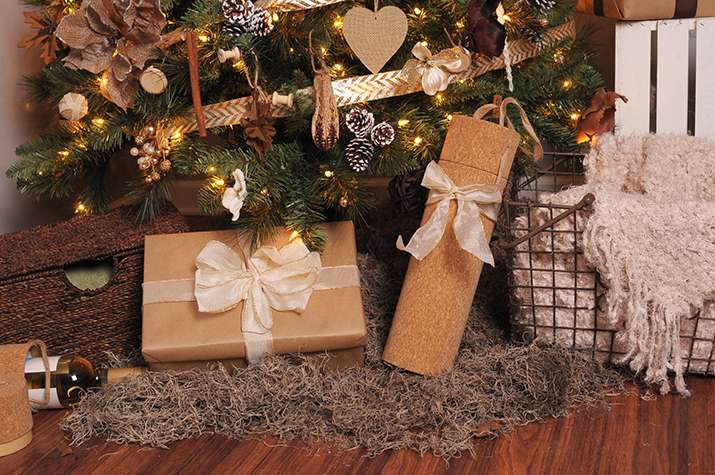
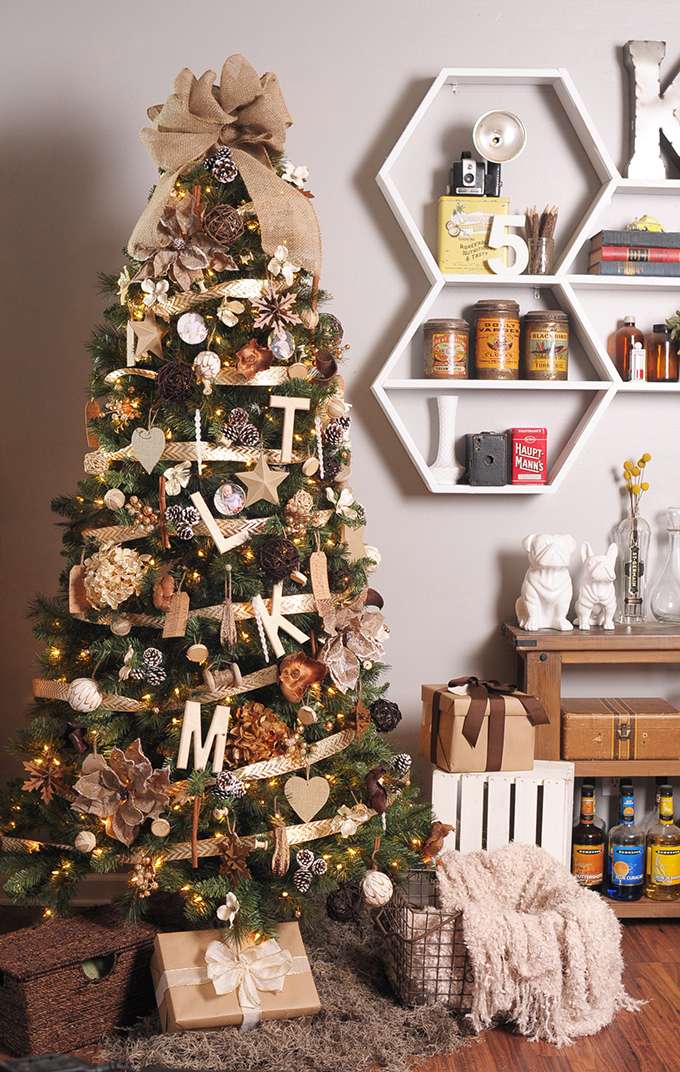
Mike was a huge help on this and we worked together every step of the way. I suggested a "rustic and natural" theme for the tree, and he said it felt like Christmas at a cabin. Hence the title! So that's the theme this year... A Cabin Christmas! We wanted to "bring the outdoors in" and so we chose a variety of things from Michaels to make it happen. I'll be 100% honest with you, I was nervous. I had no idea how this would all fall together. Even after we started decorating it I was questioning whether it made sense or not! But now that it's all done, I'm SO in love with it. It really is our Dream Tree!

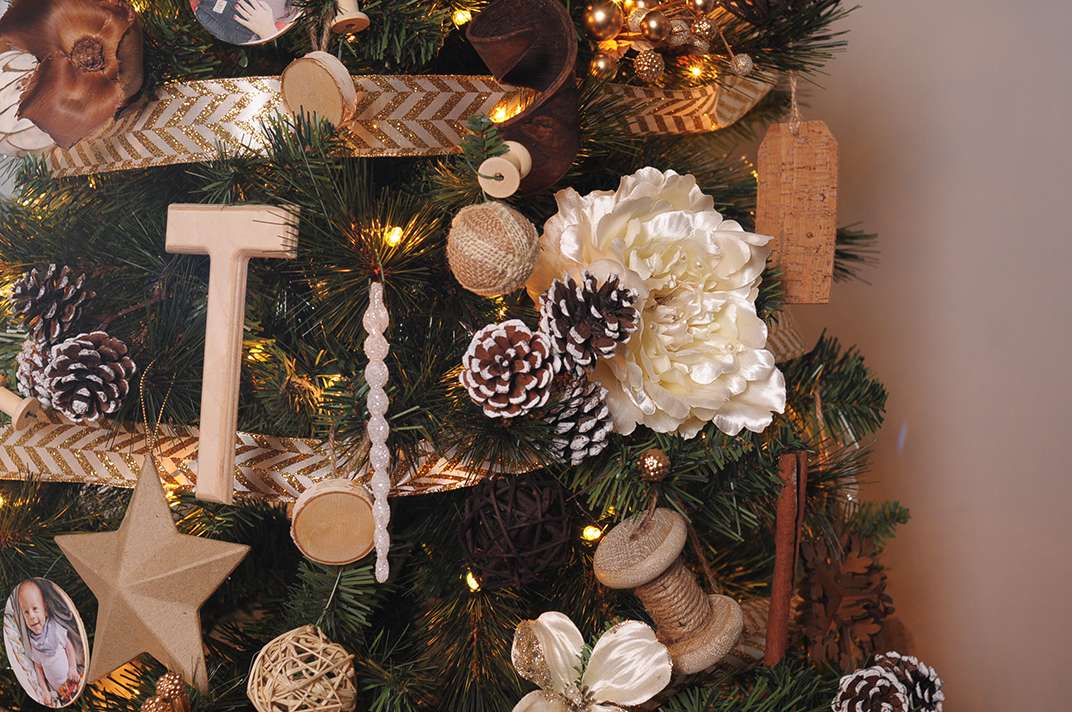
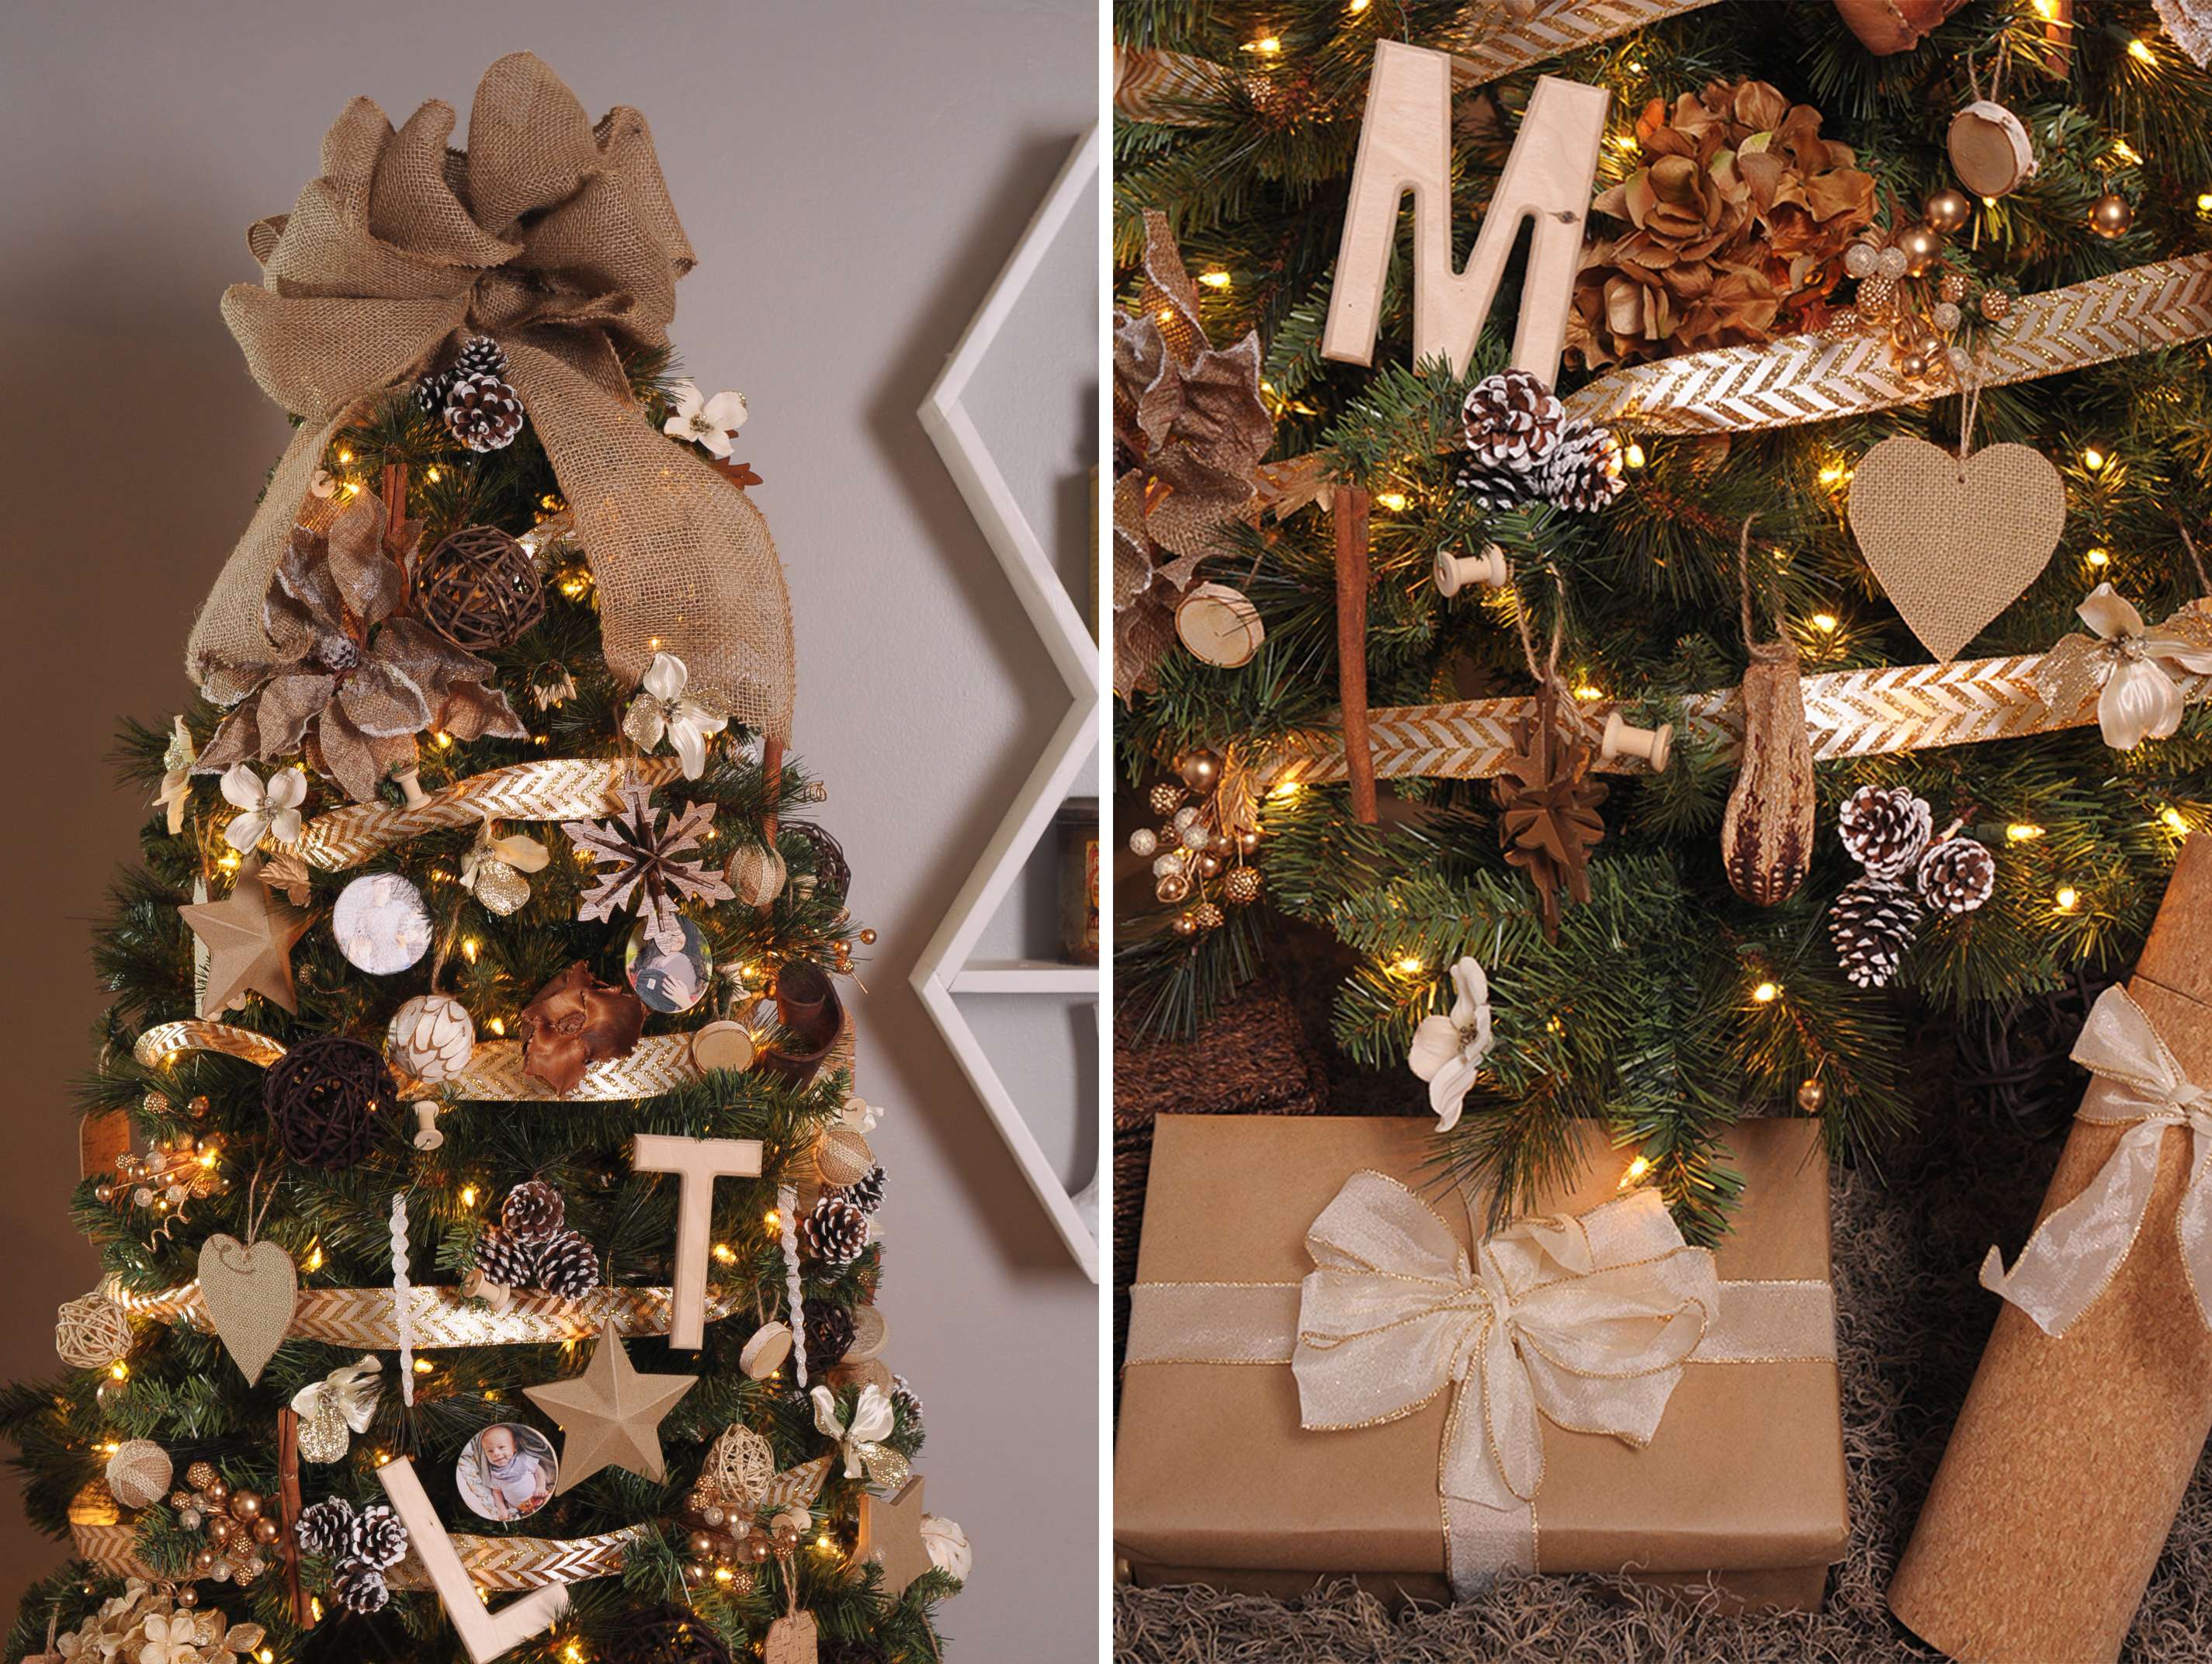
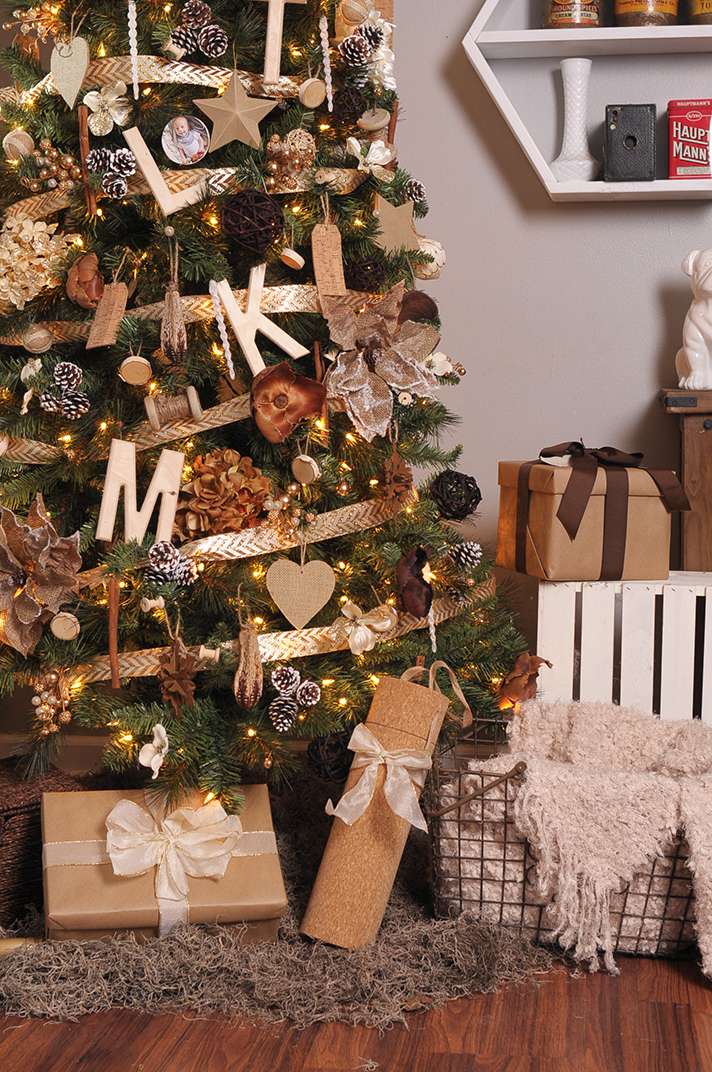
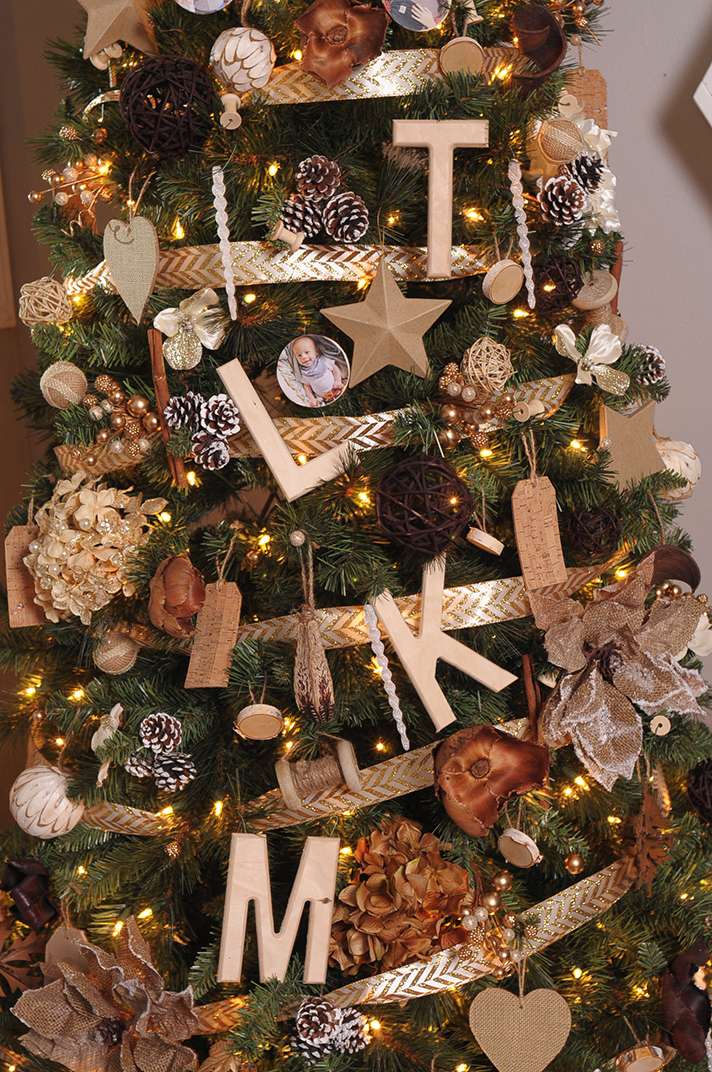
It was important to us not to just go grab a ton of ready-made ornaments to toss on the tree because we really had a specific vision in mind. Since the "Raw" collection launched earlier this year, I knew so many of those pieces would make great decorations. We kept a pretty simple color palette (varieties of brown and cream), but really relied on the textures to make the tree. There's everything from cork tags to decorative potpourri, grapevine balls, and silk flowers. We did buy a couple of ready-made ornaments like the kraft stars, wooden snowflakes (love these!), and the icicles. Everything else was pulled apart and/or attached with some ornament hangers or twine.
Christmas at the Cabin - TheCluelessGirl.com - The Clueless Girl's Guide - Dream Tree Challenge 2014 #MichaelsMakers #TagATree #DreamTreeChallenge
Christmas at the Cabin - TheCluelessGirl.com - The Clueless Girl's Guide - Dream Tree Challenge 2014 #MichaelsMakers #TagATree #DreamTreeChallengeChristmas at the Cabin - TheCluelessGirl.com - The Clueless Girl's Guide - Dream Tree Challenge 2014 #MichaelsMakers #TagATree #DreamTreeChallenge
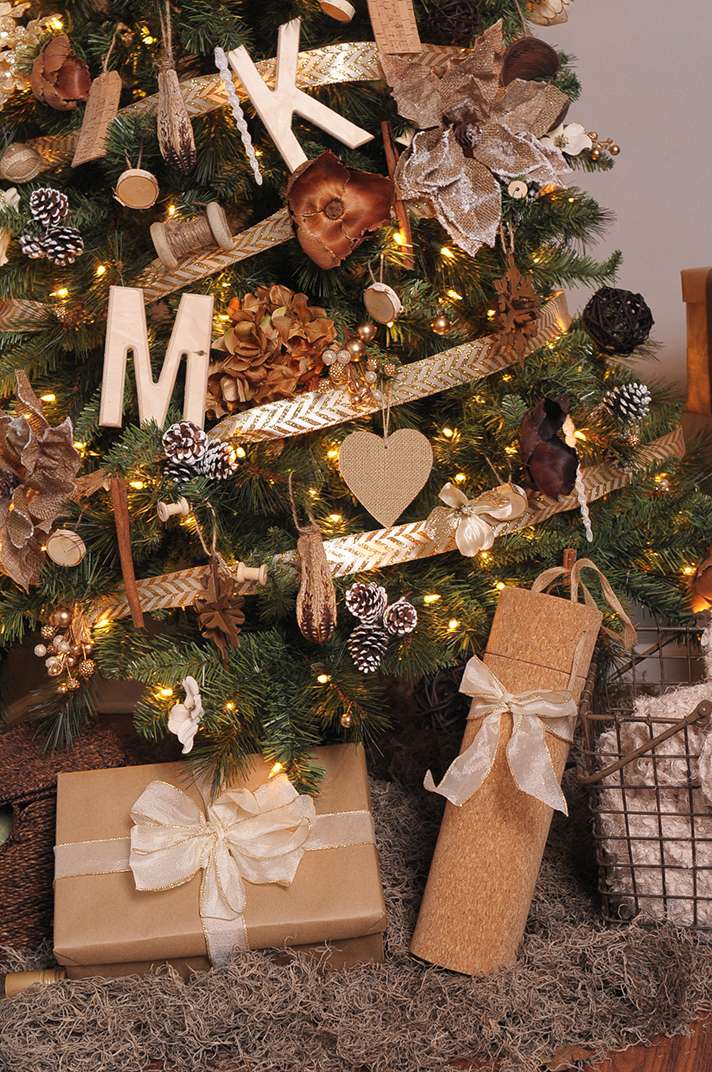
One of my favorite bits are the ivory and gold glitter orchid flowers that we pulled off of a big bouquet and glued to hangers. Mike had the brilliant idea of taking apart some gold boutonniere style pieces and wrapping around stems throughout the tree. We even hung cinnamon sticks straight on the tree so it'd smell good! 

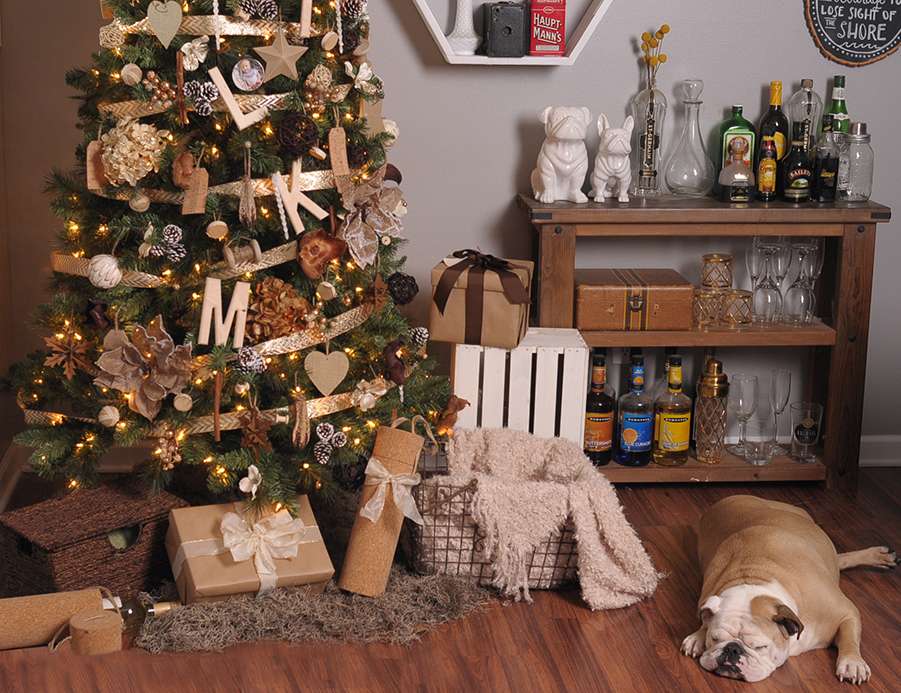
And can you see our "tree skirt" up above? That's three bags of Spanish Moss! We really wanted to sell the rustic theme and I'm so glad we went with the moss rather than a traditional fabric skirt. It can be a little messy if you scatter it around, but luckily Toby and the dogs stay out of it, and Linden can't crawl. We got lucky this year haha! 

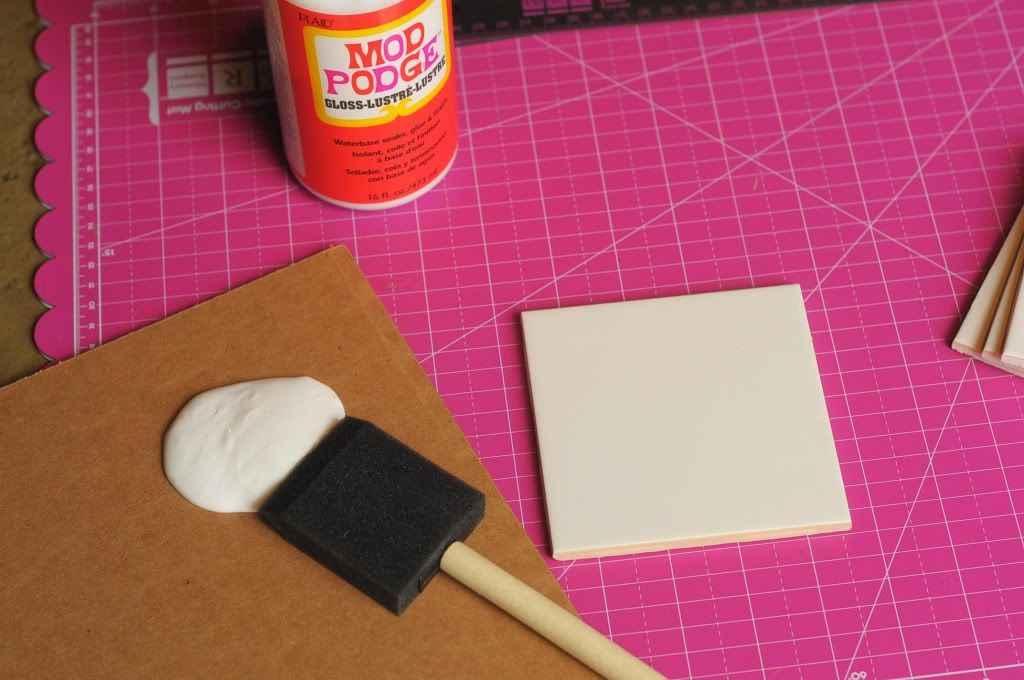
One of my favorite things about our Christmas trees each year is how personal they are. Everyone gets a new ornament every year, and we add them to our growing collection. In order to make this tree a bit more "us" we added wooden initials for each member of the family, and I Mod Podged some Instagram photos on thin wood circles to make our own ornaments.
Christmas at the Cabin - TheCluelessGirl.com - The Clueless Girl's Guide - Dream Tree Challenge 2014 #MichaelsMakers #TagATree #DreamTreeChallenge Christmas at the Cabin - TheCluelessGirl.com - The Clueless Girl's Guide - Dream Tree Challenge 2014 #MichaelsMakers #TagATree #DreamTreeChallenge Christmas at the Cabin - TheCluelessGirl.com - The Clueless Girl's Guide - Dream Tree Challenge 2014 #MichaelsMakers #TagATree #DreamTreeChallenge

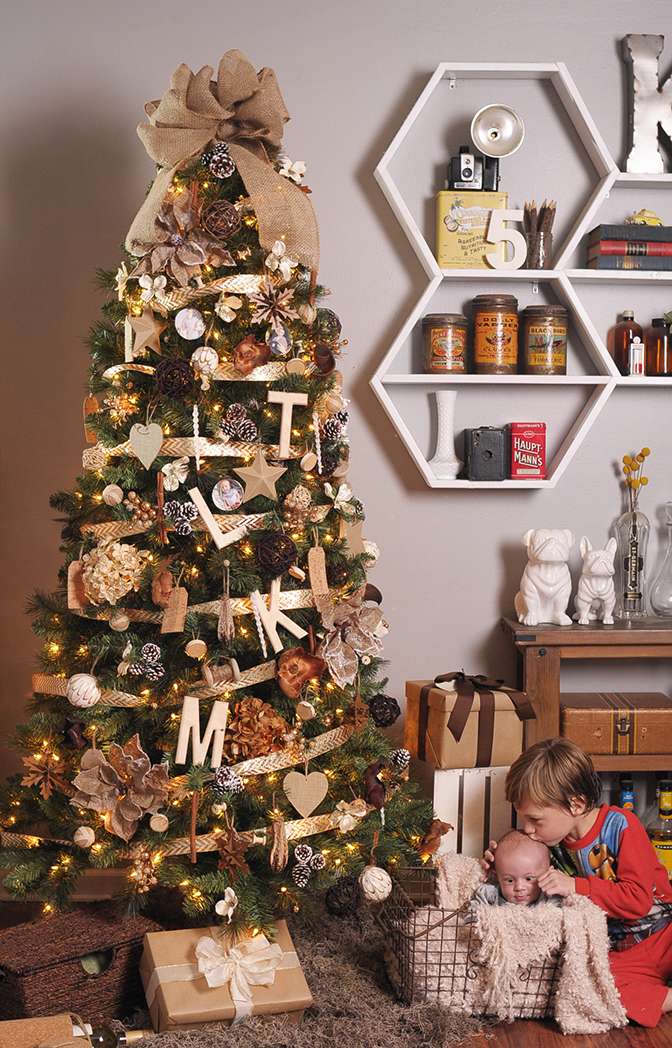
I'm really over the moon about how the tree turned out. I feel like it's the perfect tree for us. It came out far better than I could have ever anticipated! And it's got Toby really excited for Christmas this year! If you want to check out the other Dream Trees from the Michaels Makers, pop over to their blog, The Glue String, for links and photos!

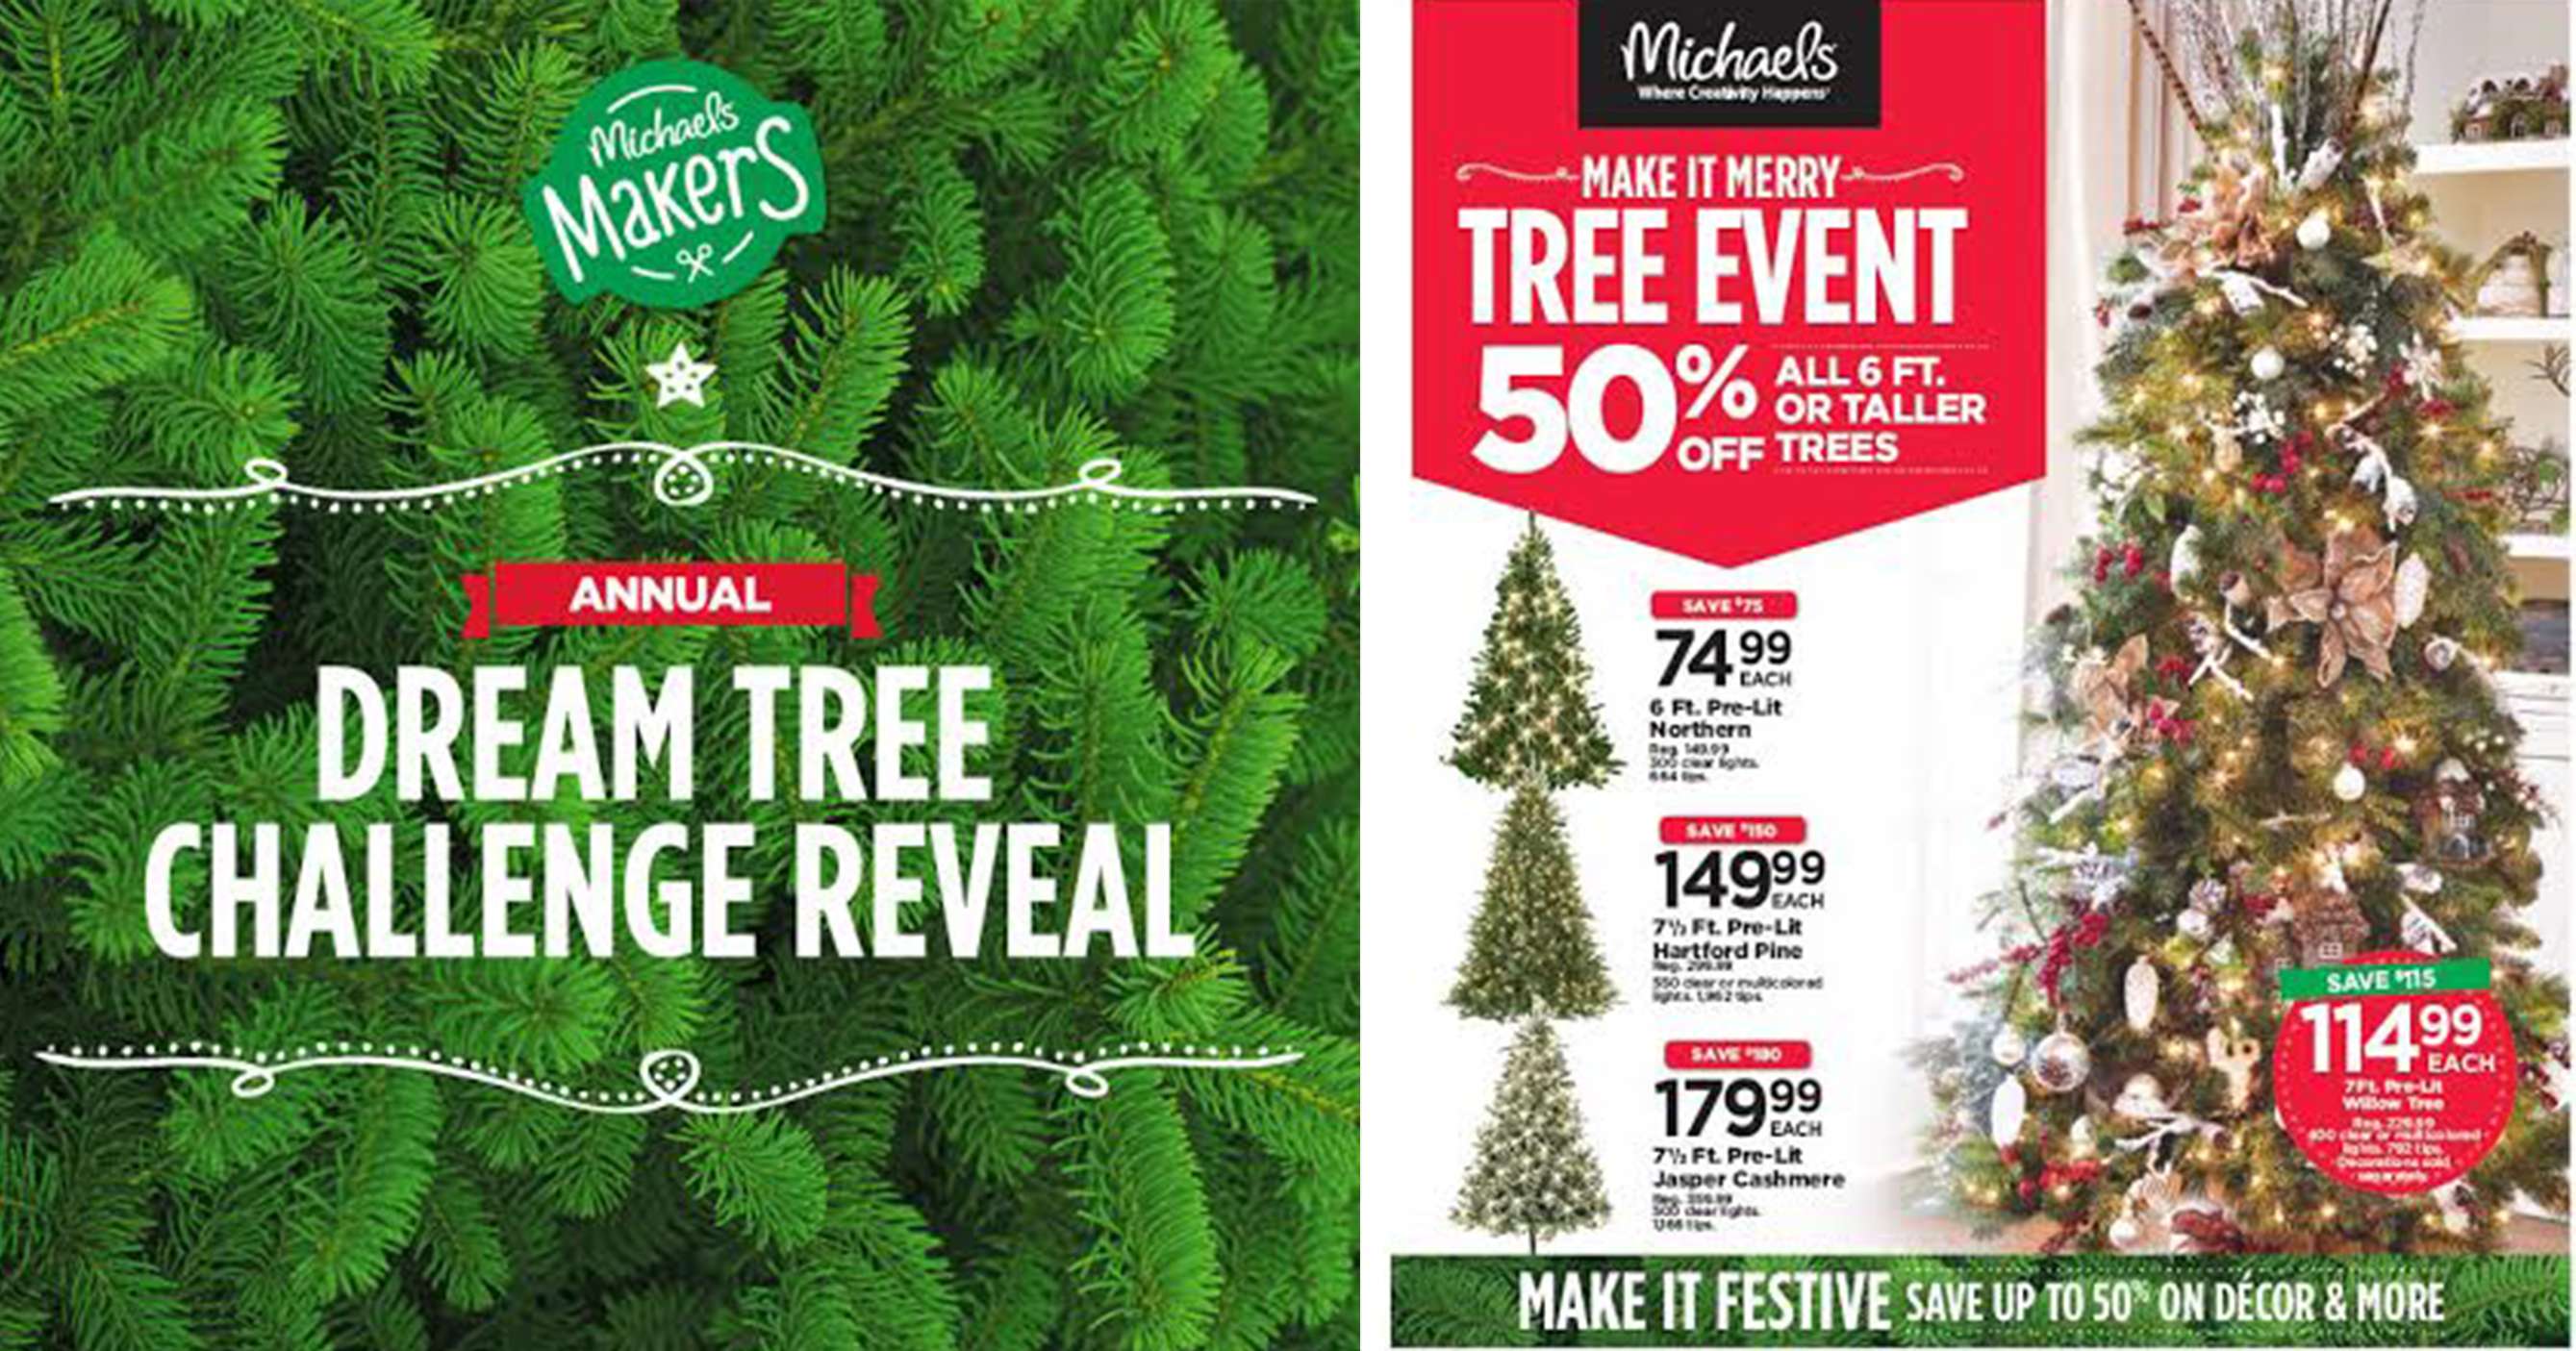
If you're in the market for a new tree this year, Michaels is having their Make It Merry Tree Event November 2nd through 8th and all trees 6ft and taller are 50% off. Their Make It Merry lookbook is full of tips and projects to get you stoked on the holidays.

Now you can anticipate one Michaels' Makers crafty post from me each month! I'm excited to see what types of challenges are ahead. I'll be back in a couple of weeks to share my holiday tree decorating tips (you know, if you trust me to give any advice on that! haha) but until then let me know what you think about our tree! Did we manage to pull off the rustic cabin look?! xo

DIY: Coasters

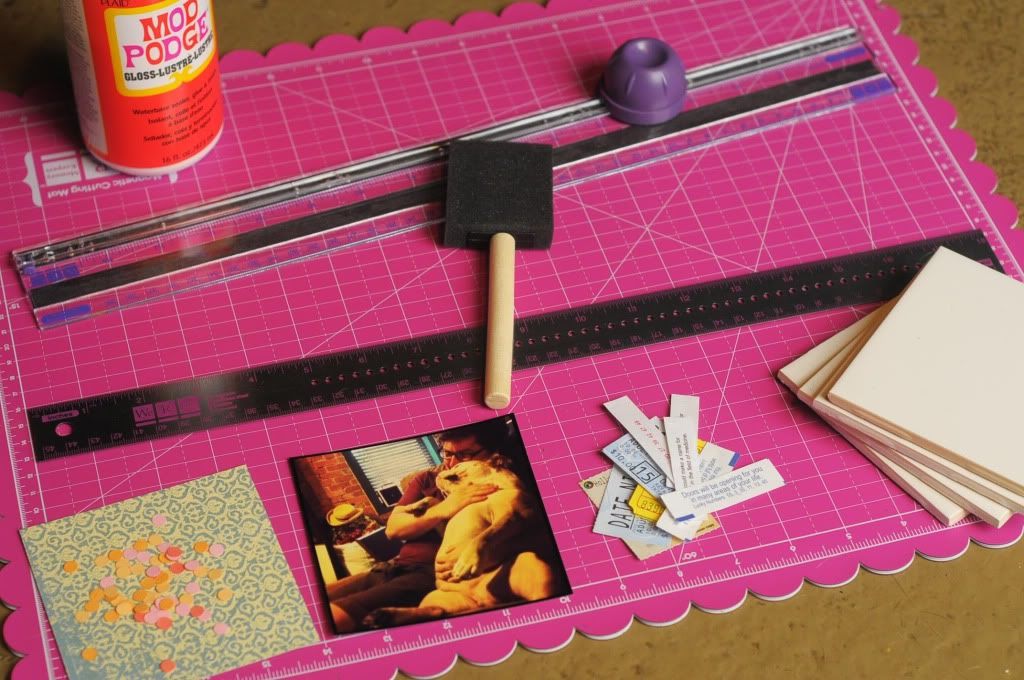
Mike and I decided to do a fully handmade Christmas this year (with one or two exceptions thrown in. Dads are hard to make for!) We were super excited to devote a handful of days to just getting crafty and baking away. I started on these coasters a couple of weeks ago (!!!) and only meant to make about 4 sets. I ended up making about 16! They're so simple and effortless that I couldn't help myself. It was fun to try different techniques to make them special, too. These are great inexpensive (yet thoughtful!) gifts for anyone you may know (or even to use in your home!). I made batches for practically everyone, and ew used our Instagram prints we've had lying around for our own set. Below I'll show you three fun ways to spruce up your own porcelain coasters, and give you a few more ideas! (It's really so simple that I don't need to do a step by step tutorial!)


What you'll need:
+ Four 4.25" x 4.25" porcelain tiles from hardware store
+ ModPodge
+ Foam brush
+ Paper or something for the "design"
+ Felt furniture backings

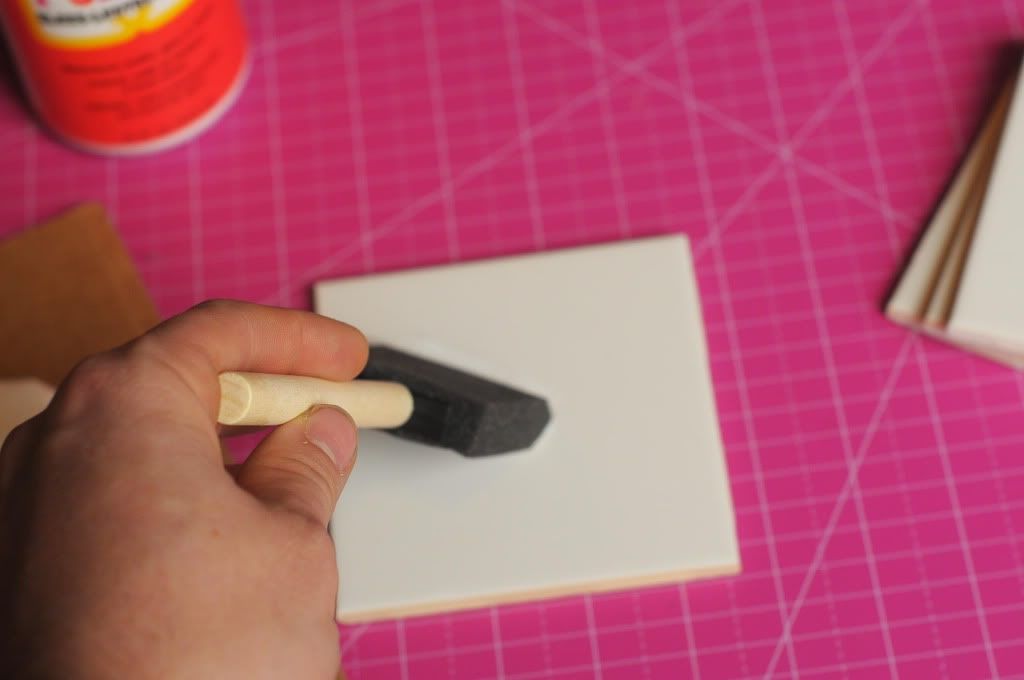
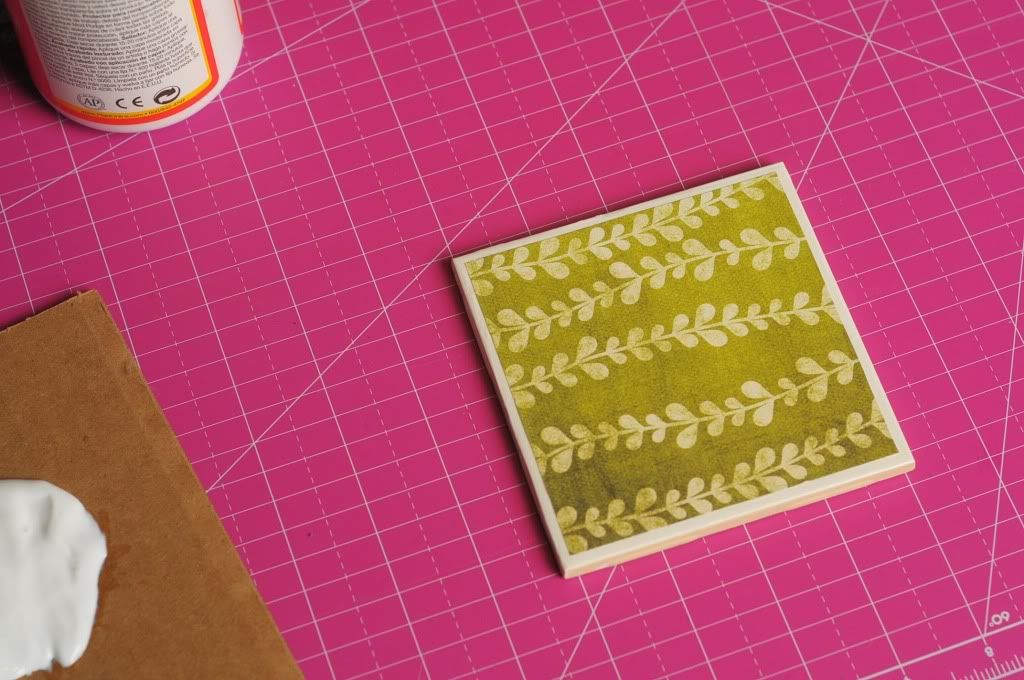
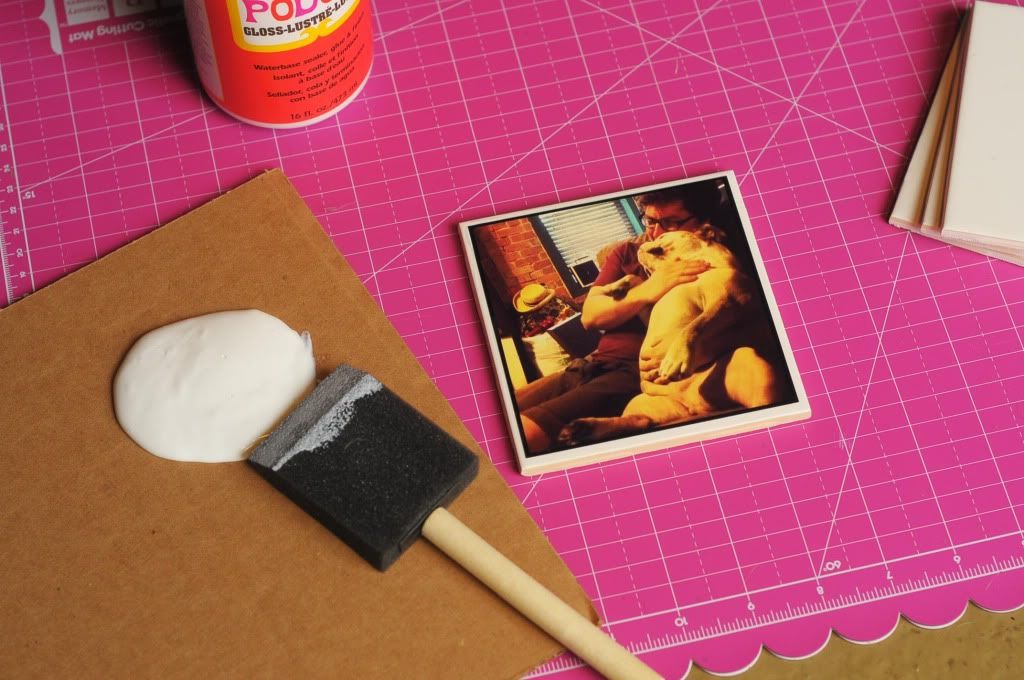
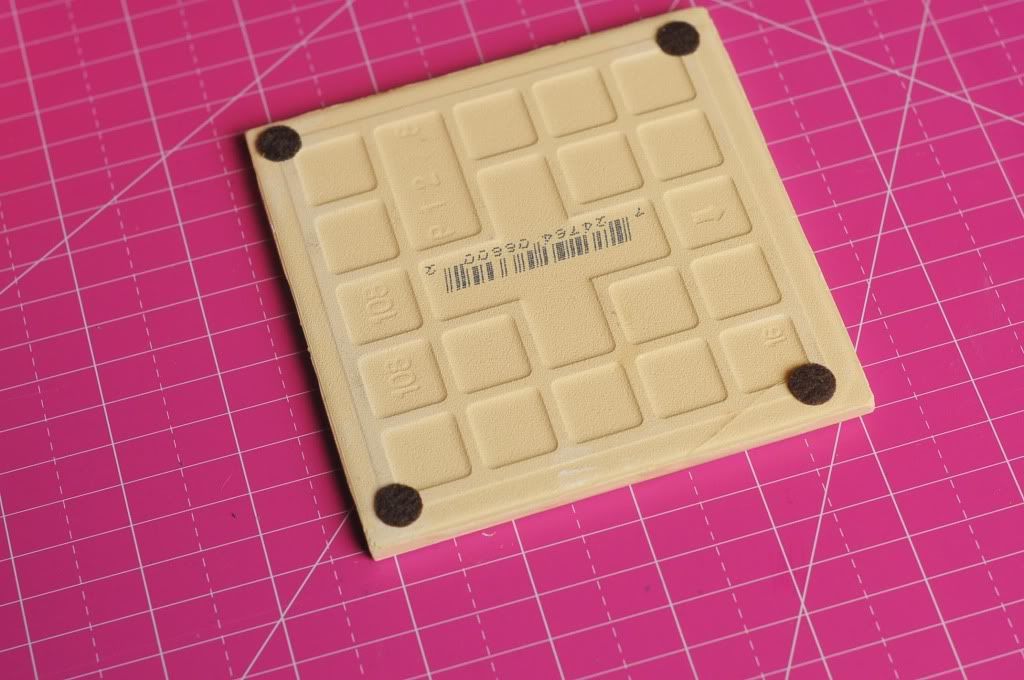
What you'll do: If you're using scrapbook paper or something of the sort, trim it into a 4"x4" square. (One piece of 12" scrapbook paper makes 9 (!!!) coasters!) Pour out some ModPodge and use your foam brush to brush a layer onto the top of the porcelain tile. Immediately place the design paper onto the fresh ModPodge. If you're using small pieces of paper for a collage, be careful not to tear them! The MP is sticky! Wait 20 minutes and allow it to dry. Come back and add another coat of MP over all 4 tiles, making sure to pay close attention to the edges. Allow this coat to dry for another half hour or so, and repeat two more times. After 3 coats of MP, you may turn over the coaster and add 4 felt backings to each one. This will help protect any surface it sits on. 

Voila! You now have a set of personalized coasters! Stack them up and tie them with a ribbon for a pretty presentation!

Tips and tricks: Use old movie stubs or anything that may be special between you and the recipient to make it more personal. Mike and I made a set with old date tickets and fortunes! You can also use baby pictures, pictures from growing up, or family portraits. If you have a new baby in the house then it could be sweet to use pictures of him/her to give to the baby's grandparents (or if you're on the outside then you can gift these to the parents of the baby!). If you decide to use small pieces, confetti, or anything with ink, pick up some transparencies at the office supply store and cut them into 4x4 square to place on top. This will help keep the coating even and nice. 

If you'd like to order your own Instagram prints (which are sized at 4x4!), use Mpix or download the Postal Pix app on your iPhone! 

These make great gifts because they're easy to make and cheap to put together. The tiles cost 16 cents a piece at Home Depot. 1 sheet of scrapbooking paper is enough for 2 full sets and is only 50 cents. The felt backings can be bought in sets of 25, 60, or 80 for only about $2.75. At the end of the day each set cost us roughly $1 to make (Instagram sets run about $2.50 or less!)

What would you put on your coasters if you made a set?! 

Wedding Wednesday


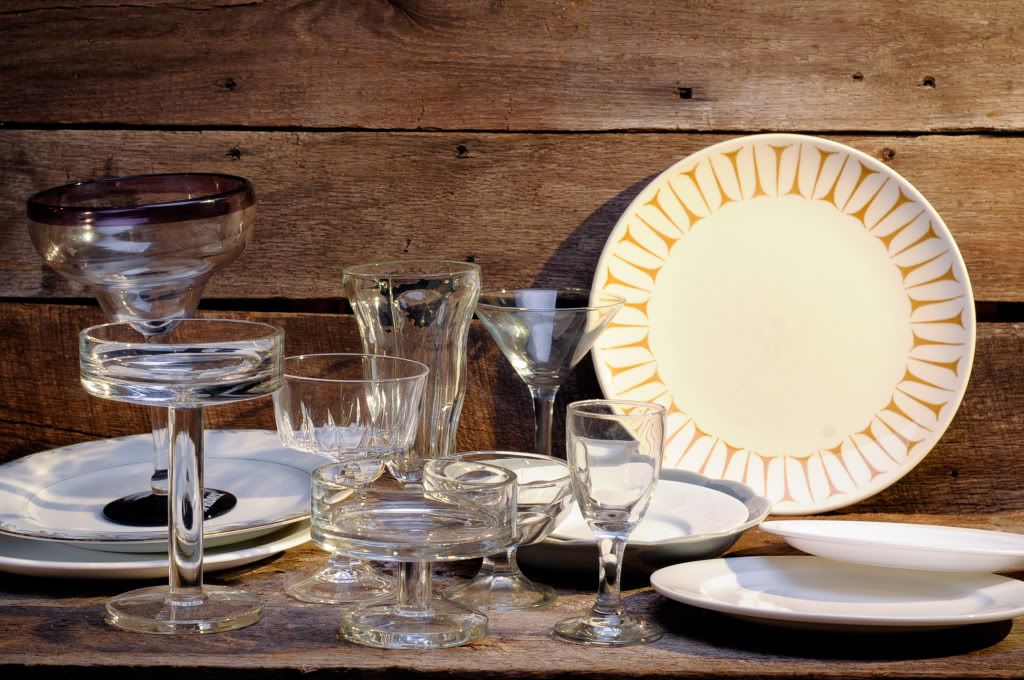
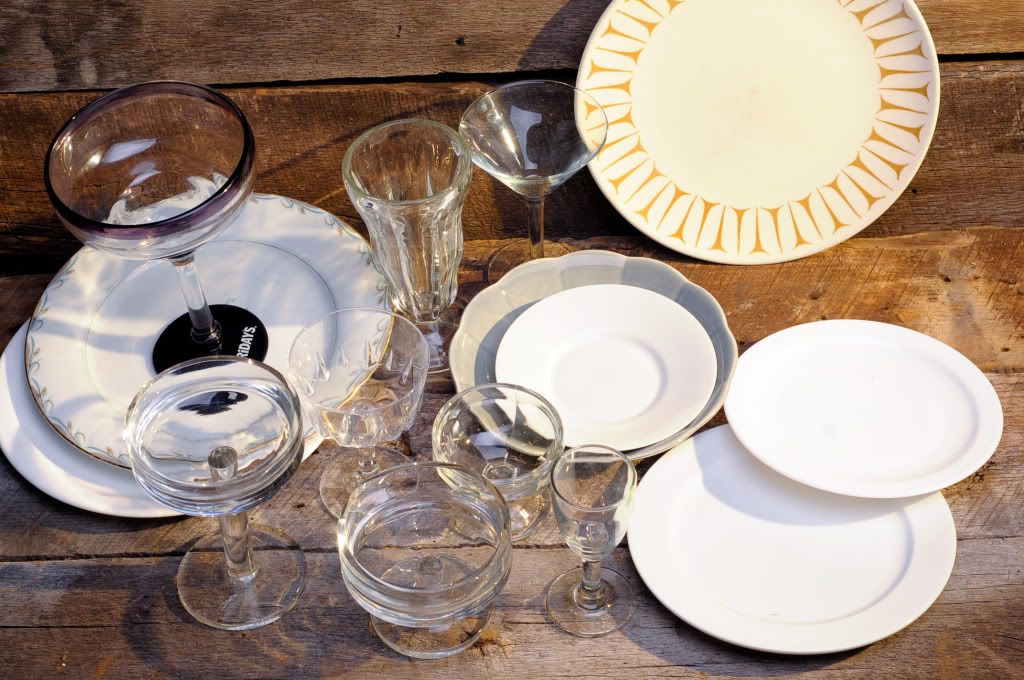
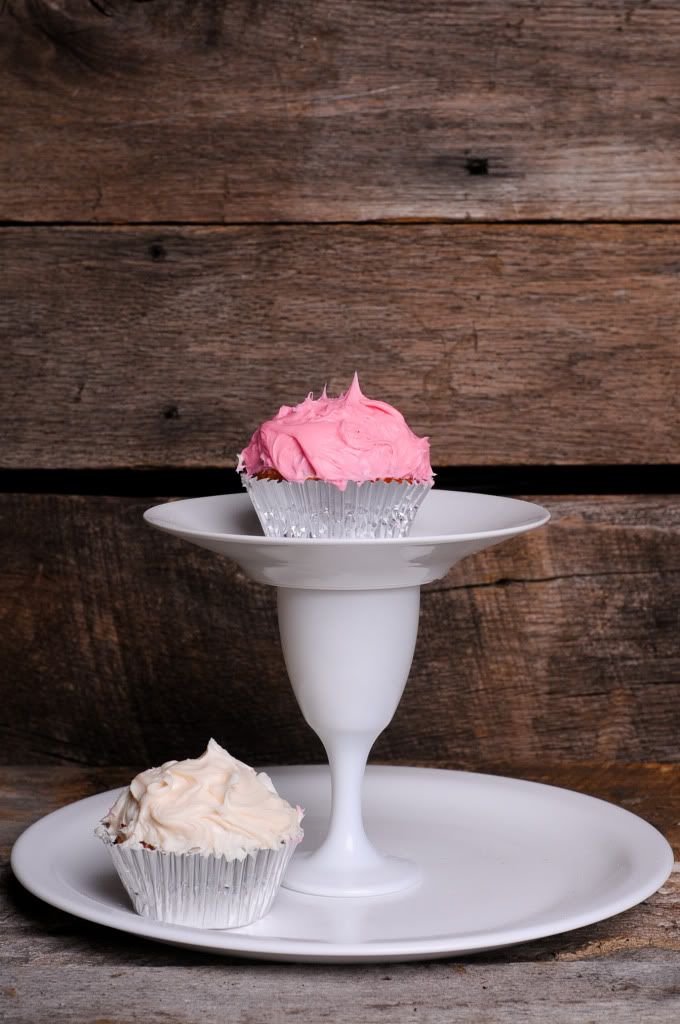
This Wedding Wednesday is another super simple DIY that I've been doing for a few years. I love the look of cute little cake stands at a gathering or party. I'm kind of drawn to "mini" sized things and think they're cute (admit it, you do too!). Maybe you're throwing a fete of your own, a wedding, a birthday party, or a baby shower... either way, these little DIY stands would make a great addition to your spread! It's an easy process so peep below! 

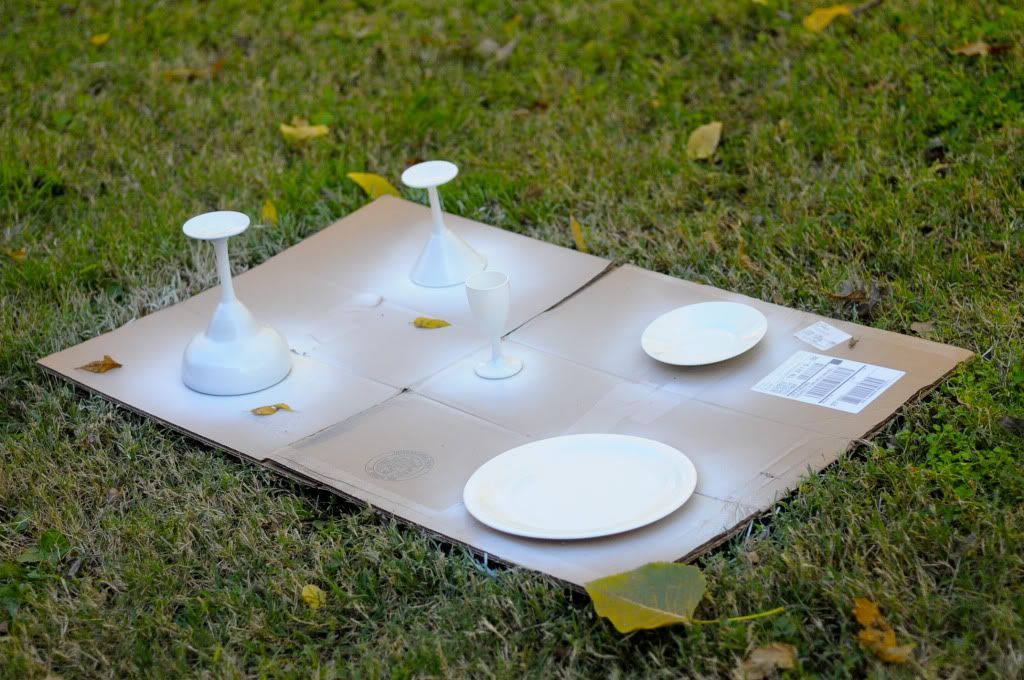
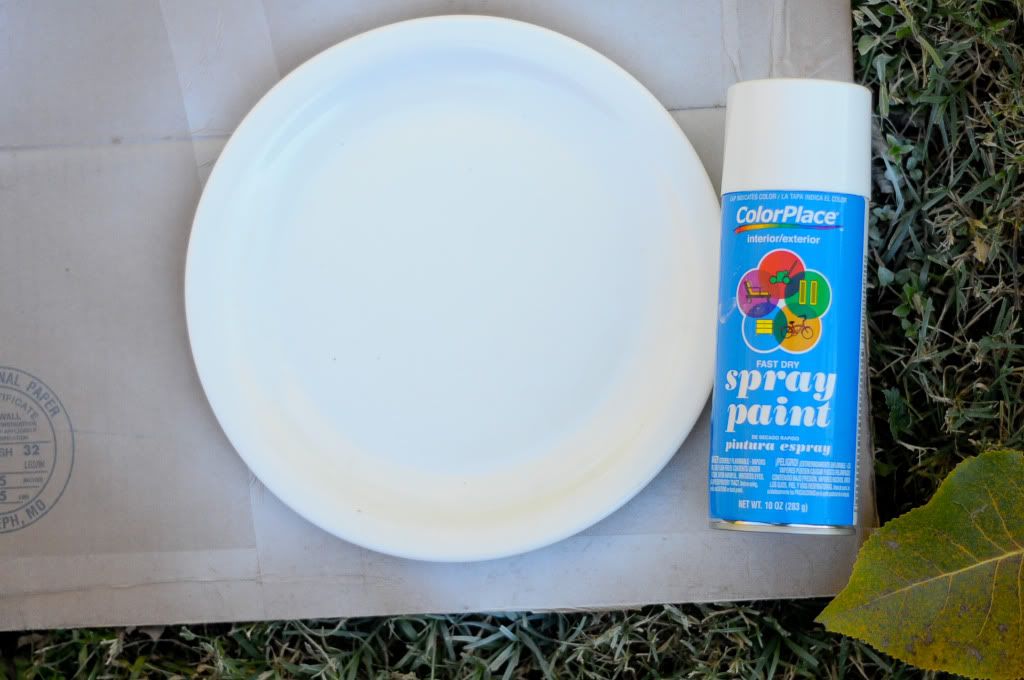
What you'll need: A variety of glassware (with stems for maximum effect!), plates, saucers and/or small bowls, your choice of colored spray paint, an industrial strength epoxy or glue (like E-6000), and a surface which you can spray paint on (cardboard works great!)

We picked up all of our glassware at Goodwill to keep the cost down. This is a really great, inexpensive way to make a statement at any party you might throw!


First make sure all of your glassware is clean and there is no left over sticker residue. Wash them really good and dry them thoroughly. Lay them out on your cardboard and give them a couple of light paint coats. Be careful not to put it on too thick or too quick! The paint will start to run and it'll look not so pretty! Let the paint dry and see if it needs another coat. Then flip it over and do the other side!

Once the paint dries, bring the pieces inside and decide what pieces you want to go with each other. Use your industrial strength glue to line the edges of the stemware that will act as the bottom of the stand, and place the plate on top of it. E-6000 says for optimal hold, allow for up to 24 hours to dry. I've found that just giving it 4 or 5 is perfectly fine, especially if you can stack a book or two on top of the plate to help weigh it down! Do this to all of your pieces and let them dry.

Above you will see a few that we made using various glasses such as martini and margarita stemware. You can choose to paint all of the pieces, or you can leave the stem or plate unpainted to show a cool pattern of color. Use the stands to put cookies, brownies, cupcakes, or even tortilla chips on! You can always add additional tiers to make it super fancy or to hold something like your salsa! Yum!

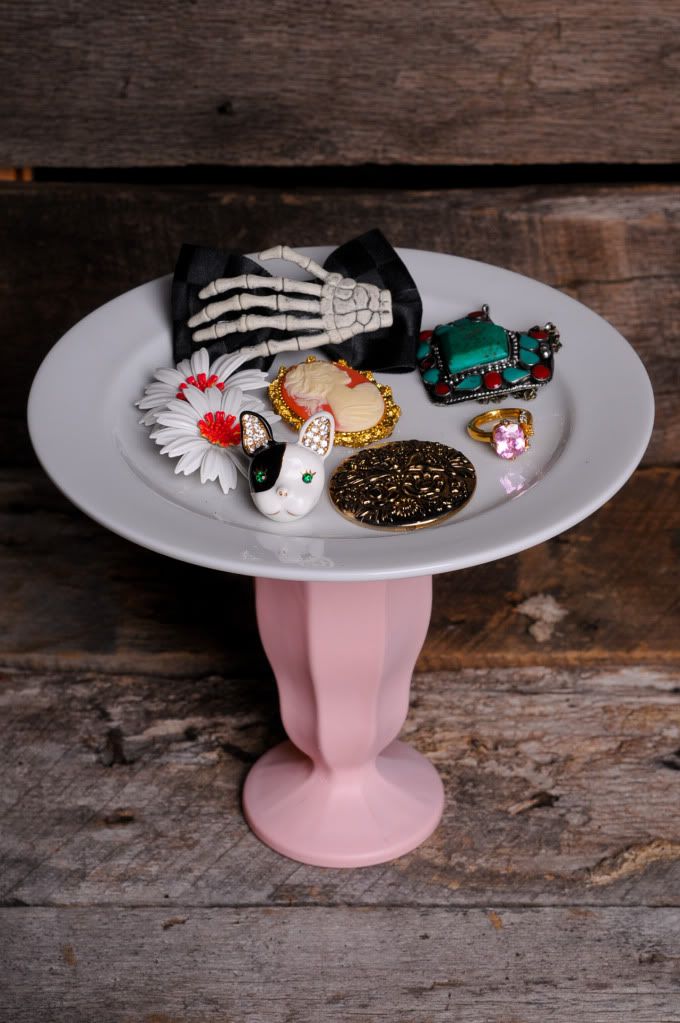
Other practical uses for these stands: Jewelry and makeup display (I have the pink/white one above on my vanity that holds bits and bobs like some of my brooches, plugs, and rings!). Use it in your craft closet to keep track of thimbles, your pincushion, loose buttons or handy trim. You can even set it up at a craft show to hold your business cards so they're easily accessible when people walk by!

The uses for these little things are endless! So many things you can make, and so many ways you can use them! Get creative with your color palette or patterns. Mix and match, use a bowl on a candlestick or a saucer on a margarita glass! The cooler the shapes, the better! In places like your bathroom, vanity, and craft closet, they really help add a bit of storage without taking up a lot of real estate on the bottom. You can still set things underneath and around!

Enjoy! xo
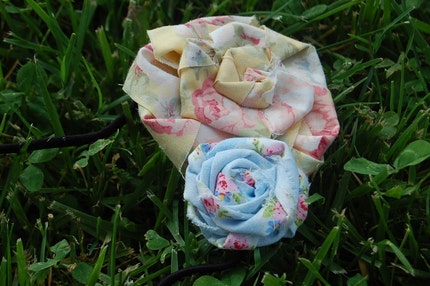
PS: Be sure if the cake stand will have direct contact with your food, to put a piece of wax paper, or a paper doily, underneath to avoid any type of contact with the paint! This isn't an issue with cupcakes since they have liners and the like, but for cookies, brownies or cake, make sure there's a solid layer of something to keep it safe! ;)

Crafty Creatives


I inquired on Twitter yesterday what everyone's favorite crafty business books were in terms of running your own business, financial plans, etc, and I had an overwhelming amount of people point in the direction of these books so I snagged them up on Amazon yesterday for cheap! I also love the free Amazon Prime 2-day shipping so I might have 3 of these as early as tomorrow! Woot!

Have you read any of these? Love them? Hate them? Recommend any others? 

I'd love to hear your feedback!

As seen above:
Craft, Inc. Business Planner, Craft, Inc., Creative, Inc., and The Handmade Marketplace

PSST! These could make a great Valentine's gift for the crafty person in your life! Jump on the Amazon Prime shipping and you'll have it in time for the lovey dovey holiday!

Guest Post: LindsayHarmony DIY Felt Penguin Ornament!


Hello everyone! I just got my Christmas tree a couple of days ago, and I don’t know about you guys but I love handmade Christmas ornaments! They don’t have to be too complicated either, here’s a tutorial for an easy and fun penguin ornament made of felt and some fabric scraps.

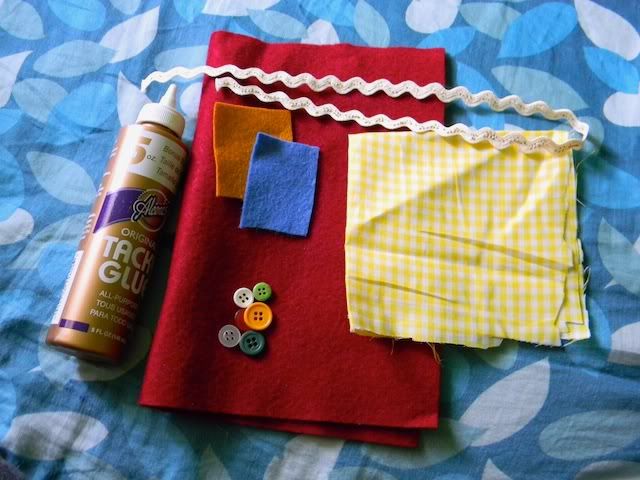
Here’s what you’ll need:

felt and fabric penguin christmas ornament diy

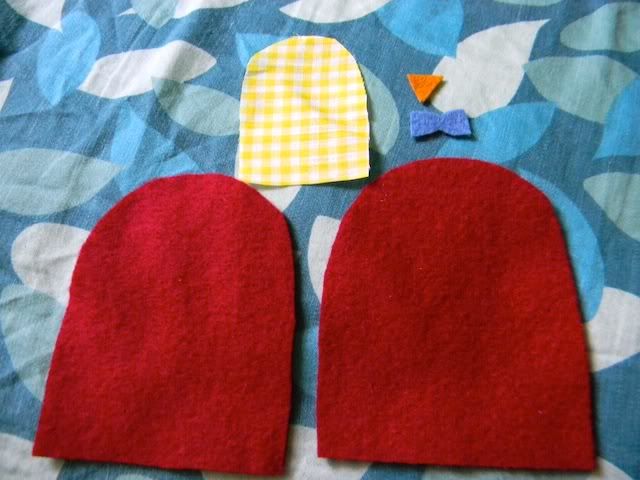
Some felt in a few different colors (one main color for the body plus a few scraps for the beak and bow tie), some fabric scraps, buttons, some ribbon or rick-rack, a needle and thread, some glue, and optional polyester fiber-fill (or other stuffing material).


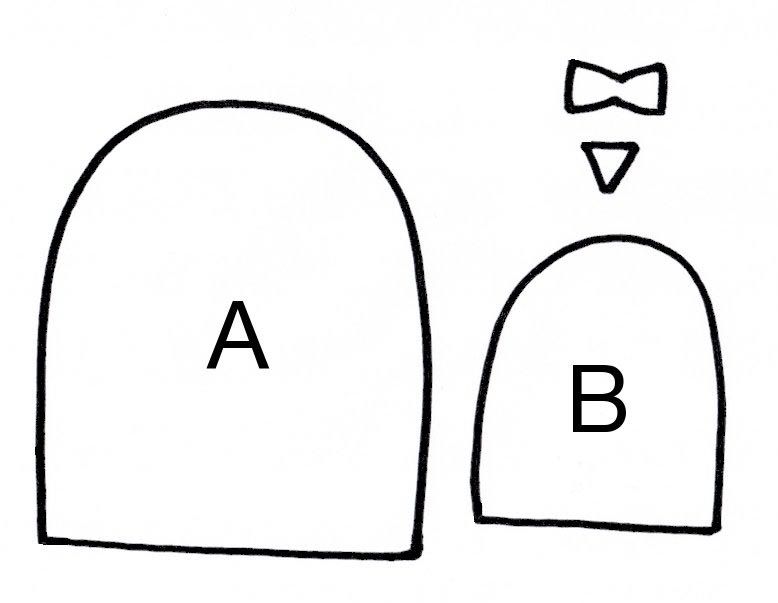
First, print and cut out the pattern pieces attached, then trace and cut out all your pieces. Part A will be cut from your main color of felt twice, this will be the front and back of the penguin. Part B will be cut from your fabric scraps, this will be the belly. And the bow tie and beak can be cut from other scraps of felt.


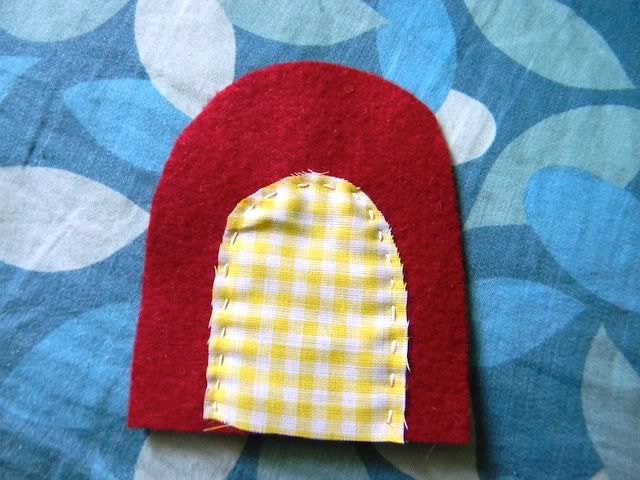
Next, you’re going to want to sew or glue the belly piece onto one of your pieces of felt. Line the bottoms of the pieces up. If you’re choosing to sew it on, you only need to sew the arch part, as the bottom will get sewed together later when you sew the back and front together.

felt and fabric penguin christmas ornament diy

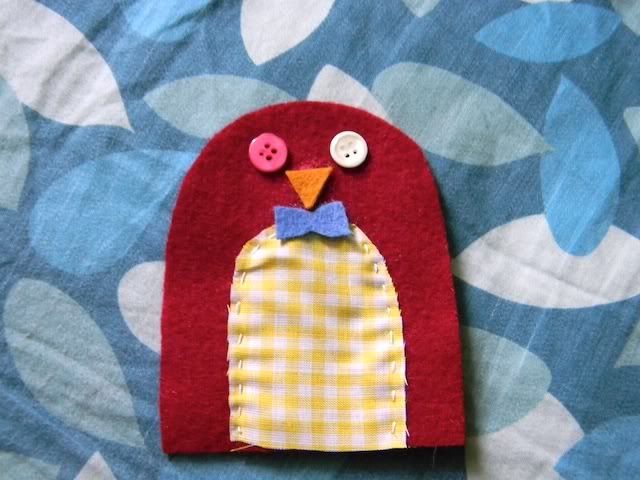
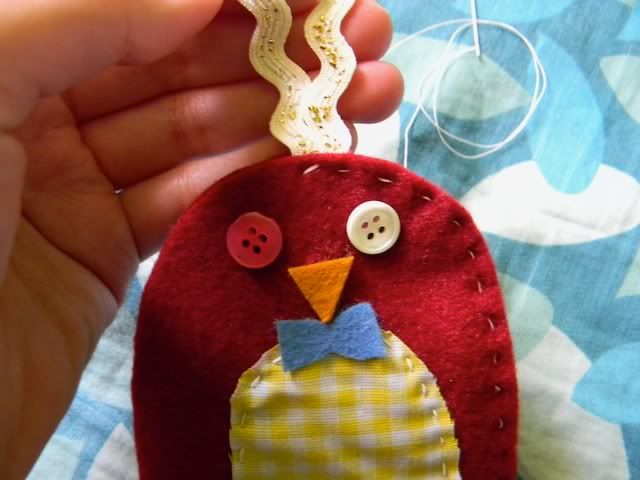
Next come the eyes, you can again either sew or glue on the buttons. Then glue on the beak and bow tie. I prefer to glue these rather than sew because they’re so tiny. If you’re using tacky glue, don’t worry about getting any on the felt, it will dry clear!

felt and fabric penguin christmas ornament diy

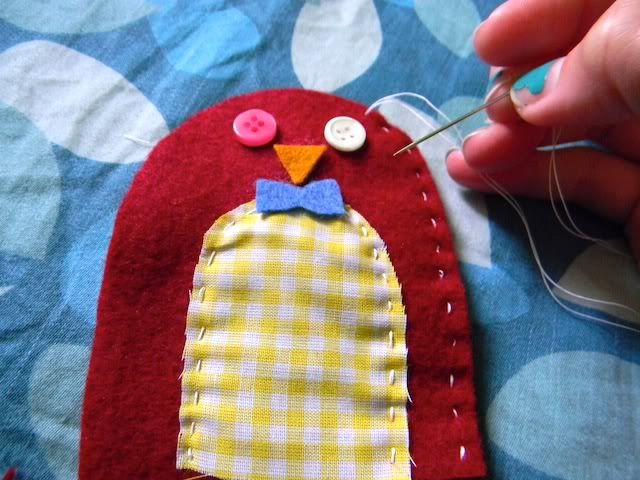
Now you have the front of the penguin done! If you wanted to make this a no-sew project, you could easily glue on some ribbon to the top of the penguin and he’d be all ready to hang. But if you’d like to stuff the penguin, it’s time to stitch him all together! We’re going to stitch this front piece to the other piece of felt you’ve cut out. Lay the front piece on top of the back, and start to sew a running stitch all around the edges.

felt and fabric penguin christmas ornament diy

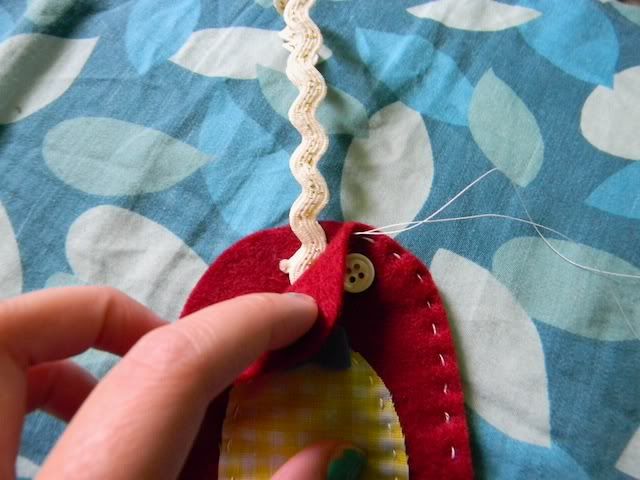
Once you get to the top, fold a piece of ribbon or rick-rack and lay it in between the front and back of the penguin. Sew over this to secure it.

felt and fabric penguin christmas ornament diy

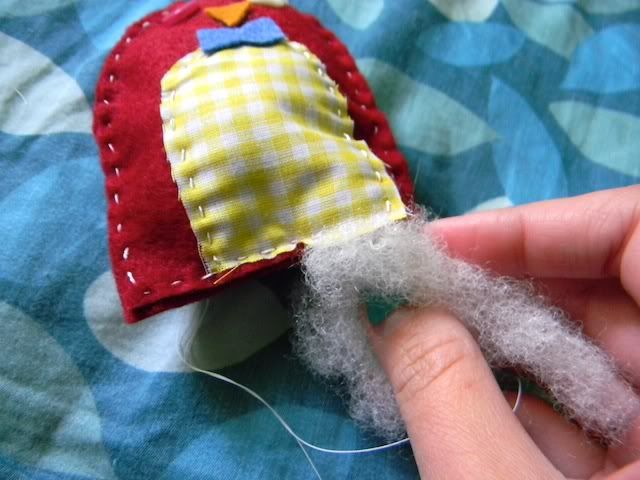
Continue sewing all the way around, until you have about 2 inches left to sew. Stuff the penguin as little or as much as you’d like. I personally like mine a little plump =]

felt and fabric penguin christmas ornament diy

Finish off the stitching with a knot and you’re all done!

felt and fabric penguin christmas ornament diy

I love to make these little penguins in all kinds of color + fabric combinations. They make great gifts and look perfect on any tree!

Happy crafting!

-Lindsay

-------------------------------------------------------------

Be sure to stop by Lindsay's etsy shop to see her cute little pieces of felty-goodness! (The shark is my favorite! Followed close behind by the Sweet Autumn headband!) Thanks Lindsay! Stay tuned for a magical metallic foil wreath by SusannahBean coming up later today!

New Etsy Update!

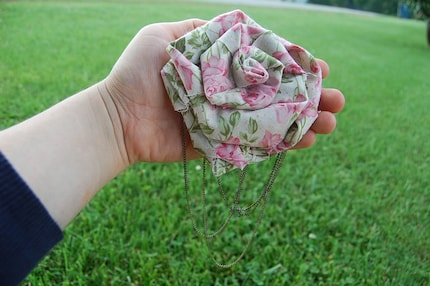
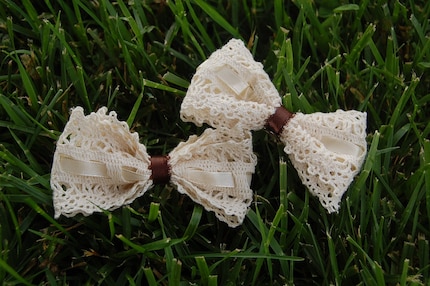
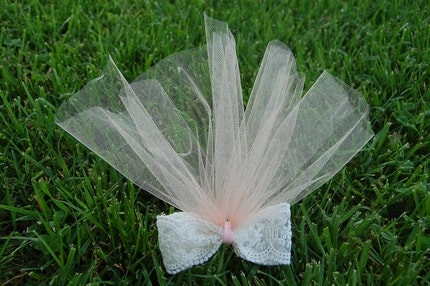
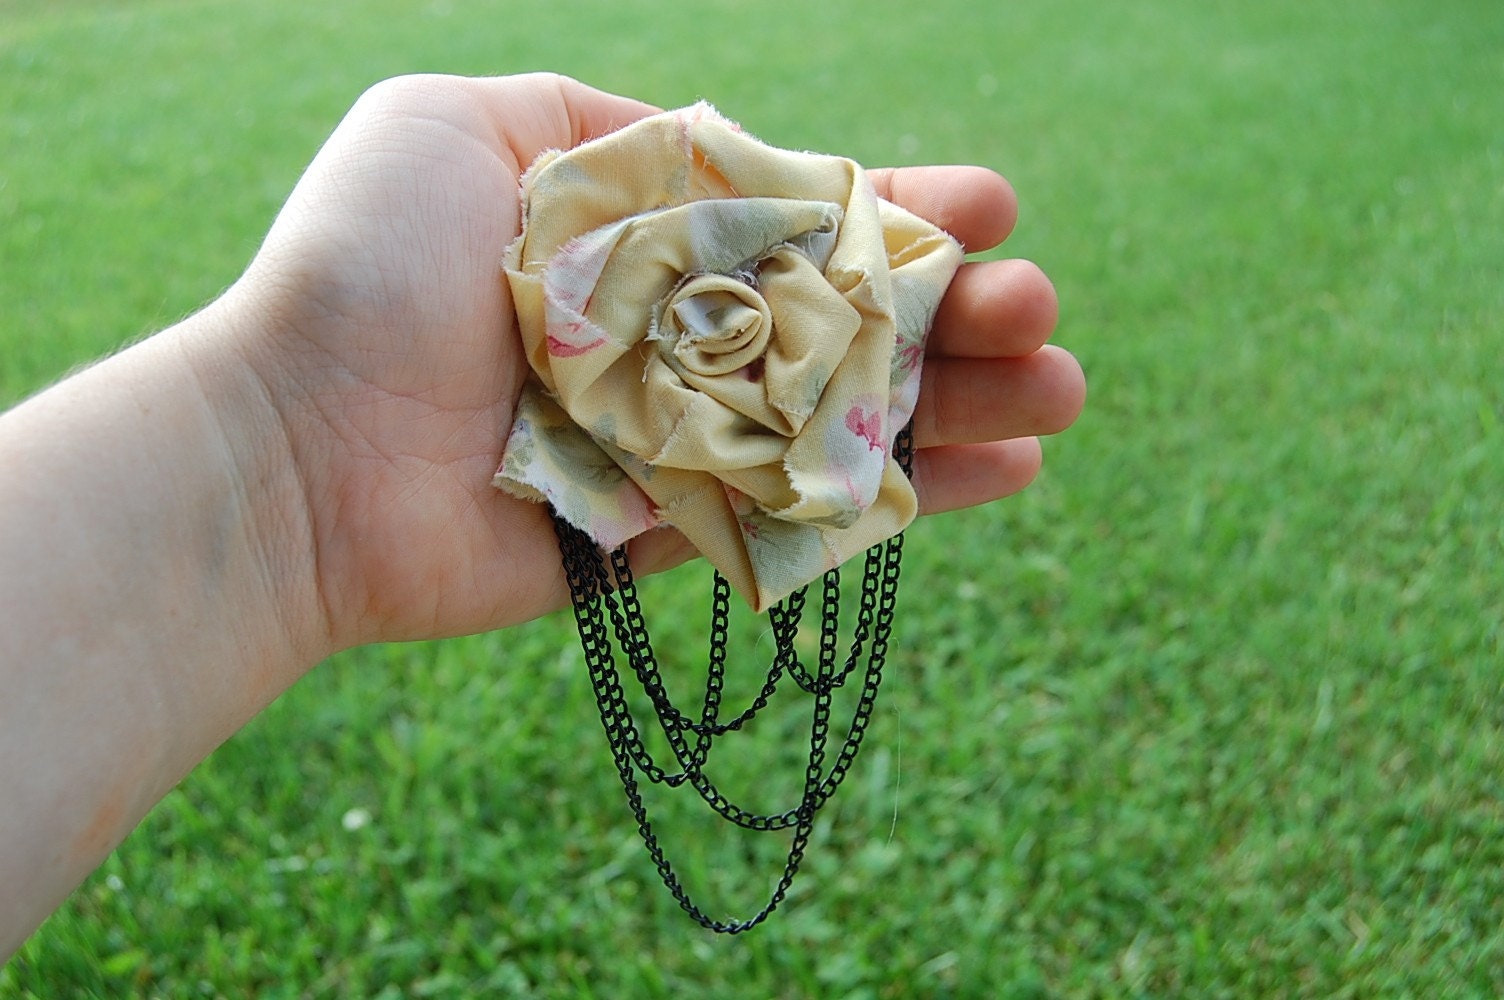
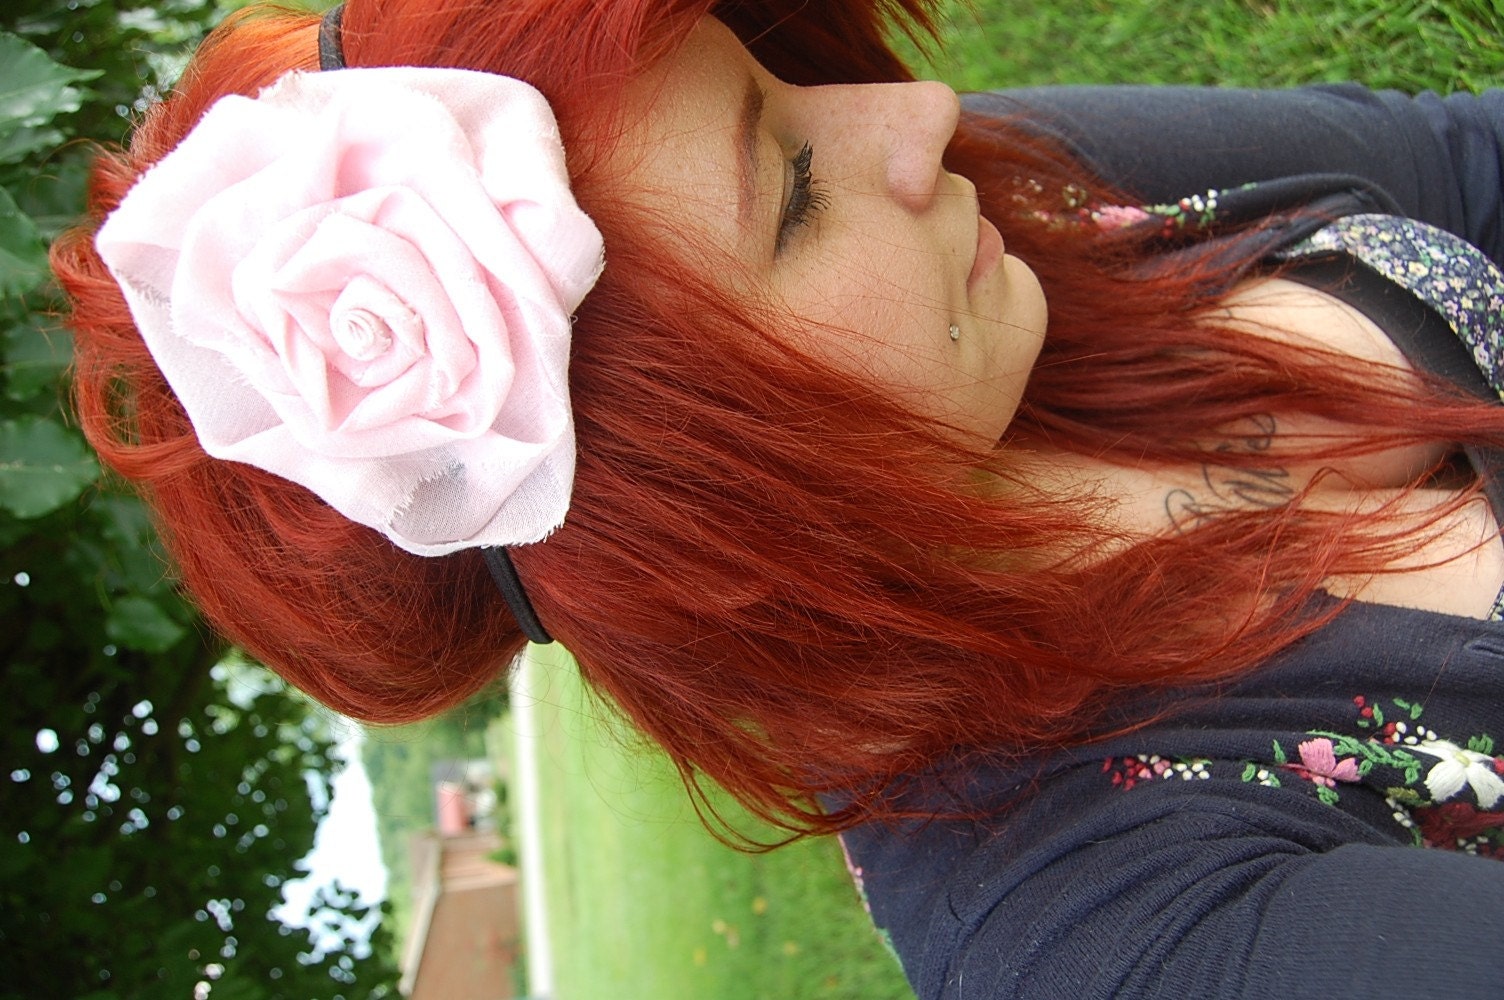
Since all of my Etsy inventory was ruined thanks to the flood, and Georgia has to have her third eye surgery (this time it's a double-eye surgery!), I've decided to craft my way through it :) I've made some floral rose barrettes, brooches and headbands, along with lace bows and things of that nature. I've priced them all very modestly (at least I think so) so hopefully some people would be interested in buying some. Georgia's surgery is not going to be cheap, so 100% of the proceeds will go directly to that. Her vet appointment is tomorrow so we will schedule it then and find out the damage. The most important thing to me is that she's happy and healthy.

Her surgery is due to the fact her eyelids are rolling in as she grows, thus causing her hair to scratch her corneas. This happens to a lot of dogs so I'm sure the surgery will go smoothly.

I will be taking my craft supplies with me to NYC so I'll be able to keep up with it while there as well. Any and all support would be more than amazing. She's my little sweet pea so this is all for her. I hope you enjoy the update!


There are 30 new items to choose from. I am happy to do custom orders, both in quantity and look. Any fabric you see can be paired with any other for a double or triple headband, as well as any kind of brooch and barrette.

CLICK HERE to see my Etsy. :)

xoxo
PS; Karlie is selling some of her clothes. Check out her stuff and see if you're interested!

PPS; Thanks for the sweet responses to my video tutorial! A lot of people have asked me to make more videos so please suggest things you'd like to see! I'm bad at coming up with stuff. Someone in my FormSpring asked me to do a relationship advice/positivity video, so if you have anything you'd like to ask or add, please leave it in a comment below or head over to my FormSpring! Feel free to suggest anything! xoxo