Showing posts with label foodie feature. Show all posts

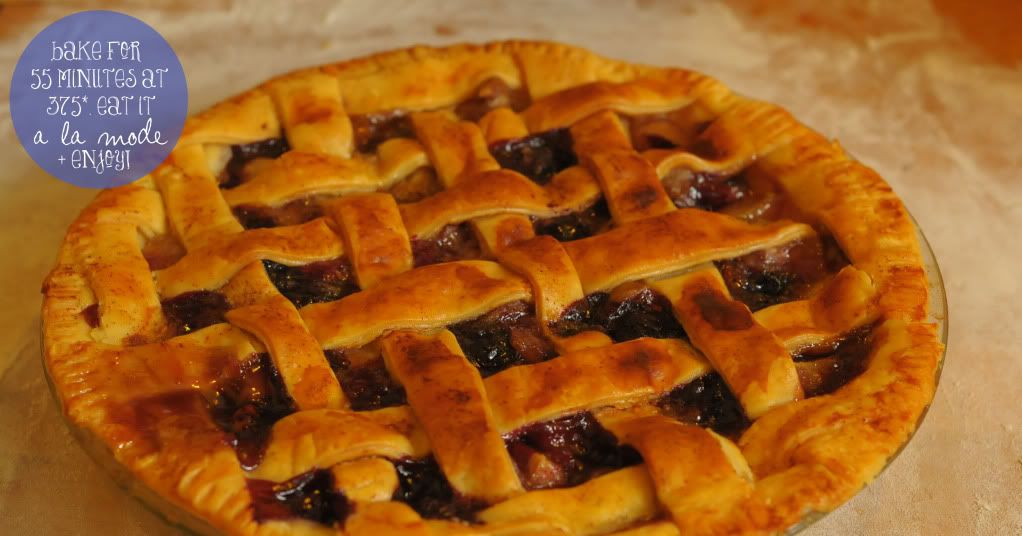
Mike's Blueberry-Peach Pie

I've been waiting for what feels like forever to post this recipe. Timing issues and scheduling aside, this pie is long gone in our house. We pretty much ate one piece each per day until the pie dish was totally clean. Yum! Mike threw this recipe together with absolutely no help from the internet or a cook book. I mean, pies really aren't all that hard... it's just baked fruit. So he mustered up some courage to just throw things in a bowl and cook it... and it was the most heavenly thing I've ever eaten! Seriously... sounds like a slightly strange combo but nothing beats it! Give it a whirl! (Edit: I didn't realize how small/hard to read the photos would be... Whoops! Too late. You can click on each one to see it larger or you can follow the typed out version below! Or maybe you have better eyesight than me!)

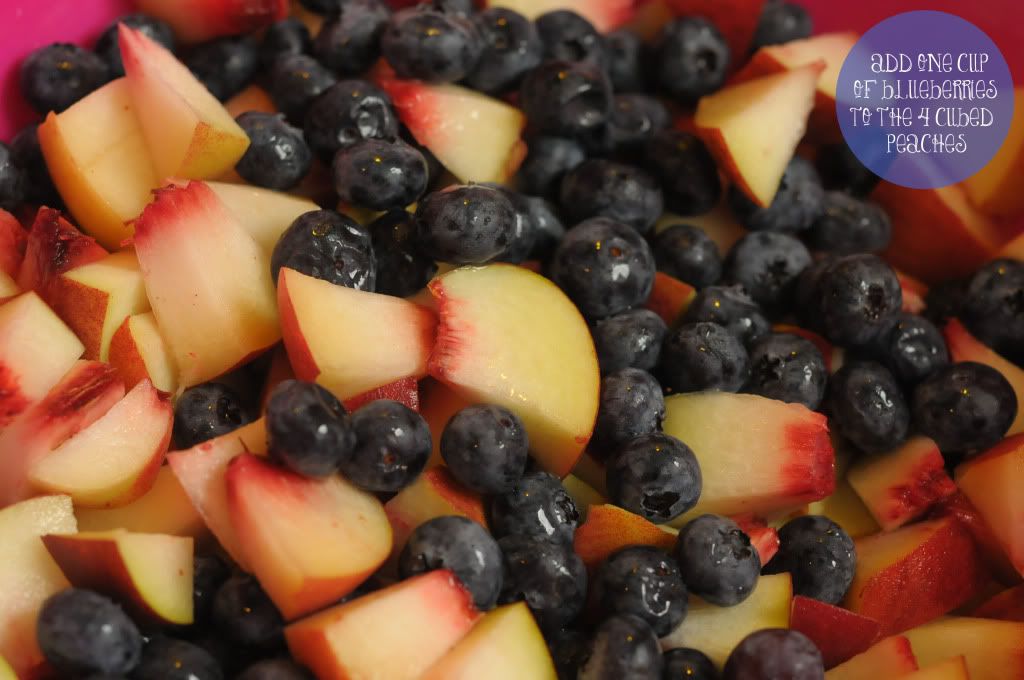
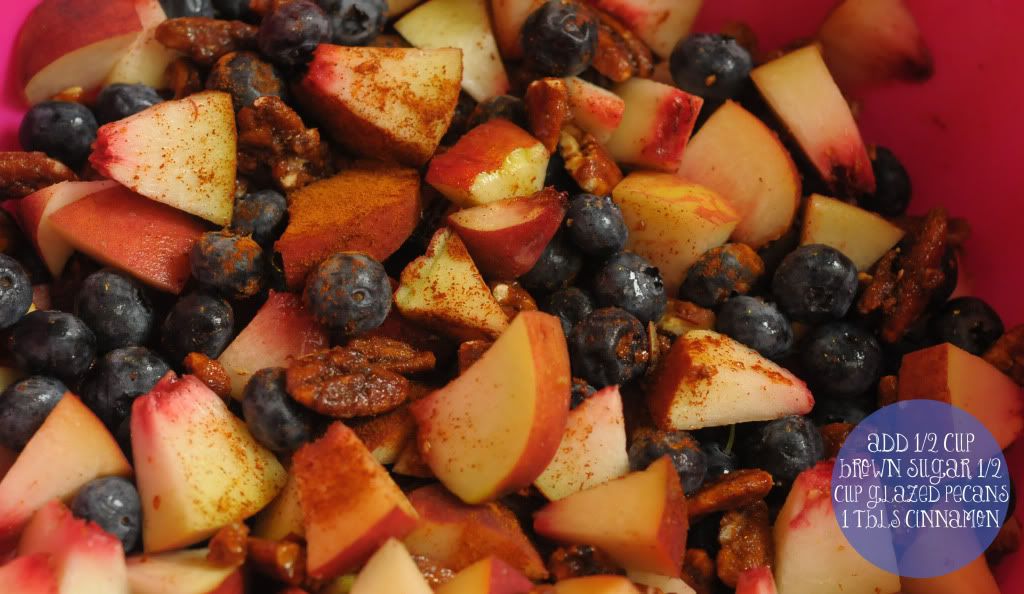
Here's the typed version in case you want to copy + paste or print it out! It's seriously a ridiculously easy recipe! xo

Ingredients:
1 box of 9" pie crusts (2 total)
4 peaches
1 cup of blueberries
1/2 cup of brown sugar
1/2 cup of flour
1 cup of sugar
2 Tbls of honey
1 Tbls of cinnamon
1 stick of butter
1/2 cup of glazed pecans (pre-packaged)

Directions:
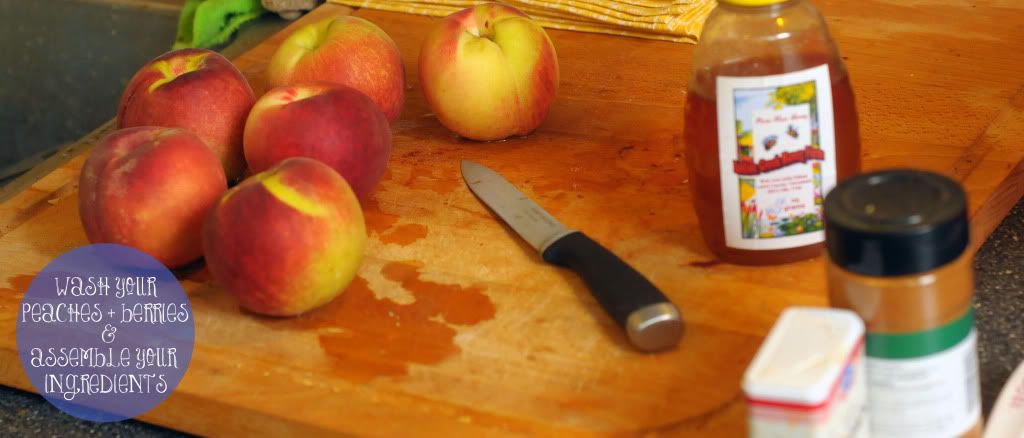
Step one: Wash your fruit but leave skin intact. Line your pie dish with one 9" pie crust. (Lightly coat the bottom of the pie dish with butter.)

Step two: Remove peach pits and cube peaches. 

Step three: Add one cup of blueberries to the bowl. As well as 1/2 cup of glazed pecans

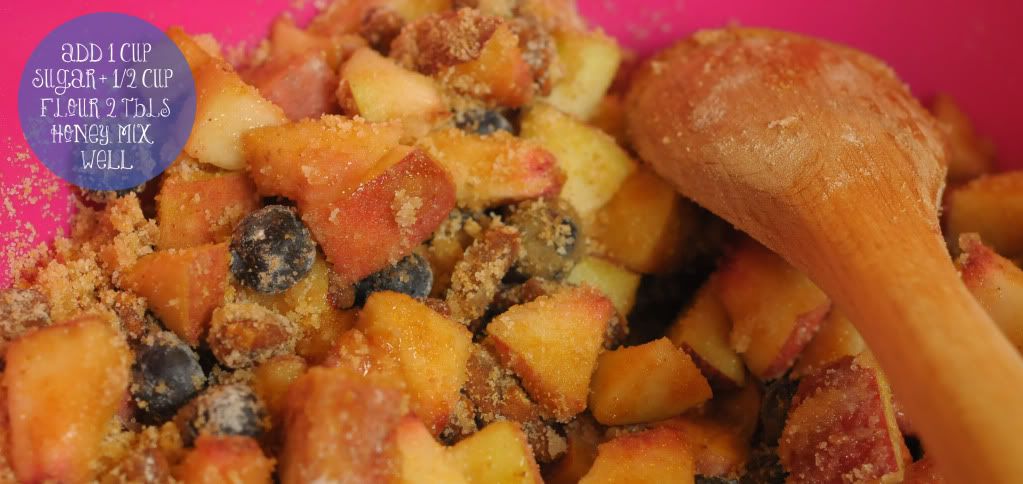
Step four: Add all dry ingredients... 1/2 cup of brown sugar, 1/2 cup of flour, 1 cup of sugar, 1 tablespoon of cinnamon. Add 2 tablespoons of honey. Mix well.

Step five: Add the pie filling mixture to the pie dish with the crust already laid out. Slice the remaining stick of butter and lay it on top of the filling.

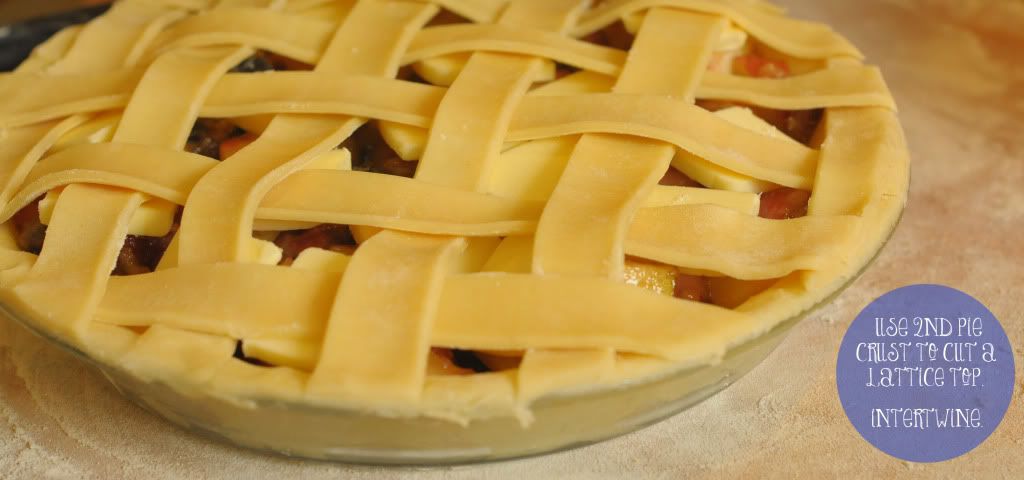
Step six: Use the second 9" pie crust to create a lattice top. (Optional. You can have any type of pie top you wish, but c'mon... lattice is so pretty!)

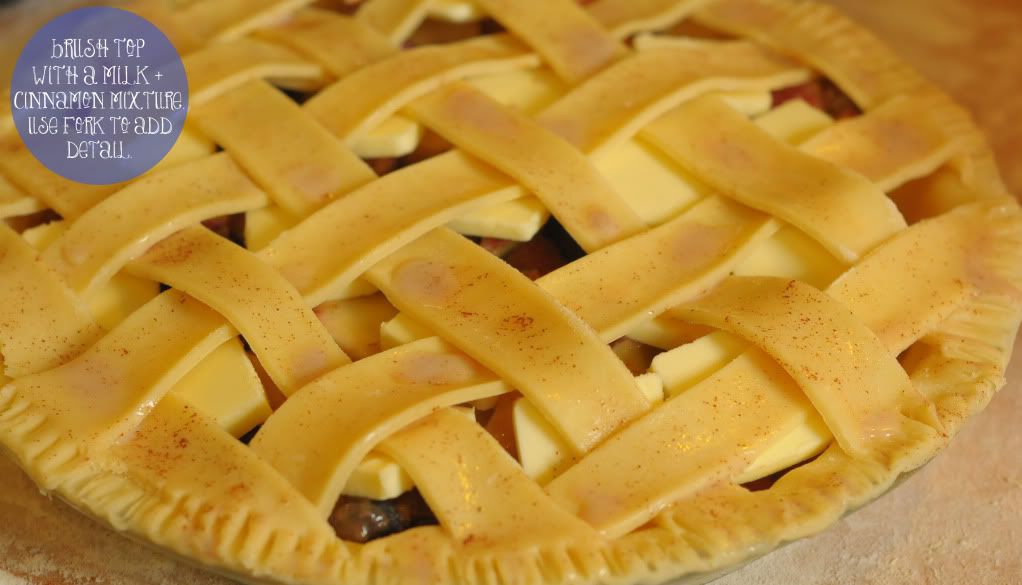
Step seven: Brush a milk + cinnamon mixture on the top of the pie to help it brown in the oven.

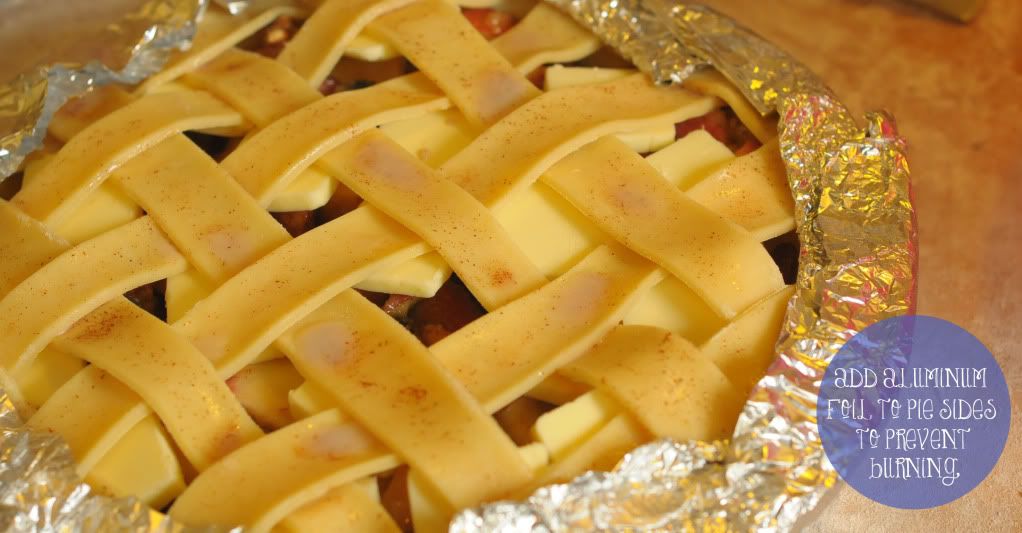
Step eight: Cover the edges of the pie with aluminum foil to prevent it from burning.

Step nine: Bake in the oven for 55 minutes at 375 degrees. Remove it and let it cool for 5 minutes.

Step ten: Top it with vanilla bean ice cream and serve it a la mode! Enjoy!

Please let us know if you decide to try it! I promise you you won't regret it! I'll be making some mini apple pies tonight to share later this week! Happy Monday, honeybees! xo

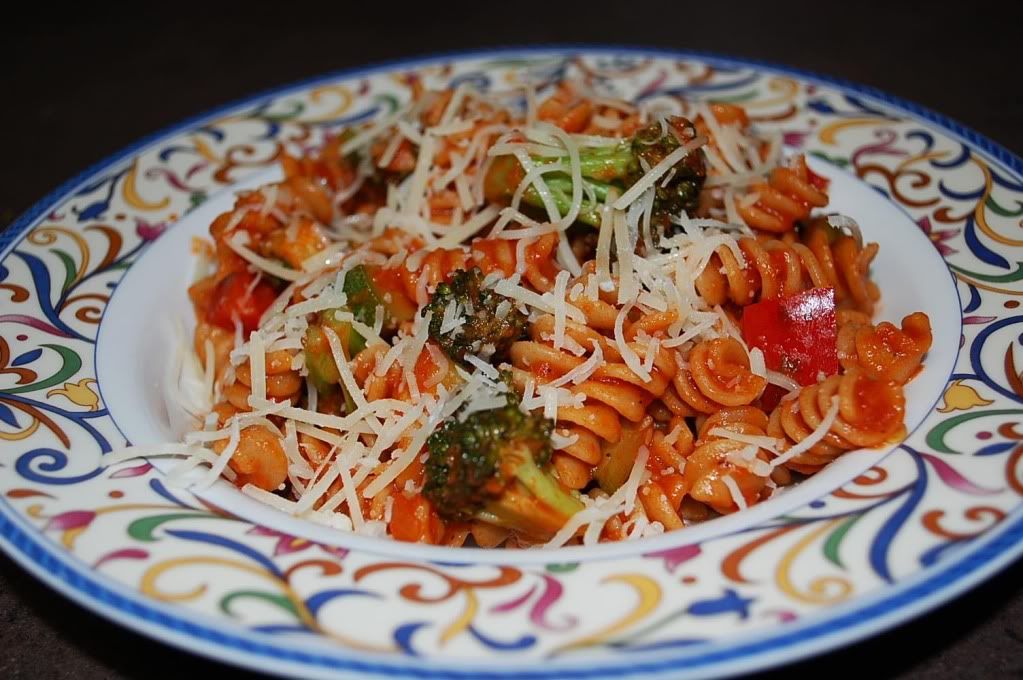
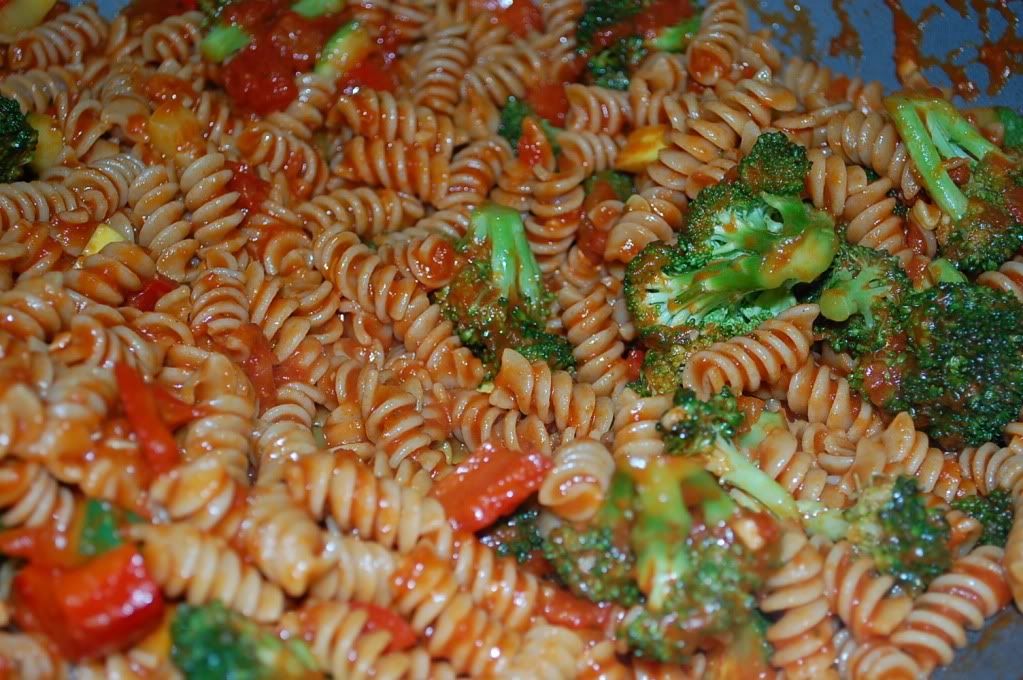
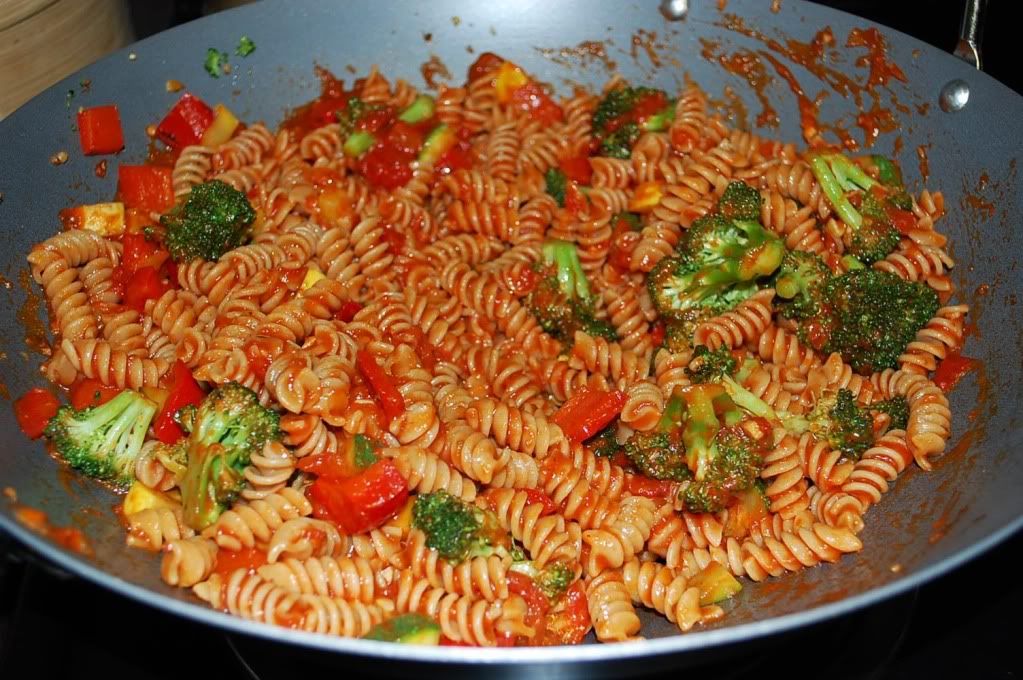
Foodie Feature: Mike's Veggie Pasta

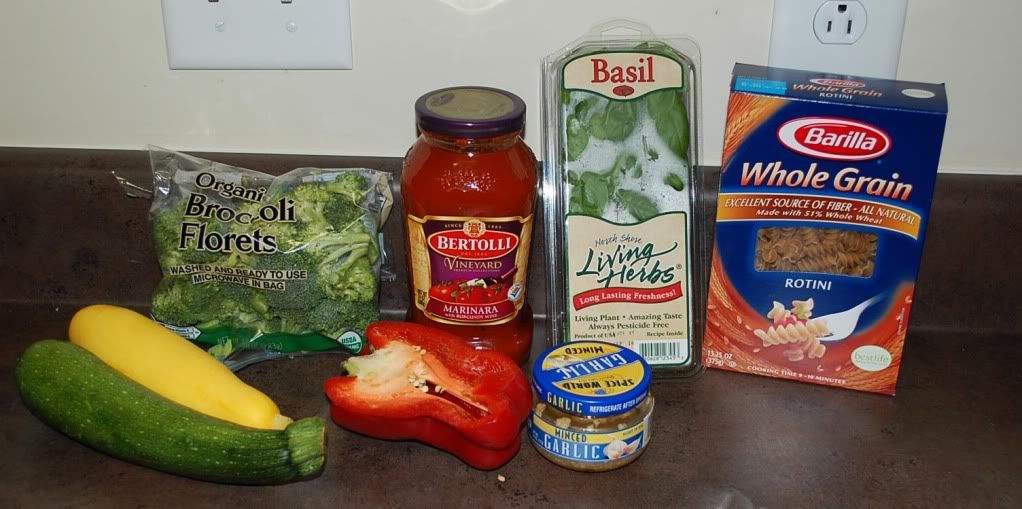
We're back with another Foodie Feature installment! It's been a bit since we've done one of these but we have a few recipes we're excited to share. We thought we'd keep this one really simple (and because we had it for dinner tonight!). It's pretty much fool-proof so I bet I could even make it! Enjoy! 

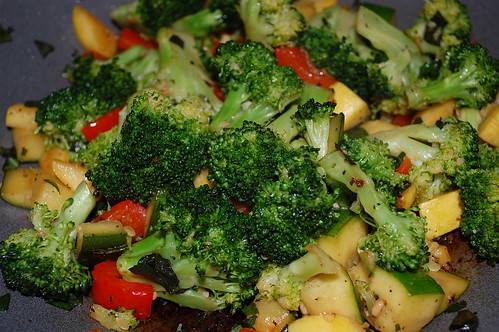
Veggie Pasta


Ingredients:
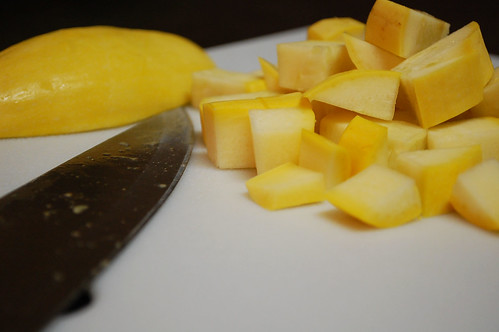
1/2 Yellow Squash
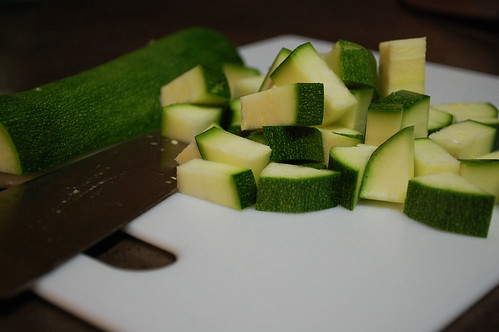
1/2 Zucchini
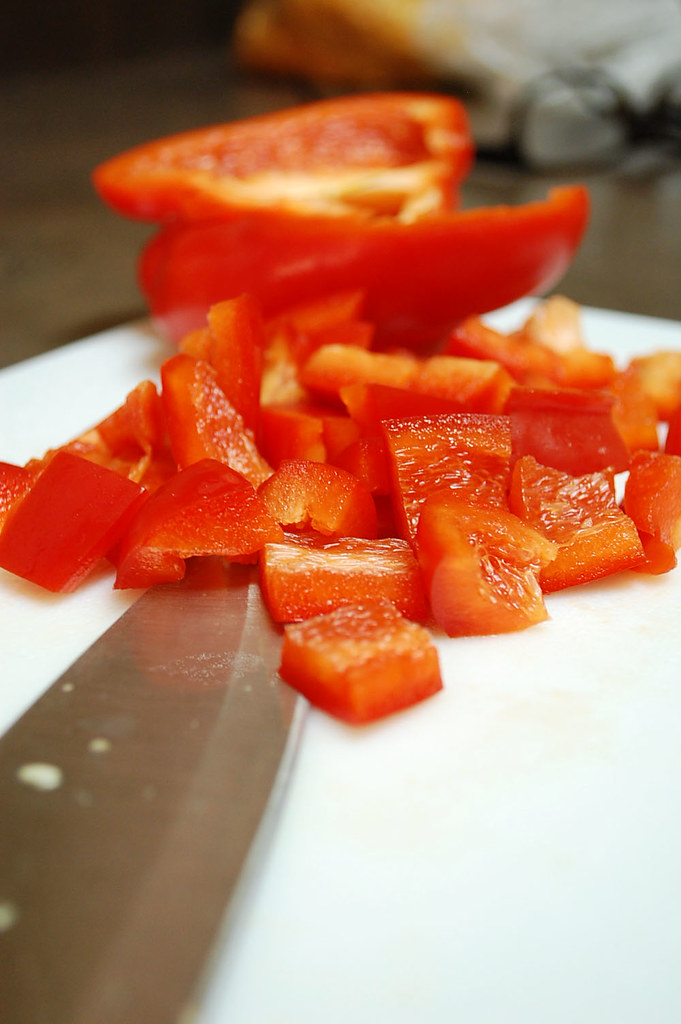
1/2 Red Bell Pepper
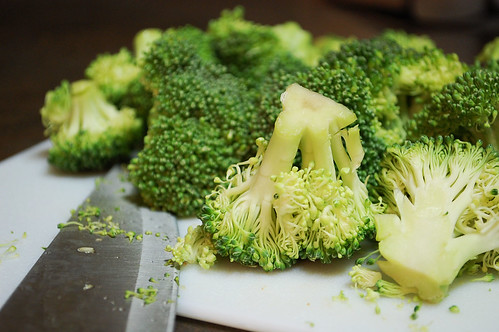
1/2 a bag of Fresh Broccoli
Small bit of Basil
Pasta
Salt
Pepper
1 jar of Pasta Sauce

Steps:


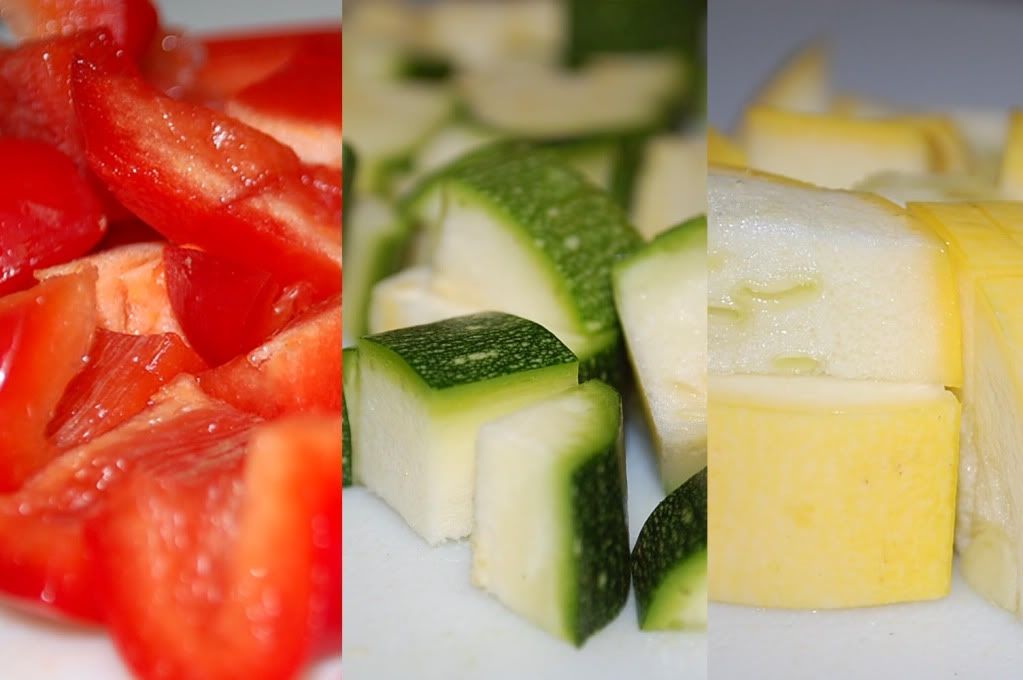
1. Heat frying pan on medium high heat and in another pot bring water to a rolling boil. Meanwhile cut vegetables into desired size (we use quarters).


2. When frying pan is at cooking temperature, add 2 tablespoons of oil and then cup up vegetables. Cook vegetables until golden brown. Add pasta to pot of boiling water.


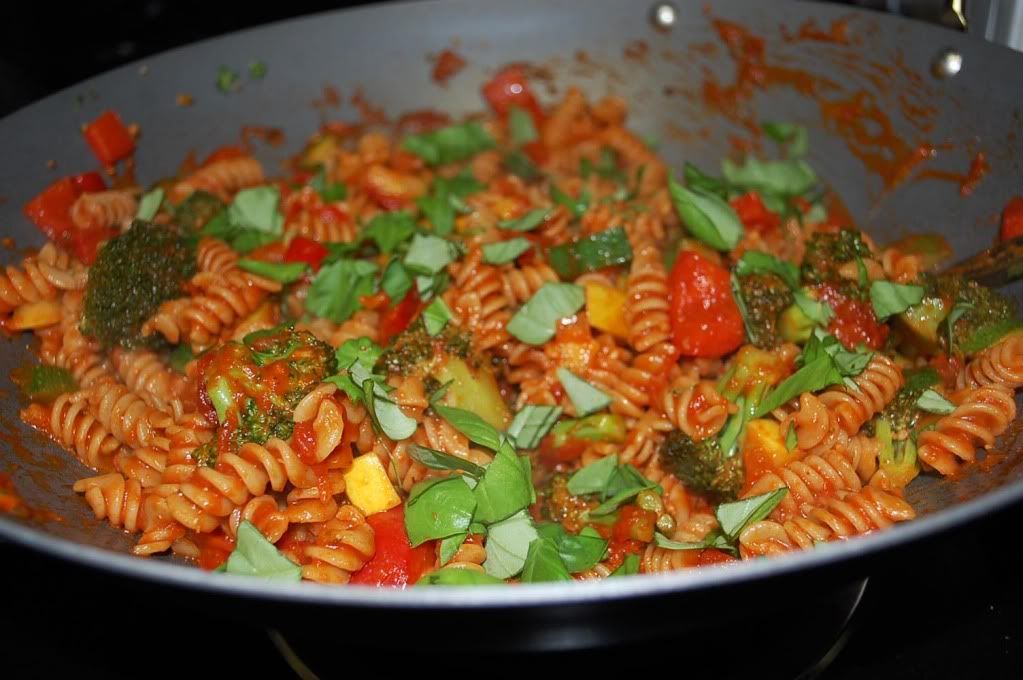
3. When the vegetables are done, mix pasta and sauce into the same pan. Cook until sauce is fully heated. Cut up basil and toss in.


4. Plate the pasta and top with desired cheese (Parmesan, Mozzarella, etc). Voila!


It's really that simple! And so yummy! I think it's hands down the best way to eat pasta. I love veggies anyway, but I don't think I could eat regular ol' pasta again! 

Foodie Feature: Mike's Garlic + Basil Naan Pizza

This is a great and fun recipe if you're home alone or not super hungry, or well... you're like me and you really just fail at all things cooking related. There's NO cooking involved! Except a small stint in the oven just to melt/toast it all! Even I can do that, people! So I know you can, too! Mike is a pizza LOVER! I mean LOVER. And I am not really a fan all that much so this was a nice compromise for the two of us. It's really yummy and so so simple! The rest is allllll Mike! Enjoy!


Garlic + Basil Naan Pizza


Ingredients:

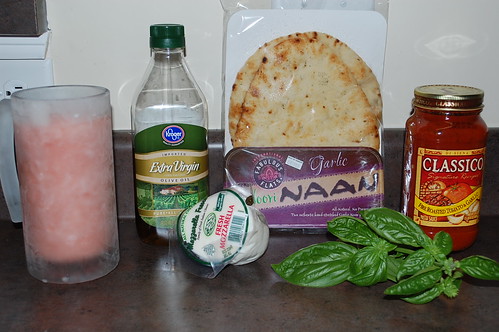
  • Fresh mozzarella (not the stuff in a bag. look for it in a package in the deli area. it will clearly say "fresh mozzarella."
  • Fresh basil
  • A pack of garlic naan bread
  • A jar of you favorite tomato sauce (I used "fire roasted tomato and garlic")
  • Extra virgin olive oil
  • Ground black pepper
  • A tall frosty beer for the chef (totally optional)

Garlic + Basil Naan Pizza

Step one:
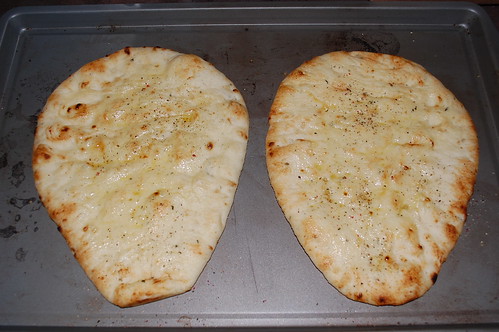
Lay out your desired number of naan breads on a baking sheet. (Cooking these on a baking sheet will yield a soft chewy crust with crispy edges while cooking them directly on the rack will result in a crust that is crispy all the way through. I prefer them on a baking sheet but you decide what's right for you) use a pastry brush or a clean set of hands to brush the bread with a light coat of olive oil. After the olive oil I usually toss on just a pinch of black pepper.

Garlic + Basil Naan Pizza

Step two:
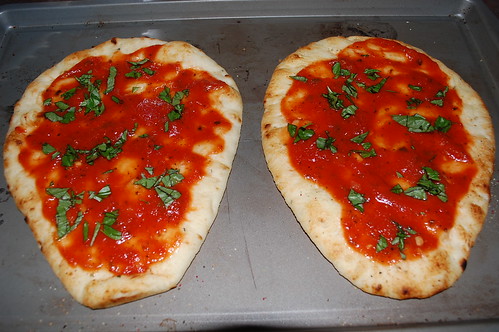
Take your tomato sauce and use a spoon to spread it evenly around the top of the bread leaving just a little bit of a border on the outside so you have a nice crust when it's done. Now take some of your basil (not all of it) and sprinkle it evenly on top of the tomato sauce.

Garlic + Basil Naan Pizza

Step three:
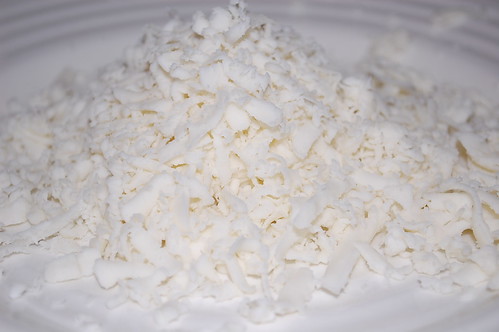
Take your shredded mozzarella and spread in evenly on top of your pizza. use as much or as little as you like. Sometimes the fresh mozzarella is a little tough to grate. the best way to do it is to used the big holed sized of the grater and use light pressure. It's ok that it crumbles apart (and it will) because you can use all those crumbles too. It's just cheese and it's all going to look the same after it spends a little time in the oven.

Garlic + Basil Naan Pizza

Step four:
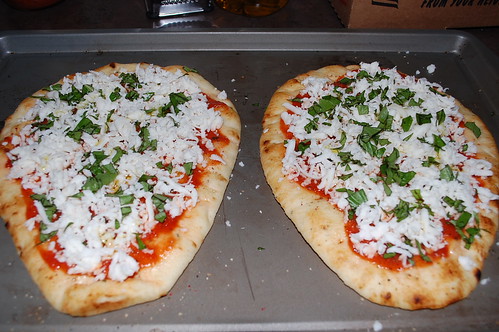
Take the rest of your basil and spread it out evenly on top of the cheese. Now really really really lightly drizzle olive oil over the whole thing and then crack some pepper on top of it just to finish it off.

Step five:
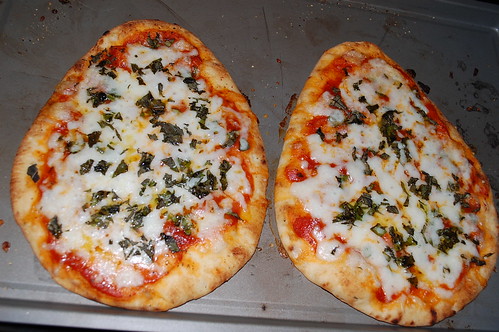
Place your pizza(s) in an oven that has been preheated to 350. let it cook for about 12-15 minutes. You're looking for melted cheese and a golden brown edge on the crust.

Garlic + Basil Naan Pizza

Step six:
Nom.

We served our Naan pizzas with a side of vegetables. This is completely optional of course! 

Side of Vegetables

Let us know if you decide to try it!

xoxo
Foodie Feature: Mike's Bowtie Pasta + Peppers

Mike made another yummy dinner last night and we were much too tired to write it out and post it so we saved it to tonight (where we just spruced up a pizza with herbs and such... but we'll share that another time!). He's really been getting into the cooking things lately and I'm glad. He seems to really really love cooking. And I'm so proud of him for cooking such yum stuff! I wish you all could come over and eat with us to experience it! [If you're in/around middle Tennessee, let a girl know! We'll invite you over sometime!] Anywhoo, as per usual with the Foodie Features, the mic is all Mike's from here on out! Enjoy!

Voila! Bowtie Pasta w/ Peppers


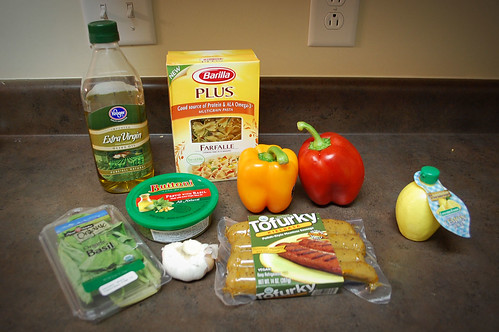
Ingredients:

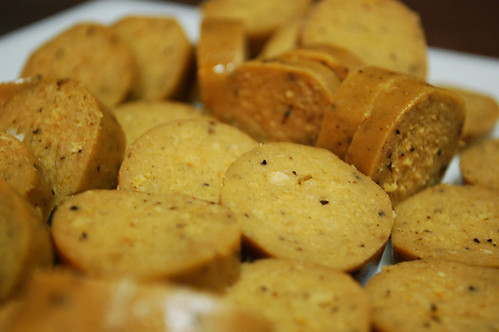
  • 2 links of Tofurky brand Kielbasa [Meat-Free Polish "sausage"]
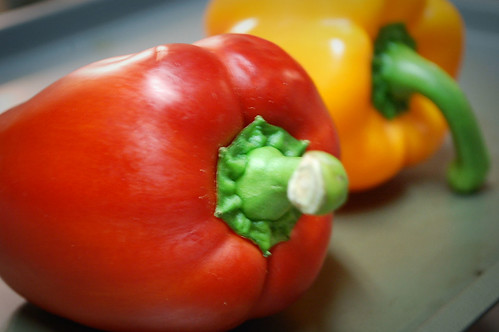
  • 1 red bell pepper
  • 1 orange bell pepper
  • 1 clove of garlic minced
  • 10 oz of bow tie pasta 
  • 5 table spoons of extra virgin olive oil
  • 2 table spoons of lemon juice
  • 2 table spoons of pesto
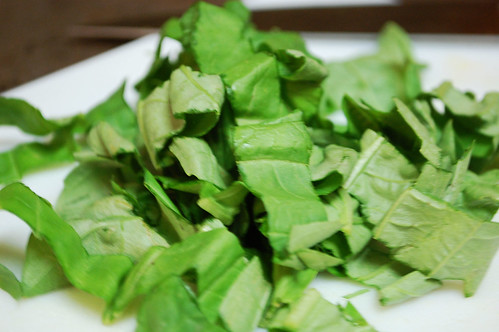
  • 3 table spoons of shredded fresh basil (preferably from your bonus moms garden, but store bought will work.)
  • salt and pepper

 Bowtie Pasta w/ Peppers

Step one:
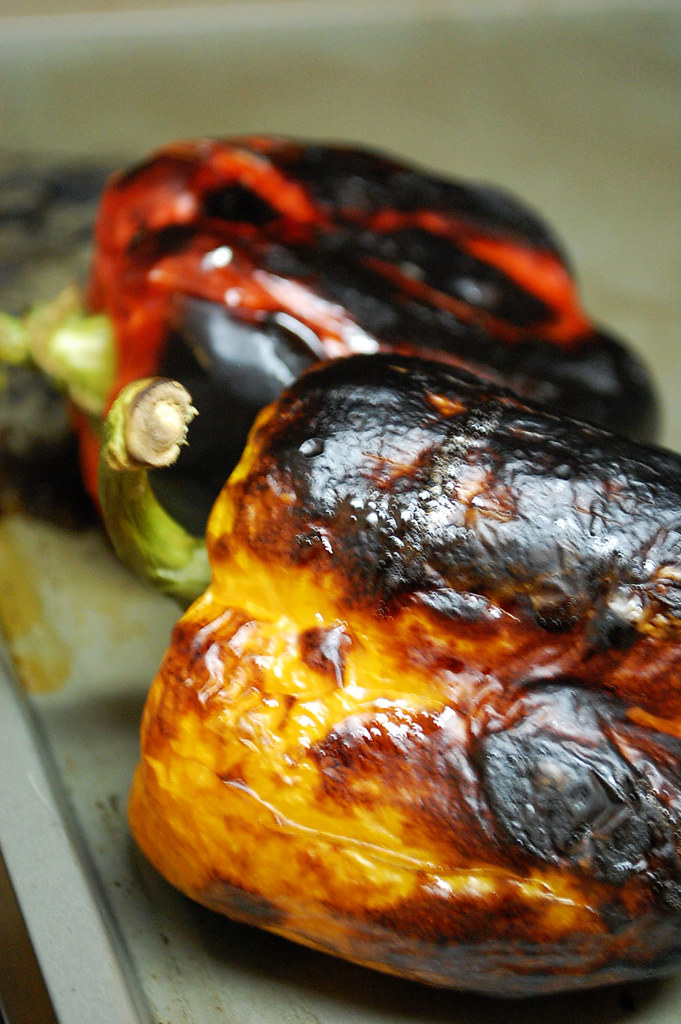
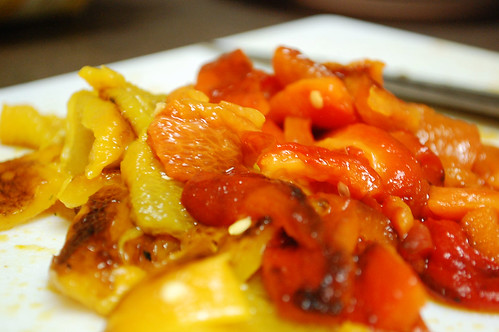
Preheat the broiler on your oven to high. Place the whole peppers (stem and all) on an ungreased baking sheet. Turn them frequently until the are about 80% black. just trust me, I'm not going to make you eat burnt peppers. When the peppers are done take them out of the oven and set them aside until they are cool enough to handle.

 Bowtie Pasta w/ Peppers
 Bowtie Pasta w/ Peppers

Step two:
Bring a large pot of water to boil. Add pasta, reduce heat slightly and cook until tender. Drain pasta when finished and put aside.

 Bowtie Pasta w/ Peppers

Step three:
In a medium mixing bowl combine minced garlic, olive oil, pesto and lemon juice. stir until blended well.

Step four:
When the peppers are cool enough to handle remove blackened skin completely. Then remove the stem and seeds and chop the peppers in to medium chunks. 

 Bowtie Pasta w/ Peppers

Step five:
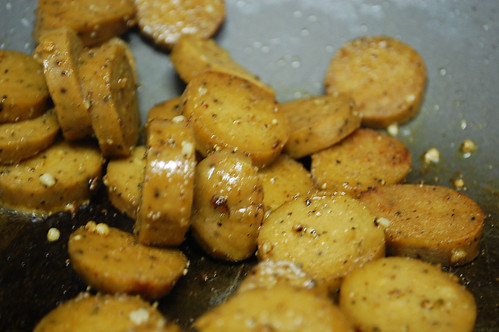
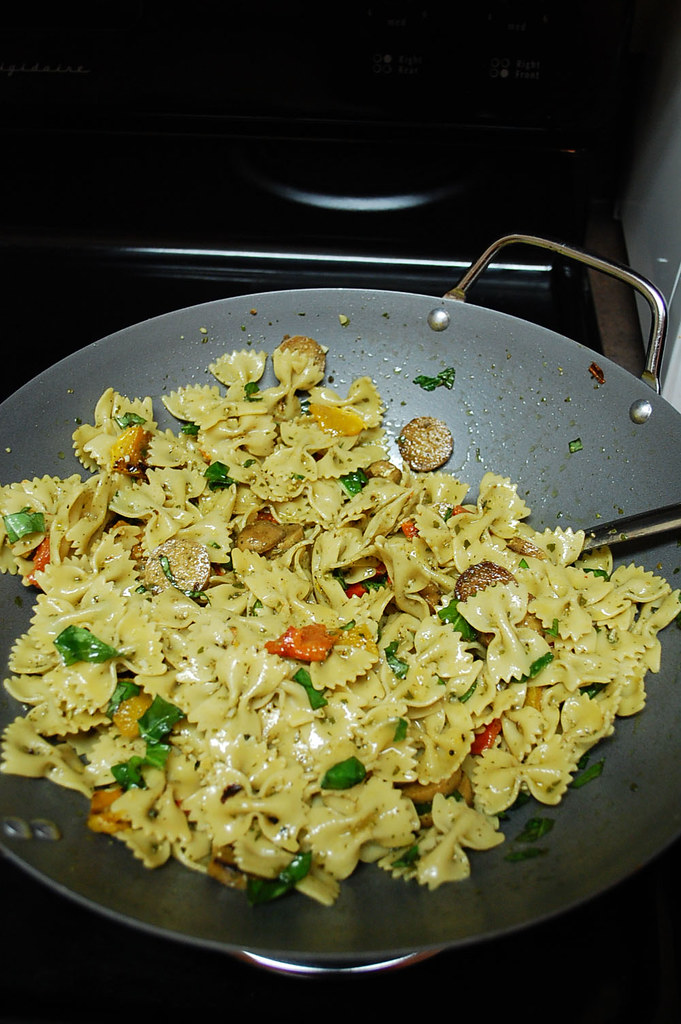
Slice up kielbasa and fry in a large saute pan (or in my case a wok.) with olive oil until slightly browned.

 Bowtie Pasta w/ Peppers
Tofurky Kielbasa

Step six:
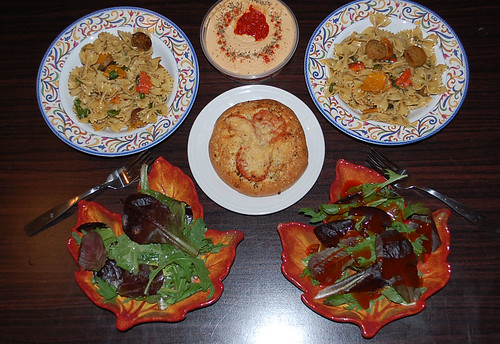
As soon as the kielbasa is done cooking add the pasta, peppers, and sauce all together in the same pan as the kielbasa and stir until everything is mixed together. Salt and pepper to taste. When everything is brought back up to temperature mix in the basil and immediately remove from heat and then serve. [Kaelah's note: We served ours with Tomato + Basil Focaccia and spicy pepper hummus. And of course, like every single meal, with a fresh Spring salad.]

 Bowtie Pasta w/ Peppers
Dinner!

Let us know if you try this one [or the other!] 

xoxo


PS; You can make this meal vegan by substituting the pasta with an egg-free noodle or shell (we didn't realize these contained eggs) and foregoing the pesto! 

Foodie Feature: Mike's Udon Yum-Yum

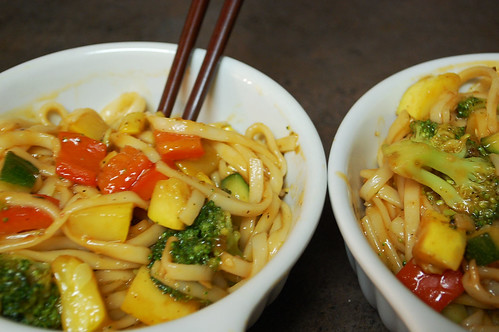
Okay, so let's just be honest here... I have absolutely nothing to do with this post except for 1) I named it [Do you really think Mike would name something "Udon Yum-Yum"?!] and 2) I nom'd the beejeezus out of it [Seriously... it's delicious!]. Now that we've got that out of the way, we wanted to showcase some more of the things we make [read: Mike makes, we eat] because many of you expressed interest in seeing and hearing more about what we cook via the survey. So here you have it! I don't know how often this will happen, but I'm sure it'll be much more frequent as Mike has been cooking every single night and everything is deelish! From here on out in this post, it's Mike talking to you so enjoy! [And let us know if you decide to give it a go!]. You can visit [and follow!] Mike's blog by CLICKING HERE!


Mike's Udon Yum-Yum

Udon Yum-Yum


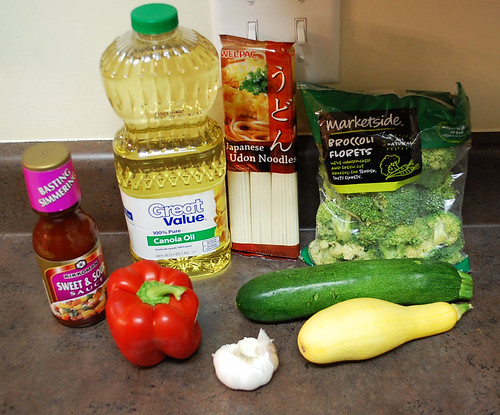
Ingredients:
  • Canola Oil
  • 1 Clove of garlic (NOT the whole thing!)
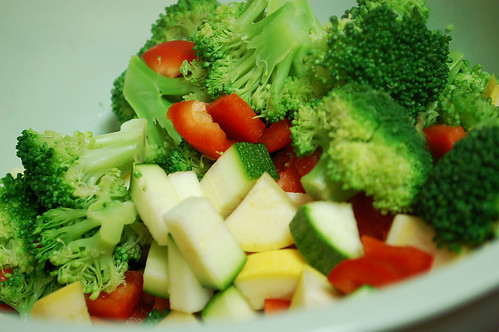
  • 2.5 Cups of broccoli 
  • 1 Yellow Squash
  • 1 Zuchini
  • 1 Red pepper
  • 10 oz of Udon Noodles
  • Sweet and Sour Sauce
  • Salt and Pepper

Udon Yum-Yum

Step 1:
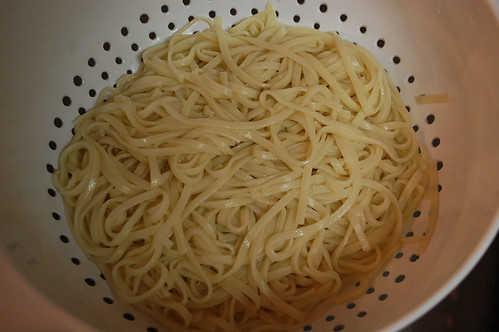
Cook noodles according to package directions. You want to be careful you do not cook the noodles for too long otherwise they will be a little mushy. You want them to be thoroughly cooked while still being firm. When the noodles are done drain the water in a large colander and then toss them under cold water to stop them from cooking any further. 

Udon Yum-Yum
Udon Yum-Yum
Udon Yum-Yum
Udon Yum-Yum
Udon Yum-Yum

Step 2:
Chop your vegetables to desired size. I usually chop them in to pieces about the size of your thumb. Not the size of your friends thumb, YOUR thumb. 

I usually put my broccoli in a steamer bag and microwave it for about 30 seconds just to soften them up a bit since they tend to take much longer than any of the other vegetables to cook. This way you can toss everything in together and the broccoli is already nice and moist. 

Combine all the vegetables in a mixing bowl and then add in your minced clove of garlic. Salt and pepper your veggies to taste and then mix them all together. 

A note on your wok:
Always bring your wok (or any other pan) to cooking temperature before adding oil. Adding the oil after the wok is already hot is going to create a film to keep food from sticking. (Do not use olive because it burns at high temperatures. Use oils like canola or peanut) When bringing your wok to the correct cooking temperature you can easily test its readiness by flicking water on the cooking surface. You want the water to immediately steam when it hits the wok and then linger on the surface and simmer. If it evaporates when it hits the surface the pan is too hot and needs to be turned down and tested again until it is correct. Once the heat is correct add the oil and swirl the pan to make sure the bottom and sides are coated.

Udon Yum-Yum
Udon Yum-Yum

Step 3:
Heat wok and add vegetables. They will cook quickly and need constant movement. They are done when they have a nice golden finish on them

Step 4:
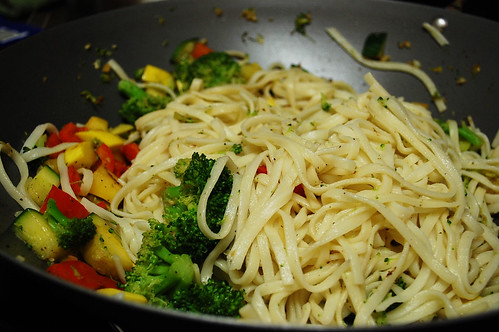
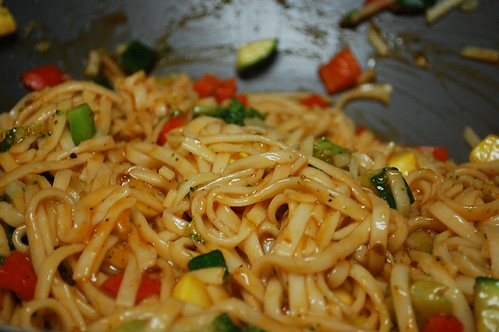
As soon as your vegetables are done cooking add your noodles into the mixture. You want to stir ever thing until it is nicely mixed and the noodles are nice and hot again. Then add your desired amount of sauce (we like a lot) and stir until sauce is evenly distributed. 

Udon Yum-Yum
Udon Yum-Yum

Step 5:
Eat. We paired ours with a fresh Spring salad.

Udon Yum-Yum
Udon Yum-Yum

Until next time,
Mike
(and)