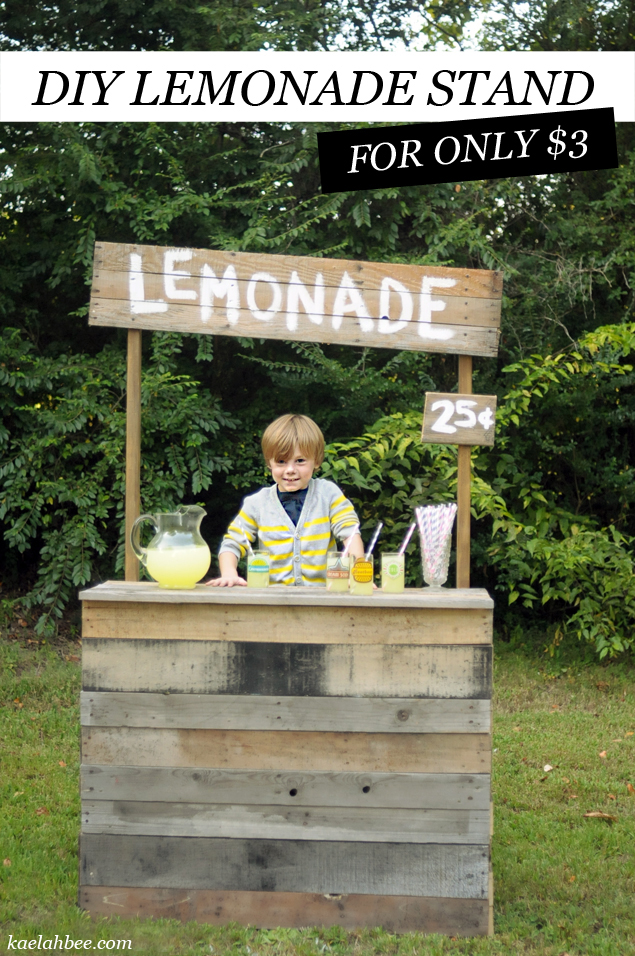
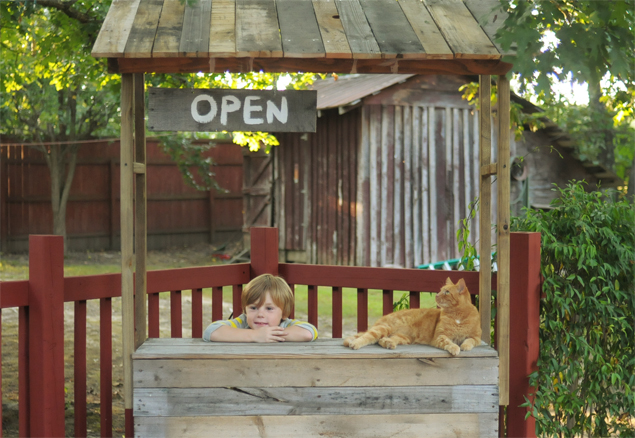
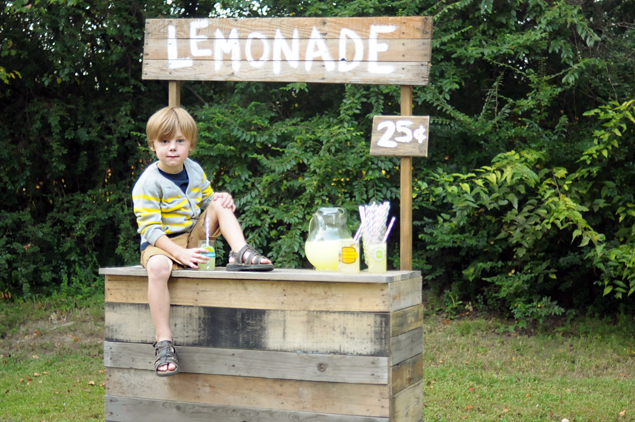
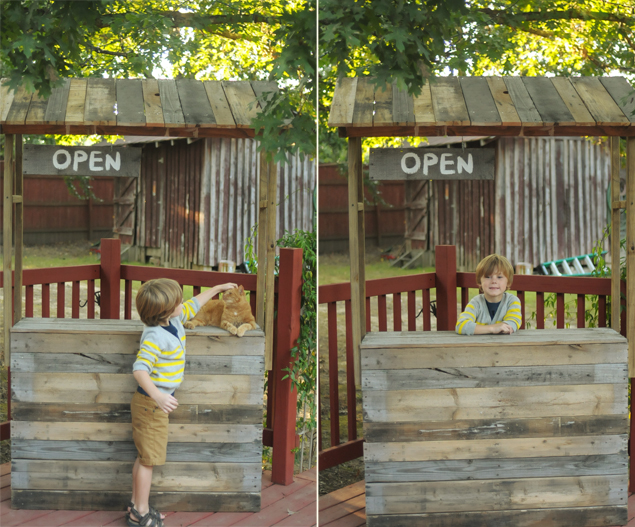
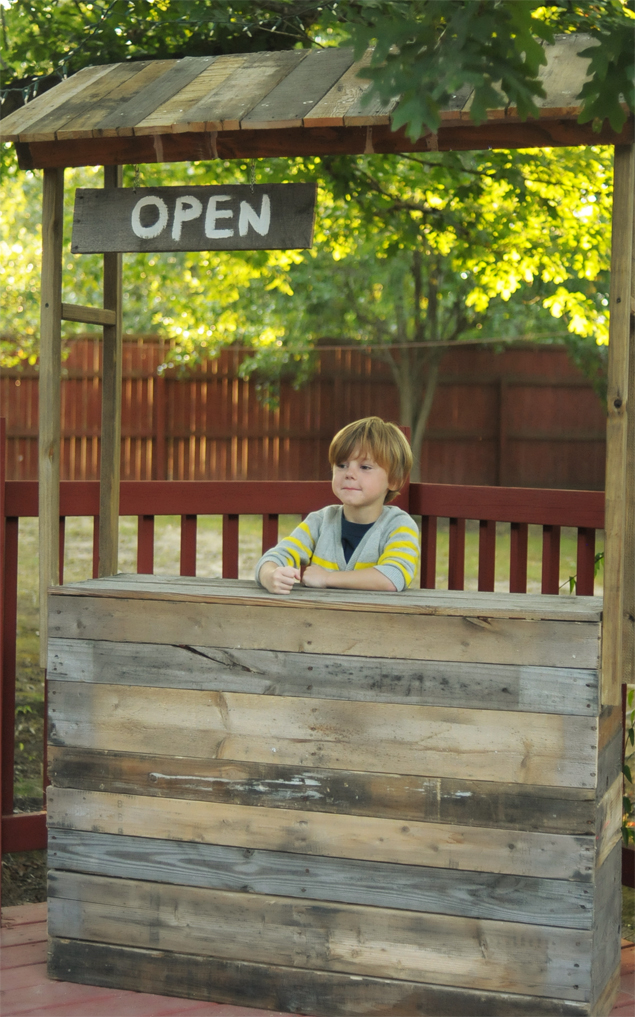
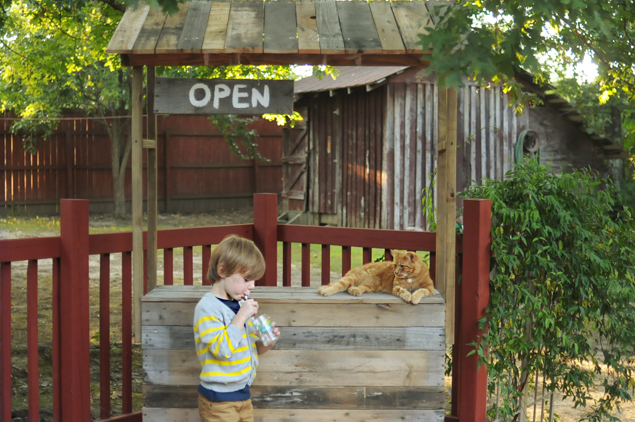
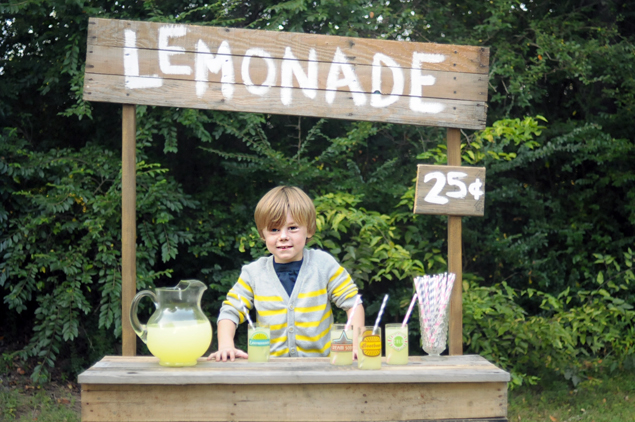
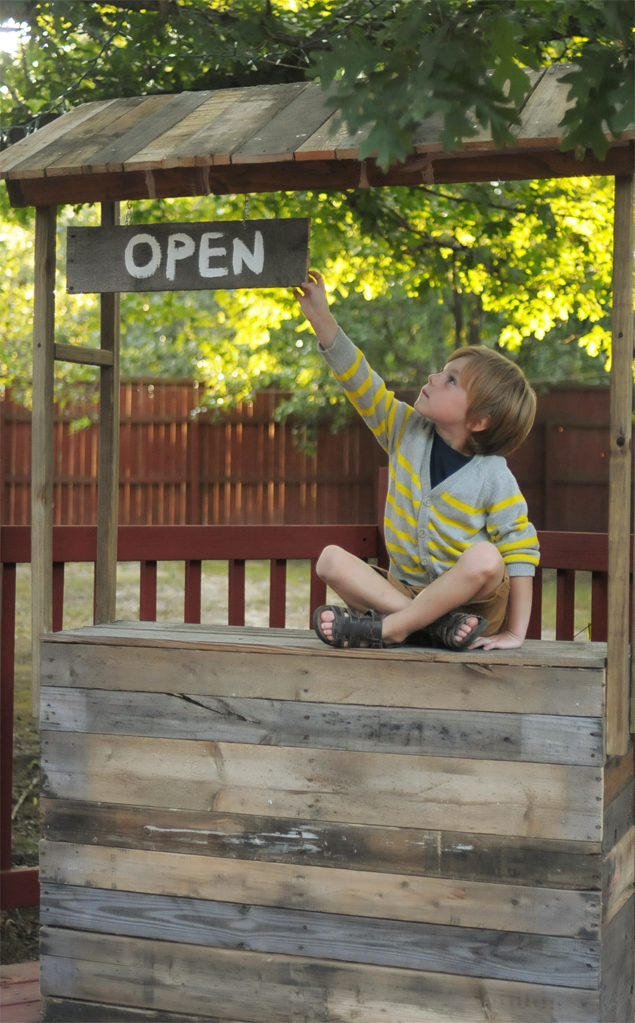
Mike and I have been wanting to build some props for H+H shoots for a while now, but we've simply never gotten around to it. We have access to an insane amount of weathered pallets for free and we finally wanted to build something with them. We spent a couple of hours one day this week putting these together and we're insanely overjoyed with how they turned out. The best part? We only spent $3! We used 100% salvaged lumber and we only spent pennies on screws and nails. Each stand only cost us a little over $1 (and some time/sweat!) That's pretty incredible right? We snapped a few photos to show you what they look like, but they're not all stylized yet. We're planning on using them for some upcoming Him + Honey shoots (including mini sessions!) so you'll have to wait until we really style them up! I shared a sneak peek on Instagram the other day and several people requested a DIY, so here you go! It's such a simple build I'm sure you'll get the hang of it from the photos alone. (The tutorial is for the lemonade stand. The roadside stand with the roof is the same basic foundation, just with an extra rectangular frame up top!)
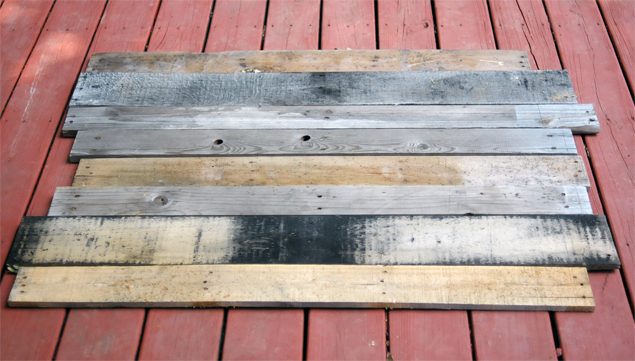
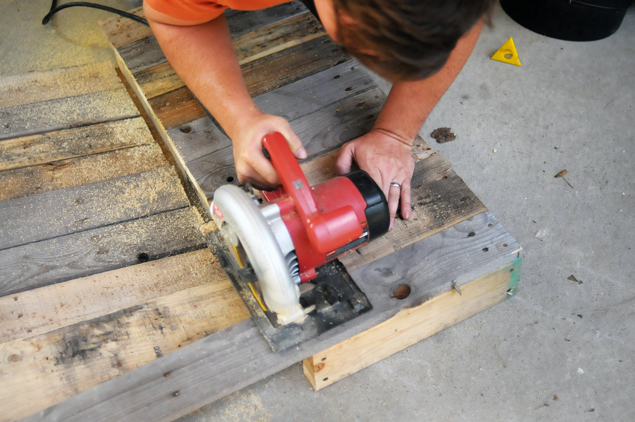
To build these you will need to find some pallets (roughly 2-3 pallets per stand) and break them apart. You can typically find them for free somewhere around town (Craigslist is usually overrun with them) Most pallets are made up of some 1x4's nailed to two or three 2x4's. The best way to pull them apart is by using a sawzall, but you can use a trusty hammer and some elbow grease if that's all you have access to. If you're going the sawzall route, slide the blade between the plank on top and the 2x4 underneath and cut the nails. It's not fun but it's effective and fairly quick.
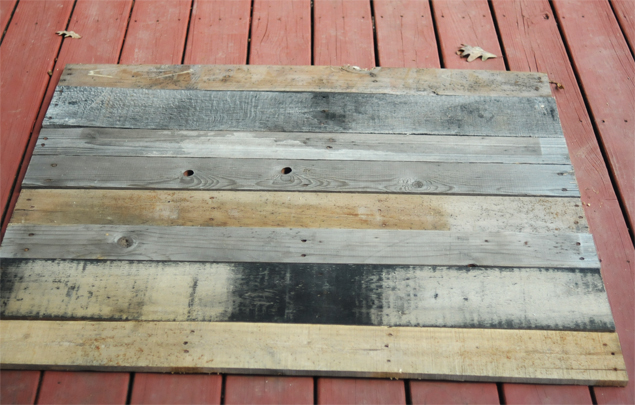
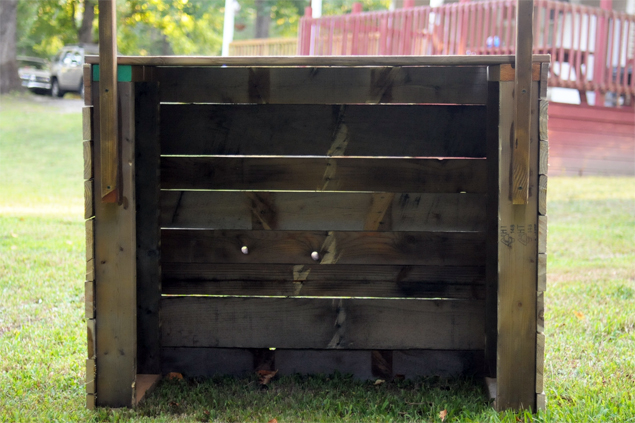
Once you have all the pallets disassembled lay out several planks on the ground. These will be what make up the front of your stand. You can use however many you want based on how tall you want it. Find the shortest plank in the bunch and cut the rest to match. Then lay out a few planks for the top. Again, you can make it however deep you want. Cut those the same length as the boards for the front. Our top has a slight lip on the lemonade stand because we liked the look.
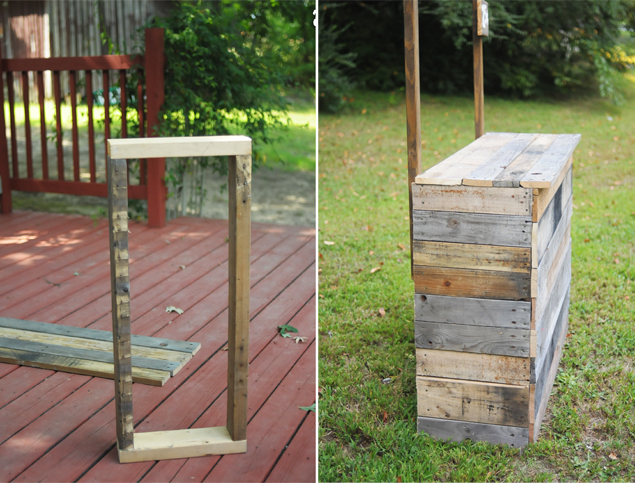
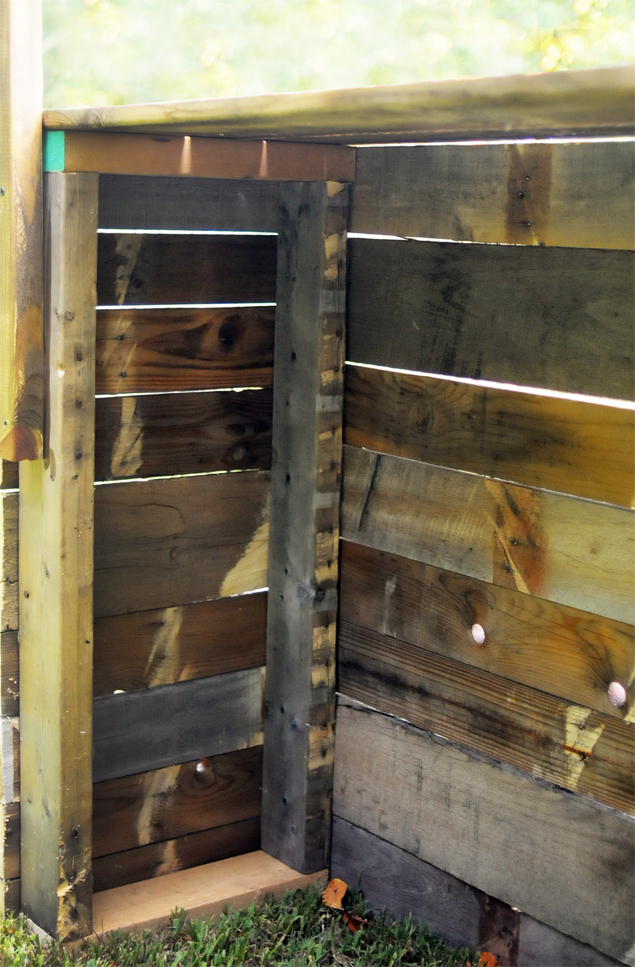
Next you'll need to build a couple of rectangular shaped frames. You can use the 2x4's from the pallets for this. You want to lay out the planks for the front and measure them. Subtract 3 inches (3 inches is the width of two 2x4's. If you're using something else change the measurement accordingly) from that measurement and cut four 2x4's to that length. Then lay out the planks for your top and measure them as well. Subtract an inch from that measurement and cut four 2x4's to that length. Now assemble your frames with the short pieces on the outside of the rectangle.
Now you need to nail the planks on the side. Take full length boards and line them all up with one side flush with the outside of the frame. Once they are all nailed down you'll want to cut the excess off the other end. Now you can take the remainder of those boards and do the same thing on the other side.
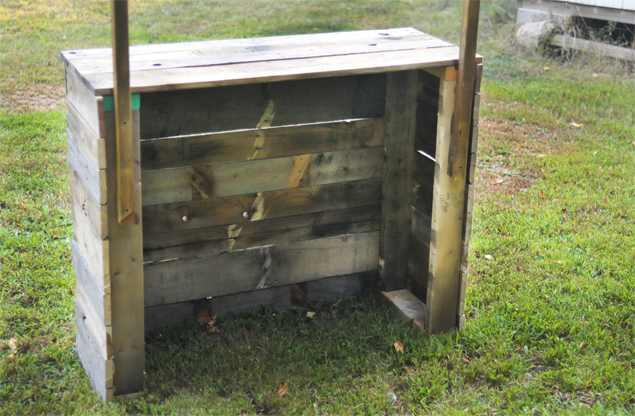
Since the boards for the front and top are all cut to length already you just need to square them up on the side panels and nail them in place. At this point you have a base with three sides and one top completely boarded up. You can stop here if you just want a countertop.
Since the boards for the front and top are all cut to length already you just need to square them up on the side panels and nail them in place. At this point you have a base with three sides and one top completely boarded up. You can stop here if you just want a countertop.
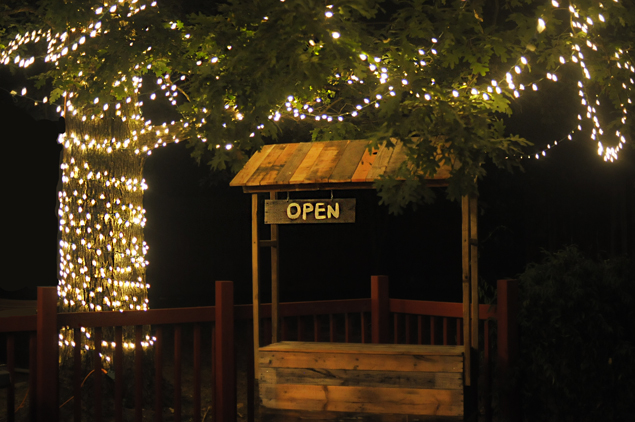
If you want to add a sign it's pretty easy. Take a couple pieces of lumber (We used a spare 2x2 we had laying around) and cut them to the desired height and screw them into the 2x4's on the back of the stand. Then just nail a few planks up on top. It's really that simple! We didn't bother to share the actual dimensions of ours because it'll be dependent on how tall/long you want it, and what lumber you have to work with. We chose to use weathered wood because we really liked the aesthetic. It's all pretty relative. Since it's meant to look pretty "shabby chic" in a way, you can get away with some wonkiness (we even made the sign a little caddywhompus to add to its charm).
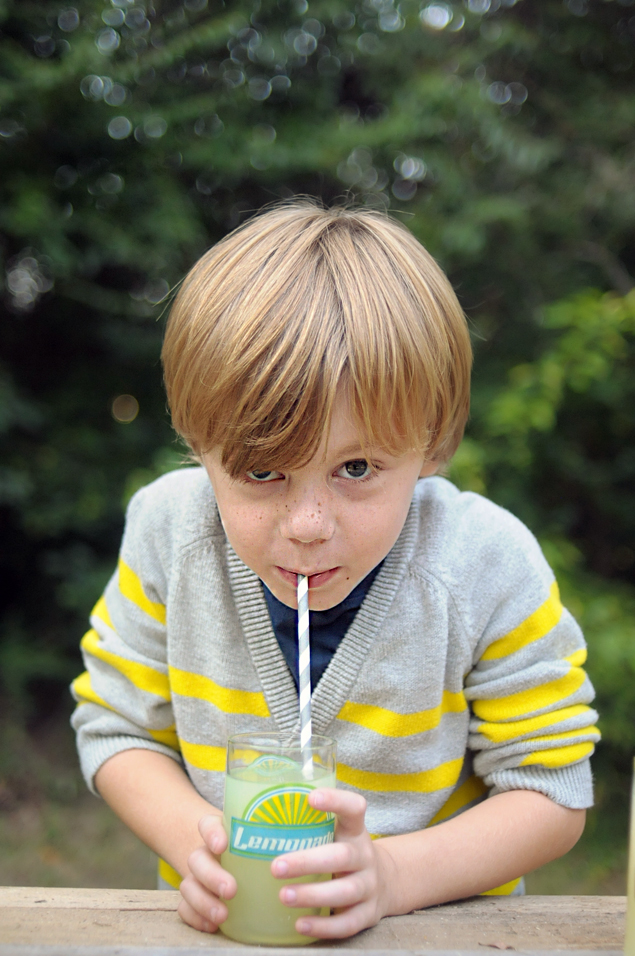
At the end of the day you'll have a really cute little roadside stand to use as a photo prop, wedding bar, craft show display, or whatever else you may want/need. We're planning on toting these to some Honeybean events and using them in Him + Honey sessions. (We have a lemonade stand end-of-summer mini session coming up if you're interested! Couples, kids, families, etc! Email us for more info!) We've actually already been asked to build a few for some other people, too. If you're local to Nashville and would rather have someone else do the work, get in touch!
Cocktail party, anyone?!
Cocktail party, anyone?!

